How Does an OBD Scanner Work Step-by-Step
A check engine light can appear at the worst possible time, leaving you unsure whether the issue is minor or a sign of expensive repairs. You’re not alone—many drivers struggle to interpret diagnostic codes or know which tool to trust. Understanding how an OBD scanner works can help you troubleshoot problems with greater confidence.
To use an OBD scanner, locate your vehicle’s diagnostic port and confirm the scanner supports its year, market, protocols, and systems. Park safely, plug it in without forcing the connector, and turn the ignition to “On” without starting the engine.
Let the scanner connect, then retrieve and record trouble codes. Check live data to narrow the problem, test wiring or sensors, and repair the cause.
Clear codes afterward and verify they don’t return. The steps below explain each stage in detail.
Key Takeaways
- Locate the compatible OBD port, usually beneath the dashboard, and inspect it for dirt, moisture, or damaged pins.
- Plug in the scanner, turn the ignition to “On” without starting the engine, and follow the connection prompts.
- Select code reading to retrieve and record stored diagnostic trouble codes without clearing them initially.
- Interpret the codes alongside symptoms, vehicle history, wiring checks, and live sensor data such as temperature and fuel trims.
- Repair the identified problems, clear the codes, and retest the vehicle to confirm normal readings and no returning faults.
Find Your Car’s OBD Port
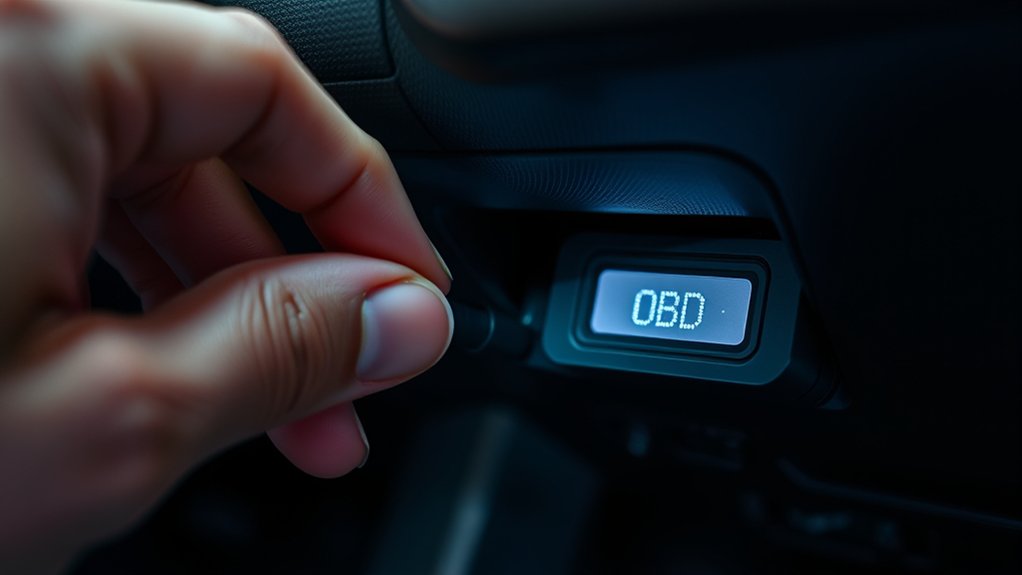
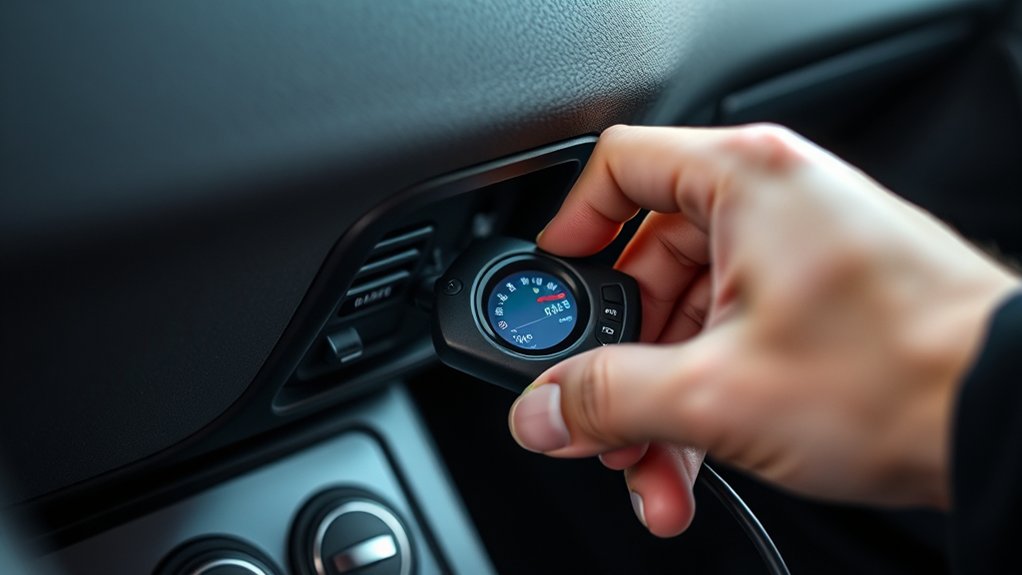
Before you connect an OBD scanner, find your car’s OBD port, usually located beneath the dashboard near the steering column. Look below the steering wheel, along the lower dashboard, or near the driver’s side kick panel.
The port resembles a small, trapezoid-shaped socket with multiple pin openings. You won’t need tools, but a flashlight can help you see beneath the dash.
Check your owner’s manual if you can’t locate it quickly. Some vehicles place the connector behind a small cover or close to the center console.
Keep the port accessible and free from dirt or loose debris. Finding this connector makes routine Car maintenance easier because you can read diagnostic information without removing dashboard panels.
You’ll also use it during Emissions testing, when inspectors connect approved equipment to check your vehicle’s systems. Once you’ve found the socket, leave it uncovered and ready for the next step.
Don’t force anything into the connector or damage its pins.
Confirm OBD Scanner Compatibility
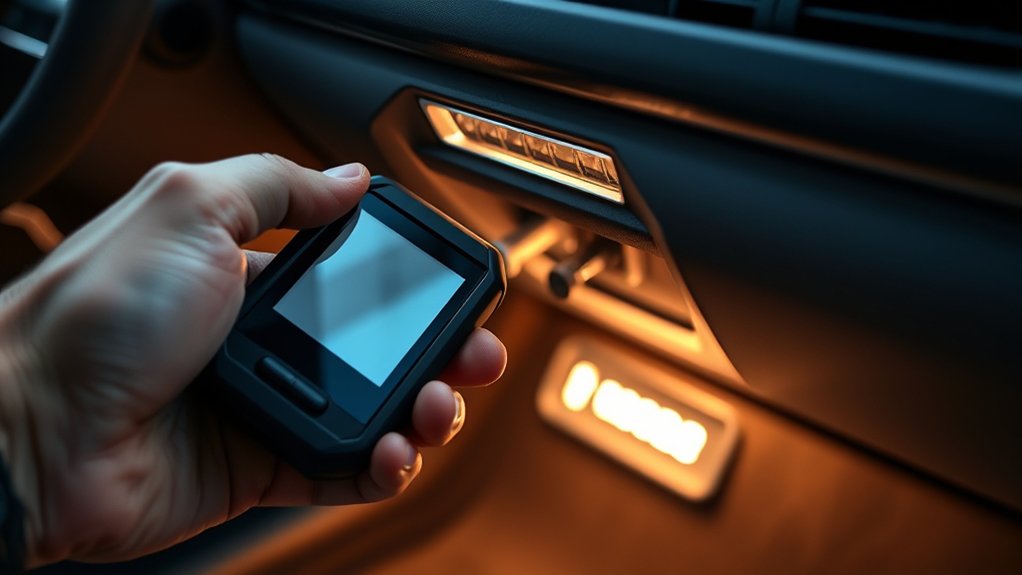
Check that your OBD scanner matches your vehicle’s model year and communication protocol before plugging it in. Compatibility considerations help you avoid confusing error messages, incomplete data, or a scanner that won’t communicate with your car.
- Check the year: Confirm the tool supports your vehicle’s production year and market.
- Identify the protocol: Look for support for CAN, ISO 9141, KWP2000, or another protocol your vehicle uses.
- Review system coverage: Determine whether the scanner reads only engine codes or also transmission, ABS, airbag, and body modules.
- Compare scanner features: Verify live data, freeze-frame records, readiness monitors, code definitions, and reset functions meet your needs.
Read the scanner’s specifications and your vehicle’s manual, then check the manufacturer’s compatibility database if one exists.
Some tools require software updates for newer models, while basic code readers may work only with generic powertrain faults.
Confirming these details ensures you choose useful diagnostic coverage before moving to the next step.
Connect the OBD Scanner Safely
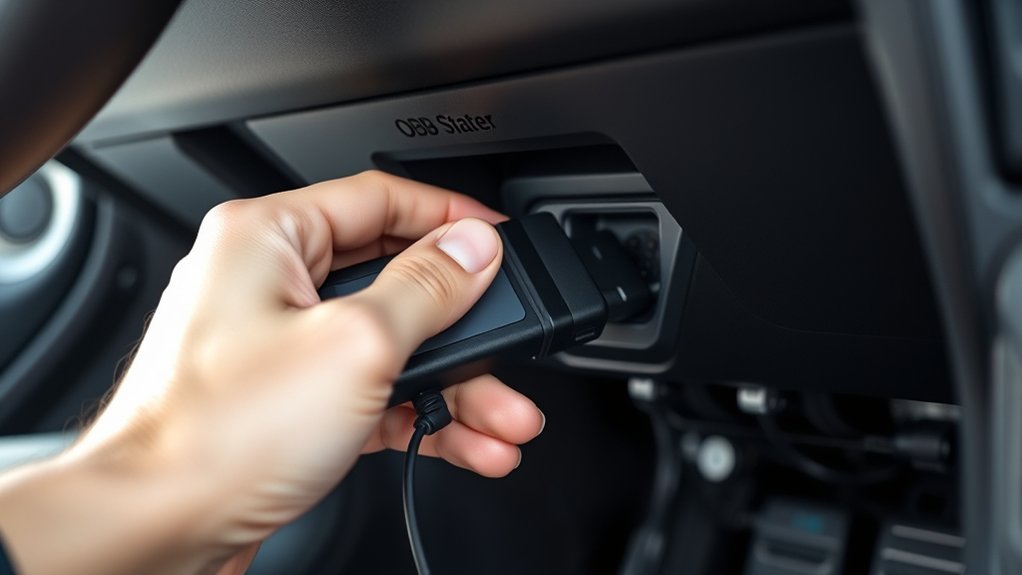
How do you connect an OBD scanner safely? Park your vehicle on a level surface and engage the parking brake before handling the device. Keep the engine off, remove keys from the ignition, and switch off electrical accessories, such as lights, radios, and climate controls. These Safety precautions help prevent accidental movement and reduce the chance of electrical problems.
Locate the OBD-II port, usually beneath the dashboard near the steering column. If you can’t find it, check your owner’s manual rather than forcing the connector into an unfamiliar socket.
Inspect the port and scanner plug for dirt, moisture, or bent pins. Wipe away debris gently with a dry cloth, then align the plug correctly with the socket.
Push it in firmly until it’s fully seated, but don’t twist, bend, or force it. Route the cable so it won’t interfere with your pedals or feet. A careful connection supports reliable Car maintenance and protects both your vehicle and scanner.
Turn On the Ignition
Insert the key and turn it to the ignition position, but don’t start the engine. This activates power to the vehicle’s systems and OBD port. You’ll know the ignition is on when the dashboard lights appear.
Insert the Key
Once you’ve connected the OBD scanner, turn the ignition to the “On” position without starting the engine. Insert the key fully, then rotate it gently until the dashboard lights appear.
Don’t press the accelerator or crank the engine. This position supplies the vehicle’s computer with power so the scanner can prepare to communicate.
- Sit comfortably where you can see the instrument cluster.
- Turn the key one click past the locked position.
- Check that warning lights illuminate across the dashboard.
- Leave the key steady while you watch the scanner’s screen.
Your vehicle may display indicators related to Battery health or Tire pressure. These alerts can provide useful context during diagnosis, but don’t assume they identify the exact fault.
Keep the key in place and avoid switching it back or starting the engine until the scanner prompts you to continue.
Activate Ignition Power
Turn the ignition to the “On” position without starting the engine so the vehicle’s control modules receive power. Keep your foot off the accelerator and don’t crank the engine. If you use a push-button system, press the button without pressing the brake or clutch.
This mode supplies electricity to the diagnostic connector, allowing your OBD scanner to communicate with the vehicle’s computers.
Before connecting, confirm that the battery has enough charge. Weak voltage can interrupt communication, so regular Battery maintenance helps prevent scan failures.
You can also use this opportunity to verify the Tire pressure later, but don’t start the engine during this step.
Leave the key or button in the On position while you plug the scanner into the OBD-II port. Handle the connector gently, and keep accessories switched off to preserve battery power.
Watch Dashboard Lights
Watch the dashboard lights as the ignition switches on. Before starting the engine, you’ll see warning icons briefly illuminate as the vehicle performs a self-check. This moment helps you understand what your OBD scanner may later investigate.
- Look for the check-engine light and note its color. Amber usually signals a stored fault, while flashing demands immediate attention.
- Confirm that oil pressure, battery, brake, and temperature lights appear briefly, then switch off.
- Watch for lights that remain illuminated; they may indicate active problems affecting engine performance or fuel efficiency.
- Compare today’s display with your normal startup pattern and remember anything unusual.
Don’t start driving until you’ve identified serious warnings. The scanner reads diagnostic trouble codes after ignition power activates, but dashboard lights provide your first visual clue.
This quick observation establishes a useful baseline for diagnosis.
Wait for the Scanner to Connect
After you plug in the OBD scanner and switch on the ignition, wait for it to establish communication with your vehicle’s computer. Keep the ignition on, but don’t start the engine unless the scanner’s instructions specifically require it. Your scanner may display “Connecting,” “Linking,” or a similar message while it identifies the vehicle’s onboard systems.
If you’re using a cable, make sure the connector sits firmly in the diagnostic port. A loose connection can interrupt communication or produce an error message.
For a wireless model, enable Bluetooth or Wi-Fi as directed, then select the scanner in your phone’s app. Wireless connectivity can take a few extra seconds, especially during the first setup.
Pay attention to any OBD scanner security prompt. Some vehicles require an access code or confirmation before allowing communication.
Don’t unplug the device while it connects. If connection fails, turn the ignition off, check the plug, and try again. Wait for a stable connection before continuing.
Read the Stored Trouble Codes
Once connected, locate the vehicle’s diagnostic port and access its stored trouble codes. The OBD scanner will scan for codes and display them on the screen. You can then interpret the codes to identify potential vehicle problems.
Locate the Diagnostic Port
To read stored trouble codes, locate your vehicle’s OBD-II diagnostic port, usually beneath the dashboard near the steering column. You may need to kneel, use a flashlight, or move a small trim panel.
Don’t confuse this socket with nearby USB or accessory connections. Before connecting anything, check your owner’s manual for the exact location and confirm vehicle compatibility with your scanner.
- Park safely, switch off the ignition, and set the parking brake.
- Look for a trapezoid-shaped, 16-pin connector under the dash.
- Check for a protective cover, loose wiring, or visible damage.
- Clear surrounding space so you can insert the scanner without forcing it.
Keep the connector dry and clean. If you can’t find it, search beneath the driver’s side dash, beside the fuse box, or near the center console.
Sensor calibration doesn’t affect port location, but it may matter during later diagnostics.
Scan Stored Trouble Codes
With the scanner plugged into the diagnostic port, turn on the ignition without starting the engine and select the code-reading option. Your scanner will communicate with the vehicle’s onboard computer and retrieve stored trouble codes.
Wait while it completes the scan, then review the results shown on its screen. If your device offers separate choices, select “stored,” “confirmed,” or “current” codes rather than pending codes.
Record each code exactly as displayed, including any letters, numbers, or status notes. You can save a screenshot or print the results for your repair records.
Don’t clear the codes yet. Doing so may erase useful information for your technician.
This step supports engine diagnostics and helps you track vehicle maintenance. After recording everything, exit the scan menu and switch off the ignition.
Interpret Code Meanings
Now that you’ve recorded the stored trouble codes, interpret each code using your scanner’s reference guide or a reliable repair database. Don’t treat a code as a final diagnosis; it identifies a system or circuit that needs inspection.
Use these steps for accurate code troubleshooting:
- Match the code’s letter and numbers with its definition, such as P0301 for a cylinder-one misfire.
- Note whether the code is generic or manufacturer-specific, because meanings and repair procedures can differ.
- Review related codes together. One sensor or wiring fault may trigger several warnings.
- Compare the code with symptoms, freeze-frame data, and vehicle history before testing parts.
Your diagnostic interpretations should guide testing, not encourage immediate replacement. Check connectors, wiring, fuses, and system operation first.
Then clear the codes only after repairs and verify that they don’t return.
Use Live Data to Narrow the Problem
Live data helps you narrow the problem by showing how your vehicle’s sensors and systems behave while the engine runs. Connect your OBD scanner, start the engine, and open its live-data menu.
Watch readings such as coolant temperature, engine speed, fuel trims, oxygen-sensor activity, manifold pressure, and throttle position. Compare each value with the manufacturer’s expected range under the same operating conditions.
Look for readings that stay fixed, respond slowly, or conflict with related values. For example, a coolant-temperature reading that remains unusually low after warm-up could point toward a measurement or wiring concern.
High fuel trims may indicate that the engine is compensating for a lean condition. Don’t judge one value alone; compare patterns across several sensors and driving conditions.
Check sensor calibration information when available because incorrect reference data can mislead you. Use data logging to capture changes during acceleration, cruising, and idling.
Then review the recorded pattern to identify where the problem appears.
Test the Suspected Sensor or System
Once the live-data pattern points to a likely cause, test the suspected sensor or system directly. Your OBD scanner may provide bidirectional controls, built-in tests, or specifications for comparing actual readings with expected values.
Use a multimeter, pressure gauge, or manufacturer-approved tester when the scanner alone can’t confirm the fault.
- Inspect connections: Check the sensor plug, wiring, grounds, and nearby components for corrosion, damage, looseness, or contamination.
- Measure output: Compare voltage, resistance, pressure, or temperature readings with service-manual specifications at different operating conditions.
- Command the system: Activate a relay, solenoid, fan, or valve through the scanner, then watch and listen for the correct response.
- Verify calibration: Perform required sensor calibration procedures and confirm that the measured signal changes smoothly and accurately.
During system diagnostics, test related circuits before condemning a part. A failed wire, fuse, ground, or connector can imitate sensor failure.
Follow safety precautions, avoid probing sensitive terminals incorrectly, and document each result so your diagnosis rests on evidence.
Clear Codes After Repairs
After you’ve repaired the confirmed fault, use the OBD scanner’s clear- or erase-codes function to remove stored diagnostic trouble codes. Turn the ignition to the position your scanner specifies, usually without starting the engine, then connect the device to the vehicle’s OBD-II port.
Select the code-clearing option and confirm your choice when prompted. The scanner sends a command through the vehicle’s diagnostic network, instructing its control module to delete saved fault information and reset the malfunction indicator light.
Before clearing anything, record the displayed codes and freeze-frame data. This information supports future troubleshooting and documents the original problem for your car maintenance records.
Record diagnostic codes and freeze-frame data before clearing them to support troubleshooting and document the original fault.
Don’t disconnect the battery as a substitute. Doing so may erase useful settings and learned values without addressing the underlying fault.
If your scanner offers separate options for stored, pending, or permanent codes, follow its instructions carefully. Use reliable diagnostic tools and clear codes only after completing the repair, not merely to hide an unresolved warning.
Verify Repairs and Fix Scanner Problems
To verify the repair, restart the engine and use your OBD scanner to check for returning, pending, or permanent codes. Then take a test drive under the conditions that originally triggered the warning light.
Monitor live data, emissions monitors, and system status before scanning again. Use this four-step check:
- Reconnect: Confirm the scanner fits securely and turn the ignition on before selecting your vehicle.
- Check power: If the tool stays blank, inspect the OBD port fuse, vehicle battery, and connector pins.
- Update: Install current scanner software, choose the correct protocol, and retry the scan.
- Investigate: Compare code definitions with symptoms; don’t replace parts based on a code alone.
If communication fails, cycle the ignition, close other diagnostic tools, and try another scanner. For recurring faults, use manufacturer service information and advanced troubleshooting procedures.
A professional technician can test wiring, sensors, and modules when basic checks don’t isolate the cause. Finally, confirm the light stays off after several trips.
Frequently Asked Questions
Can an OBD Scanner Diagnose Mechanical Problems That Trigger No Trouble Codes?
Yes, an OBD scanner can help you investigate mechanical problems that trigger no trouble codes, but it can’t diagnose everything. You can review live data, misfire counters, fuel trims, and sensor diagnostics to spot unusual readings.
However, problems such as low compression, vacuum leaks, worn timing components, or restricted exhaust may require physical tests. You should combine scanning with visual inspections, pressure tests, and emission testing for an accurate diagnosis.
How Often Should I Scan My Vehicle for Potential Issues?
You should scan your vehicle every few months, before long trips, and whenever the check-engine light appears or driving changes. In a sense, think of it as sending a telegram to your car’s computer before trouble grows.
Regular scans can reveal stored or pending codes, but don’t treat results as certainty. Consider sensor accuracy and data interpretation, because scanners report electronic clues, not every mechanical problem.
Follow your manufacturer’s maintenance schedule too.
Are Wireless OBD Scanners Safe to Leave Plugged in While Driving?
Yes, you can safely leave a wireless OBD scanner plugged in while driving, provided you use a reputable model and follow its instructions. Choose one with strong Wireless security, including encryption and password protection, to prevent unauthorized access.
Quality scanners rarely cause Data interference with vehicle systems, but unplug yours if you notice warning lights, battery drain, connectivity problems, or unusual behavior. Avoid cheap, poorly designed devices that remain active continuously.
Can an OBD Scanner Reset the Check-Engine Light Permanently?
No, an OBD scanner can’t permanently reset your check-engine light if the underlying problem remains. It’s not a magic eraser for your dashboard.
You can clear the stored code temporarily, but the light may return after your vehicle’s computer reruns its checks. Use OBD scanner accuracy wisely by verifying codes and applying proper troubleshooting techniques.
Repair the cause first, then clear the code and complete a drive cycle to confirm the fix.
What Is the Difference Between Basic, Professional, and Manufacturer-Specific OBD Scanners?
Basic OBD scanners read and clear common engine codes, giving you limited data and simple controls. Professional scanners offer broader OBD scanner compatibility, live data, graphing, advanced diagnostics, bidirectional tests, and stronger User interface features.
Manufacturer-specific scanners provide the deepest access to one brand’s systems, including body, transmission, safety, and programming functions. You’ll pay more for professional or manufacturer-specific tools, but you’ll gain capabilities that basic scanners can’t provide.
Conclusion
Using an OBD scanner isn’t quite wizardry, though your dashboard may act like it’s guarding ancient secrets. You’ll find the port, confirm compatibility, connect carefully, and turn on the ignition.
Then you’ll read codes, study live data, test the likely culprit, and clear faults only after repairing them. Finally, verify the fix instead of celebrating too soon.
If the scanner misbehaves, troubleshoot it, because even your car’s computer occasionally needs supervision. Following these steps shows how an OBD scanner works and helps you diagnose problems with confidence.