How Does a Jump Starter Work Step-by-Step
A dead car battery can ruin your plans, especially when you’re far from help. You’re not alone—many drivers struggle with knowing what to do in that stressful moment. Learning how a jump starter works can help you get back on the road with confidence.
A jump starter uses its rechargeable battery to deliver a high-current surge to your vehicle’s battery. First, charge the unit and confirm voltage compatibility.
Next, turn off both devices, connect the red clamp to positive and the black clamp to a solid metal ground. Switch on the starter, then crank the engine briefly. Once it runs, switch off the unit and remove the positive, then negative clamp.
Recharge and store it safely; the steps below cover troubleshooting and maintenance.
Key Takeaways
- Charge the jump starter fully using its approved cable and power source before attempting to start a vehicle.
- Confirm voltage compatibility, inspect for damage, and ensure the vehicle battery terminals are clean and secure.
- Connect the red clamp to the vehicle’s positive terminal and the black clamp to a solid metal ground point.
- Turn on the jump starter, start the engine briefly, and stop immediately if sparks, smoke, or excessive heat appear.
- Once the engine runs, switch off the unit and disconnect the clamps in reverse order, then recharge it.
What Is a Jump Starter?
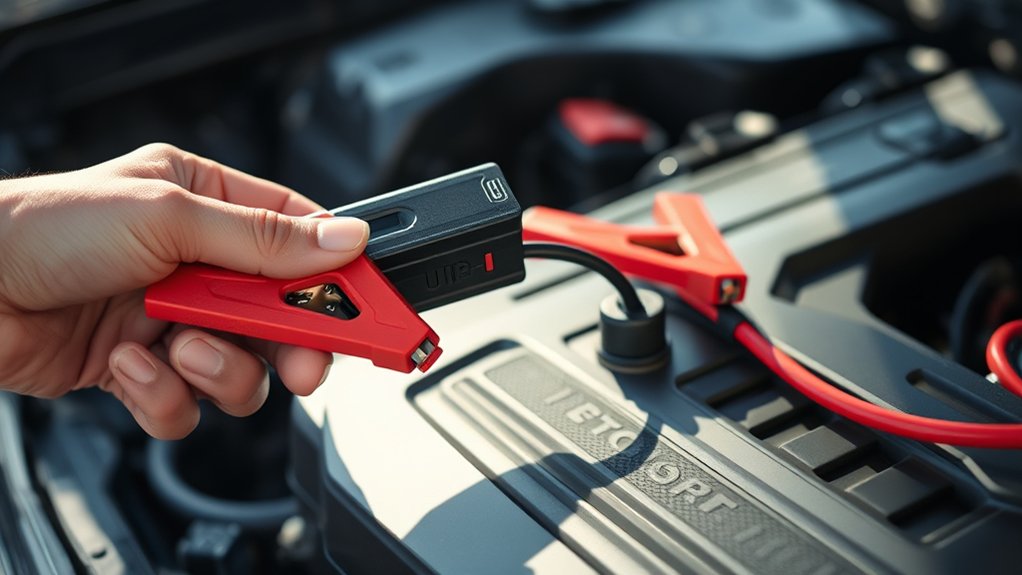
A jump starter is a portable battery device that supplies enough power to start a vehicle when its main battery is too weak. You can keep one in your car as an emergency backup, especially during cold weather, long trips, or unexpected battery failure.
Unlike traditional jumper cables, this device doesn’t require a second vehicle. You connect its clamps to your battery terminals, switch it on, and attempt to start the engine.
Jump-start your vehicle independently by connecting the device’s clamps to the battery terminals and starting the engine.
A jump starter typically includes a rechargeable battery, heavy-duty cables, clamps, status indicators, and safety protections. Its battery chemistry affects weight, lifespan, charging time, and performance.
Lithium-ion models are compact and convenient, while other designs may offer different durability or handling characteristics. Check the unit’s power capacity before buying it.
The rating should match your vehicle’s engine size and type, including gasoline or diesel. You’ll also find models with USB ports, flashlights, air compressors, or other helpful emergency features for roadside use.
How a Jump Starter Stores Starting Power
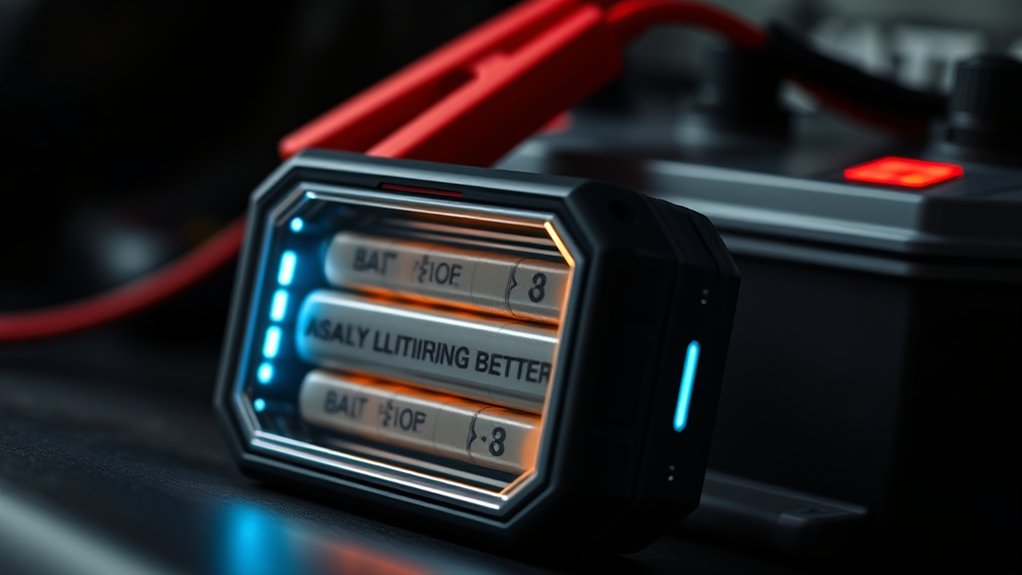
Inside a jump starter, a rechargeable battery stores chemical energy and releases it as a brief, high-current electrical surge when you start the engine. This energy storage relies on cells designed to deliver substantial current quickly, rather than provide a small amount of power over many hours.
When you connect the clamps to your vehicle’s battery terminals, the jump starter’s internal control system helps manage the flow and limits unsafe conditions.
Within the battery, chemical reactions create electrons that move through the external circuit. The positive and negative terminals provide the path for current, while cables and clamps carry it toward your vehicle’s starter motor.
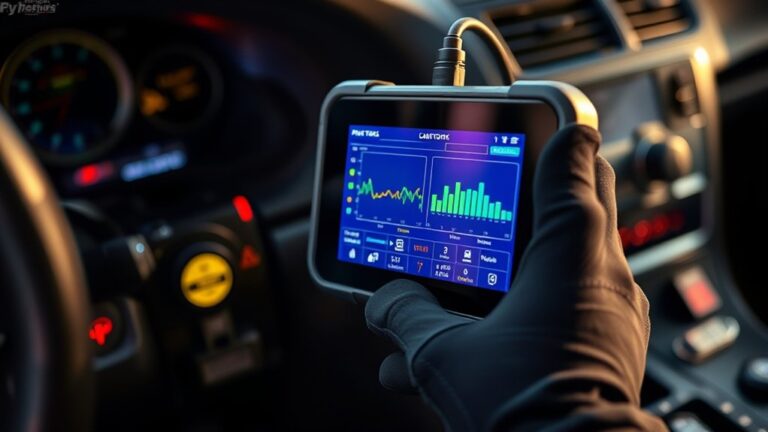
This power transfer supplies the intense burst needed to turn the engine’s crankshaft. A built-in battery-management system may monitor temperature, voltage, and current during the connection.
Compact lithium-based cells make modern units portable while preserving strong starting performance. The battery’s capacity and maximum output determine how effectively it can support different engines.
Charge Your Jump Starter Before Use
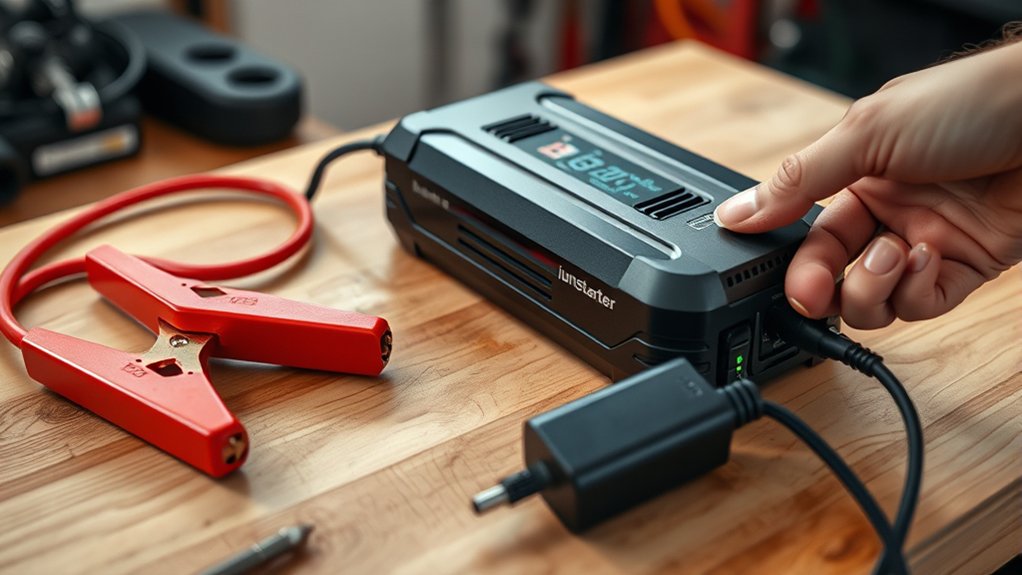
Once the jump starter has stored its energy, you’ll need to charge it before relying on it for an emergency start. Connect the included charging cable to the unit’s input port, then plug the other end into a suitable power source.
Charge the jump starter using the included cable, connecting its input port to a suitable power source.
Depending on the model, charging methods may include a wall adapter, vehicle outlet, or USB charger. Use the option recommended in the manufacturer’s instructions for the most reliable results.
Check the indicator lights or display to monitor progress. A full charge may take several hours, so plan ahead instead of waiting until your vehicle won’t start.
Battery capacity affects charging time and the number of jump starts available between charges. Larger units generally hold more energy but may need longer to recharge.
When the indicator shows full power, unplug the charger and close the port cover if provided. Store the jump starter in a dry, accessible place, and recharge it periodically to keep it ready.
Check Compatibility and Safety First
Before connecting the cables, confirm that the jump starter matches your vehicle’s battery voltage and type. Most cars use 12-volt batteries, but some equipment uses different systems, so check the owner’s manual and the starter’s specifications. Verify compatibility with your battery chemistry, such as lead-acid, AGM, or lithium-ion. Never use a device that doesn’t explicitly support your battery.
Inspect the jump starter for cracks, swelling, damaged insulation, corrosion, or loose parts. Don’t use it if the case looks compromised or the unit feels unusually hot. Check its charge indicator, and follow the manufacturer’s instructions for storage and charging cycles.
Keep the device away from water, fuel, flames, and metal objects that could create a short circuit. Turn off your vehicle’s electrical accessories, and remove jewelry or other conductive items before handling the equipment.
If your battery leaks, smells strongly of sulfur, or appears frozen, stop and seek professional assistance instead of attempting a jump start.
Connect the Jump Starter Clamps
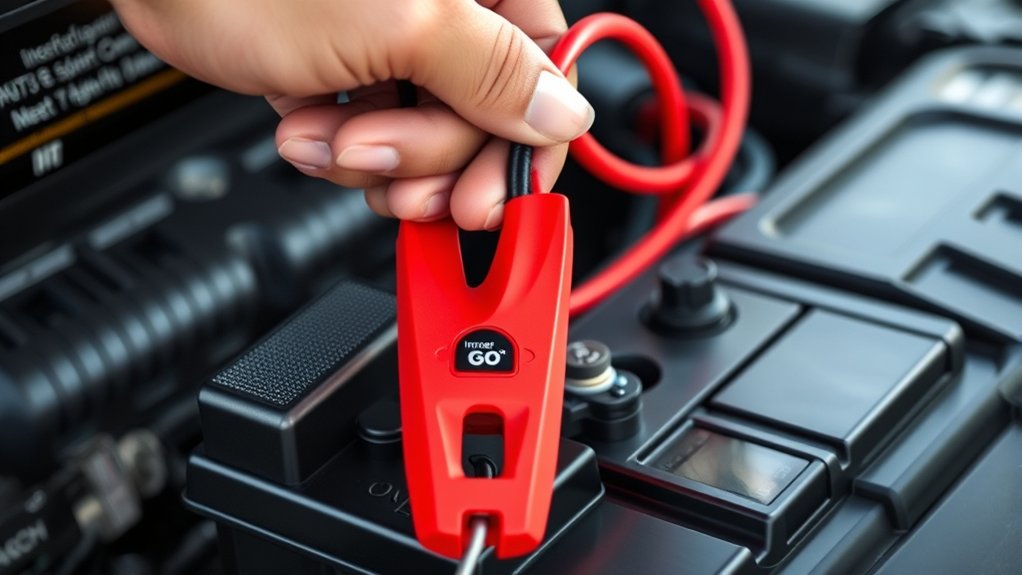
With both vehicles turned off, connect the red positive clamp to the jump starter’s positive terminal, marked “+.” Next, attach the red clamp’s other end to the dead battery’s positive (+) post. Make sure it grips clean metal securely and can’t slip.
Connect the black negative clamp to the jump starter’s negative terminal, marked “−.” Then attach the remaining black clamp to an unpainted, solid metal point on the vehicle’s engine block or chassis, away from the battery and moving parts. This setup helps keep sparks away from battery gases.
Check your clamps placement before continuing: red must touch positive, and black must connect to a suitable ground. Keep both clamps separated while handling them, and don’t let either clamp contact the opposite terminal.
Follow the jump starter’s instructions, wear eye protection, and remove jewelry or loose clothing. If a clamp or cable becomes hot, stop immediately and reassess the connections before proceeding.
Understand How Jump-Starting Works
A jump starter works by sending a brief surge of electrical current from its internal battery to the vehicle’s depleted battery. This current raises the battery’s voltage enough to help the vehicle’s electrical system recover temporarily. You’re not fully recharging the vehicle battery; you’re supplying stored energy for a short period.
Inside the jump starter, battery chemistry determines how much energy the pack can store, how quickly it can release power, and how safely it handles heavy loads. Lithium-ion models usually deliver high output in a compact design, while other battery types may be heavier but tolerate different conditions.
As current flows, the vehicle battery and electrical system draw the available power. The jump starter’s circuitry regulates output and helps prevent excessive current, reverse polarity, and short circuits. Its capacity gradually declines through repeated charging cycles, especially when you store it fully depleted or expose it to extreme temperatures.
Following the manufacturer’s care instructions helps preserve reliable performance.
Start the Engine Safely
Connect the clamps correctly, switch on the jump starter, and start the engine while keeping the pack and cables clear of moving parts. Keep your hands, clothing, and tools away from belts, fans, and pulleys.
Crank for no more than a few seconds at a time. If the engine doesn’t start, pause briefly before trying again. Stop immediately if you notice sparks, smoke, unusual sounds, or a hot cable.
| Check | Safe action | Warning sign |
|---|---|---|
| Position | Set the pack on a stable surface | Pack near moving parts |
| Starting | Crank briefly | Repeated long cranking |
| Conditions | Work in a ventilated area | Fuel fumes or smoke |
Once the engine runs smoothly, let it idle while you monitor the connections and temperature. Don’t rev the engine aggressively.
Follow the jump starter’s instructions because models vary. Battery maintenance, including clean terminals and regular charging, reduces future failures.
Add a tested jump starter to your Emergency preparedness kit, and inspect its charge periodically.
Disconnect the Jump Starter Safely
Once the engine runs steadily, switch off the jump starter and remove the clamps in reverse order: detach the negative clamp first, then the positive clamp. Keep both clamps away from metal surfaces while you disconnect them, and don’t let them touch each other.
Hold each clamp by its insulated handle to protect your hands from sparks or heat. After removing the positive clamp, move the jump starter away from the vehicle and inspect the cables for damage.
If the engine stalls, don’t reconnect the clamps while the unit remains powered. Switch it off and reassess the connections.
Check that the battery terminals look secure and free from loose debris, supporting regular Battery maintenance. Wipe away moisture or corrosion only when the system is fully disconnected.
Following this sequence reduces short-circuit risks and strengthens your Emergency preparedness. If you notice swelling, leaks, smoke, or unusual heat, stop immediately and seek professional assistance.
Recharge and Store Your Jump Starter
After using your jump starter, check the battery level to see if it needs recharging. If it does, use the proper charger. Then store the jump starter in a cool, dry place where it’s protected from damage.
Check Battery Level
How do you know your jump starter is ready for the next emergency? Check its battery level before storing it and periodically during storage.
Press the power or status button, then read the display or inspect the LEDs. Charging indicators usually show a full, partial, or critically low charge, so don’t rely on guesswork.
A full reading gives you the best chance of starting a vehicle when you need help. If the level drops, recharge the unit before returning it to storage.
Checking regularly supports battery health by preventing deep discharge and revealing unusual power loss early. Look for warning lights, error messages, swelling, cracks, or heat.
Don’t use a damaged jump starter. Replace it or have it professionally assessed. Keep the unit in a cool, dry place, away from direct sunlight.
Use Proper Charger
Use the charger supplied with your jump starter, or choose a manufacturer-approved replacement with the correct voltage and connector.
Using mismatched charging accessories can damage the unit, reduce capacity, or create a safety hazard.
Before charging, turn off the jump starter and inspect its ports, cable, and plug for damage.
Connect the charger firmly, then plug it into the appropriate power source.
Follow the manual’s charging time and indicator instructions. Don’t guess when the battery is full.
Unplug the charger when charging finishes, unless the manufacturer specifically permits maintenance charging.
Don’t use a fast charger, phone adapter, or improvised cable unless the manual approves it.
Proper battery maintenance keeps the internal battery reliable and extends its service life.
Recharge the unit after each jump or whenever its level drops considerably.
Store Safely and Dryly
Once you’ve recharged the jump starter, store it in a cool, dry place away from direct sunlight, moisture, and extreme temperatures. Keep it in its protective case, if provided, to prevent dust, scratches, and accidental contact with metal objects.
Before storage, disconnect all cables, close protective covers, and check that the battery indicator shows a sufficient charge. Don’t leave the unit in your vehicle during freezing winters or hot summers, because extreme conditions can reduce battery life and performance.
Inspect the jump starter every few months, recharge it as needed, and replace damaged cables immediately. Include it among your Camping essentials and Emergency preparedness supplies, but keep it accessible during an emergency.
Store it where children and pets can’t reach it, and never place heavy items on top.
Troubleshoot a Car That Won’t Start
If your car won’t start, begin by checking the battery connections. Make sure they’re tight and look for any corrosion or damage.
Next, test the starter components to determine whether the starter—or another part—is causing the problem. This can help you decide whether you need a jump-start or professional service.
Check Battery Connections
Before blaming the battery, check that its connections are clean, tight, and secure. Turn off the ignition, remove the keys, and open the hood. Look for loose cable ends, cracked terminals, frayed wires, or white, blue, or green residue.
Battery corrosion can block electrical flow and prevent your car from starting.
Wear gloves and eye protection before cleaning. Disconnect the negative cable first, then the positive cable.
Use a battery-terminal brush to remove buildup, and wipe the surfaces dry. Don’t scrape aggressively or let metal tools touch both terminals.
Reattach the positive cable first, followed by the negative cable. Tighten each clamp until it won’t twist by hand, but don’t overtighten it.
Check connection stability by gently tugging each cable. If a terminal remains damaged or loose, arrange professional service before using a jump starter.
Test Starter Components
Test the starter components if the battery connections are clean but the engine still won’t crank. Ask someone to turn the key while you listen.
A single click may indicate a faulty solenoid, while rapid clicking often points to low battery voltage. No sound could mean a damaged ignition switch, relay, or wiring.
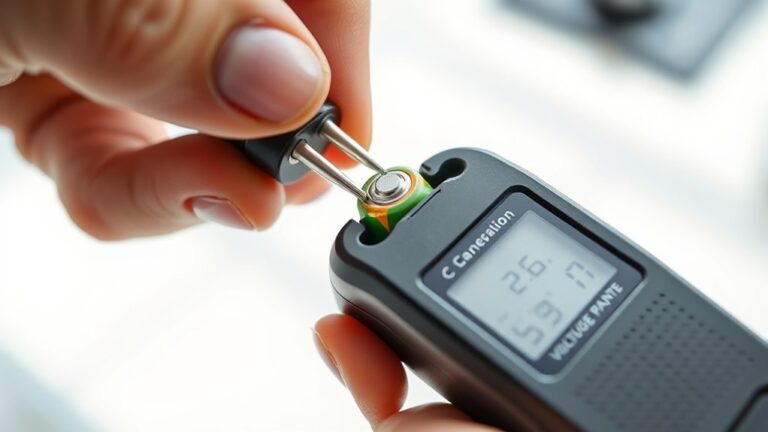
Use a multimeter to measure battery voltage; about 12.6 volts indicates a fully charged battery. Check voltage at the starter while cranking, and inspect the ground cable for excessive resistance.
Compare your jump starter’s power ratings with your vehicle’s requirements, and confirm compatibility with different battery types, including AGM, flooded lead-acid, or lithium batteries.
Don’t bypass safety controls or touch exposed terminals. If voltage reaches the starter but it won’t turn, have a technician test or replace it.
Frequently Asked Questions
Can a Jump Starter Damage a Vehicle’s Computer System?
Yes, a jump starter can damage your vehicle’s computer system, but you’ll usually avoid problems with proper use. Confirm Vehicle compatibility, including voltage, polarity, and battery type, before connecting it.
Follow the manufacturer’s instructions and observe essential Safety precautions: switch off both vehicles, attach clamps correctly, and never reverse polarity.
Don’t use a damaged or incorrectly rated device. If warning lights appear afterward, have a qualified technician inspect your vehicle promptly.
How Long Does a Jump Starter Typically Last Before Needing Replacement?
A jump starter typically lasts three to five years, though heavy use, heat, and poor storage can shorten its life. Think of it as a small storm cloud: each charge gradually spends its energy.
Your Battery lifespan depends on chemistry, capacity, and maintenance. Watch for Replacement indicators, including reduced cranking power, rapid self-discharge, swelling, damaged cables, or failure to hold a charge.
Replace it immediately if you notice overheating, leakage, or unusual odors.
Can Jump Starters Be Used on Motorcycles, Boats, or Lawnmowers?
Yes, you can use jump starters on motorcycles, boats, and lawnmowers if the unit matches the battery’s voltage and provides suitable current.
For motorcycle compatibility, choose a compact model with protected clamps and avoid reversing polarity. For a boat battery connection, use corrosion-resistant clamps and keep connections dry.
You can also start most lawnmowers with a 12-volt jump starter, but check the manufacturer’s instructions first. Never force incompatible terminals or connectors.
Are Lithium-Ion Jump Starters Safe to Carry on Airplanes?
Usually, you can’t pack a lithium-ion jump starter in checked baggage, and airlines may restrict or prohibit it in carry-on luggage.
Aviation regulations generally limit spare lithium batteries to 100 watt-hours; larger units require airline approval or aren’t permitted. Notably, a typical car jump starter can exceed that limit.
For Lithium safety, check its watt-hour rating, protect terminals, carry it in your cabin, and confirm your airline’s current policy before flying.
What Warranty Coverage Is Commonly Offered for Jump Starters?
You’ll commonly find jump starter warranties lasting one to three years, covering defects in materials and workmanship. Coverage may exclude damage from misuse, incorrect charging, water, drops, or normal battery degradation.
Check whether the manufacturer replaces the entire unit or only its internal battery. Review terms for battery capacity retention, charging cycles, and registration requirements.
Keep your receipt, follow charging instructions, and contact support promptly if the starter fails during the warranty period.
Conclusion
Using a jump starter is straightforward when you follow each step: charge it, check compatibility, connect the clamps correctly, start your engine, and disconnect everything safely. If your car still won’t start, check the battery, cables, fuel, and warning lights before seeking help.
Store the jump starter charged and ready for emergencies. Remember, an ounce of prevention is worth a pound of cure: regular maintenance can save you time, money, and stress when you need dependable transportation. A properly maintained jump starter can also help you handle unexpected battery problems with confidence.