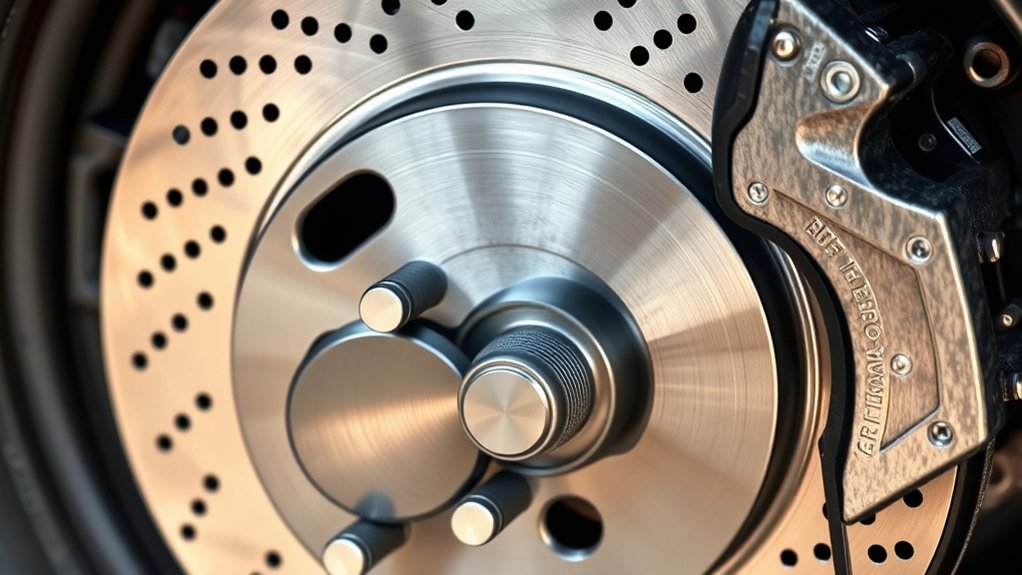
How Does a Brake Rotor Work Step-by-Step
Choosing the right brake rotor can be frustrating, especially when you’re dealing with vibration, noise, or overheating. You’re not alone—many drivers struggle to understand how rotors work and which features matter most. This guide breaks down the process to help you make a confident choice.
When you press the brake pedal, the master cylinder sends hydraulic pressure through the brake lines. That pressure pushes the caliper pistons, causing the brake pads to clamp the spinning rotor.
Friction between the pads and rotor converts your vehicle’s motion into heat, slowing the rotor, hub, and wheel. Vented rotors and internal vanes help release heat and prevent overheating.
If your rotors develop grooves, cracks, or vibrations, inspection is needed. The sections below explain maintenance and warning signs.
Key Takeaways
- Pressing the brake pedal activates the master cylinder, creating hydraulic pressure that travels through the brake lines.
- Hydraulic pressure pushes caliper pistons, forcing the brake pads against both sides of the rotating rotor.
- Friction between the pads and rotor converts the wheel’s kinetic energy into heat, slowing the vehicle.
- The rotor transfers braking torque through the hub to the wheel, reducing tire rotation against the road.
- Vented rotors, vanes, and surface area dissipate heat, while proper maintenance prevents vibration, uneven wear, and reduced braking performance.
What Is a Brake Rotor?
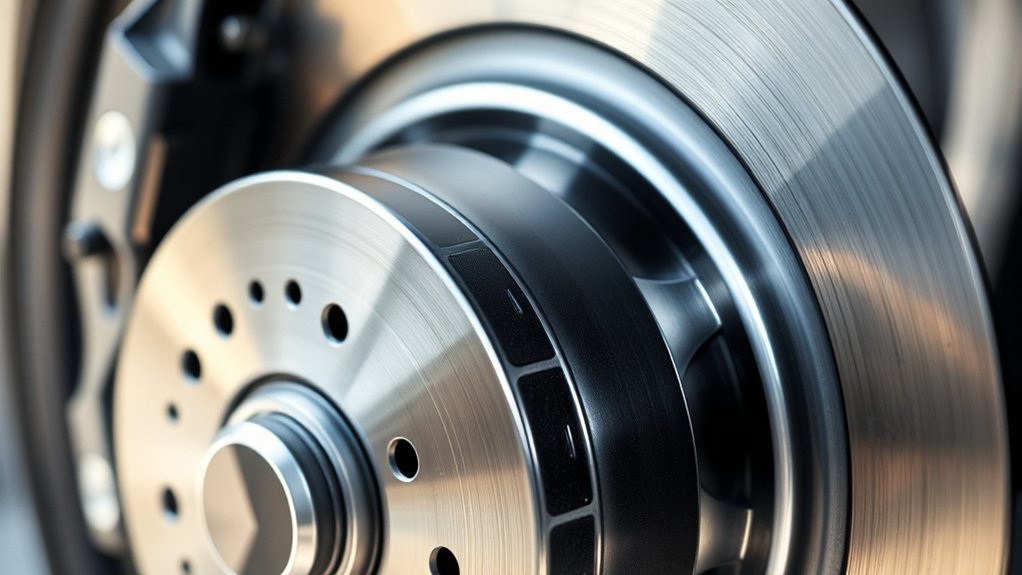
A brake rotor is the flat, circular disc that spins with your vehicle’s wheel. You’ll usually find it behind the wheel, attached to the hub, where it forms a key part of your vehicle’s braking hardware. When you inspect one, you’ll see a smooth metal disc, although some rotors include slots, drilled holes, or raised surfaces.
Manufacturers choose brake material, commonly cast iron or carbon ceramic, according to the vehicle’s weight, performance needs, and heat demands. Cast-iron rotors suit most cars because they’re durable and affordable.
Carbon-ceramic versions weigh less and tolerate extreme temperatures, but they cost considerably more.
Rotor design also varies by application. Solid rotors work well on lighter vehicles and rear axles, while vented rotors use internal channels to improve heat management.
You can also encounter one-piece or two-piece construction, depending on the vehicle’s priorities. Overall, the rotor provides a precisely engineered rotating surface within your wheel assembly.
How Rotors Work With Pads and Calipers
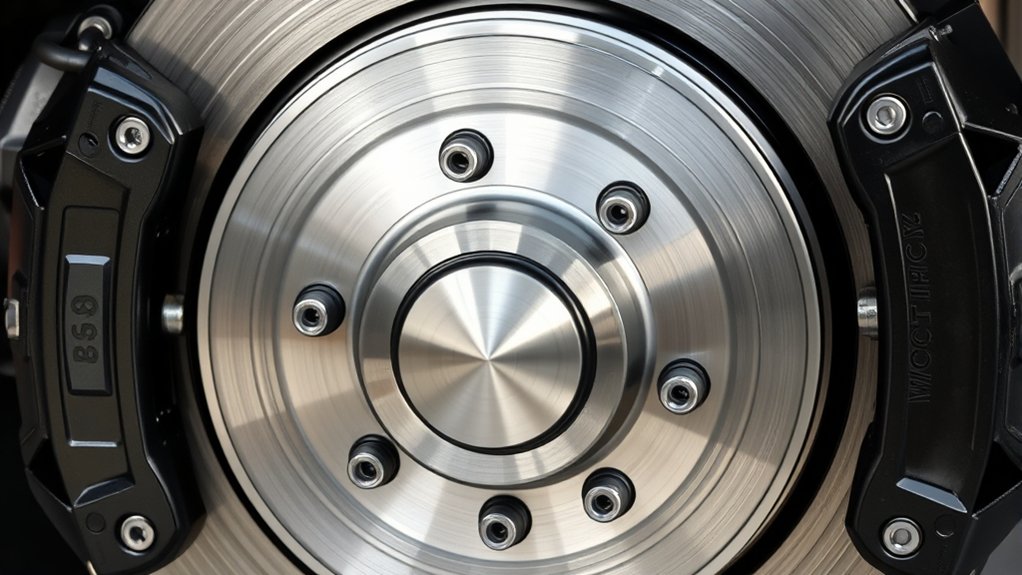
When you press the brake pedal, the caliper squeezes the pads against the spinning rotor. The friction between them slows the wheel and turns motion into heat.
Next, let’s look at how caliper pressure controls this contact to provide smooth, effective braking.
Pad And Rotor Contact
Brake pads clamp the rotor when you press the brake pedal, creating friction that turns your vehicle’s motion into heat. As the rotor spins between the pads, their surfaces meet evenly across the contact area. This friction slows the rotor and transfers braking force to the wheel, helping you control speed.
Brake pad materials affect how this contact feels and performs. Ceramic pads usually run quietly and produce less visible dust, while semi-metallic pads can deliver strong stopping power and handle higher temperatures. Organic compounds often provide smooth engagement but may wear faster.
Your rotor surface finish also matters. A clean, smooth, properly machined surface lets the pads seat consistently. Grooves, rust, glazing, or uneven wear can reduce contact, create noise, and cause vibration. You’ll get better braking when both surfaces remain clean, flat, and within their service limits.
Caliper Pressure Mechanics
Hydraulic pressure pushes the caliper pistons outward when you press the brake pedal, forcing the pads against both sides of the spinning rotor. Brake fluid carries force from the master cylinder through the brake lines, creating even pressure at each piston.
Your caliper design determines how efficiently that pressure becomes clamping force. A floating caliper typically uses pistons on one side and slides across guide pins, pulling the outer pad into contact.
A fixed caliper uses opposing pistons to squeeze the rotor more directly. As the pads clamp the rotor, friction converts your vehicle’s kinetic energy into heat and slows the wheel.
Releasing the pedal reduces hydraulic pressure, allowing seals and hardware to retract the pistons slightly. This clearance prevents constant drag while keeping the pads ready for your next stop.
Step 1: Press the Brake Pedal
When you press the brake pedal, you activate the braking system. The master cylinder converts the force from your foot into hydraulic pressure, which then travels through the brake lines to the calipers.
Hydraulic Pressure Begins
As you press the brake pedal, the pedal arm pushes a rod into the master cylinder. Inside, the rod moves a piston forward, reducing the available space in the cylinder.
This movement creates hydraulic pressure by compressing the brake fluid rather than squeezing the fluid itself. Because brake fluid doesn’t compress easily, pressure builds almost immediately throughout the sealed hydraulic circuit.
The master cylinder’s reservoir supplies enough fluid to maintain consistent pressure as the piston travels. Your pedal effort controls how far and how forcefully the piston moves, so a gentle press creates less pressure while a firm press creates more.
At this stage, the pressure has only begun forming at the master cylinder. The next step follows as that pressure moves outward through the brake lines.
Brake System Activates
Pressing the brake pedal starts the braking sequence by moving the pedal arm and pushrod toward the master cylinder.
As you apply force, the pedal’s mechanical advantage amplifies your effort, preparing the hydraulic system to send pressure through the brake lines.
That pressure ultimately drives the caliper pistons, but your pedal movement initiates every step. Your driving conditions and vehicle design affect how quickly the system responds.
- Feel the engagement: You’ll notice pedal resistance as fluid pressure begins building.
- Start piston movement: The pushrod helps the master-cylinder piston seal and pressurize brake fluid.
- Prepare the rotor: Calipers move pads toward the spinning rotor.
- Control heat: Brake material and rotor design influence friction, noise, and heat management.
A firm, consistent pedal usually signals proper operation.
If it feels soft, sinks, or vibrates unusually, you should have the braking system inspected before driving further.
Step 2: Build Hydraulic Brake Pressure
The master cylinder converts your brake pedal force into hydraulic pressure. When you press the pedal, its pushrod moves a piston inside the master cylinder.
That piston forces brake fluid through the connected brake lines, creating pressure throughout the sealed hydraulic system. A reservoir supplies fluid as needed, while seals prevent leaks and maintain consistent pressure.
The piston pressurizes brake fluid, while the reservoir supplies fluid and seals maintain reliable hydraulic pressure without leaks.
Because brake fluid transfers force efficiently, your pedal movement becomes controlled pressure at each wheel. The master cylinder’s bore size and piston travel influence pedal feel, pressure, and the effort required to slow down.
Air can compress, so trapped air makes the pedal feel soft and reduces pressure transfer. Bleeding the brakes removes it.
Brake pad materials and rotor manufacturing processes don’t create this hydraulic pressure, but they affect how the system ultimately uses it.
At this stage, pressure simply travels through the lines toward each caliper or wheel cylinder, preparing the braking hardware for the next step without yet describing rotor contact.
Step 3: Clamp the Rotor With Brake Pads
When hydraulic pressure pushes the caliper pistons, the brake pads clamp both sides of the rotor. As the pads press against the spinning rotor, they create friction that slows it down and helps bring your vehicle to a stop.
Brake Pad Contact
Hydraulic pressure pushes the caliper pistons outward, forcing the brake pads against both sides of the spinning rotor. You’ll see the pads move inward until their friction surfaces sit evenly against the rotor faces.
This contact depends on accurate alignment, proper clearance, and smooth caliper movement. Your vehicle’s brake pad materials, such as ceramic, semi-metallic, or organic compounds, affect how the pads fit and handle heat.
Rotor design also shapes contact quality through its thickness, ventilation, and surface layout.
- Pad faces: Meet the rotor squarely across their working areas.
- Caliper brackets: Keep each pad positioned beside the rotor.
- Piston seals: Allow controlled piston travel and release.
- Rotor surfaces: Provide matching, clean contact zones.
You’ll need even contact to support consistent operation. Worn hardware can cause uneven pad placement, vibration, or premature wear.
Friction Slows Rotation
As the pads clamp the spinning rotor, friction converts its motion into heat and slows the wheel. You’ll feel this process as your vehicle decelerates because the pads press against both rotor faces and resist rotation.
The resulting friction transforms kinetic energy into heat, which the rotor and pads must manage safely. Material composition affects performance: cast iron rotors provide durability and heat capacity, while pad materials influence grip, noise, and wear.
Rotor design also controls how efficiently the rotor sheds heat. Vents, slots, drilled surfaces, and directional vanes can improve airflow and help prevent overheating.
As temperatures rise, the rotor expands slightly, but proper engineering maintains consistent contact. When you release the brake pedal, hydraulic pressure drops, the pads retract, and the rotor spins freely again, minimizing drag and unnecessary wear.
Step 4: Create Friction and Heat
The caliper squeezes the brake pads against the rotor’s spinning surface, creating friction that converts your vehicle’s kinetic energy into heat. As you press the pedal, pressure increases contact between these components.
You won’t see the energy transfer, but you’ll notice its effects through controlled deceleration and rising brake temperatures.
Several factors shape this process:
- Brake material: Pad compounds balance friction, durability, noise, and heat tolerance.
- Rotor design: Vented channels, drilled holes, or slots can help manage heat and clear gases.
- Surface contact: Even contact distributes friction across the rotor, supporting predictable braking.
- Heat control: The rotor releases heat into surrounding air, preventing excessive temperature buildup.
During repeated or hard stops, temperatures can climb quickly. If the system overheats, friction may fade, increasing stopping difficulty.
You can protect performance by using properly matched components and allowing brakes to cool between demanding stops. This heat-producing interaction is central to every controlled slowdown.
Step 5: Transfer Stopping Force to the Wheel
Once friction slows the rotor, the hub transfers that stopping force directly to the wheel, reducing its rotation and helping your vehicle decelerate. Because the rotor mounts securely to the hub, it turns at the same speed as your wheel.
When the brake pads clamp the rotor, their friction resists this shared rotation. That resistance travels through the rotor and hub into the wheel, creating the torque that slows your tire against the road.
You’ll feel this process as smooth deceleration when each component stays aligned and tight. The Brake material affects how consistently the pads grip, while Rotor design influences how evenly the rotor carries force around its circumference.
Your caliper keeps pressure balanced on both sides, preventing uneven contact and helping both wheel faces slow together. If the rotor, hub, or wheel has excessive play, braking can feel unstable, pull your vehicle, or produce vibration.
Proper installation preserves the direct connection that turns pad pressure into controlled stopping.
How Brake Rotors Control Heat
Brake rotors control heat by absorbing friction energy and spreading it across their metal surfaces as they turn. When you press the brake pedal, pad friction converts motion into heat.
The rotor then transfers that heat into surrounding air, helping maintain consistent braking performance.
- Vented channels: Many rotors use internal vanes that draw air through the disc as it spins, improving heat dissipation.
- Surface area: A broad friction surface distributes energy instead of concentrating it in one small area.
- Material choice: Cast iron handles repeated heating and cooling while providing predictable friction.
- Thermal control: Engineers design rotor thickness, vanes, and airflow to manage thermal expansion.
As you drive, the rotor’s temperature rises during braking and falls when airflow removes energy. Proper wheel movement supports cooling, while repeated hard stops can overwhelm that process.
You’ll get more stable braking when the rotor sheds heat efficiently and stays within its intended operating range. This balance protects nearby components and helps your braking system respond consistently during everyday driving, hills, and traffic.
Worn Rotor Symptoms and Safety Risks
Efficient heat control keeps braking consistent, but worn rotors can no longer manage friction and temperature reliably. You may feel steering-wheel vibration, pedal pulsation, scraping, or longer stopping distances when the rotor surface becomes uneven.
Deep grooves, blue discoloration, cracks, and a pronounced outer lip provide visible warnings. Repeated overheating can also create hard spots that cause inconsistent friction.
Your brake rotor materials and the manufacturing process influence durability, but every rotor eventually wears. Excessive thickness loss reduces heat capacity and can push the rotor beyond its safe operating limit.
Cracks or severe warping may cause braking instability, especially during emergency stops, wet conditions, or downhill driving. Ignoring these symptoms can damage pads, increase stopping distance, and reduce your control of the vehicle.
Treat sudden vibration, grinding, or pulling as a safety concern. Stop driving if you notice a crack, severe noise, or major loss of braking response, and arrange a professional inspection promptly.
How to Maintain Your Brake Rotors
Regular maintenance helps your rotors last longer and perform consistently. You can protect braking performance by checking components regularly and responding quickly to changes.
- Inspect surfaces: Look for deep grooves, blue discoloration, cracks, or uneven wear during tire service. Replace damaged rotors promptly.
- Clean carefully: Remove rust and road grime from rotor faces with brake cleaner and a lint-free cloth. Don’t apply oil or grease.
- Monitor sounds and feel: Brake noise, vibrations, pulling, or pulsation can signal uneven wear or stuck calipers. Have a qualified technician diagnose these symptoms.
- Prevent corrosion: Rotor corrosion develops faster when moisture, salt, and dirt remain on metal surfaces. Wash your vehicle after winter driving, then dry the brakes with several gentle stops.
If you store the car, choose a dry area and follow the manufacturer’s maintenance schedule. You should also replace brake pads as needed and keep calipers moving freely.
Always use the correct rotor specifications, torque wheel fasteners properly, and test braking performance in a safe area after service. Never ignore warning signs, since timely repairs help you stop safely.
Frequently Asked Questions
How Long Do Brake Rotors Typically Last?
Brake rotors typically last 30,000 to 70,000 miles, but your driving habits, vehicle weight, road conditions, and brake material affect their lifespan. You’ll extend rotor life with smooth stops and regular inspections.
Watch for vibration, grooves, noise, or reduced braking performance. A technician should measure rotor thickness against the manufacturer’s minimum specification.
Replace rotors when they’re warped, cracked, severely corroded, or worn below that limit, even if mileage seems low.
Are Drilled or Slotted Rotors Better for Everyday Driving?
For everyday driving, neither drilled nor slotted rotors is automatically better; quality blank rotors usually provide the best value, quiet operation, and durability. In drilled vs. slotted comparisons, slotted designs can improve bite and shed debris, while drilled rotors offer cooling but may crack under severe use.
Consider aesthetics versus performance: choose drilled or slotted rotors mainly for appearance unless you tow, drive aggressively, or regularly descend steep roads.
Can Brake Rotors Be Resurfaced Instead of Replaced?
Yes, you can often resurface brake rotors instead of replacing them, giving your braking system a fresh start. A mechanic removes a thin layer to smooth grooves, rust, or uneven wear.
You’ll receive the best Rotor resurfacing benefits when the rotor remains thick enough and lacks cracks, severe warping, or heat damage. Brake rotor materials matter, too; cast iron commonly tolerates resurfacing, while specialized or excessively worn rotors may require replacement for safety.
How Much Does Brake Rotor Replacement Usually Cost?
You’ll usually pay $300–$700 to replace brake rotors on one axle, including labor, though luxury vehicles, performance parts, and dealerships can raise the price.
Your total depends on rotor material options, vehicle size, and whether you replace brake pads simultaneously. Ask your mechanic to confirm brake pad compatibility, because mismatched pads can reduce braking performance and wear rotors quickly.
Resurfacing may cost less, but replacement makes sense when rotors are warped, cracked, or too thin.
Do Front and Rear Brake Rotors Differ in Design?
Yes, front and rear brake rotors often differ in size, thickness, ventilation, and overall design. Your front rotors usually handle more braking force, so they’re commonly larger and vented for better heat control.
Rear rotors may be smaller, solid, or paired with a parking-brake mechanism. Caliper design also influences rotor shape and thickness.
Rotor materials generally remain similar, though manufacturers may use specialized coatings or alloys to improve durability, corrosion resistance, and performance.
Conclusion
Understanding how a brake rotor works helps you recognize why every braking component matters. When you press the pedal, hydraulic pressure pushes the pads against the spinning rotor, converting motion into heat and slowing your vehicle safely.
For example, if your steering wheel shakes during braking, a warped or uneven rotor could be responsible. Don’t ignore that warning. Inspect your brakes, replace worn parts, and maintain clean, properly lubricated components so you’ll stop confidently when it matters most. Knowing how a brake rotor works can help you maintain safer, more reliable brakes.