How Does an OBD Reader Work?
Seeing a warning light on your dashboard can be stressful, especially when you’re unsure what it means or how serious the problem is. You’re not alone—many drivers struggle to choose the right tool for diagnosing vehicle issues. An OBD reader can help you understand what’s happening before visiting a mechanic.
How Does an OBD Reader Work?
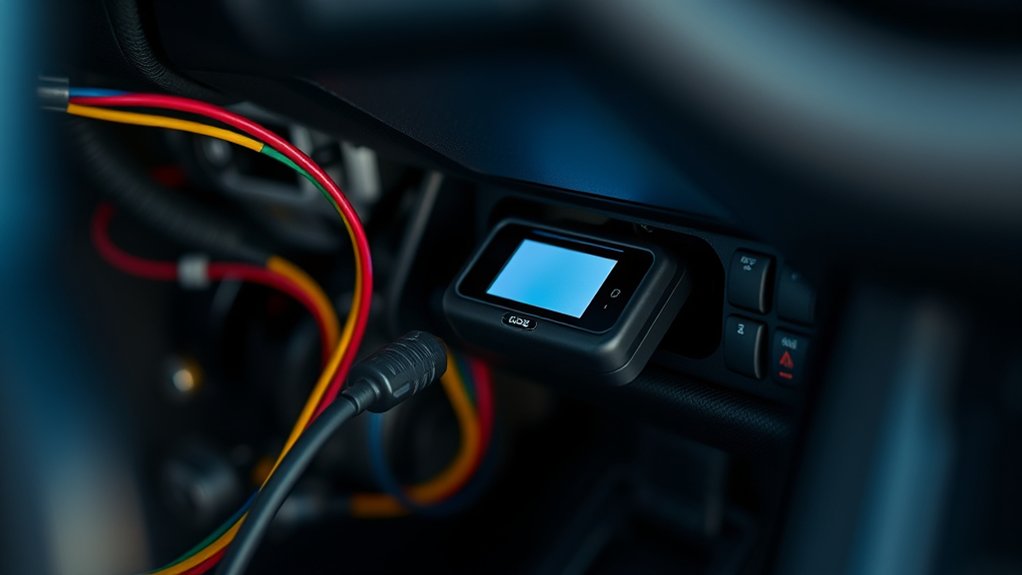
An OBD reader works by plugging into your vehicle’s diagnostic port, usually beneath the driver’s dashboard. After you turn on the ignition, it communicates with control modules using protocols such as CAN, ISO 9141, or KWP2000.
The reader retrieves trouble codes, system status, and live sensor data, then displays them in understandable formats. These results point you toward possible faults but don’t confirm failed parts.
You’ll also uncover safe usage tips, connection fixes, and important diagnostic limitations.
Key Takeaways
- An OBD reader plugs into the vehicle’s OBD-II port, usually located beneath the driver’s dashboard.
- It communicates with electronic control modules using protocols such as CAN, ISO 9141, or KWP2000.
- The reader requests stored diagnostic trouble codes and receives information identifying detected engine, transmission, emissions, or other system issues.
- Advanced readers display live sensor data, system readiness, and vehicle operating conditions in real time.
- Codes guide troubleshooting but do not confirm failed parts. Physical inspection and further testing may be necessary.
What Is an OBD Reader?
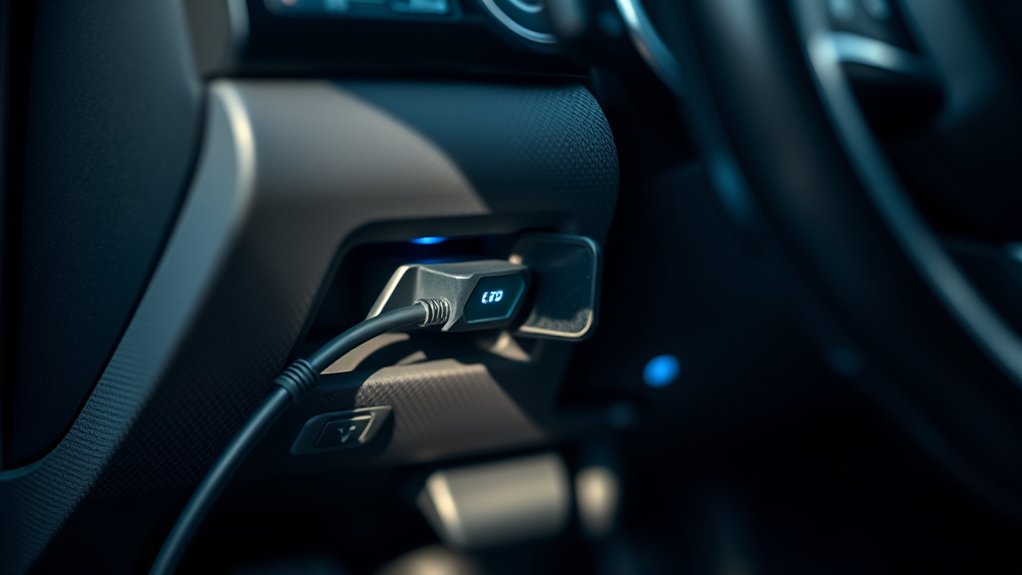
An OBD reader is a diagnostic tool that connects to your vehicle’s onboard diagnostics system. It retrieves information from electronic control modules and translates stored data into codes or readable descriptions. You can use it to identify issues affecting emissions, engine performance, transmission operation, and other monitored systems.
An OBD reader retrieves diagnostic information and translates vehicle system data into understandable codes or descriptions.
When a warning light appears, the reader scans for diagnostic trouble codes, displays their meanings, and may show supporting data, such as sensor readings or system status. Some advanced models let you clear codes, view live parameters, run readiness checks, or perform basic tests.
However, clearing a code won’t repair the underlying problem, so you should investigate its cause.
Before buying one, check vehicle compatibility because readers don’t support every model, protocol, or manufacturer-specific function. You should also consider your needs, from a simple code reader to a professional scanner with expanded coverage.
Understanding OBD history helps you recognize how modern diagnostics evolved from basic emissions monitoring into broader vehicle health reporting.
Where Does an OBD Reader Plug In?
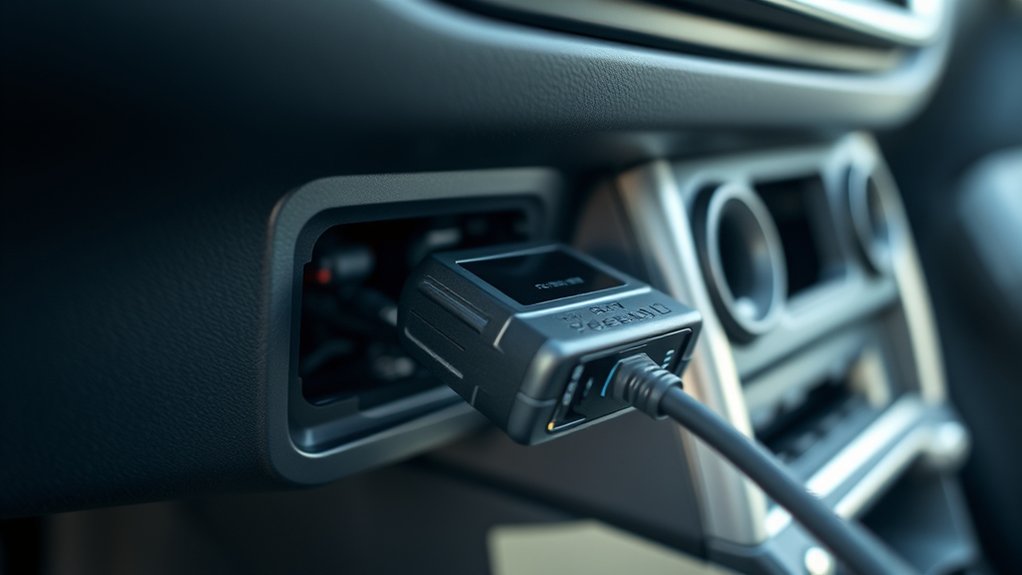
Your OBD reader plugs into the vehicle’s OBD-II port, usually located beneath the dashboard on the driver’s side near the steering column. Look for a small, trapezoid-shaped socket, often positioned below the steering wheel, near the fuse box, or beside the center console.
Your vehicle’s owner’s manual can show the exact location if you don’t see it immediately.
Before connecting the reader, park safely, switch off the ignition, and make sure the connector matches the port. Push the plug in firmly without forcing it.
Most vehicles built in the United States from 1996 onward include this standardized port, though its placement varies by model and year.
Once you’ve found the port, you can use the reader for vehicle maintenance, checking warning-light information, or preparing for emission testing.
Keep the port accessible, and replace its protective cover, if equipped, after unplugging the device.
How OBD Readers Communicate With Your Car
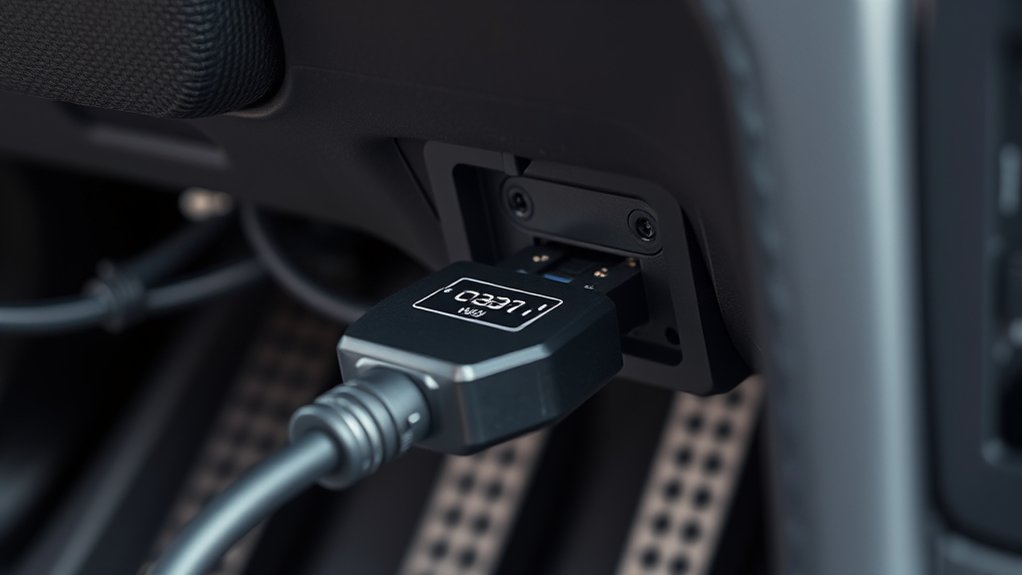
Once connected, an OBD reader communicates with your car’s onboard computer through the OBD-II port. It sends requests using standardized communication protocols, such as CAN, ISO 9141, or KWP2000. Your vehicle’s electronic control modules receive those requests, interpret them, and return digital data through the same connection.
An OBD reader exchanges digital requests and responses with your vehicle’s control modules through standardized communication protocols.
The reader and car fundamentally follow a question-and-answer exchange. You select a function on the reader or its app, and the device translates your command into signals your vehicle understands. It then converts the incoming electronic messages into readable information on its screen.
This communication doesn’t depend on Vehicle aesthetics. The reader works with the car’s electronic architecture. However, Engine modification can affect communication if aftermarket components alter wiring, controllers, or software.
Some modifications may also require specialized equipment or manufacturer-specific protocols. As long as your vehicle supports OBD-II and the connection remains secure, the reader can establish communication without changing how your car operates.
It only exchanges information with your vehicle’s existing systems.
What an OBD Reader Does During a Scan
During a scan, you connect the OBD reader to your vehicle through the diagnostic port. The reader checks the vehicle’s systems and retrieves diagnostic trouble codes that may indicate potential problems. You can also view live sensor data to see how your vehicle is operating in real time.
Connects to Vehicle Systems
When you plug an OBD reader into your vehicle’s diagnostic port, it establishes communication with the onboard computer and related control modules. The reader uses standardized communication protocols to identify which systems respond, such as the engine, transmission, airbags, or antilock brakes.
It sends requests through the data link and receives information those modules share, creating a live connection without taking control of vehicle functions. Depending on your vehicle and reader, you may access sensor readings, system status, and readiness information.
This connection supports routine vehicle maintenance by helping you check how major systems communicate and operate. It also assists with emissions testing because the reader can verify whether required monitors have completed their self-checks.
You’ll need the correct adapter and ignition position for reliable communication.
Retrieves Diagnostic Trouble Codes
After establishing communication, an OBD reader requests diagnostic trouble codes (DTCs) stored by the vehicle’s control modules. Each code identifies a detected fault, such as an ignition misfire, emissions problem, or communication failure.
Your reader retrieves the codes and may show whether they’re pending, confirmed, or permanent. It can also display the module that reported each fault, helping you narrow your inspection.
You should record every code before clearing anything, because erasing them removes useful troubleshooting information and resets readiness monitors.
Use the code descriptions as starting points, not final diagnoses. One issue can trigger several related codes.
By combining the results with your vehicle’s service information, you can choose appropriate diagnostic tools and plan vehicle maintenance more effectively.
This process helps you address underlying problems instead of guessing or replacing parts unnecessarily.
Displays Live Sensor Data
An OBD reader displays live sensor data by showing how key systems operate in real time. When you connect it, you can monitor readings from sensors throughout your vehicle, including engine temperature, oxygen levels, throttle position, fuel pressure, and airflow.
These values help you see what your car’s computer detects while you drive or let the engine idle. You can compare current readings with expected ranges to spot unusual behavior before it triggers a warning light.
For example, unstable oxygen-sensor data may point to a fuel or emissions issue, while abnormal coolant temperatures could signal a cooling-system problem.
This information supports smarter Vehicle maintenance and gives you a clearer view of Engine performance. Because readings change continuously, you can watch how the vehicle responds to acceleration, load, and temperature changes during testing.
How OBD Readers Find Trouble Codes
Your OBD reader scans the vehicle’s control modules for stored fault information. It retrieves diagnostic trouble codes that point to detected problems. From there, you can interpret the codes to understand where to start troubleshooting.
Scanning Vehicle Modules
When you plug in an OBD reader, it communicates with the vehicle’s onboard computers to request diagnostic information. It scans the powertrain control module first, then may contact other modules, such as those managing airbags, brakes, or transmission systems.
Your reader’s coverage depends on its design and the vehicle’s communication network.
| Module | Monitors | Why it matters |
|---|---|---|
| Engine | Fuel and ignition | Supports vehicle maintenance |
| Transmission | Shifting and pressure | Reveals drivability concerns |
| ABS | Wheel-speed signals | Supports braking safety |
The reader sends standardized requests, while each module checks its sensors and operating conditions.
This network-wide scan helps you identify which systems need attention, supports emission testing, and guides efficient inspections.
It doesn’t repair faults. It simply establishes communication with available controllers before you review any stored diagnostic information.
Retrieving Diagnostic Codes
After the reader establishes communication with each available module, it requests any stored diagnostic trouble codes (DTCs). The module searches its memory and returns codes triggered when sensor readings or system conditions exceed programmed limits.
Your reader may also retrieve pending codes, which record faults that haven’t occurred enough times to turn on the warning light. It can usually access permanent codes that remain until the vehicle confirms a repair.
- The reader sends a standardized request through the diagnostic connector.
- Each module checks its records and transmits matching code numbers.
- The scanner saves or displays the returned codes for later review.
These codes can point toward systems affecting engine calibration, emissions, drivability, or fuel efficiency. Retrieval only collects the vehicle’s recorded fault identifiers; it doesn’t explain their causes or verify failed parts.
You’ll need the next diagnostic step to understand the accompanying data.
Interpreting Code Data
Once the reader retrieves a trouble code, it translates the code into a standardized description and may show related system information. You’ll typically see a letter identifying the system, followed by numbers that narrow the fault’s location or type.
For example, a P0301 code points to an engine misfire in cylinder one. Don’t treat this description as a final diagnosis.
The code identifies a detected condition, not necessarily the failed part. You’ll need to compare the result with symptoms, freeze-frame data, and manufacturer service information.
Some readers display probable causes, live sensor readings, and repair suggestions, helping you plan vehicle maintenance.
During car diagnostics, you can clear the code after repairs, but it may return if the underlying problem remains. Record the code before clearing it so you can track results.
What OBD Trouble Codes Mean
OBD trouble codes are standardized messages that tell you which vehicle system detected a problem and how serious it may be. Your reader displays a letter and numbers that narrow the issue to a system, circuit, or component.
OBD trouble codes identify the affected vehicle system and help narrow problems to specific circuits or components.
- P codes: Powertrain faults involve the engine, transmission, or emissions equipment.
- B codes: Body faults affect features such as airbags, locks, and climate controls.
- C and U codes: Chassis faults involve braking or steering, while network faults involve communication between modules.
The first character identifies the system, the second shows whether the code follows a standard or manufacturer-specific format, and the remaining digits describe the fault.
A stored code doesn’t prove that a part has failed; it points you toward testing. Treat a flashing check-engine light as urgent because continued driving can damage the catalytic converter.
Even a steady light deserves attention, since unresolved faults can reduce Fuel efficiency and prevent your vehicle from meeting emission standards. Record the code before clearing it, and consult reliable service information for diagnosis.
How to Read Live OBD Data
To read live OBD data, connect your OBD reader to the vehicle’s diagnostic port. Once it’s connected, select the live data function to view real-time information from the vehicle’s sensors. You can then monitor and interpret readings such as engine speed, coolant temperature, and oxygen-sensor voltage.
Connect The OBD Reader
Start by plugging the OBD reader into your vehicle’s diagnostic port, usually located beneath the dashboard near the steering column. Push the connector firmly into place, but don’t force it.
Turn the ignition key to the “on” position without starting the engine. If your vehicle uses a push-button ignition, press it without touching the brake pedal.
- Check that the reader powers on and displays its startup screen.
- Wait while it establishes communication with the vehicle’s computer.
- Confirm that the connection remains secure before handling the device.
Some readers require a phone app or Bluetooth pairing, so follow the manufacturer’s setup instructions. Keep the vehicle stationary during connection.
A stable link lets the reader communicate with automotive sensors and support accurate engine diagnostics. Don’t unplug it while the ignition remains on.
Select Live Data
| Display option | Best use |
|---|---|
| Numeric list | Quick checks |
| Graph view | Spotting changes |
| Custom list | Focused diagnosis |
Use the refresh, pause, or record controls to capture information during a test drive. Save the session if your tool supports it, so you can review patterns later or share results with a technician.
Live data supports engine tuning and emission testing by showing vehicle operation in real time. Don’t change settings or disconnect the reader while recording.
Next, interpret each sensor reading carefully.
Interpret Sensor Readings
Interpret live OBD data by comparing each sensor’s reading with its normal operating range and with related values. Watch how values change during startup, idling, acceleration, and cruising; a single number rarely tells the whole story.
Use these steps:
- Check coolant temperature, oxygen-sensor voltage, fuel trims, and engine speed for believable patterns.
- Compare short-term and long-term fuel trims. Consistently high positive trims may suggest a vacuum leak, weak fuel delivery, or unmetered air.
- Look for readings that lag, freeze, or conflict with other sensors. A cold engine should show a lower coolant temperature than a fully warmed engine.
Remember that Sensor calibration affects accuracy, while Data encryption protects communication but doesn’t validate measurements.
Confirm suspicious results with service specifications, stored codes, and physical tests before replacing parts. A brief road test can reveal faults that idle data hides.
How to Use an OBD Reader Safely
Before connecting an OBD reader, park safely, switch off the engine, and engage the parking brake. Find your vehicle’s diagnostic port, usually beneath the dashboard, and plug in the reader without forcing the connector.
Check the device and cable for damage before use. If you notice exposed wires, loose pins, or unusual heat, disconnect it and replace the equipment.
Perform compatibility checks before scanning. Confirm that the reader supports your vehicle’s model year, communication protocols, and operating system.
Follow the manufacturer’s instructions, and turn the ignition on only when prompted. Keep the cable away from pedals, steering components, and hot surfaces while you work.
Use maintenance tips to protect both the tool and the vehicle. Clean the connector gently, store the reader in a dry place, and update its software through a trusted source.
Don’t start driving while the reader remains connected unless the manufacturer specifically permits it. When finished, turn off the ignition, remove the reader carefully, and secure the port cover.
What an OBD Reader Can’t Diagnose
Although an OBD reader can identify stored fault codes and monitor some electronic systems, it can’t diagnose every mechanical or electrical problem. It reports data, but you must interpret that information alongside symptoms, inspections, and testing.
An OBD reader provides useful data, but accurate diagnosis also requires symptoms, inspections, and hands-on testing.
- Mechanical failures: A scanner may detect misfire symptoms, but it can’t confirm worn piston rings, a damaged valve, a clogged injector, low compression, or a failing timing component. You’ll need hands-on checks and specialized tools.
- Intermittent faults: Loose grounds, damaged wiring, vacuum leaks, and failing connections might not trigger a code consistently. Careful testing can reveal problems the reader misses.
- Hidden system issues: Basic readers often lack access to manufacturer-specific codes, live-data details, module tests, and service procedures. These advanced diagnostic limitations can prevent accurate diagnosis of transmission, airbag, body, or driver-assistance faults.
Don’t treat a code as proof that one part has failed. Use it as a starting point, then verify the suspected cause before replacing components.
Why Won’t an OBD Reader Connect?
When an OBD reader won’t connect, the cause is often a simple power, cable, ignition, or compatibility problem rather than a serious vehicle fault.
First, locate the OBD-II port, usually beneath the dashboard, and push the connector in firmly. Check whether the reader’s lights turn on. If they don’t, inspect the vehicle’s diagnostic fuse and try another reader if available.
Turn the ignition to the “on” position without starting the engine. Many scanners can’t communicate with the computer when the key is off.
Confirm that your device supports your vehicle’s model year and protocol. Damaged wiring, corrosion, or aftermarket accessories, such as alarms and remote starters, can also interrupt communication.
Remove those accessories temporarily only if you can do so safely. Your vehicle aesthetics won’t affect connectivity, but a hidden or relocated port might make access difficult.
Finally, update the scanner’s software, then retry the connection after switching the ignition off and on.
Frequently Asked Questions
How Much Does an OBD Reader Cost?
You’ll typically pay $20–$60 for a basic OBD reader, while advanced models with live data, ABS or airbag access, and wireless connectivity cost $100–$500 or more.
Before buying, check vehicle compatibility for your car’s make, model, and year. You should also consider diagnostic accuracy, update support, display quality, and ease of use.
A budget scanner handles common engine codes, but professional tools provide deeper system coverage and better testing.
Can I Use an OBD Reader on Multiple Vehicles?
Yes, you can use one OBD reader on multiple vehicles, provided each supports its connector and protocols. For vehicle compatibility, most cars sold in the United States since 1996 use standardized OBD-II ports, while many European vehicles followed by 2001.
Check your reader’s supported makes and models first. Then plug it into each vehicle, turn on the ignition, and start data transfer. You’ll save money by sharing one scanner across your household’s cars.
Do OBD Readers Work With Diesel and Hybrid Vehicles?
Yes, many OBD readers work with diesel and hybrid vehicles, but compatibility depends on the vehicle’s model, year, region, and connector. You’ll get basic Engine diagnostics when the reader supports the required OBD-II protocols.
For deeper hybrid-system or diesel-specific information, choose a scanner designed for those systems. Check the manufacturer’s list of Compatible vehicles before buying, because a basic reader may not access battery, inverter, glow-plug, or emissions data.
Can an OBD Reader Reset the Check Engine Light?
Yes, you can reset the check engine light with many OBD readers, like wiping away a warning note—but don’t stop there.
First, read and record the trouble codes, then address the underlying problem. Clearing codes only turns off the light temporarily; it doesn’t repair your vehicle.
Your reader can support engine diagnostics, while proper repairs help you pass emissions testing. If the light returns, consult a qualified technician promptly.
How Often Should I Scan My Vehicle With an OBD Reader?
You should scan your vehicle with an OBD reader whenever the check-engine light appears, after repairs, or before buying a used car. For routine Maintenance tips, scan every few months or before long trips, especially if your vehicle is older.
Don’t rely on scans alone; watch for unusual noises, smells, or performance changes. Regular scanning improves Diagnostic accuracy, helps catch emerging problems, and lets you address issues before they become expensive repairs.
Conclusion
An OBD reader gives you a direct look at your car’s onboard computer. When you plug it in, it communicates with the vehicle, retrieves trouble codes, and displays live data like a mechanic’s digital window.
Use it safely, and remember that codes point to problems rather than confirm diagnoses. Check the connections if the scanner won’t communicate.
With the right interpretation, your OBD reader can help you understand issues sooner and make smarter repair decisions. That’s how an OBD reader works.