How Does an Oil Drain Pump Work Step-by-Step
Changing engine oil can be messy, awkward, and time-consuming, especially when you’re working without a lift. You’re not alone—many people struggle with spills, tight spaces, and unreliable drainage methods. The best oil drain pumps make the job cleaner and easier, and understanding how an oil drain pump works can help you choose the right one.
To use an oil drain pump, warm the engine briefly, then switch it off and let it cool slightly. Park level, engage the brake, and place a stable container below the outlet.
Insert the correctly sized tube through the dipstick opening until it reaches the sump. Secure it, start the pump, and let suction pull oil through the hose.
Watch for leaks or weak flow. When drainage stops, shut it down, clean it, and recycle the oil properly.
Further steps explain safe setup and troubleshooting.
Key Takeaways
- Warm the engine briefly, switch it off, and park the vehicle safely on a level surface.
- Insert the suction tube through the dipstick opening until it reaches the sump’s lowest point.
- Connect the tube to the pump and secure the collection container beneath the discharge hose.
- Start the pump, creating suction that pulls used oil through the tube and pushes it into the container.
- Monitor flow for leaks or blockages, then stop the pump, clean its components, and recycle the used oil.
How an Oil Drain Pump Works
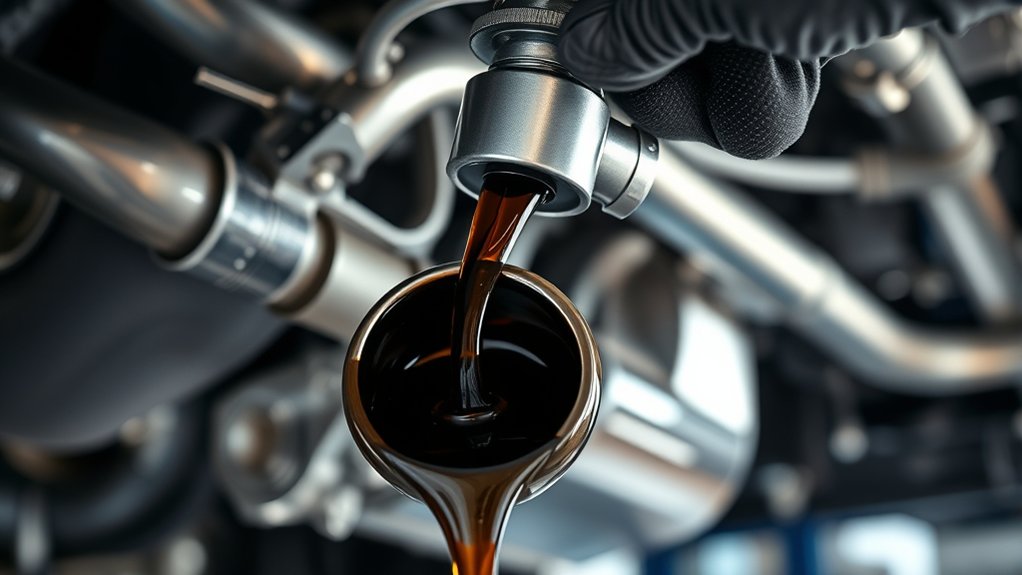
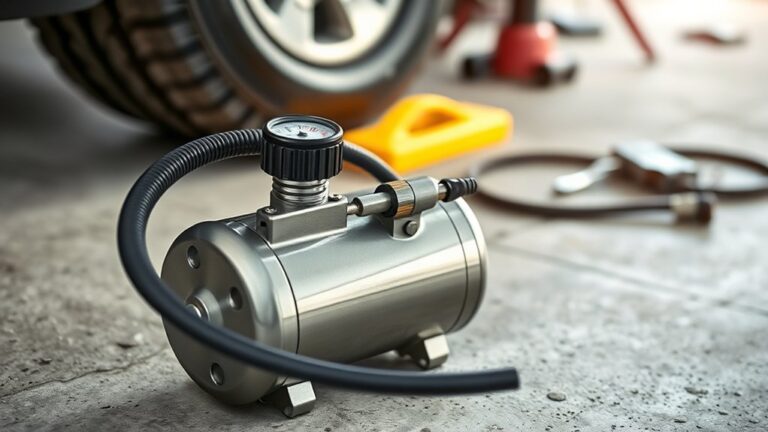
When you activate an oil drain pump, its motor drives an impeller, diaphragm, or gear that creates suction inside the intake line. You connect this line to the engine’s drain opening, allowing the pump to pull used oil from the sump.
As negative pressure develops, oil travels through the hose and enters the pump chamber. The moving mechanism then pushes the fluid through the discharge hose into a suitable container.
Before pumping, you typically remove the oil fill cap to help air enter the engine and support steady flow. You may access the sump through the drain plug opening or use a suction tube through the dipstick port, depending on your vehicle and procedure.
As oil leaves, monitor the container to prevent overflow. Once the flow slows, stop the pump and inspect the old oil filter area for leaks or residual oil. You’ll then clean connections and prepare for servicing.
Choose the Right Oil Drain Pump
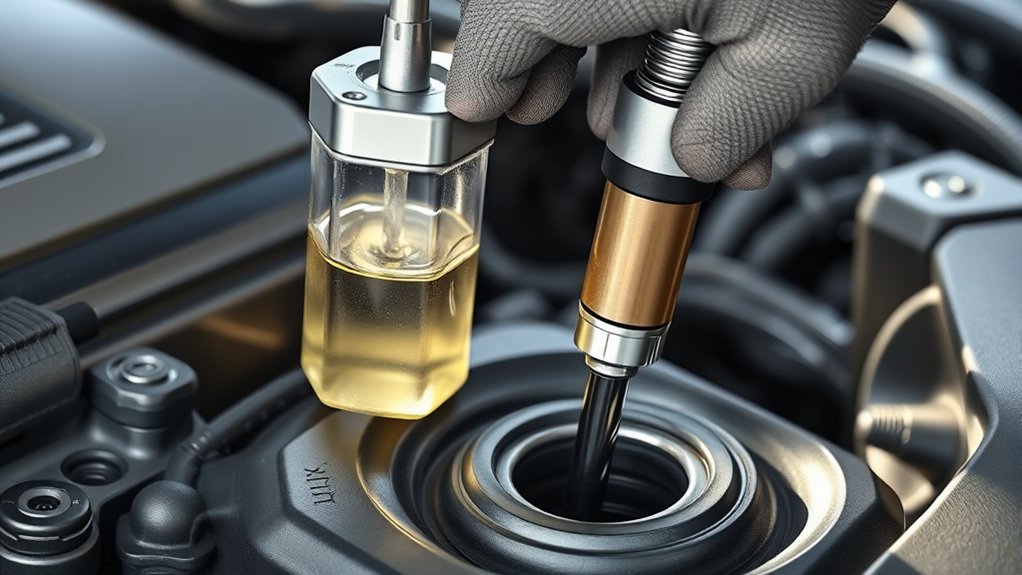
Choose an oil drain pump that fits your vehicle’s oil capacity and how often you plan to use it. Manual pumps are simple and don’t require a power source, while electric models drain oil faster with less effort. Before you decide, consider whether you have access to power, how much storage space you have, and how much maintenance you’re willing to handle.
Pump Capacity Needs
Pump capacity determines how efficiently an oil drain pump handles each job. Before you choose one, estimate the oil volume your vehicle or equipment holds. A pump with too little capacity forces you to stop and empty its container, slowing the process.
An oversized model may take up unnecessary storage space, so match capacity to your typical workload.
Use these checks:
- Check your engine’s oil capacity in the owner’s manual.
- Choose a reservoir that exceeds that volume slightly.
- Confirm the pump’s flow rate supports quick, controlled draining.
Consider hose length and container design, too, because awkward positioning can reduce efficiency. Keep the Oil filter removal area accessible while draining, and include Pump maintenance in your routine.
Inspect seals, clear blockages, and clean the reservoir after each use to preserve dependable capacity.
Manual Versus Electric
Once you’ve matched the reservoir and flow rate to your workload, compare how the pump operates. A manual pump suits occasional jobs and locations without power.
You control suction with a handle, but thick Oil viscosity may demand more effort and time. An electric model drains faster with consistent power, making it practical for frequent service or large equipment.
However, it costs more and needs reliable electricity.
| Feature | Manual | Electric |
|---|---|---|
| Best use | Occasional jobs | Frequent servicing |
| Main trade-off | Slower, labor-intensive | Faster, higher cost |
Consider Pump maintenance before choosing. Manual units usually need simple seal checks and cleaning.
Electric pumps require cord, motor, and switch inspections. If portability, low cost, and basic repairs matter most, choose manual.
If speed and reduced effort matter more, choose electric. Always follow the manufacturer’s operating and safety instructions.
Gather the Oil Pump and Safety Gear
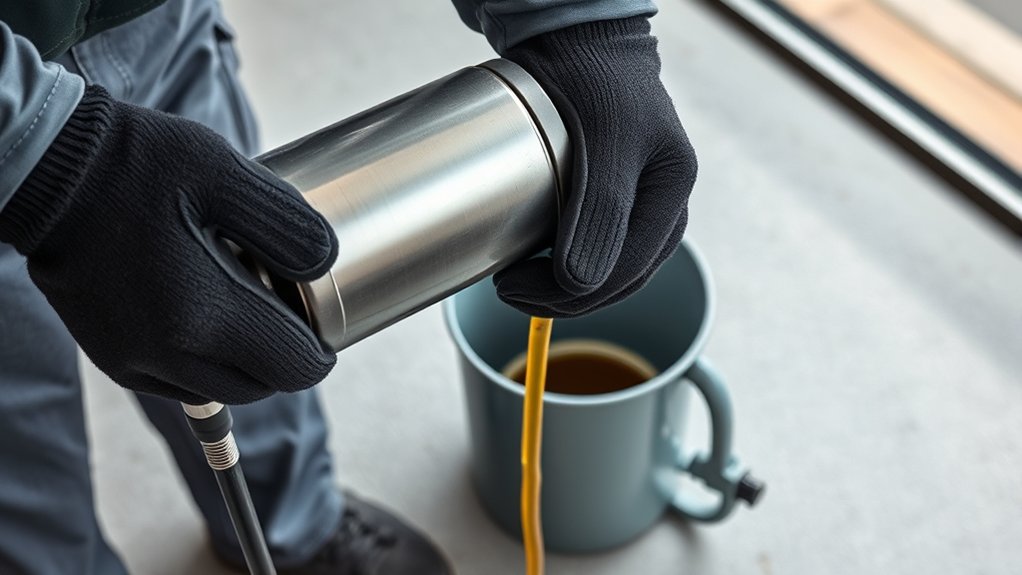
Before starting, gather a suitable oil drain pump, a collection container, chemical-resistant gloves, and safety glasses. Choose a pump rated for your vehicle’s oil capacity and confirm that its hose fits the access tube or sump opening.
Place the container nearby on a stable, level surface, leaving enough room to connect the hose without sharp bends.
Position the collection container on a stable, level surface with sufficient space for a smooth, unrestricted hose connection.
Check your equipment before you begin:
- Inspect the pump, hose, seals, and connections for cracks, leaks, or loose parts.
- Verify the container can hold all drained oil and has a secure lid.
- Keep absorbent pads, shop towels, and a disposal funnel within reach.
Put on your gloves and safety glasses before handling the pump or engine components.
Locate the Oil filter and Drain plug so you know where they are, but don’t remove either yet.
Keep the work area clear, prevent children or pets from approaching, and read the pump manufacturer’s instructions for correct setup and operation.
Warm the Oil Safely
Before draining, make sure the engine is warm, but not hot. Run it briefly to loosen the oil, then turn it off and let it cool for a few minutes. This helps prevent burns while you use the oil drain pump.
Check Engine Temperature
How warm should the engine be before you use an oil drain pump? Aim for a comfortably warm engine, not a hot one. Moderate heat lowers oil viscosity, helping the pump remove used oil more completely. Check your vehicle’s temperature gauge and follow the pump manufacturer’s safety guidance before connecting any hose.
Use these checks:
- Confirm the engine temperature sits in its normal operating range, or slightly below it.
- Keep your hands, clothing, and tubing away from hot surfaces and moving components.
- Wear gloves and eye protection, and place the vehicle on a stable, level surface.
Don’t rely on touch to judge engine temperature. If the gauge shows overheating, stop and let the engine cool fully before proceeding. A controlled temperature protects you, prevents equipment damage, and supports smooth oil flow through the pump.
Run Engine Briefly
Run the engine for just a few minutes to warm the oil without bringing the engine to full operating temperature. Warm oil flows more easily, helping your oil drain pump remove residue from the pan and filter housing.
Before starting, park on a level surface, engage the parking brake, and keep children, pets, and loose clothing away from moving parts. Follow your vehicle manufacturer’s guidance for safe warming time, and don’t leave the vehicle unattended.
After switching the engine off, wait briefly so components can settle while keeping your gloves and tools ready. Collect the used oil in a sealed container, then take it to an approved center for Oil recycling.
Wipe the pump’s exterior and inspect its hose after use to support reliable Pump maintenance.
Avoid Excessive Heat
Warm the oil only until it flows easily; excessive heat can cause burns, damage nearby components, and increase fumes. After running the engine briefly, switch it off and wait a few minutes. The oil should feel warm, not dangerously hot. Check your vehicle’s manual for guidance, because oil viscosity changes with temperature and affects draining speed.
Use these safeguards before connecting the pump:
- Park on a level surface and secure the vehicle.
- Wear heat-resistant gloves and keep your face away from the filler opening.
- Keep flames, sparks, and plastic parts away from the warm oil.
Insert the suction tube carefully, then start the pump. If smoke, strong fumes, or unusual heat appears, stop immediately and let everything cool. Inspect hoses and seals afterward as part of routine Pump maintenance.
Park Safely and Place the Container
Park on a level surface, engage the parking brake, and switch off the engine before setting up the oil drain pump. Let the vehicle cool enough to handle safely, but don’t work beneath a dangerously hot chassis.
Stabilize the vehicle, shut off the engine, and allow it to cool to a safe handling temperature before setup.
Keep children, pets, and ignition sources away from your workspace. Wear gloves and safety glasses to protect your skin and eyes from splashes.
Choose a sturdy, wide container that can hold more oil than your engine contains. Check it for cracks, leaks, and chemical incompatibility before use.
Position the container directly beneath the vehicle’s oil-drain area, leaving enough room to work without standing in spilled oil. Place absorbent pads or cardboard underneath to catch drips and protect the driveway.
Plan for responsible disposal after collection. Seal the used oil in a clean, labeled container, and take it to an approved collection site.
Proper oil recycling reduces environmental impact, prevents contamination, and keeps hazardous waste out of household drains, soil, and waterways.
Insert the Pump Tube Correctly
Choose the correct tube for your pump and oil pan. Carefully guide it into the sump until it reaches the lowest point. Then secure the tube so it stays in place while you pump.
Choose the Correct Tube
With the engine off and the vehicle on level ground, select a tube that fits snugly into the dipstick opening and reaches the bottom of the oil pan. Choose a tube designed for your pump and oil type rather than relying on appearance alone.
A tube that’s too wide may not fit, while one that’s too narrow may bend, crack, or drain slowly. Check the manufacturer’s specifications for compatible materials, length, and temperature resistance.
Consider these points:
- Match the tube’s diameter to the pump inlet and dipstick opening.
- Confirm its material withstands hot oil and your oil viscosity.
- Inspect it for splits, hardened sections, or blockages before use.
Keep the tube clean and dry to support reliable Pump maintenance. Replace it if damage, stiffness, or contamination could restrict suction or affect the pump’s performance.
Guide Tube Into Sump
Once the engine has cooled to a safe temperature, guide the tube through the dipstick opening until it reaches the bottom of the sump. Push it slowly and gently, keeping it as straight as possible to prevent kinks or resistance.
Don’t force the tube if it stops. Withdraw it slightly, rotate it, and try again. You should feel it pass through the opening and settle near the sump’s lowest point, where it can collect the most used oil.
Check that the tube’s end remains inside the dipstick channel rather than catching on an internal ledge. A correctly inserted tube supports efficient draining and reduces leftover oil.
This step also helps Oil filtration by removing contaminated lubricant before refilling. Careful handling supports Pump maintenance and protects the tube from damage.
Secure Tube Position
After guiding the tube into the sump, hold it steady so it stays near the lowest point. Keep the tip away from the pan’s bottom, where sludge could block suction, and don’t let it press against internal parts.
Secure the tube at the filler opening with its clip or a clean clamp. A stable position helps the pump remove used oil evenly and protects your lubrication system from contamination.
- Check that the tube reaches the sump without bending sharply.
- Keep the tube opening submerged throughout draining.
- Stop and reposition it if suction weakens or air enters.
Before pumping, confirm the engine is warm but safely switched off. Inspect the tube for cracks, then place a container beneath the outlet.
Don’t confuse the drain tube with a hose connected to the oil filter or another component. Once secured, start the pump slowly and monitor flow.
Start the Pump and Remove the Oil
Start the oil drain pump by switching it on and opening the suction valve, then let the pump draw oil from the engine or reservoir into the collection container. Keep the discharge hose firmly positioned inside the container so it won’t shift during removal.
Allow the pump to operate at its recommended speed, and don’t force the motor if the oil moves slowly. Oil viscosity affects pumping time, especially when the lubricant is cold, so warm the engine according to the manufacturer’s instructions before draining, if appropriate.
Keep the container stable and large enough to hold the expected volume, and shut the pump off before it becomes full. Close the suction valve, then disconnect the equipment carefully to prevent spills.
Wipe residual oil from fittings and place used oil in an approved recycling container. Follow Pump maintenance guidance after each use, including cleaning hoses, checking seals, and storing the pump in a dry location. Dispose of contaminated materials properly.
Watch the Oil Flow for Problems
Watch the oil stream as it enters the container, checking for a steady flow, unusual noise, air bubbles, or sudden changes in pressure. A consistent stream usually indicates that the pump and hose are working correctly.
If flow slows, pulses, or stops, pause the pump before investigating. Don’t touch moving parts or hot oil.
Use these clues to identify common problems:
- Thin, fast flow: The oil may be warm, or its Oil viscosity may be low.
- Slow, uneven flow: A clogged strainer, restricted hose, loose connection, or cold oil could limit suction.
- Bubbles or loud rattling: The pump may draw air through a loose fitting, damaged seal, or low fluid level in the pickup area.
Tighten safe, accessible connections and inspect the hose for kinks. If the issue continues, stop operating the pump and follow the manufacturer’s troubleshooting instructions.
Regular Pump maintenance, including cleaning filters and checking seals, helps prevent interrupted flow and protects the equipment.
Check That the Reservoir Is Empty
Check the reservoir before shutting off the pump to confirm that no oil remains in the bottom or trapped around the pickup tube. Watch the container’s interior through its viewing window, if available, and compare the Oil level with the empty mark.
A thin film may remain on the walls, but you shouldn’t see a puddle, stream, or rising level after the pump stops moving fluid.
Perform a careful Reservoir inspection while the equipment remains stable. Tilt the container only if the manufacturer permits it, and keep your hands away from moving parts and hot surfaces.
Listen for gurgling, then wait briefly to let suspended oil settle. If the level drops no further, the reservoir is likely empty.
Don’t assume it’s clear simply because flow has stopped. A blocked pickup can also interrupt suction.
Confirm that the hose stays positioned above the container’s bottom and that the final discharge appears complete before you switch off and disconnect the pump.
Clean the Oil Pump and Fix Common Issues
After the reservoir is empty, clean the oil pump before storing or using it again. Disconnect power, then wipe the housing, hoses, and fittings with a clean, lint-free cloth. Don’t immerse electrical parts or spray water into the motor.
Flush the intake hose with a suitable cleaner if residue remains, and let every component dry completely.
Check these common issues before the next job:
- Weak suction: Inspect the hose for cracks, loose connections, or clogs. Tighten fittings and clear the intake screen.
- Slow drainage: Clean the oil filter, check the outlet line, and confirm the pump has adequate power.
- Leaks: Replace damaged seals, gaskets, or tubing rather than forcing a questionable connection.
Store the pump upright in a dry area, with hoses loosely coiled to prevent kinks.
Add cleaning, filter replacement, seal inspection, and cord checks to your maintenance schedule. If the motor overheats, smells burned, or won’t start, stop troubleshooting and seek qualified service.
Frequently Asked Questions
How Often Should an Oil Drain Pump Be Replaced?
You should replace an oil drain pump when it shows reduced suction, leaks, unusual noise, or repeated clogging—not on a fixed schedule. With regular Pump maintenance, a quality pump can last five to ten years, depending on use, oil type, and storage conditions.
Inspect hoses, seals, and connections after each use, and clean the intake screen. Replace the Oil filter as recommended, because contamination can accelerate pump wear and shorten its service life.
Can One Pump Handle Different Oil Types?
Yes, one pump can handle different oil types if you match its materials and specifications to each fluid. Think of it as a versatile key: Oil viscosity determines how easily the pump moves the oil, while Pump compatibility protects seals, hoses, and motor components.
Check the manufacturer’s viscosity range, temperature limits, and chemical-resistance guidance. Flush the pump between oils to prevent contamination, and never exceed its flow or pressure ratings during operation.
Are Electric Oil Drain Pumps Safe for Marine Engines?
Yes, you can safely use electric oil drain pumps for marine engines when you choose a marine-rated model and follow its instructions. Confirm voltage compatibility, secure connections, and keep the pump away from fuel vapors and standing water.
For marine engine safety, never operate damaged wiring or unattended equipment. Electric pump maintenance includes rinsing residue, inspecting hoses, checking seals, and storing the unit dry.
Disconnect power before servicing, and follow your engine manufacturer’s recommendations.
Where Should Used Oil Be Recycled or Disposed Of?
Take used oil to a certified recycling center, automotive service shop, marina, or household hazardous-waste facility. Don’t pour it down a drain or onto soil.
You might think a small amount can’t cause harm, but one gallon can contaminate a million gallons of water.
For responsible oil recycling, store oil in a sealed, labeled container and never mix it with coolant or solvents. Check local environmental regulations, since collection options vary by area.
What Warranty Coverage Is Typical for Oil Drain Pumps?
You’ll typically find a one-year limited warranty on oil drain pumps, covering defects in materials and workmanship. Some manufacturers offer two- or three-year coverage, especially for professional-grade models.
Warranty policies usually exclude normal wear, clogged components, misuse, improper installation, and damage from corrosive fluids. Check registration requirements, proof-of-purchase rules, and whether the seller or manufacturer handles claims.
Product durability depends on construction, maintenance, and proper operating practices.
Conclusion
With the right oil drain pump, you can remove used oil cleanly, safely, and with less mess. Warm the oil, secure your vehicle, position the container, and let the pump do the work while you monitor the flow.
When the reservoir is empty, clean the equipment and address any problems before storage. Remember, “an ounce of prevention is worth a pound of cure”: careful preparation today helps prevent spills, damage, and costly repairs tomorrow.
Using an oil drain pump properly keeps oil changes cleaner, safer, and more efficient.