How Does a Tire Plug Kit Work Step by Step
A flat tire can ruin your day, especially when a small tread puncture leaves you stranded. You’re not alone—many drivers struggle to know whether a quick repair is possible. Understanding how a tire plug kit works can help you choose the right product and respond with confidence.
A tire plug kit seals a small tread puncture by first locating and removing the object, then cleaning the hole with a reamer.
You thread a rubber plug through the insertion tool and push it into the puncture until secure.
Trim the excess material flush with the tread, inflate the tire to its recommended pressure, and spray soapy water over the repair. If bubbles appear, don’t drive.
Continue for guidance on unsafe damage and proper follow-up checks.
Key Takeaways
- Inspect the tire, confirming the puncture is in the tread, small enough for the kit, and away from the sidewall or shoulder.
- Remove the embedded object with pliers, then use the reamer to clean and slightly roughen the puncture.
- Thread a plug strip through the insertion tool, center it, and push it firmly into the prepared hole.
- Trim the plug flush with the tread, then inflate the tire to the vehicle manufacturer’s recommended pressure.
- Apply soapy water and watch for bubbles. Persistent bubbling means the repair leaks and requires replacement or professional inspection.
Check Whether the Puncture Can Be Plugged
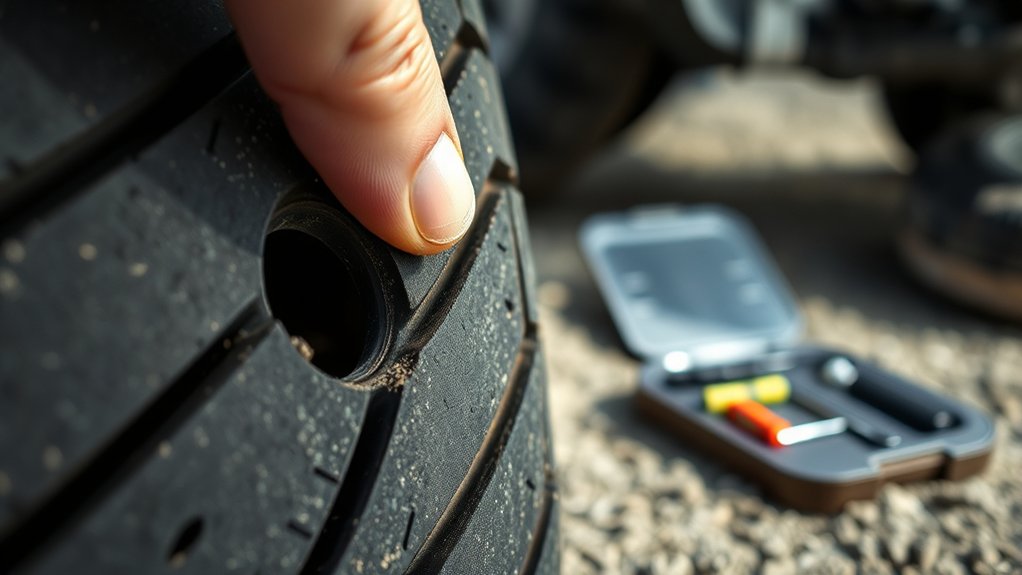
Before using a tire plug kit, check that the puncture is in the tread and no larger than the kit’s recommended size. A plug usually works for small holes caused by nails or screws, but it shouldn’t repair cuts, tears, or irregular damage.
Don’t plug a puncture near the sidewall or shoulder, where the tire flexes heavily and repairs may fail.
Examine the tire’s overall condition, too. If you see exposed cords, bulges, severe cracking, or tread separation, replace the tire instead of attempting a temporary repair.
Check whether the object remains lodged in the tread, and identify the hole’s location before deciding how to proceed.
If the tire has lost substantial air, avoid driving on it because internal damage may already exist.
Proper inspection supports safer Tire maintenance and helps you make a sound decision during Roadside emergencies.
When damage exceeds the kit’s limits, contact a tire professional or roadside service for assistance rather than risking a plug that won’t hold.
Gather Tools and Safety Gear
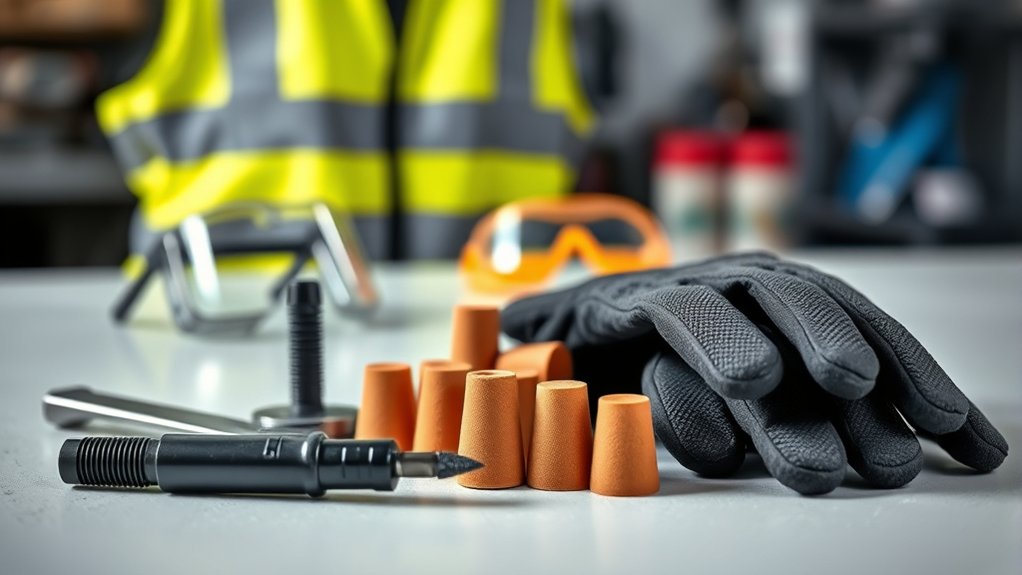
Gather the plug kit, pliers, reamer, insertion tool, plug strips, lubricant, and a tire-pressure gauge before you begin. Add work gloves to protect your hands from sharp edges and rubber debris.
Gather the plug kit and essential tools, and wear work gloves to protect your hands from sharp edges and rubber debris.
Keep a flashlight nearby if you’re working in low light, and carry a reflective vest or warning triangle when you’re repairing a vehicle roadside. Set out a valve-core tool, soapy water, and an air compressor or portable inflator if your kit doesn’t include them.
Choose a stable, well-lit location away from moving traffic. Park on firm, level ground, switch off the engine, engage the parking brake, and turn on your hazard lights.
Position warning devices behind the vehicle when necessary, following local safety guidance. Wear closed-toe shoes and avoid loose clothing that could catch on equipment.
Good Tire maintenance starts with preparation. Treat this setup as Emergency preparedness: organized tools help you work efficiently, while proper safety gear reduces preventable injuries during a roadside repair.
Find the Puncture and Remove the Object
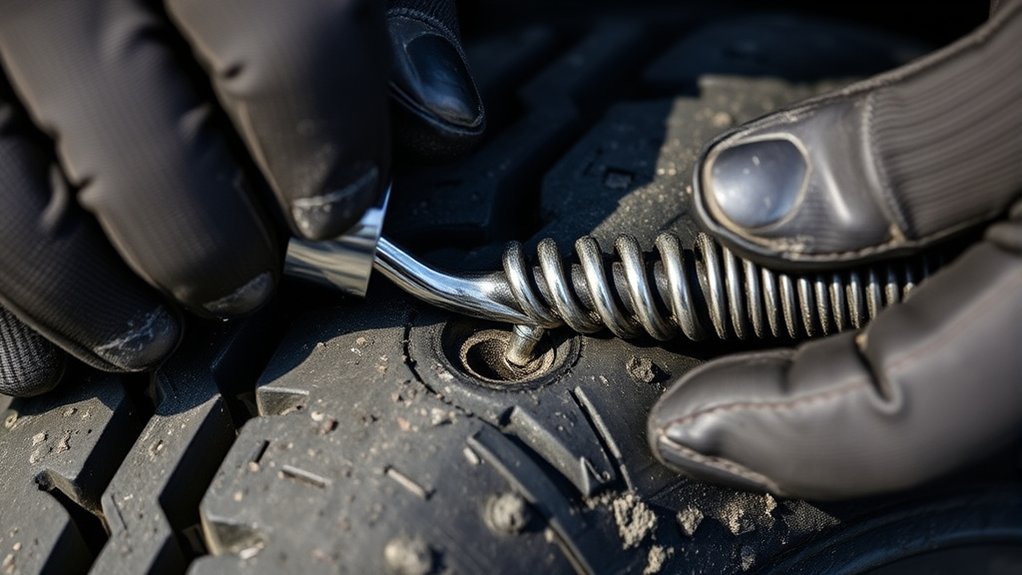
Find the puncture by inspecting the tire for nails, screws, or other visible damage. Once you locate it, carefully remove the embedded object with pliers.
Locate the Tire Puncture
Start by inspecting the tire for an obvious nail, screw, or other object, then mark its location with chalk. If you can’t spot the cause, inflate the tire to the recommended pressure and listen for escaping air.
You can also apply soapy water across the tread and sidewall; bubbling identifies the leak. Rotate the tire slowly while checking every section, including the grooves and shoulder.
Don’t overlook the valve stem, bead, or inner sidewall, since damage there may mimic a tread puncture. Once you’ve found the leak, confirm its exact entry point and outline it clearly.
Keep the vehicle secured on level ground, use gloves, and avoid traffic while working. Careful Tire maintenance supports Road safety and helps you determine whether a plug can provide a temporary repair.
Remove the Embedded Object
Once you’ve confirmed the puncture, pull out the nail, screw, or other embedded object with pliers, gripping it firmly and pulling straight out to avoid enlarging the hole. Don’t twist or pry sideways, since that can damage the tread and make plugging harder.
Before removing anything, park on level ground, engage the parking brake, and turn on your hazard lights. Keep your body away from traffic, and wear gloves to protect your hands from sharp edges. Good Roadside safety matters, especially on a busy shoulder.
After extraction, listen for escaping air and check the Tire pressure with a gauge. A rapid pressure loss confirms the puncture needs immediate repair.
Don’t drive farther than necessary if the tire looks damaged, the hole is on the sidewall, or the tire has lost most of its air. Examine the opening so you can prepare the reaming tool and plug.
Roughen the Hole With the Reamer
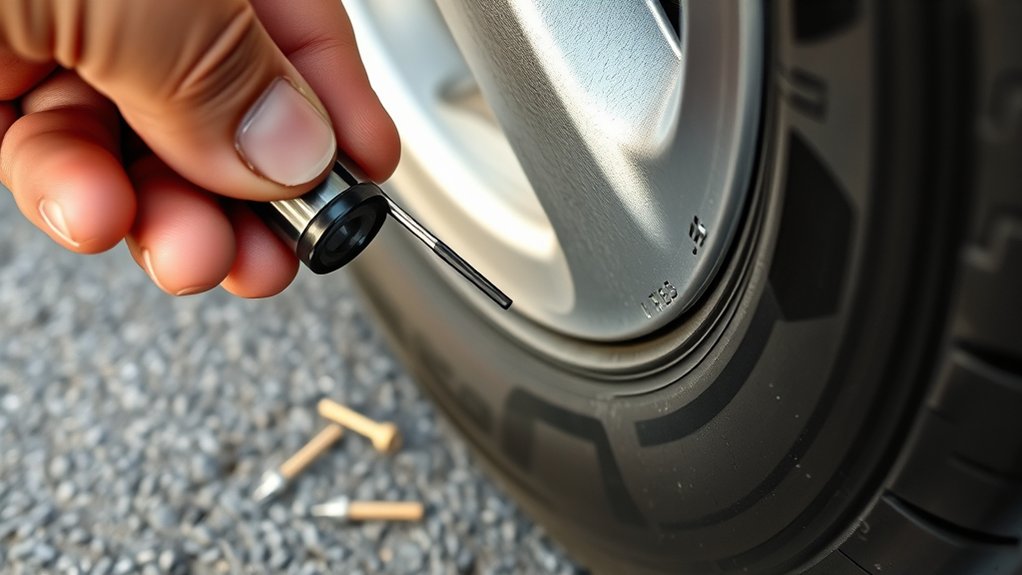
Insert the reamer into the puncture and work it in and out several times to roughen and clean the hole. Keep the tool aligned with the tread surface, following the puncture’s original path rather than widening it unnecessarily.
> Work the reamer through the puncture several times to clean and roughen the hole without widening its original path.
This motion removes loose rubber, dirt, and debris that could prevent the repair from sealing properly.
Don’t skip this step because the tire’s Rubber composition can leave a smooth, compressed channel after an object passes through. The reamer creates a slightly textured surface that helps the plug grip the surrounding rubber.
Apply firm, controlled pressure, but don’t force the tool through the tire or damage the inner liner. If the puncture feels blocked, withdraw the reamer, inspect it, and clear away collected debris before continuing.
Check the Tire pressure first if needed, and stabilize the tire so it won’t move. Stop once the reamer passes smoothly through the hole. Don’t enlarge the puncture beyond the tool’s intended path.
Load the Plug Into the Insertion Tool
With the puncture clean and properly prepared, thread the sticky repair plug through the insertion tool’s eye until both ends extend evenly. Center the plug so neither side hangs noticeably longer than the other.
If the material feels stiff, warm it briefly between your fingers; don’t stretch, tear, or fold it. Keep the tool and plug free from dirt, moisture, and lubricant, since contamination can prevent a reliable seal.
Hold the handle firmly while you check the plug’s position. The center should sit securely in the eye, with equal lengths ready for the next step.
Don’t pull the plug completely through or twist it around the tool. Also, avoid touching the adhesive-coated surface unnecessarily, because oils from your hands can reduce its grip.
Careful loading supports dependable tire maintenance and road safety. Before proceeding, confirm that you’ve selected a plug sized for the puncture and that the insertion tool shows no damage.
Set the prepared tool nearby, where you can reach it easily.
Push the Plug Into the Tire
Position the loaded insertion tool directly over the puncture and press it firmly into the tire. Apply steady, controlled force until the plug passes through the tread and reaches the tool’s insertion-depth guide. Don’t twist or jerk the handle, because sudden movement can enlarge the puncture or disturb the plug’s position.
Press the insertion tool steadily into the puncture until the plug reaches the recommended depth guide.
As you push, let the tool’s design guide the plug through the tire material. You may feel increasing resistance as the rubber grips the repair strip; that pressure is normal.
Keep the tool aligned with the puncture, and use both hands if necessary to maintain control. Push until the tool reaches the recommended depth for your kit, ensuring enough plug remains inside the tire to seal the channel securely.
Proper placement supports plug durability and helps prevent air leaks. If the plug won’t enter with firm pressure, stop and reassess the puncture rather than forcing the tool.
Keep the repair centered and stable before withdrawing the insertion tool.
Trim the Excess Plug Material
Once the plug is fully seated, use a sharp knife or side cutters to trim the exposed ends nearly flush with the tire’s tread. Cut carefully, keeping the blade pointed away from your hands and the sidewall. Don’t pull on the plug while trimming, because you could loosen its seal or create a low spot.
Make several controlled cuts instead of forcing the tool through the rubber. Leave the repaired area level with the surrounding tread, but don’t dig into the tread blocks or remove more material than necessary. A small amount of plug material may remain; normal driving wear will smooth it gradually.
After trimming, inspect the repair from several angles. Look for lifted edges, gaps, or movement around the puncture. If the plug appears loose, damaged, or too short, stop and follow the kit manufacturer’s replacement instructions.
Proper trimming also helps prevent vibration concerns during wheel balancing or tire rotation. Don’t continue if the tire shows additional damage.
Inflate the Tire to Recommended Pressure
After trimming the plug, inflate the tire to the vehicle manufacturer’s recommended cold-tire pressure, not the maximum pressure listed on the sidewall. Find this specification on the driver’s doorjamb label, inside the fuel door, or in your owner’s manual. Don’t rely on the number molded into the tire; it indicates the tire’s maximum capacity, not your vehicle’s correct setting.
Use a reliable air compressor and a calibrated gauge. Remove the valve cap, attach the chuck securely, and add air in short bursts. Check the tire pressure with the gauge after each burst until it matches the specified reading. If you’ve added too much, press the gauge’s release valve briefly and recheck.
For inflation safety, keep your hands and face away from the valve and tire while adding air. Wear eye protection, and never inflate a visibly damaged tire. Replace the valve cap firmly when you’ve reached the recommended pressure.
Test the Plug for Air Leaks
Apply soapy water around the tire plug, then watch the area closely. If bubbles form or grow, air is still escaping. If no bubbles appear, the plug is sealing properly.
Apply Soapy Water
Spray the plugged area with a mixture of dish soap and water, then watch for expanding bubbles. Cover the plug, surrounding tread, and nearby sidewall with a thin, even layer.
Use enough solution to create visible bubbles without washing the compound away. A spray bottle gives you better control and helps you reach every edge of the repair.
Keep the tire inflated to the recommended pressure during this check, and work in good lighting so you can inspect the surface accurately. Don’t use harsh cleaners, which may weaken rubber or hide small leaks beneath foam.
This simple step supports dependable tire maintenance and confirms the quality of your rubber repair. Wipe away excess solution afterward, but leave the area undisturbed while you prepare for the next inspection.
Monitor for Bubbles
With the soapy solution covering the repair, watch the plug closely for 30–60 seconds. Don’t touch or move the tire while you inspect it.
If the solution stays still, the plug likely seals the puncture properly. However, growing bubbles or a steady foam ring indicate escaping air.
Mark that spot, then release the air, remove the plug, and repeat the repair with a fresh plug according to the kit’s instructions.
Check the tire pressure with a reliable gauge after the bubbles stop. Inflate it to the vehicle manufacturer’s recommended level, listed on the driver’s doorjamb label or in the owner’s manual.
Never drive on a tire that continues leaking, looks damaged, or won’t hold pressure. A careful leak test supports road safety, but a plug isn’t a permanent replacement for professional tire repair.
Know When a Tire Plug Kit Is Unsafe
A tire plug kit isn’t safe for every puncture, so inspect the damage before inserting a plug. Don’t plug a hole in the tire’s sidewall or shoulder; these areas flex too much to hold a reliable repair.
Replace the tire if you see a cut, bulge, exposed cords, separated tread, or damage wider than about ¼ inch. You shouldn’t plug a tire that has been driven while flat, because internal layers may have suffered hidden damage.
If the puncture sits near an earlier repair, choose professional service instead of adding another plug. Never rely on a plug alone when the tire has lost its bead seal or shows serious air loss.
For proper tire maintenance, remove the tire and have a technician inspect the inside whenever possible. If you’re changing a tire beside traffic, prioritize roadside safety: move to a safe location, use hazard lights, and call for assistance when conditions aren’t secure.
Frequently Asked Questions
How Long Can You Safely Drive on a Plugged Tire?
You can drive on a properly repaired plugged tire until you reach a tire shop, but you shouldn’t treat it as a permanent fix. Limit driving to the shortest safe distance, keep speeds moderate, and avoid heavy loads or long trips.
A professional should inspect the repair promptly, because location and damage determine repair safety. For better tire longevity, replace the tire if the puncture reaches the sidewall, shoulder, or exceeds repairable limits.
Can a Tire Plug Be Used Alongside an Internal Patch?
Yes, you can use a tire plug alongside an internal patch, but only when a qualified tire professional approves the repair. The plug seals the puncture from outside, while the patch reinforces the inner liner.
Don’t combine them casually, especially near a sidewall or shoulder. A technician should inspect the tire, remove any unsafe material, and determine whether replacement makes more sense.
Tire sealant won’t replace proper repair, and valve replacement may also be necessary.
How Much Does Professional Tire Plugging Typically Cost?
You’ll typically pay $20–$40 for professional tire plugging, though prices vary by location, tire size, and shop. Some businesses offer free plugs with a tire purchase, while others charge up to $60 for combined repairs.
Ask whether the price includes inspection, removal, and leak testing. Professional repair methods can protect your tire durability, but technicians may recommend replacement if damage sits near the sidewall, exceeds repair limits, or compromises structural safety.
Can Run-Flat Tires Be Repaired With a Tire Plug Kit?
Usually, you shouldn’t repair a run-flat tire with a tire plug kit yourself. Run-flats may hide internal damage after driving while deflated, and manufacturers often restrict repairs.
A qualified tire professional must inspect the tread, sidewall, and inner liner before deciding. A plug may reduce tire durability and plug longevity, especially outside the central tread area.
If damage reaches the sidewall or exceeds repair limits, replace the tire instead.
Should You Replace the Tire After Using a Plug?
You don’t always need to replace a tire after using a plug, but you should have a professional inspect it. Replace the tire if the puncture sits in the sidewall or shoulder, exceeds the repairable size, caused internal damage, or the tire has previous repairs.
A properly installed plug-patch can provide dependable repair effectiveness, while correct inflation, alignment, and tread checks support tire longevity. Never rely on a temporary plug indefinitely.
Conclusion
A tire plug kit can get you moving again, but it doesn’t make every puncture safe to repair. You’ll check the damage, prepare the hole, insert the plug, inflate the tire, and test for leaks.
Ironically, the quickest repair can create the biggest problem if you rush or ignore sidewall damage, a large tear, or internal injury. If anything looks questionable, don’t gamble on a plug. Have a professional inspect the tire or replace it.
In conclusion, knowing how a tire plug kit works step by step can help you handle a minor tread puncture, but safety should always come first.