How Does an Automotive Breaker Bar Work Step by Step
Stubborn lug nuts and seized automotive fasteners can turn a simple repair into a frustrating workout. You’re not alone—many people struggle to loosen bolts that a standard ratchet cannot handle. The best automotive breaker bar can make the job easier by giving you more leverage and control.
An automotive breaker bar uses a long, non-ratcheting handle to multiply your force.
Park on level ground, secure the vehicle, and choose a matching drive and impact-rated socket. Seat it fully on the cleaned fastener, then pull steadily counterclockwise while keeping your stance stable.
Apply penetrating oil or gentle heat if needed. Once the fastener breaks loose, switch to a ratchet for removal.
Reassemble by hand-starting threads and finishing with a torque wrench. The steps below explain each detail.
Key Takeaways
- Park securely, engage the brake, select the correct socket, and wear eye protection before applying force.
- Clean the fastener, apply penetrating oil, and allow 10–15 minutes for it to penetrate corrosion.
- Seat the socket fully on the fastener and attach the breaker bar’s square drive securely.
- Pull the extended handle counterclockwise with steady force, using its length to multiply leverage and loosen the fastener.
- Once loosened, switch to a ratchet; inspect components, then reinstall and torque the fastener to specifications.
What Is an Automotive Breaker Bar?
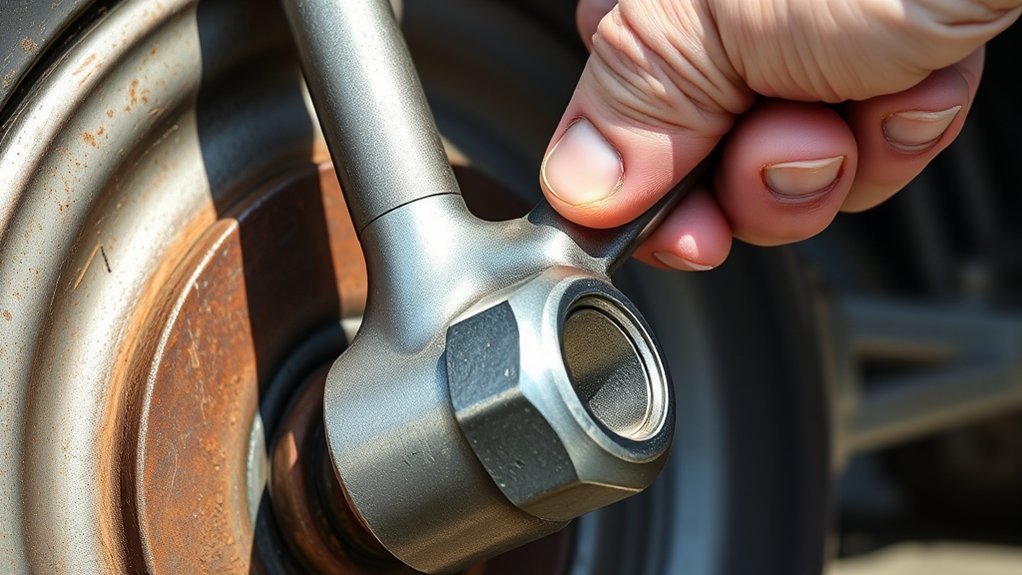
An automotive breaker bar is a long-handled tool designed to loosen stubborn nuts and bolts. You use it when a standard ratchet can’t generate enough force or when you need to break free a seized fastener. Its solid handle connects to a square drive, which holds a compatible socket.
An automotive breaker bar delivers the leverage needed to loosen stubborn fasteners when a standard ratchet falls short.
As you apply pressure, the extended length increases advantage, helping you turn the fastener with less effort.
Unlike a ratchet, a breaker bar typically has no internal gear mechanism, so it won’t click or ratchet during use. That simple construction gives it strength for demanding Automotive maintenance tasks, including removing lug nuts, suspension hardware, and other tightly secured components.
You should always practice Tool safety while operating one. Keep the socket fully seated, position your body securely, and pull smoothly rather than jerking the handle.
Inspect the bar and socket for damage before use, and avoid using a cheater pipe unless the manufacturer approves it. The breaker bar loosens fasteners; you finish removal with a suitable hand tool.
Choose the Right Breaker Bar and Socket
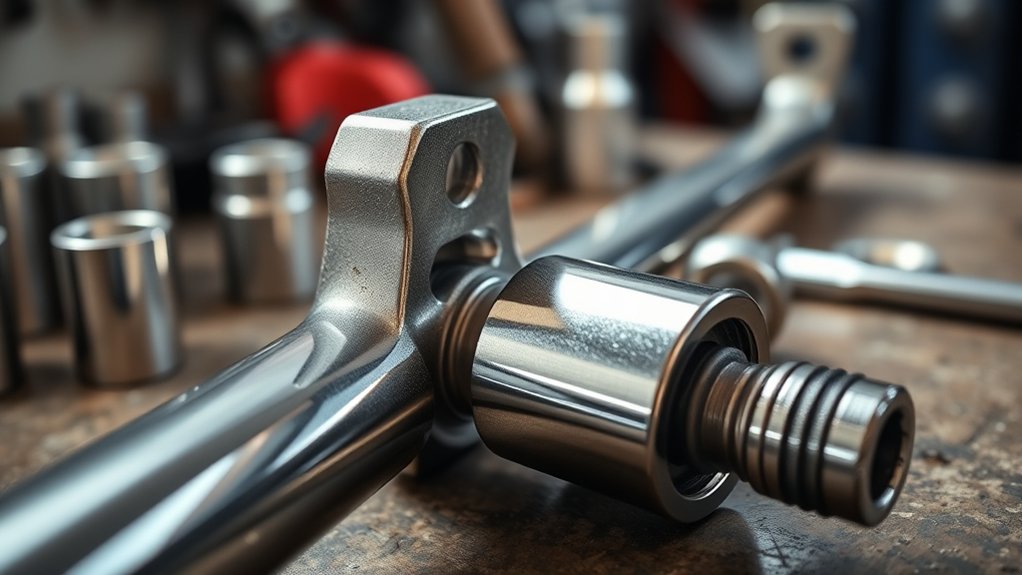
Choosing the right breaker bar and socket starts with matching the drive size to the fastener and selecting a handle length that provides enough advantage for the job. A 1/2-inch drive suits many automotive lug nuts and suspension bolts, while a 3/4-inch drive handles larger, heavily tightened fasteners.
Choose a bar that fits your workspace without forcing you to use excessive exertion. Pair it with a six-point impact-rated socket, which grips fastener flats securely and reduces the chance of rounding.
Don’t use a twelve-point socket on stubborn hardware unless access demands it. Check the bar’s maximum torque rating, and never exceed it with a cheater pipe.
Before use, inspect the head, pivot, handle, and socket for cracks, distortion, or excessive wear. Good Tool maintenance keeps engagement reliable and extends service life.
Follow safety precautions by wearing eye protection and choosing a socket with the correct size and rating. Replace damaged components immediately, and keep your tools clean and dry.
Secure the Vehicle Before You Start
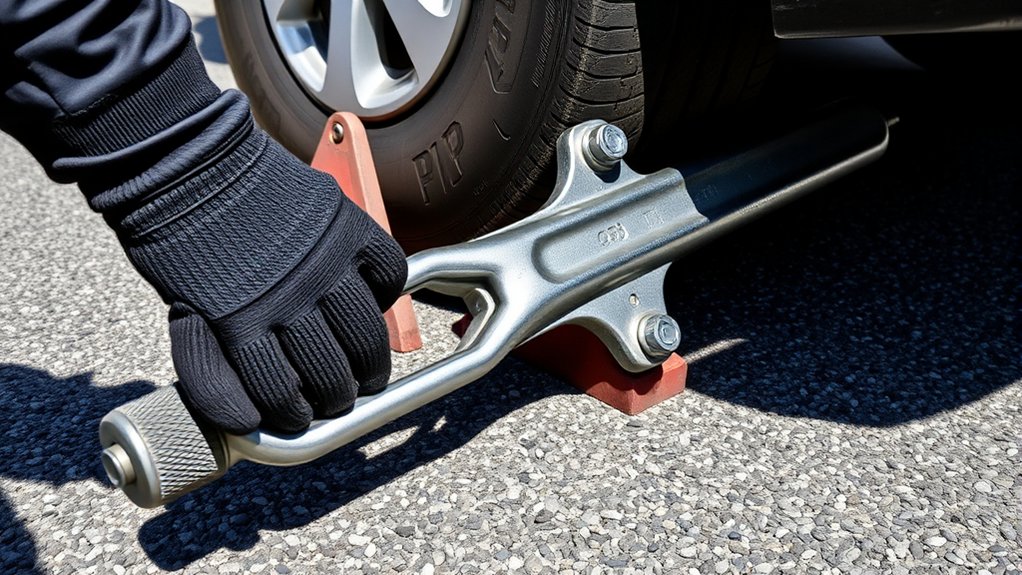
Park on level ground before using the breaker bar to keep the vehicle stable. Then engage the parking brake firmly so the vehicle won’t roll while you work. This gives you a safer foundation for loosening tight fasteners.
Park On Level Ground
Park on a firm, level surface before using an automotive breaker bar so the vehicle won’t roll or shift while you apply force. A flat driveway or garage floor gives you a stable working position and helps maintain vehicle stability as you loosen a stubborn fastener.
Avoid sloped pavement, soft soil, gravel, or uneven ground, which can let tires settle or cause your footing to change. Inspect the surface for oil, water, ice, and debris, then clear anything that could make you slip or affect the vehicle’s support.
Keep enough room around the vehicle to stand squarely and swing the breaker bar without contacting walls, tools, or other obstacles. These basic safety precautions help you apply steady torque and reduce unexpected movement while you work.
Engage The Parking Brake
With the vehicle on level ground, set the parking brake firmly to help prevent it from rolling as you apply torque with the breaker bar. Confirm that the brake engages fully rather than stopping halfway through its travel.
If your vehicle has a foot-operated pedal, press it until you feel firm resistance. For a hand lever, pull it securely and check that the indicator light appears on the dashboard.
An electronic parking brake should display its confirmation symbol. The parking brake supports vehicle stability, but it shouldn’t replace wheel chocks when you’re working on a slope or lifting the vehicle.
Keep the transmission in Park for an automatic, or in first gear or reverse for a manual. Before applying force, verify that everyone stands clear and that the vehicle doesn’t shift.
Position the Socket on the Fastener
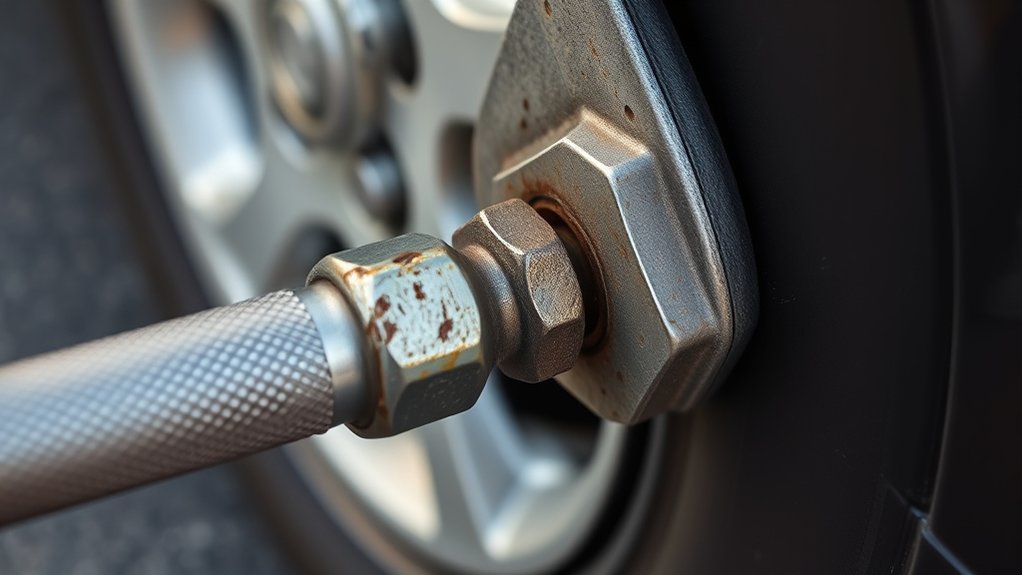
Choose a socket that matches the fastener’s size and drive. Align it with the fastener, then press it straight on. Make sure it’s seated firmly before applying force with the breaker bar.
Choose the Correct Socket
Before applying force, select a socket that matches the fastener’s size and drive type exactly, then press it fully onto the head so it sits straight and securely. Choose a six-point socket for stubborn fasteners because it grips the flats and reduces rounding.
Confirm the socket’s drive size matches your breaker bar, and use an impact-rated socket when your tool or application requires one. Avoid loose, cracked, worn, or mismatched sockets; they can slip, damage hardware, or cause injury.
Your Safety precautions should include wearing eye protection and keeping your hands clear of pinch points. Good Tool maintenance means inspecting sockets regularly and replacing damaged pieces promptly.
- Match the socket size precisely.
- Verify the drive connection.
- Prefer six-point designs.
- Use rated sockets appropriately.
- Replace damaged equipment.
Align Socket Teeth
How should you position the socket? Place it directly over the fastener so its opening matches the fastener’s shape and size. Keep the breaker bar aligned with the fastener’s centerline rather than approaching at an angle.
Proper socket alignment helps each internal surface meet the corresponding flat, preventing uneven force and potential rounding. Check the socket’s orientation before applying pressure, especially in tight or poorly lit spaces.
With the bar still relaxed, rotate the socket slightly until its internal corners and flats line up naturally with the fastener. You should feel the socket begin to engage without forcing it.
Confirm that no dirt, paint, or debris obstructs the opening, since contaminants can interfere with teeth engagement. Don’t twist the handle yet; focus only on matching the socket to the fastener accurately.
Seat Socket Firmly
Once the socket is aligned, press it straight onto the fastener until it seats fully against the bolt head or nut. Don’t tilt or force it sideways, because an uneven fit can damage the fastener and reduce control.
Push until the socket’s drive end engages the breaker bar securely. You should feel a solid connection before applying torque.
To seat socket correctly, check that its walls surround the fastener evenly. Make sure no dirt, rust, or debris prevents full contact.
A properly fitted socket will firmly grip the fastener and stay stable as you pull the handle.
- Confirm the socket size matches the fastener.
- Keep the bar aligned with the fastener.
- Remove debris before seating.
- Press the socket fully into place.
- Stop if the fit feels loose.
Never begin loosening until the socket sits squarely and securely.
Pull Safely to Break the Fastener Loose
Position yourself so you can pull the breaker bar smoothly toward you while keeping your body balanced and your hands clear of nearby components. Keep your feet planted, brace your core, and apply steady force instead of jerking the handle.
Pull in line with the fastener to reduce the chance of slipping or damaging the socket. If the fastener breaks loose suddenly, control the bar through its full movement and avoid striking nearby parts.
| Action | Why it matters | What you should do |
|---|---|---|
| Check your stance | Prevents falls | Keep both feet stable |
| Protect your hands | Reduces injury risk | Wear gloves and avoid pinch points |
| Control the bar | Limits sudden movement | Pull smoothly, never bounce |
Follow basic safety precautions, including eye protection and a clear work area. Don’t add a pipe extension unless the bar and socket can handle the increased torque.
Afterward, inspect the breaker bar, socket, and drive for damage. Regular Tool maintenance keeps your next use predictable and safe.
Free Rusted Fasteners With Oil and Heat
When rust locks up a fastener, apply penetrating oil and let it soak into the threads. Then, carefully heat the surrounding metal while keeping the flame away from the oil and nearby components. Once the metal expands and the oil has had time to work, use a breaker bar to try to loosen the fastener.
Apply Penetrating Oil
Before you apply force with an automotive breaker bar, soak the fastener and the area around its threads with penetrating oil. Clean away dirt first so the fluid can reach the corrosion. Use these lubrication techniques:
- Brush off loose rust and debris.
- Spray oil around the head and exposed threads.
- Let the oil work for 10–15 minutes.
- Reapply it to stubborn, heavily corroded hardware.
- Tap the fastener lightly to help the oil travel inward.
Your penetrating oil application works best when you give it time rather than immediately leaning on the bar. Protect nearby brake parts, belts, and electrical connectors from overspray with a rag.
Keep the can’s straw aimed precisely at the joint, and wipe away excess before gripping the fastener. If the hardware remains seized, repeat the application and wait longer.
Don’t force it while the oil still sits only on the surface.
Add Controlled Heat
If penetrating oil hasn’t freed the fastener, apply controlled heat to expand the surrounding metal and break the rust bond. Use a propane or MAP gas torch, and direct the flame at the nut rather than the bolt whenever possible.
This heat application encourages thermal expansion without unnecessarily weakening the fastener. Warm the metal gradually until it’s hot to the touch, but don’t heat it to a glowing red.
Keep the torch away from oil, wiring, rubber parts, fuel, and painted surfaces. Wear heat-resistant gloves and eye protection, and keep a fire extinguisher nearby.
After heating, let the part cool slightly, then fit your breaker bar squarely onto the fastener. Apply steady pressure and avoid sudden jerks.
If it won’t move, repeat the oil-and-heat cycle carefully instead of forcing it.
Remove the Loose Fastener With a Ratchet
Once the fastener breaks free, switch to a ratchet with the correct socket and turn it counterclockwise to remove it efficiently. Keep the socket fully seated as you spin the handle, then set the fastener aside for inspection.
Switch to a ratchet after breaking the fastener free, keeping the socket seated as you turn counterclockwise for efficient removal.
Your breaker bar advantages include high torque for initial loosening, while the ratchet saves time during removal.
Match your tool to the fastener’s design and condition. Different fastener types, such as hex-head bolts, flange bolts, and nuts, may require specific sockets or extensions.
Count the turns as you work if you’ll reinstall the same hardware, and keep removed parts organized by location.
- Choose the correct socket size.
- Keep the ratchet aligned with the fastener.
- Use short, steady strokes in tight spaces.
- Remove extensions when they’re unnecessary.
- Store hardware in a labeled container.
After removal, compare the fastener with the replacement and check the threads for wear. A clean, organized process helps you prepare for reassembly.
Avoid Breaker Bar Slips and Damage
A secure setup prevents breaker bar slips and protects both the fastener and surrounding components. Choose the correct socket size, then press it fully onto the fastener before applying force.
Keep the breaker bar aligned with the fastener; a tilted tool can slip, round the head, or strike nearby parts. Inspect the socket, drive, and bar for cracks, distortion, or excessive wear, and replace damaged pieces.
Clean oil, rust, and debris from the fastener and socket so they grip properly. Position your feet securely, keep your body out of the tool’s swing path, and pull smoothly instead of jerking.
Use safety gear, including eye protection and sturdy gloves, while keeping your hands away from pinch points. Don’t add a cheater pipe unless the tool manufacturer approves it, because extra leverage can overload the drive or break the fastener.
Check breaker bar calibration when applicable, and use only equipment rated for the force you need. Stop if anything shifts unexpectedly.
Finish With a Torque Wrench
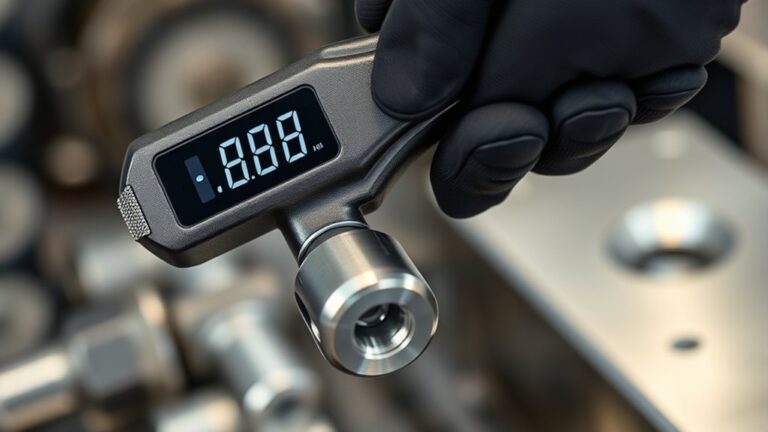
After the breaker bar loosens the fastener, finish tightening it with a torque wrench set to the manufacturer’s specified value. Check the service manual for the correct torque and whether the fastener needs a specific sequence, angle, or lubricant.
Clean the threads and contact surfaces before installation, then start the fastener by hand to prevent cross-threading. Apply steady pressure until the wrench clicks; don’t pull past the click or use it to loosen hardware.
Use these reminders:
- Set the torque value before applying force.
- Keep the wrench aligned with the fastener.
- Stop immediately at the first click.
- Verify settings after changing units or attachments.
- Return the wrench to its storage setting afterward.
Follow Safety precautions by wearing eye protection, supporting the vehicle securely, and keeping your hands clear of pinch points.
Include Tool maintenance in your routine: wipe the wrench clean, store it properly, and have it calibrated as recommended.
This final check helps guarantee the fastener remains secure without damaging components.
Understand Why Breaker Bar Leverage Works
A breaker bar works by increasing the distance between your hands and the fastener, giving you more torque with the same effort. Torque equals force multiplied by distance, so a longer handle creates greater turning force at the socket. These mechanical advantage principles explain why you can loosen a stubborn bolt without pushing harder.
As you grip the handle, your force travels through the bar to the drive head. The bar’s length determines how much mechanical advantage you gain. For example, doubling the handle length roughly doubles the torque you apply, assuming your pushing force stays constant.
This breaker bar mechanics lets you control difficult fasteners more effectively than a short ratchet.
Position your body so you push smoothly, keeping the socket fully seated. Apply steady force rather than sudden jerks, which can slip the socket or damage the fastener.
Frequently Asked Questions
Can a Breaker Bar Be Used for Tightening Fasteners?
Yes, you can use a breaker bar for tightening fasteners, especially when you need substantial torque application. However, don’t rely on it to achieve a precise final torque value because its long handle encourages excessive force.
Check tool compatibility, fastener specifications, and manufacturer guidance before use. Tighten the fastener snugly with the breaker bar, then finish with a calibrated torque wrench whenever accurate tightening matters, particularly on critical automotive components.
How Should You Clean and Store an Automotive Breaker Bar?
Keep your automotive breaker bar clean and dry so it remains a reliable steel companion. For effective Cleaning techniques, wipe away grease and dirt with a rag, then use mild degreaser and a soft brush for stubborn residue.
Dry every surface thoroughly and apply a light rust-preventive oil to exposed metal. For practical Storage solutions, hang the bar or place it in a dry toolbox, away from moisture and corrosive chemicals.
What Safety Gear Should You Wear While Using a Breaker Bar?
Wear safety glasses to shield your eyes from flying rust, dirt, or broken fasteners, and use sturdy work gloves for grip and hand protection. Choose steel-toe boots to protect your feet if the tool or a component drops.
Personal protective equipment also includes hearing protection when impact tools operate nearby. Practice proper handling: keep your stance balanced, inspect the bar, use the correct socket, and never add unstable pipe extensions.
Can Breaker Bars Damage Wheel Studs or Lug Nuts?
Yes, a breaker bar can cause wheel stud damage or compromise lug nut safety if you apply excessive force, use the wrong socket, or work at an angle. It can release mountain-sized torque, so inspect each stud and nut before starting.
Use a six-point impact socket, keep the bar aligned, and avoid extensions that amplify leverage unpredictably. Stop if threads bind, the nut rounds, or the stud twists.
Finish tightening with a torque wrench.
When Should You Replace a Worn or Damaged Breaker Bar?
Replace your breaker bar when you notice bending, cracks, deep rust, loose joints, damaged drive squares, or slipping during use. Don’t trust a tool that flexes unpredictably or no longer holds sockets securely, because it can injure you or damage fasteners.
Your Maintenance tips should include cleaning, inspection, and proper storage after each job. Use practical Repair techniques only for minor handle issues. Replace failed heads, drives, or severely weakened bars.
Conclusion
Using an automotive breaker bar safely starts with solid support, the proper socket, and precise positioning. Its extended handle multiplies your leverage, helping you loosen stubborn fasteners without abusing your ratchet.
Pull smoothly, protect your hands, and stop if the socket slips. Once the fastener breaks free, switch tools and finish the job with a torque wrench.
With patience, preparation, and controlled power, you’ll work faster, safer, and smarter on every repair. Understanding how an automotive breaker bar works step by step helps you use it with confidence.