How Does an Oil Extractor Work Step by Step?
Changing engine oil can be messy, time-consuming, and frustrating, especially when you have to lift your vehicle or deal with a stubborn drain plug. You’re not alone—many people struggle with spills and awkward cleanup. The best oil extractor can make the process faster and more convenient.
An oil extractor removes used engine oil without lifting the vehicle or removing its drain plug. First, you warm the engine, place the extractor securely, and insert its hose through the dipstick tube.
You create a vacuum by pumping the handle or switching on the motor, then open the valve to draw oil into the sealed tank. Monitor flow and prevent overfilling.
Finally, filter, label, store, or recycle the oil, then clean and inspect the extractor for future use.
Key Takeaways
- Position the extractor safely, inspect its hoses and seals, then close the drain valve and prepare a suitable collection container.
- Insert the probe through the engine’s dipstick tube until it reaches the bottom of the oil pan.
- Create vacuum by pumping the handle or switching on the electric pump, lowering tank pressure.
- Open the valve so atmospheric pressure pushes warm engine oil through the hose into the reservoir.
- Stop when oil flow slows, then transfer, label, filter, and properly recycle or dispose of the used oil.
What Does an Oil Extractor Do?
An oil extractor removes used engine oil through a vacuum-powered pump, drawing the fluid from the crankcase into a storage container. You insert a narrow probe through the dipstick tube, position the container securely, and activate the unit.
> An oil extractor uses vacuum power to draw used engine oil through the dipstick tube into a secure storage container.
The extractor collects oil without requiring you to raise the vehicle or remove the drain plug, making routine servicing faster and cleaner.
Among common oil extraction techniques, vacuum removal works especially well for cars, motorcycles, boats, and small engines with accessible dipstick tubes. You can monitor the container’s level, stop extraction before it overflows, and transfer the used oil to a sealed recycling container.
Afterward, replace the oil filter if required and refill the engine with the manufacturer’s specified oil.
Using an extractor can reduce spills and protect driveways, workshops, and soil, lowering your maintenance-related Environmental impact. However, you must recycle used oil properly; never pour it into drains, onto ground, or into household trash.
How an Oil Extractor Creates Suction
The extractor creates suction by removing air from its sealed tank or pump chamber, which lowers the internal pressure below the pressure in the engine’s crankcase. Because fluids move from higher pressure toward lower pressure, atmospheric pressure pushes oil through the probe and into the extractor’s tank.
When you operate a manual pump, each stroke removes more air and strengthens the pressure difference. An electric model uses a motor-driven vacuum pump to maintain that difference continuously.
The system doesn’t pull oil mechanically. It creates conditions that let pressure move the oil for you.
Oil viscosity affects this process notably. Warm, thinner oil flows through the narrow probe more easily, while cold, thick oil moves slowly and can reduce extraction efficiency.
The tank’s sealed connections also matter because leaks allow air inside, weakening suction. As the tank fills, available vacuum may decrease, so the flow gradually slows.
These pressure changes explain how the extractor transfers oil without opening the drain plug.
Get the Oil Extractor Ready
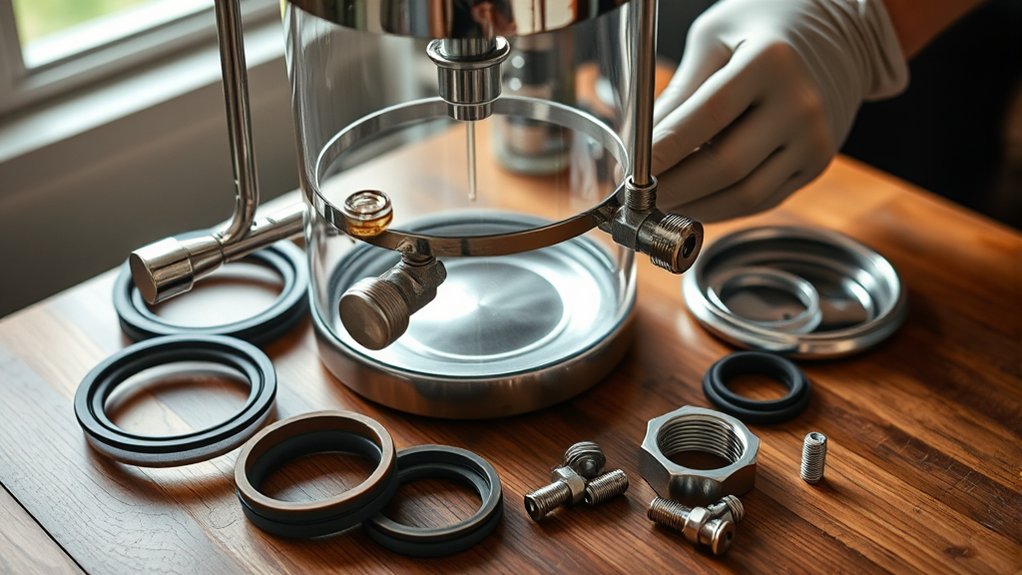
Before starting, place the extractor on a stable, level surface and check that the tank, lid, hoses, and probe are clean and undamaged. Read the manufacturer’s instructions, then confirm every connection fits tightly.
Keep the extractor upright, away from flames, hot components, and moving parts. Wear gloves and eye protection, and guarantee the work area has enough light and ventilation.
These simple Equipment safety checks protect you from spills, burns, and unexpected pressure changes.
| Check | Why it matters |
|---|---|
| Tank and lid | Prevents leaks and sudden release |
| Hoses and probe | Supports reliable Oil extraction techniques |
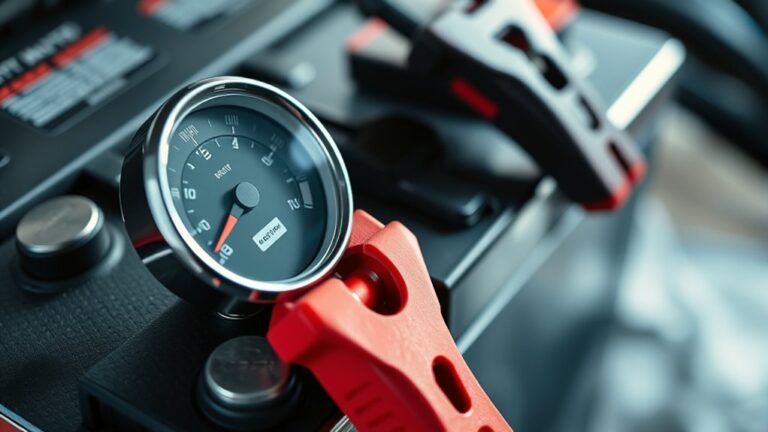
Close the drain valve and verify the vacuum gauge, if fitted, returns to its resting position. Don’t use cracked seals, loose fittings, or damaged electrical components.
Place a suitable container nearby for later handling, but don’t connect or position the probe yet. Take a moment to understand the controls before switching anything on.
Careful preparation helps you work confidently and keeps the extractor ready for the next step.
Draw Used Oil Into the Extractor
Create a vacuum inside the extractor to begin. The vacuum pulls the used oil through the tube and into the container, so make sure the tube is secure to keep the oil flowing smoothly and prevent leaks.
Create Vacuum Pressure
Once the extractor’s hose is sealed to the dipstick tube, pump the handle or switch on the unit to create negative pressure inside the reservoir. This pressure lowers the air pressure within the container compared with the engine’s oil pan.
As you continue pumping, you build enough vacuum to prepare the extractor for collection. Manual models require steady handle strokes, while electric units generate suction automatically through a motor.
Both designs use the same basic principle, making vacuum technology central to several oil extraction methods. Watch the gauge, if your extractor includes one, and stop when it reaches the recommended range.
Don’t overpump, because excessive vacuum can strain seals or connections. Keep every fitting tight so the pressure remains stable while the system prepares to draw in the used oil.
Pull Oil Through Tube
Open the extractor’s valve to let the vacuum pull used oil through the sealed tube and into the reservoir. Keep the tube’s end below the oil surface so air doesn’t enter and interrupt suction.
You’ll see the dark fluid move steadily as pressure differences do the work. A suitable tube design resists collapse, seals tightly, and reaches the lowest point in the sump.
Follow these oil extraction techniques for a cleaner, safer service:
- Watch the flow so you’ll know when the reservoir is nearly full.
- Listen for hissing, which signals a loose connection.
- Feel relief as the messy drain-pan cleanup disappears.
- Stop the process before the tank overfills.
- Handle the warm oil carefully to protect your hands.
When flow slows to a drip, close the valve, secure the tube, and check the extracted volume. Don’t force suction if the line blocks; inspect connections first.
Check Pressure, Flow, and Temperature
Check the pressure, flow, and temperature as the extractor runs to confirm it’s operating within the manufacturer’s recommended range. Watch the gauges continuously rather than waiting for unusual noise or weak suction.
Pressure monitoring helps you spot blocked passages, loose connections, or excessive resistance before they strain the pump. Confirm that oil moves steadily through the tube without surging or stopping.
| Reading | What to check | Corrective action |
|---|---|---|
| Pressure | Stable, specified level | Stop and inspect connections |
| Flow | Continuous, even movement | Reduce restrictions |
| Temperature | Safe operating range | Pause for cooling |
Use temperature regulation to prevent overheated oil from damaging seals or changing viscosity.
If any reading rises, falls, or fluctuates unexpectedly, shut down the extractor and identify the cause before continuing. Don’t adjust valves randomly. Follow the manual’s sequence and limits.
Record the readings during operation so you can compare performance on future extractions. This check keeps the machine efficient and protects its components.
Filter Dirt From the Used Oil
After the extractor has removed the used oil, filter it to separate dirt, metal particles, and other contaminants before reuse or disposal. Start by choosing a filter rated for the oil’s viscosity and the particles you need to capture.
Secure it between the extractor’s outlet and a clean collection container, then pump the oil through slowly. Steady flow improves oil filtration and prevents the filter from overflowing or tearing.
Watch the pressure gauge if your equipment has one; rising pressure signals a clogged element. Replace the filter when flow drops or the media looks saturated.
Effective contaminant removal protects pumps, bearings, and storage containers from abrasive debris.
- You’ll protect expensive equipment from hidden damage.
- You’ll prevent gritty particles from returning to service.
- You’ll spot a clogged filter before frustration builds.
- You’ll keep your workspace cleaner and safer.
- You’ll gain confidence in every maintenance cycle.
Never reuse a disposable filter, and label the collected oil clearly before its next step.
Remove Water and Other Contaminants
Remove water and other contaminants from the filtered oil before storage or reuse. After straining out dirt, separate moisture, fuel, sludge, and fine particles that remain suspended in the oil. Water can cause rust, poor lubrication, and premature equipment failure, so don’t overlook this step.
Use the extractor’s settling chamber, heating system, vacuum stage, or centrifugal separator, depending on its design. Gentle heat lowers the oil’s viscosity and helps trapped water evaporate, while a vacuum removes moisture at a lower temperature.
Centrifugal force can separate heavier water and remaining solids without adding chemicals. Follow the manufacturer’s temperature limits to prevent oxidation or damage to the oil.
Check the oil during this stage. Clearer oil, reduced haze, and the absence of visible droplets indicate effective contaminant removal. For demanding applications, test moisture content and particle levels before approving the oil for reuse.
This careful oil purification process protects machinery and supports consistent performance.
Collect Filtered Oil and Waste
Once filtration is complete, separate the clean oil from the collected waste. Transfer the oil to a suitable container and label it clearly. Then, dispose of the waste in accordance with local regulations and safety guidelines.
Separate Oil and Waste
The extractor separates the filtered oil from solid waste by directing the oil through the filter into a clean collection container while trapped particles remain behind.
As you monitor the flow, keep in mind that Oil viscosity affects separation speed: warm, thinner oil passes through more readily, while thick oil may drain slowly.
The filter captures crumbs, sludge, and other contaminants, keeping them out of your recovered oil.
Effective Waste separation depends on using the correct filter and avoiding overflow. Watch for these reassuring signs:
- Clearer oil signals successful filtration.
- Steady flow shows the system is working.
- A firm filter holds unwanted particles.
- Fewer impurities protect your equipment.
- Visible progress builds confidence.
You’ll know the process is nearly complete when only a slow drip remains and the waste layer looks compact.
Keep the containers steady so you don’t disturb the separated materials.
Store and Dispose Properly
After the oil finishes dripping, transfer it to a clean, airtight, clearly labeled container and store it upright in a cool, dark place. Let it cool completely before sealing, and don’t mix different oil types.
Check for leaks, keep the container away from heat and children, and follow local storage guidance. These safety precautions help prevent spills, fires, and accidental ingestion.
Collect the remaining solids, used filters, and sludge in a separate, sealable bag or container. Don’t pour oil or waste down a drain, where it can clog pipes and harm waterways.
Instead, take the oil to a recycling center or approved collection point, and place solid waste in the proper trash stream. Follow local rules to reduce environmental impact, and wipe the extractor clean before storing it.
Transfer and Store Recovered Oil
When the extractor finishes, transfer the recovered oil into a clean, compatible container using a funnel or pump to prevent spills. Wear gloves and eye protection, and follow Oil extraction safety practices while handling warm or contaminated fluid. Choose a container rated for the oil, seal it tightly, and label it with the oil type, date, and any hazards.
Store the container upright in a cool, dry, well-ventilated area away from flames, drains, sunlight, children, and animals. Keep incompatible chemicals separate, and inspect the container regularly for leaks, swelling, or damage.
Your careful storage protects people and prevents unnecessary Environmental impact:
- You prevent slippery spills that could injure someone.
- You protect soil and water from contamination.
- You preserve valuable oil for recycling or approved reuse.
- You give workers clear information during later handling.
- You turn a messy task into a responsible one.
Never mix recovered oil with solvents, water, or other fluids unless an approved process requires it. Arrange collection through a licensed recycler or waste facility when needed.
Clean, Maintain, and Troubleshoot the Extractor
After each use, clean the extractor to remove oil residue and debris. You’ll also need to maintain key components, including the hoses, seals, and filters, so the extractor continues to work reliably.
If a problem comes up, troubleshoot it by checking the connections, looking for blockages, and making sure the power source is working properly.
Clean After Each Use
Clean the oil extractor after each use to prevent residue from hardening and contaminating future batches. First, disconnect power and let hot surfaces cool.
Wear gloves and follow oil extraction safety practices while you empty remaining oil into a suitable container. Scrape soft residue from the chamber, then wipe accessible surfaces with a clean, lint-free cloth.
Use the manufacturer-approved cleaner sparingly, and never spray liquid near electrical connections. Remove washable parts only as directed, rinse them thoroughly, and dry everything completely before reassembly.
Careful equipment cleaning protects flavor, reduces odors, and helps you feel confident about your next batch.
- Prevents stale smells from lingering
- Protects your investment from avoidable messes
- Keeps every batch tasting fresh
- Reduces stressful cleanup later
- Gives you peace of mind before extraction
Maintain Key Components
Regular cleaning is only part of caring for an oil extractor; you also need to maintain its key components. Inspect the press, hopper, collection tray, seals, and fasteners according to the manufacturer’s schedule.
Tighten loose connections carefully, but don’t overtighten them, since excessive force can damage threads or housings. Apply food-safe lubricant to designated moving parts, keeping oil away from product-contact surfaces unless the manual permits it.
This lubrication maintenance reduces friction and supports smooth operation. Replace worn seals, cracked hoses, or damaged fittings with compatible parts rather than improvised substitutes.
Keep electrical cords, switches, and ventilation openings dry and free of buildup. Store the extractor in a clean, dry location, protected from moisture and extreme temperatures.
Consistent care improves component durability and helps preserve reliable performance over time.
Troubleshoot Common Issues
When the extractor doesn’t perform as expected, stop the machine and identify the symptoms before making adjustments. Check these common problems:
- Weak output: Confirm the material is dry, properly prepared, and suited to your oil extraction techniques.
- Unusual noise: Switch off power, then inspect loose fasteners, worn bearings, or trapped debris.
- Overheating: Clean vents, reduce the load, and verify adequate airflow.
- Leaks: Examine seals, fittings, and collection containers; replace damaged parts immediately.
- Clogging: Clear the feed path only after disconnecting power, and never force material through.
Review the manual before changing settings, and test the extractor with a small batch. Regular Equipment maintenance prevents many failures: clean residue after every use, lubricate approved points, tighten connections, and replace worn components.
If the problem persists, contact a qualified technician. Don’t bypass safety guards or restart the machine until you’ve found and corrected the cause. This careful approach protects you, your equipment, and your oil quality.
Frequently Asked Questions
How Much Does an Oil Extractor Typically Cost?
You’ll typically pay $50–$150 for a basic manual oil extractor, while electric models usually cost $100–$300. Professional-grade units can exceed $500, depending on capacity, power, and construction.
A portable oil extractor often costs more when it includes a battery, durable pump, or larger reservoir. Before buying, compare warranty coverage, replacement parts, and oil extractor maintenance requirements.
Spending slightly more upfront can give you faster extraction, better reliability, and lower long-term operating costs overall.
Which Vehicles Are Compatible With an Oil Extractor?
You can use an oil extractor with nearly every vehicle featuring an accessible dipstick tube—cars, SUVs, trucks, motorcycles, boats, and even fleet vehicles. Compatible vehicle types typically have engine oil routed through that tube, allowing suction to remove old oil.
Always check your owner’s manual first, because some engines require drain-plug service. For reliable results, prioritize oil extractor maintenance: clean hoses, inspect seals, and store the pump properly after each use.
Can an Oil Extractor Replace Traditional Drain-Plug Oil Changes?
Yes, you can replace traditional drain-plug oil changes with an oil extractor if your vehicle’s dipstick tube reaches the oil pan’s lowest point. Oil extractor advantages include cleaner servicing, faster work, and reduced risk of stripped plugs or leaks.
However, some vehicles require drain-plug removal to empty all the oil or inspect metal debris. Consider your owner’s manual, extractor capacity, and environmental impact, then choose the method that suits your vehicle and maintenance needs best.
What Safety Precautions Should Children and Pets Follow Around Oil Extractors?
Keep children and pets away from oil extractors during use, because hot oil, moving parts, and spills can cause serious injuries. For child safety, supervise closely, block access, and store the extractor, hoses, and used oil securely out of reach.
For pet safety, keep animals in another room and clean spills immediately. Don’t let anyone touch the engine, nozzle, or waste container until everything has cooled and you’ve disposed of oil properly.
How Should Used Oil Be Disposed of Legally and Responsibly?
Contact your local recycling center or household hazardous-waste program to learn where you can take used oil legally. Don’t pour it onto soil, down drains, or into storm sewers; those actions increase environmental impact and can violate local law.
Drain oil into a clean, sealed, labeled container, avoid mixing it with chemicals, and deliver it to an approved collection site. Through oil recycling, you’ll help conserve resources and prevent pollution.
Conclusion
An oil extractor works by creating suction, drawing out used oil, separating contaminants, and collecting the recovered fluid. When you prepare it properly, monitor pressure, and check temperature, you protect equipment and prevent messy spills.
When you empty, transfer, and store the oil responsibly, you support safer maintenance and cleaner disposal. Keep the extractor clean, inspect its parts, and troubleshoot problems early.
Follow these steps consistently, and you’ll make every oil change with an oil extractor faster, cleaner, and more reliable.