How Does a Wheel Chock Work Step-by-Step
If you’ve ever worried about a parked vehicle rolling unexpectedly, you’re not alone. Many people struggle to find a reliable wheel chock that feels secure and easy to use. Understanding how a wheel chock works can help you choose the right product and park with greater confidence.
A wheel chock works by wedging tightly against your tire to stop rolling. First, choose a chock rated for your vehicle and inspect it and the tire for damage.
Park on firm, level ground, set the parking brake, and place the chock against the downhill side or direction of possible movement. Push it snugly against the tread, then test for gaps or movement. Use additional chocks when needed, and remove them safely before driving.
The steps below explain more.
Key Takeaways
- Inspect the chock, tire, and surface to ensure they are undamaged, clean, and suitable for the vehicle’s weight.
- Park on firm, level ground whenever possible, then apply the parking brake and select the appropriate gear.
- Position the chock’s angled face snugly against the tire tread on the downhill side or direction of potential movement.
- Push the chock firmly against the tire, ensuring its base sits flat without rocking, sliding, or twisting.
- Gently test the vehicle for movement, use additional chocks when necessary, and remove them safely before driving.
How Wheel Chocks Stop Vehicle Movement?
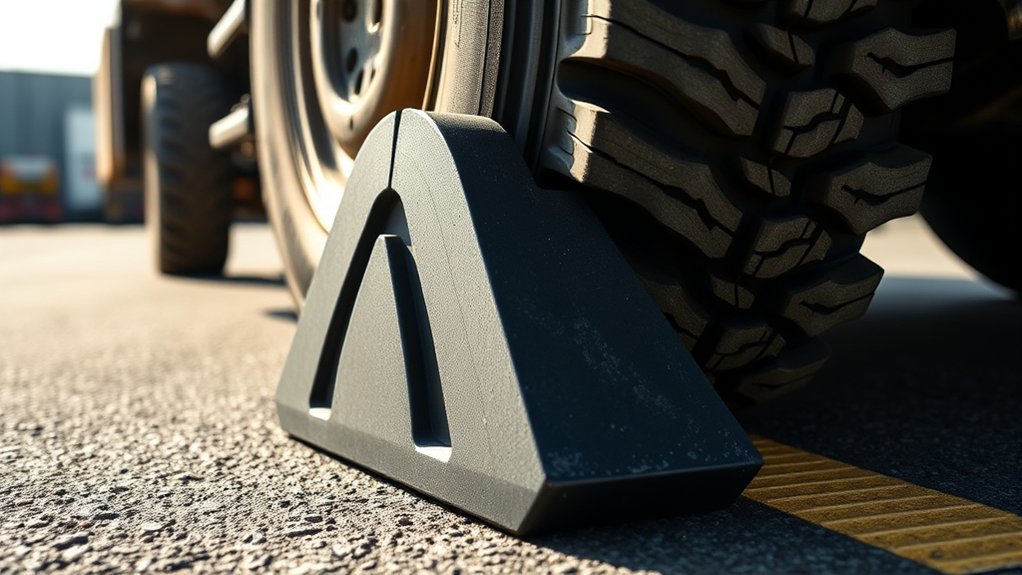
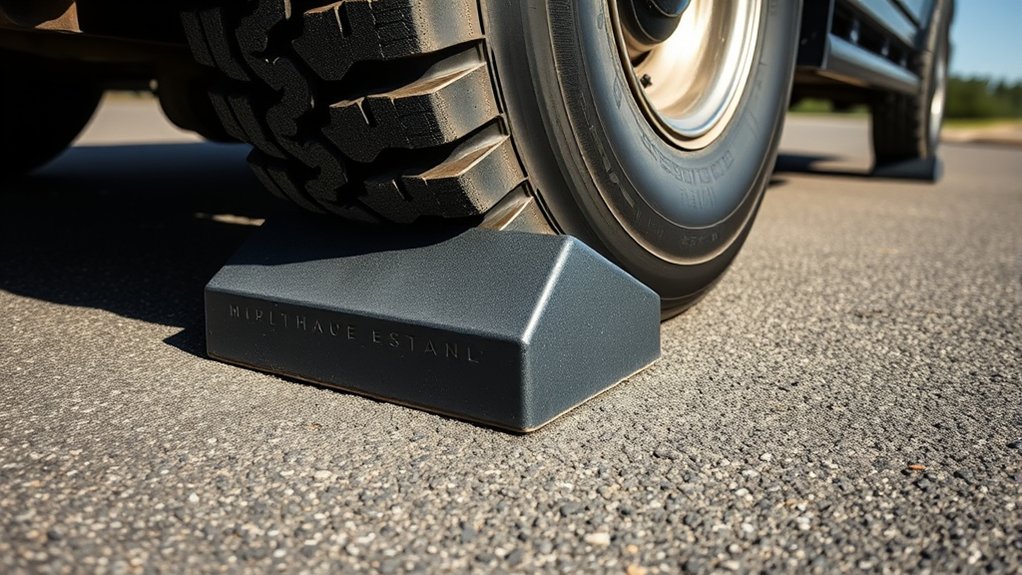
Wheel chocks stop vehicle movement by creating a physical barrier between the tire and the ground. When you place a chock snugly against a tire, its angled face meets the tread and resists rolling.
If the vehicle tries to move forward or backward, the tire presses harder against the chock, transferring force into the ground. This simple wedge effect helps maintain a stationary position on level surfaces and slopes.
For effective Wheel chock safety, you should engage the parking brake, shift into park or a suitable gear, and turn off the engine before positioning the chock.
Place it on the downhill side when a vehicle could roll, and use chocks at multiple wheels when conditions require additional restraint. Check that each chock sits firmly against the tire and remains stable.
These Vehicle immobilization techniques reduce unintended movement during loading, unloading, inspection, or maintenance. Never treat a chock as a substitute for proper braking or safe work procedures.
Choose the Right Wheel Chock
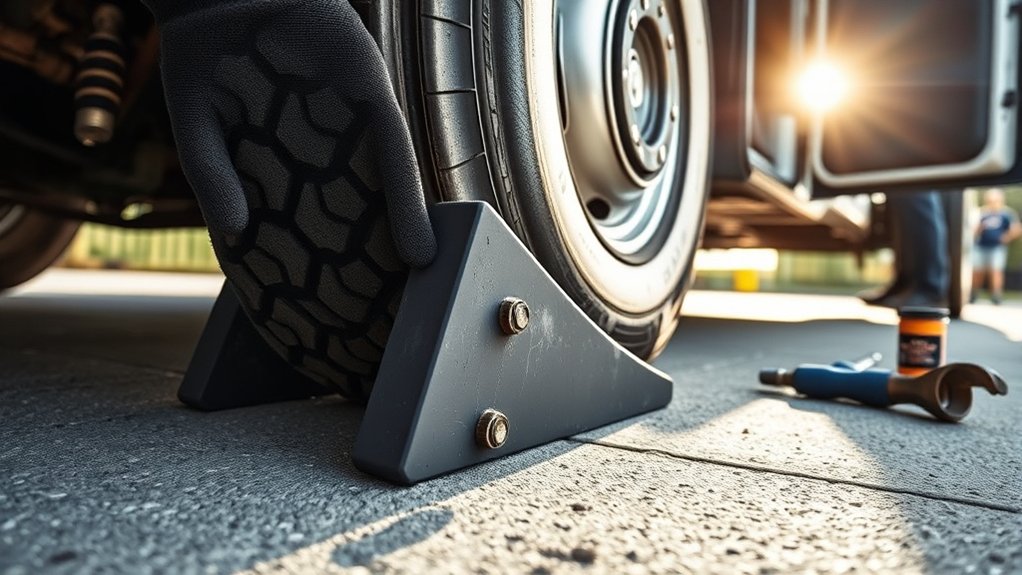
To choose the right wheel chock, first consider your vehicle’s wheel size and the chock’s weight capacity. You’ll also want to select a material that suits your vehicle and operating conditions.
Assess Wheel Size
How do you choose the right chock for your vehicle? Start by measuring your tire’s wheel diameter, including the tread, then compare it with the chock manufacturer’s recommended range.
A chock should contact the tire securely without sitting too low or high. Check the tire’s width and shape, too, because a narrow chock may not cradle a wide tire properly.
Tire pressure also affects the tire’s profile, so assess the inflated tire rather than relying on a flat or partially deflated measurement. Use this quick guide:
| Measurement | What to check |
|---|---|
| Wheel diameter | Match the chock’s range |
| Tire width | Confirm adequate contact |
| Tire profile | Check the tire’s shape |
| Tire pressure | Measure when inflated |
Choose a design that fits snugly and stays stable on your surface.
Check Weight Capacity
After matching the chock to your tire size, check that its rated capacity exceeds your vehicle’s loaded weight. Don’t rely on the vehicle’s empty weight; include passengers, cargo, fluids, and attached equipment.
Compare the chock’s wheel capacity with the manufacturer’s stated weight limits, and choose a model with a comfortable safety margin.
- Find your vehicle’s gross loaded weight in the owner’s manual, door label, or registration documents.
- Determine whether the rating applies to one chock, a pair, or the complete set.
- Select chocks whose combined rating comfortably exceeds the maximum load you’ll secure.
If you’ll use chocks on slopes, account for how parking conditions can increase forces on them.
Never guess or assume a larger-looking chock supports more weight. Confirm the exact rating in the product specifications, and replace any chock with missing or unreadable capacity markings.
Proper capacity helps prevent rolling and keeps your parked vehicle secure.
Choose Suitable Material
Choose a wheel chock material that suits your vehicle, parking surface, and weather conditions. For light vehicles on smooth, dry pavement, molded rubber chocks provide strong traction, resist cracking, and stay easy to handle.
If you park outdoors, select UV-resistant rubber or durable plastic that won’t become brittle in sunlight or freezing temperatures. Steel chocks offer exceptional strength for trucks and trailers, but they can corrode without protective coatings and may damage delicate surfaces.
Your material selection should also reflect storage and lifting needs. Lightweight options simplify placement, while heavier chocks resist shifting under load.
Consider safety factors such as grip, visibility, chemical resistance, and temperature tolerance. Avoid improvised blocks, which can split, slide, or fail unexpectedly.
Always choose a chock designed for your vehicle’s weight and operating environment.
Inspect the Chock and Tire
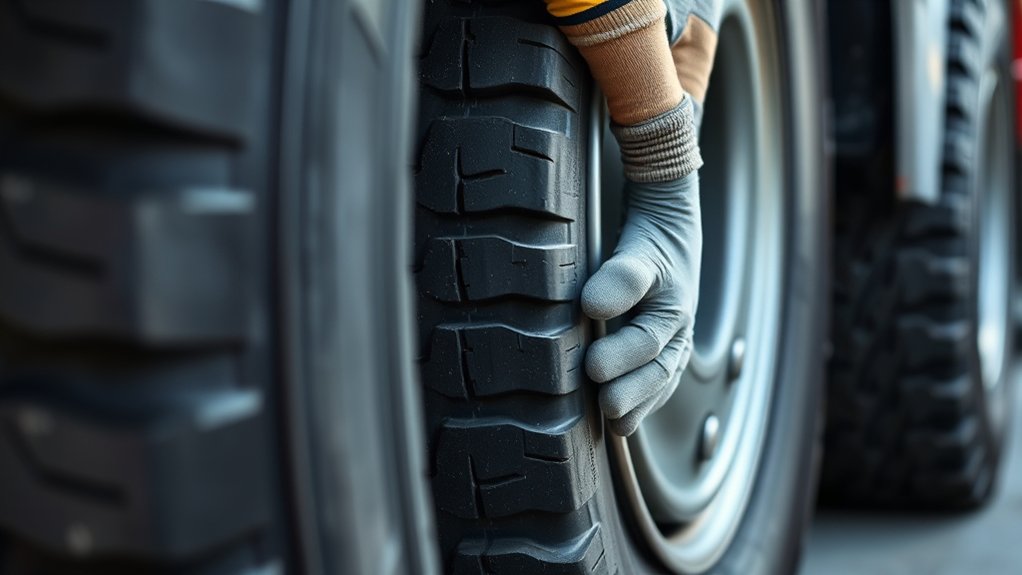
Before use, inspect the wheel chock and tire for damage, excessive wear, or debris that could reduce traction. Run your hands over the chock and look for cracks, splits, distortion, or missing sections.
> Inspect the wheel chock and tire for damage, wear, or debris that could compromise traction before use.
Check that its base sits evenly and that its gripping surface remains sharp rather than smooth or rounded.
- Examine the tire tread for embedded stones, oil, mud, or cuts. Clean away debris and replace the tire if you find serious damage.
- Check tire pressure against the manufacturer’s specification. An underinflated, overinflated, or visibly bulging tire may not contact the chock properly.
- Review wheel alignment by watching for uneven tread wear, leaning, or unusual shoulder damage. Address these signs before relying on the chock.
Confirm that the chock matches the tire’s size and condition, with no loose parts or weakened material. Don’t use a cracked, worn, contaminated, or undersized chock.
Replace questionable equipment instead of attempting a temporary repair, because reliable contact depends on sound surfaces. Document recurring damage so you can identify maintenance problems early.
Stop on a Stable Surface
A sound chock and properly maintained tire still need a firm, level surface to work effectively. Before you rely on wheel chock safety, choose pavement, concrete, or another compact surface that won’t shift under the vehicle’s weight.
Avoid loose gravel, mud, sand, wet grass, ice, and steep slopes, because these conditions can let the chock slide, sink, or lose contact with the tire.
Check parking surface considerations carefully, especially when you’re working near a shoulder, loading area, or driveway. Look for potholes, cracks, debris, oil, and standing water that could reduce traction or prevent the chock from sitting flat.
If you can’t find a stable area, move the vehicle to a safer location before continuing.
Keep the tires aligned with the surface rather than positioning the vehicle across a sharp grade. Confirm that you have enough room to approach the tire safely and place the chock snugly afterward.
A stable stopping area gives the chock a solid foundation and improves its ability to resist movement.
Set the Parking Brake and Transmission
Before placing a wheel chock, engage the vehicle’s parking brake. Then shift an automatic transmission into Park or a manual transmission into first gear. These steps help keep the vehicle stationary while the chock provides extra security.
Engage the Parking Brake
How do you keep a vehicle from rolling before placing a wheel chock? Engage the parking brake fully while you’re seated in the driver’s position.
Press or pull the control until you feel firm resistance, then confirm the vehicle stays still. Don’t rely on a partially set brake, especially on a slope, because reduced parking brake engagement can allow movement.
- Keep your foot firmly on the service brake while setting the parking brake.
- Check the brake indicator or lever position to confirm it’s engaged.
- Step out carefully and watch for any rolling or shifting.
Use a wheel chock made from suitable wheel chock material as an additional safeguard, not as a replacement for the brake.
If the brake won’t hold, stop and correct the problem before positioning the chock.
Select Park or Gear
| Situation | Transmission setting | Wheel position |
|---|---|---|
| Level ground | Park or first gear | Straight |
| Facing uphill | Park or first gear | Away from curb |
| Facing downhill | Park or reverse | Toward curb |
Check the owner’s manual and include these steps in regular vehicle maintenance.
Place the Wheel Chock Correctly
Place the wheel chock snugly against the tire on the downhill side, or in front of the tire when the vehicle could roll forward. Choose a chock rated for your vehicle’s weight and tire size.
Check the slope, identify the direction of possible movement, and position the chock on firm, level ground whenever possible.
- Turn off the engine, apply the parking brake, and shift into Park or the correct gear.
- Approach the tire from a safe angle, keeping your hands and feet clear of the vehicle’s path.
- Align the chock’s angled face with the tire and its base with the ground surface.
For wheel chock safety, use matching chocks on both sides when the vehicle may move in either direction. Don’t place a chock behind a tire if forward movement remains possible.
Proper installation starts with selecting the correct location and orientation. Keep the chock accessible, inspect it for cracks or damage, and replace it if the material looks worn.
Next, verify its placement before relying on it.
Seat the Chock Firmly Against the Tire
Once you’ve positioned the chock correctly, push it firmly against the tire until the tire’s weight holds it in place. Make sure the chock contacts the tire’s tread, not a loose surface or a damaged sidewall.
Push the chock firmly against the tire, ensuring it contacts the tread and leaves no visible gap.
Apply steady pressure with your foot, keeping your hands clear of the contact area. You shouldn’t leave a visible gap between the tire and the chock.
Check that the base sits flat and doesn’t rock, slide, or twist when you press it. Tire grip helps the chock resist movement, while the chock’s angle directs the tire’s force into the ground.
Inspect the Chock materials for cracks, warping, excessive wear, or embedded debris that could reduce stability. If the surface feels slippery, clean away oil, mud, snow, or gravel before seating the chock.
Confirm that the tire remains supported and that the chock stays snug without forcing it beneath the tire. This firm fit helps prevent unintended rolling during stationary work.
Use Multiple Wheel Chocks When Needed
Use multiple wheel chocks when the vehicle could roll in either direction or when one chock can’t provide enough resistance. Chock the tires on both sides of the vehicle, especially on slopes, uneven surfaces, or during loading and unloading. Your goal is to block movement before it starts, not to compensate for poor parking or weak equipment.
- Place one chock snugly against each tire on the downhill side when gravity creates one rolling direction.
- Add chocks on both sides of the tires when the vehicle might move forward or backward.
- Match the chock size and material to the vehicle’s weight, tire diameter, and surface.
Don’t mix unsuitable alternative chock types without checking their load ratings and fit. Avoid common chock mistakes, such as placing chocks too far from the tires, using damaged pieces, or relying on a single small chock for heavy equipment.
Secure every wheel that could contribute to movement, and keep chocks accessible for removal later.
Test the Chock Before You Leave
Before you leave, check that the chock is positioned securely against the wheel and the ground. Gently test the wheel to make sure it stays stable and the chock holds firmly.
Inspect Chock Placement
Test the chock by gently nudging the vehicle against it and watching for movement or a gap between the tire and chock. This simple check helps you verify your chock placement before you leave the vehicle unattended.
Use these inspection techniques:
- Check contact: Confirm the chock sits snugly against the tire, with its face aligned squarely to the tread.
- Inspect the surface: Look for gravel, mud, oil, or debris that could keep the chock from sitting flat.
- Review alignment: Make sure the chock remains centered with the tire and rests fully on the ground.
If you notice a gap, reposition the chock and repeat the test. Replace cracked, warped, or badly worn chocks before use.
A careful visual inspection and gentle nudge can reveal placement problems early, helping you correct them promptly.
Confirm Wheel Stability
Can the wheel move at all once the chock is in place? Test it before you leave. Push the vehicle gently by hand, or apply light pressure with your foot against the tire.
Watch for any rolling, rocking, or chock movement. Don’t jerk the vehicle or stand in its path. A small, controlled test protects you from unexpected motion.
If the wheel shifts, stop and reposition the chock. Place it snugly against the tire, ensuring its contact surface sits flat on firm ground.
For added wheel stability, use chocks on both sides of the wheel when conditions require it, such as a slope or heavy load. Confirm tire security again after each adjustment.
Only leave when the vehicle stays completely still and the chock remains firmly seated. Recheck it if the ground, load, or weather changes.
Remove Wheel Chocks Safely
Once the vehicle is secure and you’re ready to move, remove the wheel chocks from the downhill or non-driven side first, standing clear of the vehicle’s path. Keep your feet and hands away from tires, and never reach beneath the vehicle.
If you must enter the travel path, stop, check your surroundings, and confirm no one is nearby.
Follow these steps:
- Release the parking brake only after you’ve removed the chocks from the safe side and confirmed the driver is ready.
- Pull each chock straight out by its handle, avoiding sudden movements that could place you in the tire’s path.
- Store the chocks securely so they won’t roll into traffic or become a trip hazard.
Different wheel chock types may require specific handling, so follow the manufacturer’s instructions.
Your safety precautions should include wearing visible clothing, maintaining three-point awareness, and never relying on chocks alone.
After removal, inspect the area and proceed slowly, watching for people, obstacles, and changing ground conditions.
Frequently Asked Questions
Can Wheel Chocks Be Used on Trailers and Recreational Vehicles?
Yes, you can use wheel chocks on trailers and recreational vehicles. Place them snugly against the tires on both sides, especially when you’re parked on an incline or disconnecting a trailer from your tow vehicle.
Chocks help prevent rolling, while properly setting the parking brake and stabilizing jacks improves overall Trailer safety and RV stability. Choose chocks rated for your vehicle’s weight, and inspect them regularly for cracks, wear, or deformation before each use.
What Materials Are Wheel Chocks Typically Made From?
Wheel chocks typically use rubber, plastic, aluminum, steel, or heavy-duty composite materials. You’ll often choose rubber for its grip and resistance to slipping, while molded plastic offers lightweight convenience and weather resistance.
Steel provides exceptional strength for commercial vehicles, and aluminum reduces weight without sacrificing durability. Consider material durability and manufacturing materials when selecting chocks.
You’ll want a product that withstands sunlight, moisture, temperature changes, crushing forces, and repeated use reliably.
How Should Wheel Chocks Be Stored Between Uses?
Store wheel chocks in a clean, dry, shaded place where they won’t become buried under a mountain of equipment. Keep them away from oil, chemicals, extreme heat, and direct sunlight, which can weaken rubber or plastic.
For storage safety, place chocks on a stable shelf or in a secured bin, preventing trips and deformation. Proper maintenance includes cleaning dirt, checking for cracks, and ensuring each chock remains ready for use.
Are Wheel Chocks Required by Workplace Safety Regulations?
Yes, you may need wheel chocks to meet workplace safety regulations, especially when you load, unload, park, or service vehicles on slopes or near docks.
Requirements vary by jurisdiction, industry, vehicle type, and site conditions, so check applicable OSHA rules, transportation laws, and employer procedures.
For safety compliance, follow relevant regulatory standards, train workers, inspect chocks, and use them whenever your risk assessment identifies vehicle movement hazards.
When Should Worn or Damaged Wheel Chocks Be Replaced?
Replace worn or damaged wheel chocks immediately. Why risk a vehicle rolling when reliable protection matters?
During wheel chock maintenance, inspect each chock before every use and after exposure to harsh weather, chemicals, heavy loads, or impact.
Follow clear replacement criteria: discard chocks showing cracks, cuts, crushed edges, deformation, excessive wear, missing parts, weakened handles, or poor grip.
Don’t repair compromised chocks unless the manufacturer explicitly approves it. Install properly rated replacements instead.
Conclusion
When you use a wheel chock correctly, you create a simple but reliable barrier against rolling. For example, imagine parking a loaded trailer on a slight incline: you’d stop on firm ground, set the brake, place chocks tightly against the tires, and test for movement before unhitching.
That extra minute can prevent serious damage or injury. Always choose the right chock, inspect it, and remove it only after you’re ready to move. Understanding how a wheel chock works helps keep every parking and loading task safer.