How Does a Car Ramp Work Step by Step
Working under a car can feel stressful, especially when you’re unsure whether your ramps are stable and safe. You’re not alone—many people struggle to choose the right equipment and position it correctly.
This guide explains how a car ramp works step by step so you can lift your vehicle with greater confidence.
To use a car ramp, choose one rated above your vehicle’s fully loaded weight and sized for its tires.
Park on flat, solid ground, then place both ramps straight against the drive wheels.
Center the tires and drive up slowly until they reach the stops.
Set the parking brake, shift into Park or first gear, and chock the wheels.
Check stability before working.
When finished, remove chocks and drive down carefully to learn more.
Key Takeaways
- Choose ramps rated above the vehicle’s total loaded weight and compatible with its tire size and ground clearance.
- Park on a flat, solid surface. Align both ramps directly with the tires and ensure they sit securely.
- Drive slowly and straight onto the ramps, keeping the tires centered. Stop at the wheel stops.
- Set the parking brake, select Park or first gear, and place wheel chocks behind the tires remaining on the ground.
- When finished, remove the chocks and drive off slowly while staying centered. Then inspect and store the ramps safely.
Choose the Right Car Ramps
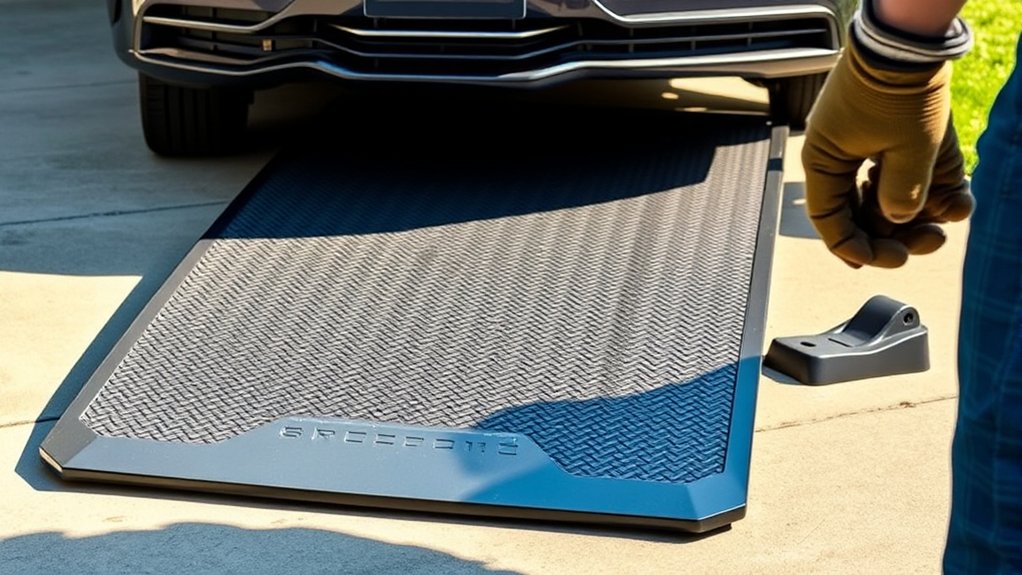
Before lifting your car, choose ramps that match its weight, tire size, and ground clearance. Start by checking each ramp’s length and incline. A longer ramp usually creates a gentler climb, while a shorter one may require more clearance beneath the bumper.
Measure your tire width, then confirm that the ramp’s track can hold the tire securely without forcing it near either edge.
Choosing material also matters. Steel ramps offer strength and durability, while reinforced plastic or composite ramps resist rust and remain easier to carry.
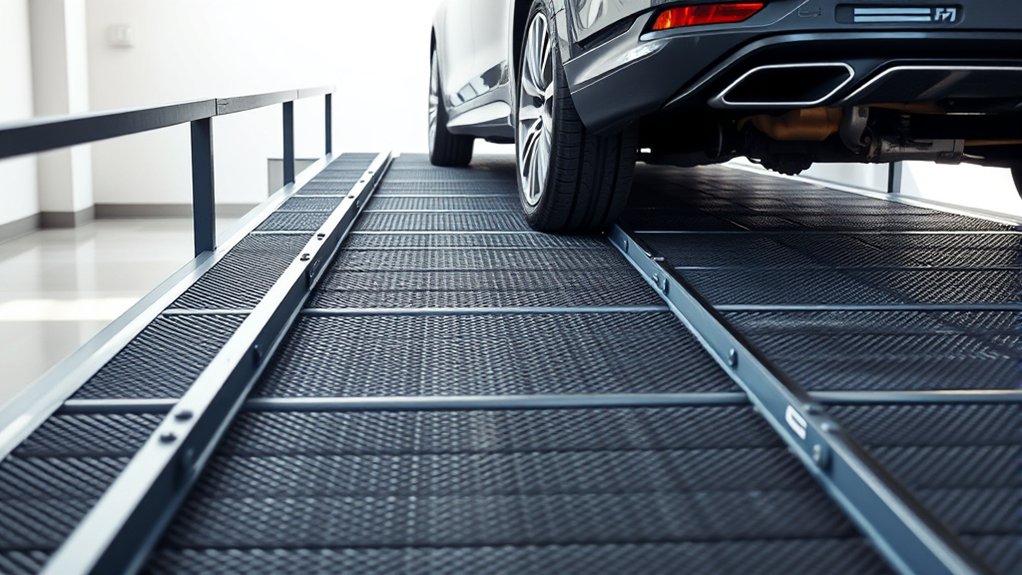
Look for solid construction, stable bases, and surfaces that won’t flex under normal use. When identifying safety features, check for raised side rails, wheel stops, non-slip tread, and a broad footprint.
Some designs include locking mechanisms or attachment points to prevent shifting. Read the manufacturer’s instructions before use, and inspect every ramp for cracks, bends, loose parts, or contamination that could reduce traction. Replace damaged equipment promptly.
Match Ramp Capacity to Your Vehicle
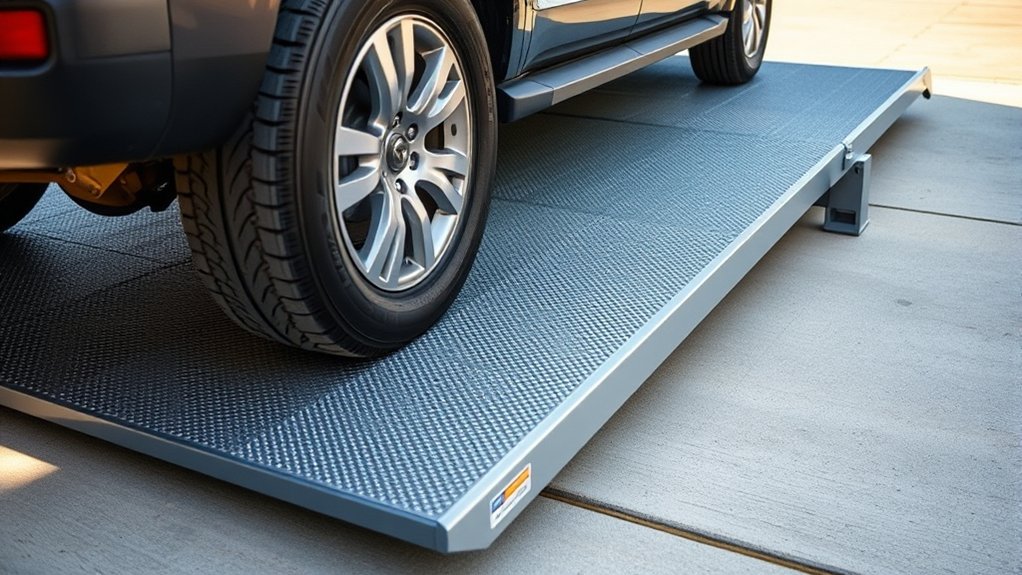
Ramp capacity must exceed your vehicle’s actual weight, including passengers, cargo, and any tools inside it. Check your owner’s manual, door-jamb label, or registration documents to determine the vehicle weight, then add everything you’ll carry during the lift.
Don’t rely on the vehicle’s curb weight if you’ll have equipment, spare parts, or another person inside.
Read each ramp’s rated capacity carefully. Some ratings apply to one ramp, while others describe the pair, so confirm the manufacturer’s meaning before buying or using them.
Choose a capacity comfortably above your calculated load rather than matching it exactly. This margin helps account for uneven loading and normal measurement differences.
Consider ramp materials, too. Steel ramps often provide high load ratings and resist deformation, while aluminum models reduce lifting effort but may support less weight.
Inspect welds, hinges, and support points for damage. Replace any ramp that shows bending, cracks, severe rust, or other signs of overload.
Park on Flat, Solid Ground
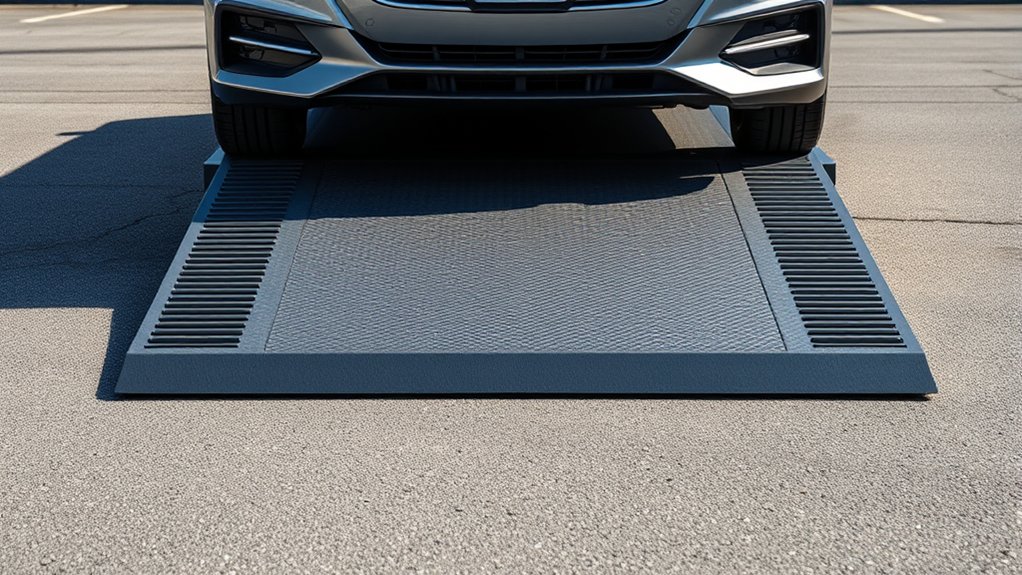
Park on a flat, solid surface such as concrete or level asphalt so the ramps remain stable as the vehicle moves onto them. Avoid grass, gravel, dirt, wet leaves, and sloped driveways, which can shift, sink, or reduce traction under the tires.
Park on flat, solid ground to keep ramps stable and prevent shifting, sinking, or traction loss as the vehicle moves onto them.
Inspect the area for cracks, potholes, oil, loose stones, and other hazards before you begin. Choose a location with enough room for your vehicle, tools, and safe movement around it, while keeping pedestrians and other vehicles clear.
Consider Parking lot etiquette if you’re working in a shared area. Don’t block traffic, accessible spaces, entrances, or neighboring vehicles, and use warning markers when appropriate. Check local rules before performing maintenance outside your home.
Ramp material options include steel, aluminum, and reinforced plastic, but every type requires firm, level support. If rain, ice, or poor lighting affects the surface, postpone the job or select a safer location.
Never rely on a soft shoulder or uneven roadside area.
Position the Ramps Against the Tires
Position each ramp directly in line with your tires. Center the tires on the ramps, then make sure each ramp is sitting flat and stable. Don’t proceed until all the ramps are securely positioned.
Align Ramps With Tires
Once the parking brake is set and the wheels are straight, place each ramp directly in front of a drive tire, with its centerline aligned to the tire’s midpoint. Check that the ramp’s approach surface sits flat on the ground and points straight toward the tread.
Confirm your Tire pressure matches the vehicle manufacturer’s recommendation; uneven inflation can affect how the tire meets the ramp. Inspect the Ramp material for cracks, bends, loose parts, or slippery contamination before loading the vehicle.
Keep both ramps on the same level surface, free from gravel, oil, and moisture. Leave enough clearance around each ramp for the tire to climb without contacting nearby objects.
Don’t rely on visual alignment alone: step back, compare both positions, and adjust them before driving forward slowly.
Center Each Ramp
With the ramps on a clean, level surface, center each one against its tire by lining the ramp’s middle with the tire’s center tread. Keep the ramp straight in line with the vehicle’s travel path, so the tire can climb without drifting toward an edge.
Position both ramps at matching distances from the vehicle’s centerline, giving each front tire the same approach. If your vehicle has wide or unusually shaped tires, adjust the ramps to place the tread fully on their driving surfaces.
Check your owner’s manual for ramp-placement guidance, especially when performing vehicle maintenance on a low-clearance model. As part of your safety precautions, remove loose objects from the path and confirm you have enough room to drive forward smoothly.
Don’t place any part of your body beneath the vehicle while positioning the ramps.
Check Ramp Stability
Press each ramp firmly against the tire’s front edge, keeping its center aligned with the tread. Make sure the ramp sits flat on solid, level ground, without rocks, cracks, or loose debris underneath.
Check that both ramps face directly forward and match each other’s angle. Their ramp material should feel rigid, intact, and free from bends, splits, or excessive wear.
Don’t use a ramp that shifts when you push it by hand. Confirm the tire contacts the ramp’s climbing surface evenly, rather than touching one side.
Before driving, engage the parking brake and place the transmission in Park or first gear. Keep your safety equipment nearby, including wheel chocks and gloves.
If anything looks unstable, stop and reposition the ramp. Never climb a ramp until it remains firmly planted and aligned.
Align the Tires With the Ramp Center
Center each tire with the ramp’s raised guides before driving forward. Keep the steering wheel straight and use a spotter if your view is limited.
Proper positioning helps prevent a tire from slipping beside the ramp, where damage or instability could result.
- Check Tire pressure first. Equal, manufacturer-recommended pressure helps each tire maintain a consistent shape and contact patch.
- Confirm your Wheel alignment is sound. A vehicle that pulls left or right may not track the ramp’s center without correction.
- Sit squarely in the driver’s seat and look directly over the hood, not at an angle.
- Use small steering corrections to place both front tires evenly between the guides, then verify that the rear tires follow the same path.
Keep your mirrors adjusted so you can monitor both sides. Don’t rely only on painted marks or guesswork.
Stop and reposition the vehicle if either tire approaches an edge. Maintain this centered position while you prepare for the next step.
Drive Onto the Ramps Slowly
Drive onto the ramps slowly, keeping your tires centered. Maintain a steady speed as you climb, and avoid accelerating or making sudden steering corrections.
Align Tires Carefully
Before moving, set the ramps directly in line with the tires and check that their bases sit flat on solid, level ground. Inspect each ramp’s width, angle, and contact points before you enter.
- Confirm your tire pressure matches the vehicle manufacturer’s recommendation. Uneven inflation can affect how each tire tracks.
- Center the steering wheel, then visually line up each tire with its ramp’s middle channel.
- Check wheel alignment concerns, such as pulling or uneven wear, because they can make straight positioning harder.
- Ask a spotter to stand where you can see them clearly and signal if a tire drifts toward an edge.
Keep the wheels straight as you approach the ramp faces. If either tire begins to veer, stop, reposition the vehicle, and realign the ramps before continuing. Never let a tire climb at an angle.
Maintain Slow Speed
Once the tires are aligned, ease forward at a walking pace and apply gentle, steady pressure to the accelerator. Keep both hands on the wheel, watch the ramp edges, and avoid sudden braking or steering.
Listen for scraping, shifting, or tire slip. If anything feels wrong, stop immediately, set the brake, and reassess.
| Action | Purpose |
|---|---|
| Crawl forward | Maintain control |
| Keep wheels straight | Prevent slipping |
| Watch tire position | Confirm alignment |
| Stop if movement changes | Protect vehicle safety |
After the tires reach the ramp stops, stop smoothly and shift into Park or first gear. Set the parking brake before exiting, then chock the rear wheels if required.
Inspect the ramps after use. Cleaning debris and checking bends supports ramp maintenance.
Never accelerate to overcome resistance, and don’t rely on the ramps alone while working underneath.
Set the Brake and Chock the Wheels
After positioning the vehicle on the ramps, set the parking brake firmly and place wheel chocks behind the tires that remain on the ground. Keep your foot brake pressed while shifting into Park for an automatic transmission, or into first gear or reverse for a manual transmission.
Don’t rely on the parking brake alone; chocks provide extra resistance against rolling.
- Choose solid chocks sized for your tires, not loose wood or unstable objects.
- Push each chock snugly against the downhill side of the tires still on the ground.
- If the vehicle could roll either direction, place chocks on both sides of those tires.
- Confirm the parking brake engages fully without excessive lever travel or pedal movement.
If the brake feels weak, address the brake adjustment before continuing.
For wheel chocking, use matching chocks and position them squarely against the tread. Keep the transmission engaged, and don’t release the parking brake while you’re underneath the vehicle.
Avoid climbing into or starting the car during this step.
Check Ramp Stability Before Working
With the brake set and wheels chocked, verify that each ramp sits flat and remains firmly under the tires. Look along both sides to confirm the tires center on the ramps without touching an edge.
Verify each ramp sits flat beneath the tires, with wheels centered and clear of both edges.
Check that the ramp’s base rests completely on solid, level ground, with no gravel, oil, ice, or debris underneath. Push gently against each ramp; it shouldn’t rock, slide, or tilt.
Inspect the ramp material for cracks, bends, rust, split welds, or other damage, and replace a questionable ramp instead of using it. Read the ramp label and compare its weight capacity with your vehicle’s weight, accounting for the axle load the ramps will support.
Confirm that both ramps match in height and design so the vehicle stays level. If anything seems unstable or overloaded, stop and correct the setup before you work beneath the vehicle.
Keep the surrounding area clear, and don’t rely on a jack alone to support the car.
Lower the Car Ramps Safely
Lower the car ramps only after you’ve finished the work, removed all tools from beneath the vehicle, and confirmed that everyone is clear. Keep the vehicle secured, and don’t rush the lowering process.
- Recheck the parking brake, transmission setting, and wheel chocks before you begin.
- Position yourself beside the ramp, never underneath the vehicle, and remove each ramp carefully.
- Lower the vehicle gradually with a jack or approved lifting equipment, following its instructions.
- Set the vehicle on level ground, then check that it sits firmly before removing the equipment.
Once the tires rest fully on the ground, remove the chocks only when you’re ready to move. Inspect the ramps for cracks, bending, or damaged surfaces before storing them.
Regular ramp maintenance helps prevent future failures. Follow local parking regulations when choosing a storage or work area, and keep ramps dry, clean, and accessible.
If the vehicle shifts, stop immediately, secure it again, and reassess the setup before continuing. Never use damaged ramps or improvise with unstable supports.
Avoid Driving Off-Center or Too Far
Center your tires on each ramp before moving forward. Watch for the marked stopping point, and don’t drive past it. This helps keep your car stable and prevents it from rolling too far.
Center Your Tires
Guide the tires straight up the middle of the ramp, keeping equal space on both sides. Centering your vehicle helps each ramp support its intended share of weight and keeps the wheels securely positioned on the raised surface.
Before driving on, check these factors:
- Confirm your Tire pressure matches the vehicle manufacturer’s recommendation, so each tire responds evenly.
- Inspect Wheel alignment; pulling, drifting, or an uneven steering wheel can make centering difficult.
- Line up your hood ornament, emblem, or dashboard reference with the ramp’s centerline.
- Approach slowly, make small steering corrections, and keep both hands on the wheel.
Watch the ramp edges through your mirrors without staring at them. If one side appears closer, ease the steering toward the center rather than making a sharp correction.
Keep your movement controlled and steady as you climb.
Stop at the Mark
Once your tires reach the ramp’s marked stopping point, brake smoothly and stop completely before the wheels roll beyond it. Keep your vehicle centered as you stop, and don’t let momentum carry you past the safe position.
Shift into park, set the parking brake, and turn off the engine if the ramp’s instructions require it. Confirm that all tires rest securely on the ramp’s supported surface, not near an edge or gap.
Stopping at the mark helps distribute weight properly and reduces the risk of slipping, tipping, or damaging the ramp. This habit supports parking safety every time you load or unload your vehicle.
Check the markings regularly during ramp maintenance, because fading lines or worn surfaces can make the stopping point harder to identify. Never guess; reposition carefully if you overshoot.
Frequently Asked Questions
Can Car Ramps Be Used on Vehicles With Low Ground Clearance?
Yes, you can use car ramps with vehicles that have low ground clearance, but you’ll need to address ground clearance challenges carefully. Choose ramps with a gentle incline, low entry height, and adequate width.
Check ramp compatibility with your vehicle’s tires, weight, and underside clearance before driving up. You can also use purpose-built low-profile ramps or extension plates to reduce scraping.
Always position ramps securely and proceed slowly.
What Maintenance Do Car Ramps Require Over Time?
You’ll keep car ramps reliable by inspecting them before each use and maintaining them regularly. A bright, clean ramp inspires confidence; a cracked, oily one signals danger.
Check for bends, cracks, rust, worn traction surfaces, and damaged edges. Clean off grease and debris, then tighten or replace loose components when applicable.
Follow safety precautions: use level ground and confirm weight ratings. For storage tips, keep ramps dry, covered, stable, and away from sunlight or chemicals.
Are Plastic or Metal Car Ramps Better for Durability?
Metal car ramps generally offer better durability, especially if you regularly support heavy vehicles or work in demanding conditions. In this material comparison, steel resists crushing, cracking, and long-term deformation, while aluminum provides lighter handling with strong corrosion resistance.
Plastic ramps weigh less and won’t rust, but they can become brittle, warp, or crack with age and temperature changes. Check each ramp’s weight capacity, inspect it regularly, and choose quality construction.
Can Car Ramps Safely Support Vehicles With Modified Suspensions?
Yes, car ramps can safely support vehicles with modified suspensions, but you can’t assume every setup will fit. Suspension modifications may lower clearance, alter wheel placement, or change weight distribution, so check ramp compatibility before lifting.
Choose ramps rated well above your vehicle’s weight, verify tire contact, and confirm the approach angle. If your car sits extremely low or uses unusual components, use approved alternatives and follow the manufacturer’s guidance to prevent slipping or damage.
What Should You Do if a Ramp Cracks During Use?
Stop using the ramp immediately if you notice a crack, and don’t move the vehicle across it. Keep everyone clear, lower the vehicle safely with another rated support, and inspect for additional damage.
Don’t attempt to repair the crack with glue, welding, or makeshift materials, because hidden weakness may remain. Replace the ramp with one carrying the correct load rating.
Document the failure, contact the manufacturer, and strengthen your ramp inspection routine before future use.
Conclusion
Using car ramps is simple when you follow each step carefully. Choose ramps that match your vehicle, park on solid, level ground, and center the tires before driving up.
Set the parking brake, chock the wheels, and check stability before working. When you’re finished, lower the car slowly and stay centered, just as carefully as you climbed.
A few minutes of preparation can prevent a major headache and help you understand how a car ramp works step by step, so you’ll finish the job safely, right when dinner’s ready.