How Does a Brake Fluid Tester Work Step by Step
Brake fluid moisture can be difficult to detect, yet it may reduce braking performance and damage critical components. You’re not alone—many drivers struggle to know when their fluid needs attention. The best brake fluid tester can make checking moisture levels quick and straightforward.
A brake fluid tester measures moisture by checking how the fluid conducts electricity. First, you choose a tester compatible with your fluid, then clean and calibrate it.
Park safely, clean the reservoir, and draw a fresh sample without introducing dirt. Insert the probe and activate the device to receive indicator lights or a digital percentage.
Compare the result with the manufacturer’s limits. If moisture is high, replace, flush, and retest the fluid. The steps below explain each stage in detail.
Key Takeaways
- Prepare the vehicle, clean the reservoir area, and select a tester compatible with the brake fluid type.
- Turn on the tester, verify its batteries and calibration, and select the correct measurement mode if required.
- Draw a clean, representative fluid sample or insert the probe without touching the reservoir’s sides or bottom.
- Activate the tester and measure conductivity, which changes according to the brake fluid’s moisture content.
- Compare the reading with the manufacturer’s limits, repeat inconsistent tests, then clean the tester and reseal the reservoir.
What Does a Brake Fluid Tester Measure?
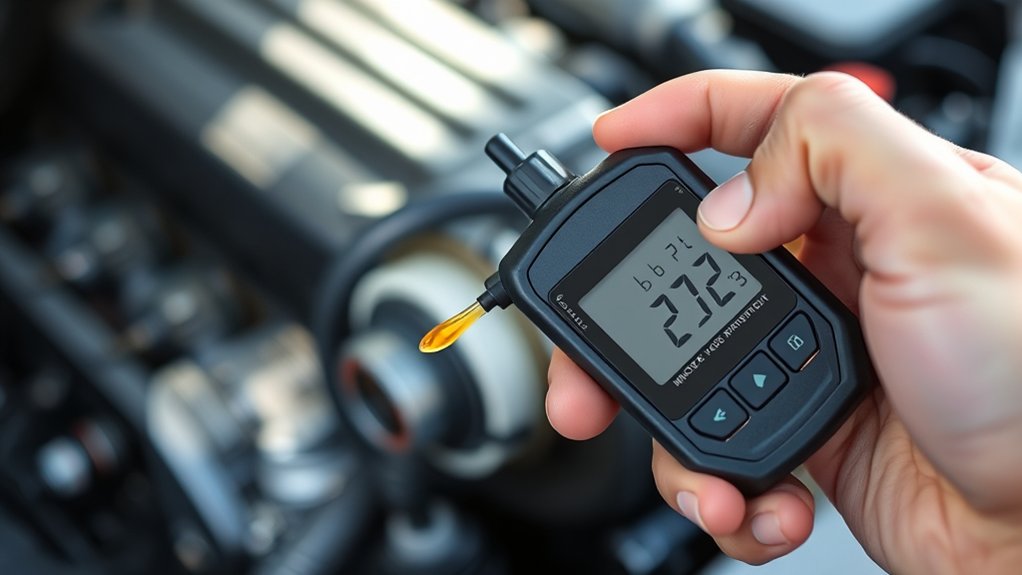
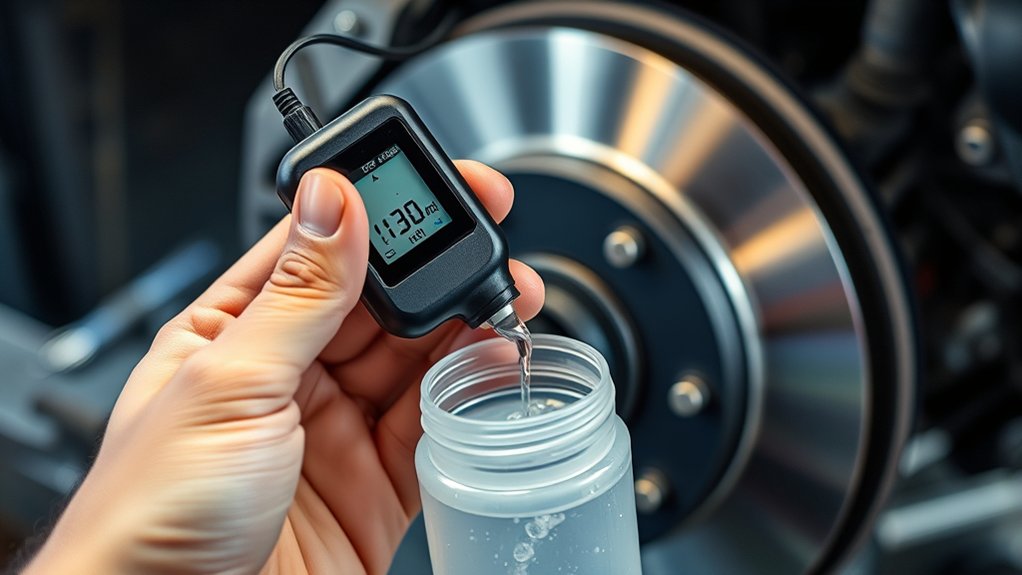
A brake fluid tester measures the fluid’s moisture content, which indicates how much water it has absorbed over time. You place the tester’s probe in the reservoir, and its sensors evaluate the fluid’s electrical conductivity. Because water changes that conductivity, the device estimates the moisture percentage and displays a result through indicator lights, a screen, or both.
A brake fluid tester estimates moisture content by measuring electrical conductivity and displays the result through lights, a screen, or both.
You use this reading to judge potential fluid contamination and protect brake quality. Fresh fluid generally contains little moisture, while older fluid can absorb water through seals, hoses, and air exposure.
As moisture rises, the fluid’s boiling point falls. Under heavy braking, absorbed water may turn to vapor, creating a soft pedal or reducing braking performance.
The tester doesn’t measure pressure, thickness, or the condition of brake components. Instead, it provides a quick indication of moisture-related deterioration.
Treat the reading as a useful screening result, then follow your vehicle manufacturer’s maintenance guidance and inspect the system for leaks or other problems.
Choose the Right Brake Fluid Tester
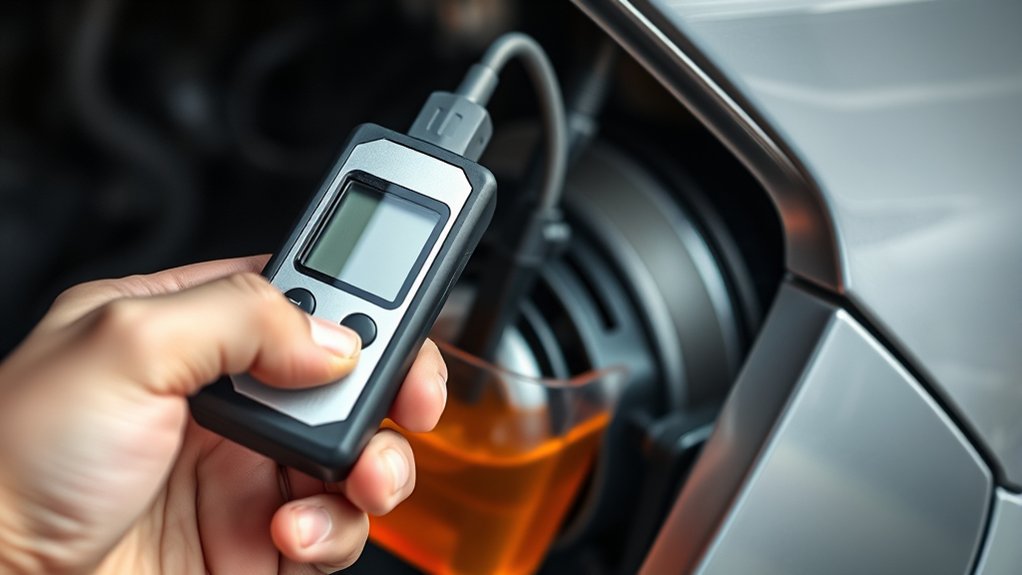
When choosing a brake fluid tester, look for a model that measures moisture reliably, works with your vehicle’s fluid type, and provides clear results. Check whether it supports glycol-based fluids, such as DOT 3, DOT 4, and DOT 5.1, because brake fluid composition affects compatibility and accuracy.
Don’t assume every tester works with silicone-based DOT 5 fluid.
Consider these features before buying:
- Measurement method: Digital testers typically show a percentage, while indicator lights offer quick pass-or-fail guidance.
- Accuracy and range: Choose a tester with useful moisture thresholds and consistent readings, especially if you service multiple vehicles.
- Ease of use: Select a durable model with a readable display, replaceable batteries, and simple controls.
Match the tester’s design to your testing frequency. A basic pen-style tool may suit occasional checks, while a professional-grade tester can withstand frequent use.
Read the manufacturer’s instructions and confirm its calibration requirements before relying on results. A suitable tester helps you identify degraded fluid confidently.
Prepare the Vehicle and Testing Area
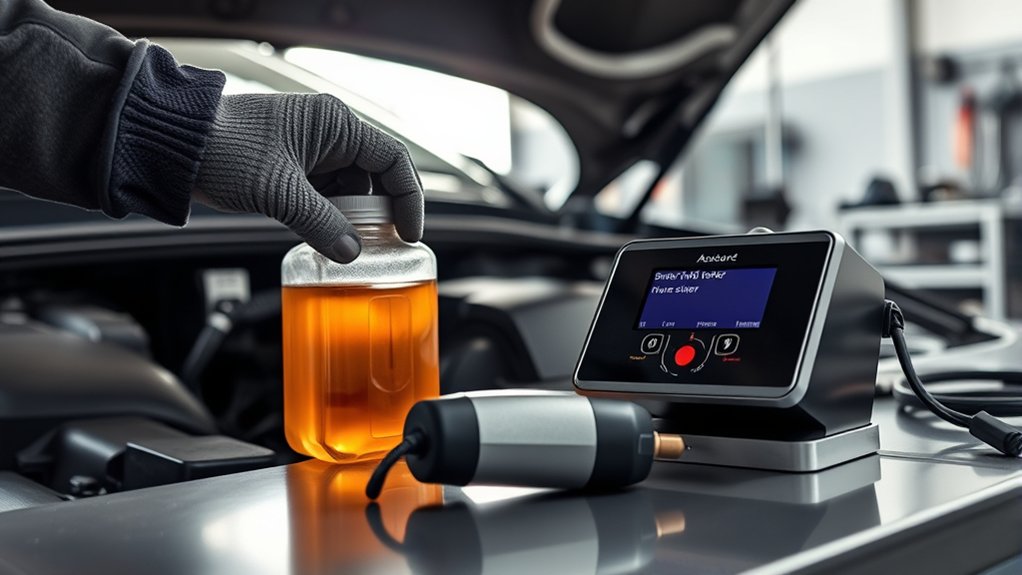
Park your vehicle on level ground and turn off the engine before you begin testing. Gather your brake fluid tester and any necessary safety equipment. Then, clean the area around the reservoir to keep dirt from getting into the brake system.
Park on Level Ground
Before testing the brake fluid, move the vehicle onto a flat, stable surface and switch off the engine. Level ground supports parking safety and prevents the vehicle from shifting while you work.
Choose a location away from traffic, slopes, loose gravel, or standing water. If possible, park under good lighting so you can see the reservoir clearly later.
Engage the parking brake firmly, then place the transmission in Park or first gear, depending on your vehicle. Allow the engine and nearby components to cool before continuing.
Check that the doors are closed and the area remains clear.
- Confirm the surface is firm and reasonably level.
- Keep your feet clear of the wheels.
- Verify vehicle stability before opening the hood.
Don’t begin if the car rocks, rolls, or sits at an unsafe angle. Reposition it first.
Gather Testing Equipment
With the vehicle secure on level ground, gather the tools needed to test the brake fluid. Choose a compatible brake fluid tester, such as a digital meter or an electronic probe, and check that its batteries work.
Keep the manufacturer’s instructions nearby so you can follow the correct testing procedure for your device. You’ll also need clean, lint-free gloves, safety glasses, and a suitable container for any fluid the tester requires.
Review the tester’s range and settings because brake fluid composition varies by type, including DOT 3, DOT 4, and DOT 5.1. Confirm that the instrument is clean, dry, and ready before use.
Testing device maintenance matters. Inspect the probe, replace weak batteries, and verify calibration according to the manufacturer’s recommendations. Keep all equipment within easy reach.
Clean the Reservoir Area
Start by wiping dirt and debris from the brake fluid reservoir cap and surrounding area with a clean, lint-free cloth. You’ll prevent Reservoir contamination from entering the reservoir when you open it for testing.
Use a separate cloth if the area contains oil, grease, or moisture, because Fluid contamination can affect the tester’s reading and brake performance.
- Brush loose grit away from the cap before removing it.
- Keep the reservoir opening pointed upward and uncovered briefly.
- Place the cap on a clean surface, away from tools and dust.
Don’t use compressed air, which can force particles into the fluid. Inspect the cap and seal for cracks or residue, then clean them carefully before continuing.
If dirt has fallen inside, don’t test immediately. Have the fluid inspected or replaced according to your vehicle manufacturer’s instructions.
Calibrate and Verify the Tester
Before you begin testing, check the tester’s accuracy against its reference or instructions. Follow the calibration steps carefully, then repeat the check to make sure the readings stay consistent.
Check Tester Accuracy
To check a brake fluid tester’s accuracy, compare its reading with a known reference or calibrated test solution. This check shows whether the device measures moisture or boiling-point changes reliably before you trust its results.
Review the manufacturer’s acceptable error range, and keep the reference at the recommended temperature.
- Test the reference solution first, then record the displayed value.
- Repeat the check to identify inconsistent readings or drifting results.
- Inspect the probe for residue, damage, or poor connections.
Consider brake fluid chemistry when you interpret differences, because fluid type and contamination can affect results.
Also assess tester durability. A worn probe, cracked housing, or weak battery may reduce accuracy.
If the reading falls outside the specified range, label the tester unreliable and follow the manufacturer’s service guidance.
Don’t alter settings or perform calibration steps here. Verify performance only.
Perform Calibration Steps
If the accuracy check shows a consistent error, calibrate the brake fluid tester according to the manufacturer’s instructions. Place the device on a stable, clean surface, and remove any fluid residue from its probe or sensor.
Select the calibration mode, then use the specified reference fluid, solution, or calibration tool. Follow the required temperature and volume conditions carefully, because contamination or incorrect amounts can affect calibration.
Enter the reference value when the tester requests it, and wait for the calibration cycle to finish. Save the adjustment only after the device confirms completion.
Proper calibration helps you assess brake fluid condition accurately and supports dependable brake system service. Record the date, reference material, and result in your Fluid maintenance log, then store the tester as directed.
Verify Consistent Readings
After calibration, check the tester with the same reference fluid or test sample several times to confirm that it produces stable results. Record each reading, then compare the values.
Small differences may occur, but significant changes indicate contamination, a weak battery, incorrect handling, or a calibration problem. For reliable testing accuracy, follow these checks:
- Clean and dry the probe between measurements.
- Keep the sample temperature consistent.
- Repeat the test until readings stabilize.
If results remain inconsistent, recalibrate the device and test the reference sample again. Don’t rely on an unstable tester to judge brake fluid condition.
Also, compare readings with the manufacturer’s limits, since fluid degradation can vary with moisture, heat, and service age. Store the instrument properly after verification.
Document the confirmed baseline for future tests and maintenance records. Replace damaged sensors or questionable reference fluid before continuing.
Take a Clean Sample From the Reservoir
Start with a clean dropper or the tester’s sampling tube, then draw fluid from the reservoir without touching the tool to its sides or bottom. Use enough fluid to fill the tester’s chamber, but don’t overfill or spill it onto painted surfaces.
Brake fluid chemistry makes contamination especially important: dirt, moisture, oil, and residue can change the sample and produce misleading results. If the reservoir looks dirty, don’t stir the sediment or scrape its walls.
Instead, take a representative sample from the fluid’s clear middle area. Keep the cap and tool away from dust while you work, and close the reservoir promptly after sampling.
Testing safety also means wearing gloves and eye protection, since brake fluid can irritate skin and damage finishes. Never reuse a dropper that handled another chemical, and don’t return tested fluid to the reservoir.
Dispose of the sample according to local guidance, then wipe away any drips immediately.
Use a Brake Fluid Tester Step by Step
Start by preparing your brake fluid tester according to the manufacturer’s instructions. Once it’s ready, place the probe or sensor into a clean brake fluid sample. Then, check the indicator to assess the fluid’s condition and determine whether it needs to be replaced.
Prepare the Tester
Before testing, check that the brake fluid tester is clean, powered, and set to the correct mode for your vehicle’s fluid type. Read the manufacturer’s instructions so you understand the controls, indicators, and required battery level.
This preparation helps you account for different brake fluid properties and choose suitable testing techniques without affecting the sample.
- Install fresh batteries or connect the approved power source.
- Select the fluid setting recommended for your vehicle.
- Inspect the probe, cap, and display for damage or residue.
Turn the tester on and allow its startup check to finish. If it requires calibration, complete that process with the supplied reference solution, following the stated procedure.
Keep the instrument upright and place it on a stable, dry surface. Don’t touch the probe tip unnecessarily, because oils or dirt can affect later readings.
Check Fluid Condition
Dip the tester’s probe into a representative brake fluid sample without touching the reservoir walls or bottom. Hold it steady, then activate the tester according to its instructions.
Watch the indicator lights, display, or digital reading, and compare the result with the manufacturer’s scale. A low moisture reading usually indicates better fluid condition, while a high reading signals contamination and reduced boiling protection.
Keep in mind that brake fluid composition affects test results. Glycol-based fluids absorb moisture over time, whereas silicone-based fluids require a compatible tester.
Don’t interpret a reading without confirming the tester’s fluid-type setting. For testing safety, wear gloves and eye protection, keep fluid away from painted surfaces, and avoid sparks or open flames.
Record the result, replace the cap, and plan service if contamination exceeds the recommended limit.
Interpret the Tester’s Results
Once the tester finishes its cycle, read the indicator against the manufacturer’s scale rather than relying on color alone. The displayed result estimates moisture or other fluid contamination, depending on the tester’s design.
Compare the reading with the tool’s labels, because green, yellow, and red can represent different limits across models.
Use the result to understand your brake system’s fluid condition:
- Acceptable: The reading falls within the tester’s safe range, suggesting normal moisture levels.
- Caution: The result approaches the stated limit, so record it and monitor changes during future checks.
- High: The reading exceeds the tester’s threshold, indicating significant moisture or contamination that may affect boiling resistance.
Confirm that the probe made proper contact and that you followed the testing instructions.
If the result seems inconsistent with the fluid’s appearance or a previous measurement, clean the probe, repeat the test, and compare both readings.
Don’t treat the tester as a complete diagnosis. It measures only the properties specified by its manufacturer.
Decide When to Replace the Fluid
Replace the brake fluid when the tester shows a high moisture level or exceeds the manufacturer’s stated limit. Excess moisture lowers the fluid’s boiling point, encourages corrosion, and reduces braking performance under heat.
Replace brake fluid when moisture exceeds the manufacturer’s limit to prevent corrosion, boiling-point reduction, and heat-related braking problems.
Treat that reading as evidence of brake fluid degradation, not merely an indication to monitor casually. Check your vehicle owner’s manual for the recommended replacement schedule, because fluid type, driving conditions, and climate affect service needs.
If the moisture reading remains below the limit, follow the manufacturer’s testing intervals and record each result. Test more often if you drive in heavy traffic, tow loads, live in a humid region, or notice a spongy pedal, dark fluid, or reduced braking confidence.
Replace the fluid sooner when symptoms accompany an elevated reading. After replacement, test the fresh fluid according to the product’s guidance and keep the service date in your maintenance records.
Regular decisions based on measured moisture help preserve hydraulic performance and protect critical brake components.
Fix Common Brake Fluid Testing Errors
Accurate readings depend on using the tester correctly, so fix common errors before deciding whether the fluid needs replacement.
Start with the basics: park safely, switch off the ignition, and clean the reservoir cap and probe. Dirt or moisture on the sensor can create a false result.
Check these common issues:
- Poor contact: Insert the probe to the required depth, and ensure it’s fully immersed without touching the reservoir walls.
- Weak power: Replace the tester battery if the display looks dim, responds slowly, or produces inconsistent readings.
- Incorrect conditions: Test at the temperature and fluid level specified in the tester’s instructions.
Compare the result with the manufacturer’s guideline rather than relying on color alone.
Brake system components can introduce fluid contamination, but a dirty reservoir exterior can also mislead your test.
Rinse and dry a reusable probe as directed, then test a second time.
If readings still conflict, verify the tester against its calibration procedure or consult a qualified technician before drawing an inference.
Replace, Flush, and Retest the Fluid
When testing confirms excessive moisture or contamination, replace the fluid according to the vehicle manufacturer’s procedure. First, identify the specified fluid type and gather fresh, sealed fluid, suitable tubing, a catch container, and protective equipment.
Don’t mix incompatible fluids, because brake fluid chemistry affects seals, boiling performance, and braking safety.
Flush each wheel circuit in the recommended sequence. Keep the reservoir filled with new fluid while you bleed the system, preventing air from entering the master cylinder.
Continue until clean fluid without bubbles flows from every bleeder. Dispose of the old fluid responsibly; never reuse it or pour it down a drain.
Afterward, clean the reservoir cap and inspect for leaks. Apply the parking brake, press the pedal, and confirm it feels firm.
Then retest a fresh sample with your tester, following its instructions. Let the tester cool and clean it as specified to support tester durability.
If moisture remains high, repeat the flush or seek professional service before driving.
Frequently Asked Questions
Can Brake Fluid Testers Detect Contamination From Oil or Other Automotive Fluids?
Yes, brake fluid testers can sometimes indicate contamination from oil or other automotive fluids, but they don’t identify the contaminant precisely. Most testers measure moisture or electrical conductivity, so contaminated fluid may produce unusual readings without revealing its source.
For reliable contamination detection, you should inspect the fluid’s color, smell, and consistency, then test a sample professionally. You’ll also need to evaluate fluid compatibility, because incompatible fluids can damage seals and braking components.
Are Brake Fluid Testers Safe to Use on Vehicles With Electronic Braking Systems?
Yes, you can safely use most brake fluid testers on vehicles with electronic braking systems. One detail matters before you begin.
Check the tester’s instructions for brake fluid compatibility, and never connect it to wiring, sensors, or control modules. A handheld tester typically analyzes a small fluid sample, so it won’t interfere with electronic components.
Confirm tester calibration, avoid spilling fluid, wear gloves, and follow the vehicle manufacturer’s service procedure for dependable, safe results.
How Should a Brake Fluid Tester Be Stored Between Uses?
Store your brake fluid tester in a clean, dry place away from heat, sunlight, moisture, and chemicals. Rinse the probe with appropriate fluid or distilled water, following the manufacturer’s instructions, then dry it completely before storage.
Remove batteries if you won’t use the tester for an extended period. Keep the probe cap fitted, avoid bending cables, and protect the display from impacts.
These storage guidelines and maintenance tips help preserve accuracy and extend service life.
Do Brake Fluid Testers Require Batteries, and How Long Do They Typically Last?
Yes, your brake fluid tester usually needs a small battery because apparently your brakes enjoy a tiny electronic chaperone. Most testers use a 9-volt or button-cell battery and last roughly 6–12 months, depending on testing frequency, storage, and automatic shutoff features.
Follow the manufacturer’s Calibration procedures for accurate readings, and apply these Maintenance tips: remove the battery during long storage, keep probes clean and dry, and replace weak batteries promptly to prevent unreliable results.
Can One Brake Fluid Tester Work With Different Brake Fluid Types?
Yes, one brake fluid tester can work with several fluid types, but you should verify its specifications first. Many electronic testers support glycol-based DOT 3, DOT 4, and DOT 5.1 fluids, while DOT 5 silicone fluid requires different handling or a dedicated tester.
Brake fluid compatibility affects fluid testing accuracy, so don’t assume universal use. Clean the probe, select the correct setting, and follow the manufacturer’s instructions for reliable results every time.
Conclusion
A brake fluid tester works by checking moisture or boiling-point risk in your fluid. You’ll get reliable results when you choose the correct tester, prepare the vehicle, calibrate the tool, and collect a clean sample.
Read the indicator carefully, then replace or flush the fluid when results show contamination. If readings seem unusual, fix common testing errors and retest.
With this simple process, you’ll keep your braking system’s safety net strong and ready. A brake fluid tester helps support safer, more reliable braking.