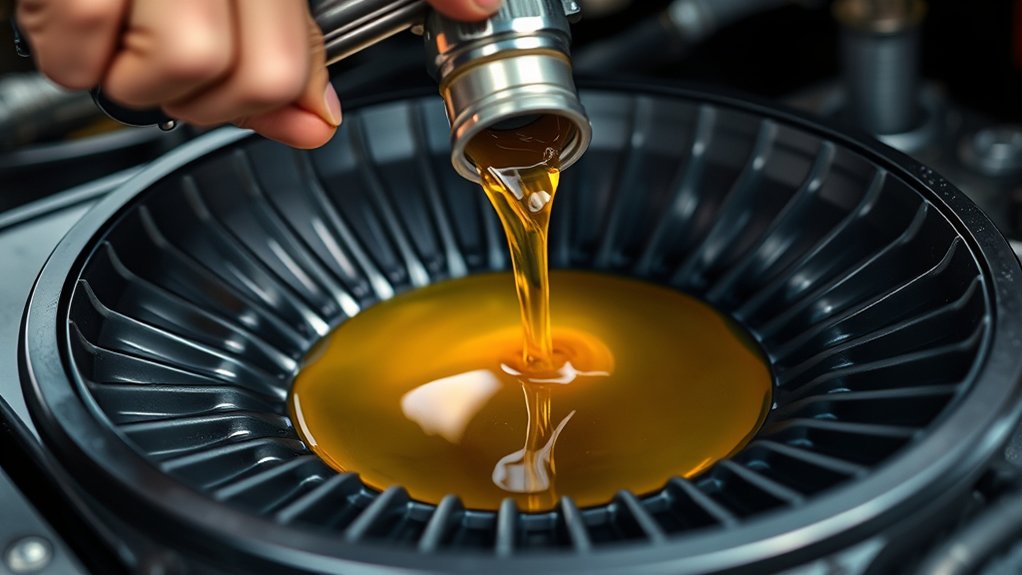
How Does an Oil Drain Pan Work Step-by-Step
Changing your oil can get messy fast, especially when the drain pan is too small, unstable, or difficult to pour. You’re not alone—many vehicle owners struggle with spills and awkward cleanup. The right oil drain pan can make the entire process cleaner and easier.
An oil drain pan catches used oil beneath your vehicle’s drain plug and prevents spills. Warm the engine briefly, secure the vehicle, and place a stable, wide pan underneath. Loosen the plug carefully, letting oil flow until it stops.
Reinstall the plug with a new washer and proper torque, then pour the old oil into a sealed, labeled container. Wipe and clean the pan before storing it safely. You’ll find helpful details for each step below.
Key Takeaways
- Position the oil drain pan beneath the drain plug, ensuring its opening is centered and its capacity exceeds the engine’s oil volume.
- Loosen the drain plug carefully, allowing used oil to flow into the pan’s wide, raised-sided basin.
- Leave the pan in place until the oil flow stops, keeping it stable to prevent spills or splashes.
- Reinstall and tighten the drain plug to the manufacturer’s torque specification before removing the pan.
- Pour the used oil into a sealed, labeled container and deliver it to a certified recycling center.
How an Oil Drain Pan Prevents Spills
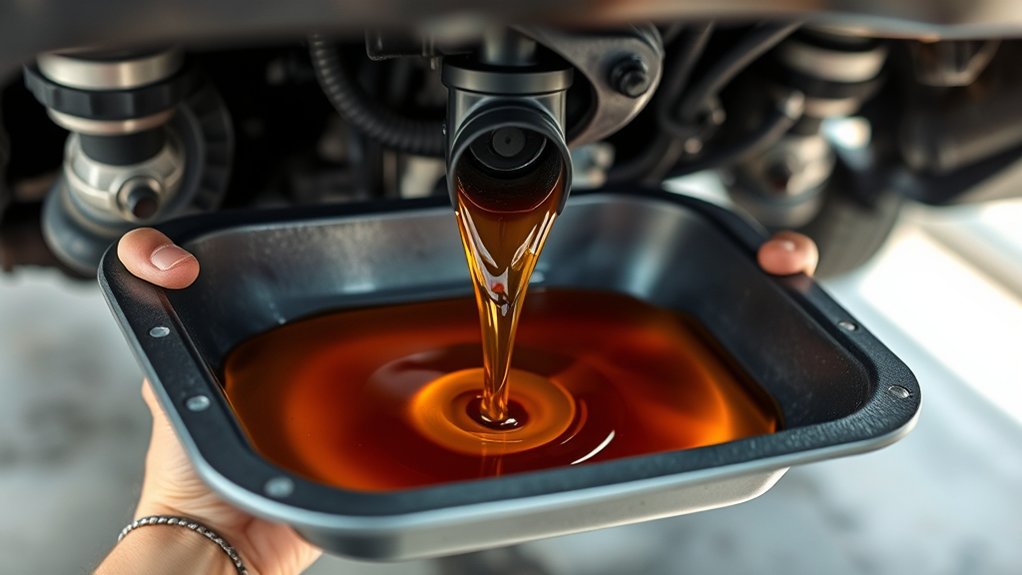
An oil drain pan prevents spills by catching used oil directly beneath the drain plug as it flows from the engine. You position it before loosening the plug, then let the pan contain the stream without splashing onto the floor.
Its broad opening gives you room to respond if the flow changes direction, while raised sides help keep oil inside during draining. As the stream weakens, you can slide the pan slightly to follow it and capture the final drops.
You’ll also use the pan when removing the Oil filter, which may release additional oil trapped inside. Let the filter drain over the pan before installing its replacement.
Oil viscosity affects how quickly oil moves: warm, thin oil flows faster, so you should work carefully and keep the pan steady.
Once draining stops, you can transfer the collected oil into a sealed container for proper recycling, leaving your workspace cleaner and safer.
Choose the Right Oil Drain Pan
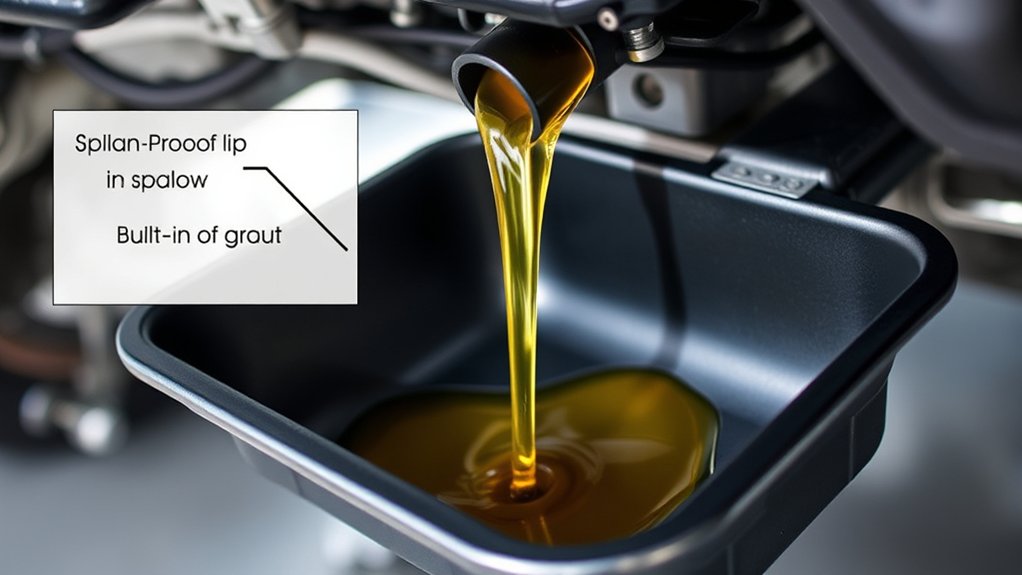
Choose an oil drain pan with enough capacity for your vehicle’s oil volume and a wide, stable opening that fits beneath the drain plug. A pan with extra capacity gives you room for oil that expands slightly and reduces overflow risk. Check its depth and width against the available space under your vehicle, especially if clearance is limited.
Consider the pan’s pouring design before you buy. A molded spout or controlled lip helps you transfer used oil into a recycling container without splashing. Some models include a screw-on lid, handles, or wheels, which make carrying and storage easier. Choose a shape that catches oil reliably, even when the stream changes direction.
Pay attention to oil viscosity and drain pan material. Thick oil may drain slowly, so a broad opening helps prevent pooling. Durable plastic resists rust and keeps the pan lightweight, while steel handles heat and impact well. Select a sturdy, leak-resistant model you’ll use confidently.
Warm the Engine and Secure the Work Area
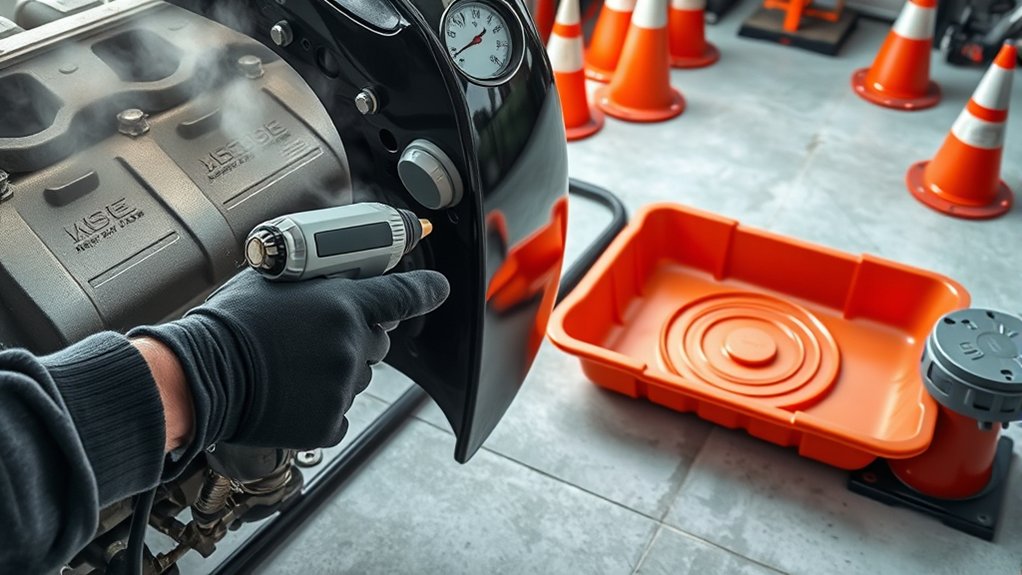
Warm the engine for a few minutes so the oil flows easily, but don’t let it become hot enough to cause burns. Check the Engine temperature by touching the hood carefully; it should feel warm, not scorching. Turn off the engine, remove the key, and wait briefly for moving parts to stop.
Prepare a level, well-ventilated Work area before you begin. Park on a firm surface, engage the parking brake, and keep children and pets away.
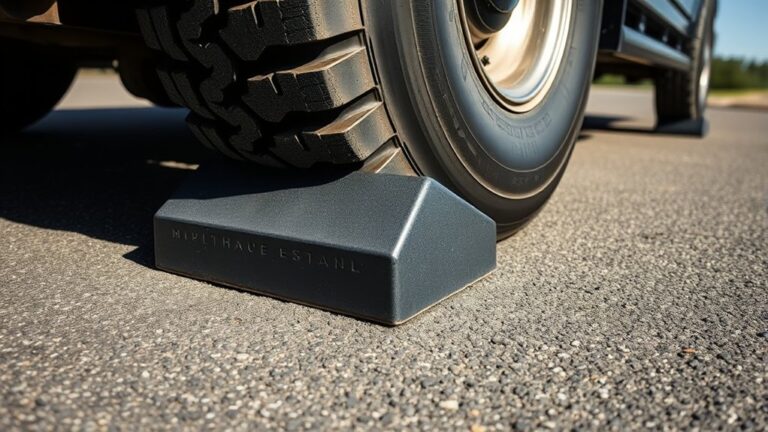
Gather gloves, eye protection, shop towels, a flashlight, and the vehicle’s service information. Use wheel chocks if your vehicle could roll, and never work beneath a car supported only by a jack.
| Safety check | What you’ll do |
|---|---|
| Engine temperature | Confirm it’s warm, not hot |
| Work area | Clear clutter and traffic |
| Personal protection | Wear gloves and eye protection |
Keep loose clothing, tools, and ignition sources away from the engine. Don’t rush; a calm setup helps you avoid burns, spills, and distractions.
Position the Oil Drain Pan Correctly
With the vehicle secure and your protective gear on, slide the oil drain pan beneath the drain plug. Center its opening directly below the plug so the stream won’t miss the container. Leave enough room around the pan to work comfortably and keep your shoes outside the spill area.
> Position the drain pan securely beneath the plug, centered to catch the oil while keeping your workspace clear.
Check the pan’s capacity before starting an oil change. It should hold all the used oil without reaching the rim. If you’re using a shallow pan, position it on a level surface and keep its splash guard aligned with the plug. Make sure the vehicle’s underside won’t catch or redirect the flow toward you.
If the vehicle has a separate Oil filter positioned nearby, account for its location when placing the pan. You may need to shift the pan slightly later to catch oil from that component, but keep its main opening under the drain area.
Confirm that the pan sits flat, stable, and within easy reach before proceeding. Don’t loosen the drain plug yet.
Loosen the Drain Plug Carefully
Place a socket or wrench that fits the drain plug firmly onto its head, then turn it counterclockwise to loosen it. Keep the tool squarely aligned so you don’t round the plug. If it resists, apply steady pressure rather than jerking the wrench. A short handle gives you better control and helps prevent accidental damage.
| Action | Purpose |
|---|---|
| Check fit | Protects the plug |
| Turn slowly | Maintains control |
Wear gloves, and keep your face and hands away from the plug’s path. As it loosens, support the plug with your fingers while keeping your palm clear.
Don’t remove it yet; this step focuses only on controlled Drain plug removal. Inspect the plug’s head and threads for damage once it’s free, and note any flattened or hardened sealing washer.
Replace damaged parts before reinstallation. Wipe dirt from the surrounding area without disturbing the positioned pan.
Careful handling supports effective Oil pan maintenance and reduces leaks during the next service. Keep tools organized so you can reinstall the plug with the correct fit and torque.
Let the Used Oil Drain Completely
Once the drain plug is loose and safely removed, let the used oil flow into the pan without interruption. Position the pan directly beneath the opening, allowing enough room for the initial stream and any splashing.
Let used oil drain steadily into a properly positioned pan, allowing room for splashing and the initial flow.
Keep the vehicle level and give the oil time to escape. Warm oil usually drains more quickly, but it may remain hot, so avoid contact.
As the flow weakens, watch for intermittent drips rather than assuming the pan is full. You can gently shift the pan only if necessary, keeping its opening beneath the drain plug hole.
Don’t start another task too soon, because oil trapped inside the engine can continue draining for several minutes. If you’re changing the oil filter during this service, let the oil drain while you prepare the replacement and protect the surrounding area from spills.
Wait until the stream becomes an occasional drip before proceeding with the next maintenance step. Keep children, pets, and ignition sources away from the work area.
Replace the Plug and Check for Leaks
Once the oil has drained, reinstall the drain plug and tighten it to the manufacturer’s specification. Avoid overtightening, since it can damage the threads or gasket.
Then start the engine briefly and check the plug and surrounding area for leaks.
Reinstall the Drain Plug
Before reinstalling the drain plug, inspect its threads and replace the crush washer if it’s damaged or designed for one-time use. Wipe the plug and the oil pan’s threaded opening with a clean rag. Remove grit, metal particles, and leftover oil that could prevent a proper seal.
Guide the Drain plug into the opening by hand, turning it clockwise. If you feel resistance or cross-threading, back it out and start again; don’t force it. Once the plug seats lightly against the pan, stop and confirm the washer sits flat.
Check beneath the vehicle for tools, rags, or oil containers that could interfere. After you reinstall the plug, keep the drain pan positioned underneath while you prepare to refill the engine.
Inspect the Oil filter area too, since spilled oil can make leak checks harder.
Tighten to Specification
Tighten the drain plug to the vehicle manufacturer’s specified torque using a calibrated torque wrench. Set the wrench precisely rather than estimating by feel, because over-tightening can damage threads or crush the sealing washer.
Hold the drain pan steady beneath the plug while you work, keeping the oil filter area clear.
| Check | Action | Purpose |
|---|---|---|
| Torque setting | Match service manual | Prevents thread damage |
| Sealing washer | Replace if required | Ensures proper seating |
| Wrench use | Pull smoothly | Achieves accurate torque |
Turn the plug clockwise until the washer contacts the oil-pan surface, then apply steady pressure until the wrench clicks. Stop immediately at the specified value.
Don’t add extra force or use an impact tool. Wipe the plug and surrounding area clean, then remove the drain pan only after securing the plug and completing this tightening step.
Inspect for Leaks
After securing the drain plug, inspect the plug, washer, and surrounding oil-pan surface for damage or seepage. If you spot cracks, flattened threads, or a crushed washer, replace the damaged part before adding oil. Confirm the plug matches your vehicle and sits squarely in the pan. Wipe the area completely clean so fresh drips stand out clearly.
Refill the engine with the specified amount and oil viscosity, then reinstall the filler cap. Start the engine for several minutes, but don’t crawl underneath while it runs.
Turn the engine off, wait briefly, and check the plug and oil filter for wetness. A small bead may indicate insufficient tightening, a damaged washer, or cross-threading.
Correct the problem, top off the oil if necessary, and recheck the level on level ground before driving. Dispose of used oil responsibly.
Empty the Oil Drain Pan Safely
Place the drain pan on a level, stable surface before emptying it. Then, carefully pour the used oil into a sealed, approved container, taking care to avoid spills. Once it’s secured, take the oil to an authorized collection site for recycling.
Position the Pan
Before you drain the oil, place the empty pan on level ground directly beneath the drain plug, leaving enough room to catch the full flow. Center it carefully, allowing for the stream’s angle as the oil exits.
Keep the pan stable and confirm its capacity exceeds the engine’s oil volume. If you’ve just driven, expect hot oil, so wear gloves and position yourself away from splashes.
Check that the drain plug and Oil filter won’t direct fluid beyond the pan’s edges. Cold conditions can increase oil viscosity, slowing the flow, while warm oil spreads quickly and may overflow a poorly positioned container.
Don’t place the pan on gravel, slopes, or uneven pavement. Once aligned, keep tools nearby, but don’t loosen the plug until you’re certain the pan can catch everything.
Transfer Used Oil
Once the oil has stopped draining, carefully lift the pan and pour the used oil into a clean, sealable container with a wide opening. Keep the pan level to prevent splashes, and work slowly, especially if the oil is still warm.
Don’t let oil contact your skin; wear gloves and avoid breathing fumes. If debris appears, check the Drain plug, Oil filter, or surrounding components for damage before continuing.
After transferring the oil, seal the container tightly and wipe the pan’s edges with a rag. Never mix used oil with coolant, gasoline, or other fluids, because recycling centers may reject contaminated oil.
Don’t pour it onto the ground or into a drain. Take the sealed container and old Oil filter to an approved recycling facility promptly.
Clean and Store the Oil Drain Pan
Clean the oil drain pan promptly after use by wiping away residual oil, transferring the waste to an approved recycling center, and washing the pan with a suitable degreaser. Let the pan cool first if high engine temperature made it hot, and wear gloves to protect your hands.
Clean your oil drain pan promptly: transfer waste oil for recycling, use degreaser, and wear gloves after allowing hot surfaces to cool.
Remove sludge, inspect the drain plug, and rinse thoroughly. Dry every surface completely to prevent rust, especially around seams and handles.
- Scrape stubborn residue with a plastic tool.
- Check for cracks, warping, or damaged threads.
- Clean the Oil filter area and nearby surfaces.
- Keep the pan away from ignition sources.
- Store it upright in a dry, covered location.
Don’t pour cleaning water onto soil or into a drain. Follow local disposal requirements for oily rags and contaminated materials.
After cleaning, confirm the pan’s capacity label remains readable. Place absorbent pads nearby for your next service, but don’t leave them inside the pan.
Proper storage keeps dust and moisture out, so you’ll have a reliable container ready for your next oil change.
Recycle Used Oil Responsibly
Recycle used oil responsibly by finding a nearby recycling center that accepts it. Until you’re ready to take it there, keep the oil in a sealed, clearly labeled container.
Locate a Recycling Center
Most auto-parts stores, service stations, and municipal waste facilities accept used motor oil for recycling. After completing vehicle maintenance, call nearby locations before you drive there. Ask whether they accept DIY oil, the daily volume limit, and whether they take your used Oil filter too. You’ll avoid a wasted trip and follow local requirements.
- Search your city’s recycling website.
- Check the store’s recycling policy online.
- Call to confirm acceptance and hours.
- Ask about fees or quantity limits.
- Choose a certified collection site.
Use your postal code with “used oil recycling center” to find convenient options. Your local environmental agency may also provide a directory of approved facilities.
Some retailers accept oil only during business hours or through specific service departments, so verify details first. Select a center equipped to process automotive fluids, and follow its instructions when you arrive.
Store Oil Safely
After you’ve confirmed a collection site, store the used oil safely until you can take it there. Pour it into a clean, leakproof container with a secure screw-on lid, such as the original oil bottle.
Don’t use food containers, bleach bottles, or anything that could confuse someone. Keep the container upright in a cool, dry place away from children, pets, flames, and drains.
Never mix used oil with gasoline, coolant, brake fluid, solvents, or water, because contamination can prevent recycling.
Drain your Oil filter thoroughly, place it in a sealed bag or container, and deliver it with the oil if your collection site accepts filters.
Don’t judge storage needs by oil viscosity. Regardless of thickness, handle every used oil product as hazardous waste.
Transport containers upright in a sturdy box to prevent spills.
Frequently Asked Questions
Can an Oil Drain Pan Be Used for Transmission Fluid Changes?
Yes, you can use an oil drain pan for transmission fluid changes, provided it’s clean and large enough to catch the fluid. Check the pan’s oil compatibility first, because some plastics can react with certain fluids.
Don’t mix Transmission fluid with used engine oil if you plan to recycle it. Position the pan securely, avoid spills, and dispose of the old fluid at an approved recycling facility. Clean the pan afterward.
What Size Oil Drain Pan Is Best for Motorcycles?
Choose a 2–4 quart oil drain pan for most motorcycles; it gives you enough room without becoming awkward to handle. Your bike’s Motorcycle capacity should guide the exact size, so check its owner’s manual first.
A low-profile pan fits beneath cramped engines, while a wide opening prevents spills. Consider Drain pan material, too: sturdy plastic resists rust and stays lightweight, whereas metal tolerates heat but may dent or scratch surfaces during maintenance.
Are Disposable Oil Drain Pans Environmentally Friendly?
Disposable oil drain pans aren’t usually the most environmentally friendly choice. You create more waste because you discard the container after one use, and leftover oil can contaminate soil or water.
Their environmental impact depends on the material, manufacturing, and disposal process. Choose a reusable pan when possible, and check local recycling options for oil-soaked plastics or metal.
You should also drain the used oil into an approved recycling container instead of throwing it away.
How Often Should an Oil Drain Pan Be Replaced?
You should replace an oil drain pan when it cracks, leaks, warps, or becomes too contaminated to clean—often every few years with regular use. Coincidentally, the same day you notice slippery residue may be the day its seal finally fails.
Check Oil pan materials: plastic can become brittle, while steel may rust or dent. Match Drain pan capacity to your vehicle, and replace any pan that no longer holds oil safely or pours cleanly.
Can a Damaged Oil Drain Pan Be Repaired?
Yes, you can sometimes repair a damaged oil drain pan, depending on its material and condition. Start with a thorough damage assessment: inspect cracks, stripped threads, dents, and leaks after cleaning the pan.
You can seal small cracks with a manufacturer-approved epoxy, while a professional can weld compatible metal pans. However, replace severely cracked, corroded, or warped pans.
Proper oil pan repair must restore a leak-free seal and secure mounting before you drive again.
Conclusion
Using an oil drain pan correctly keeps an oil change clean, controlled, and safer for your vehicle and workspace. Warm the engine, position the pan carefully, loosen the plug slowly, and watch for leaks before removing it.
Then, seal, empty, clean, and store the pan properly. You’ll prevent messy spills, protect the environment, and make maintenance easier.
With the right habits, an oil drain pan can save you a mountain of trouble during every oil change.