How Does a Digital Torque Wrench Work Step by Step
Struggling to tighten fasteners accurately without over-torquing or leaving them too loose? You’re not alone—many people find it difficult to judge torque by feel. Understanding how a digital torque wrench works can make the process easier, more precise, and more reliable.
A digital torque wrench uses strain gauges to detect tiny shaft deformation as you apply force. First, check calibration, set the target torque and units, and attach the correct socket.
Choose the appropriate mode, then pull smoothly while the wrench converts resistance changes into digital torque readings. Watch the display and stop immediately when its beep, vibration, or light signals the target.
Confirm the final value, save the result if needed, and store the wrench properly. The steps below explain each stage in greater detail.
Key Takeaways
- Strain gauges detect shaft deformation, changing electrical resistance as torque is applied.
- A Wheatstone bridge converts resistance changes into a differential voltage, which is amplified and filtered.
- An analog-to-digital converter digitizes the signal for the processor to calculate torque using calibration data.
- The display shows real-time torque, units, and operating mode while alerts signal when the target is reached.
- After tightening, verify the reading, save records if needed, clean the wrench, release tension, and store it properly.
What Is a Digital Torque Wrench?
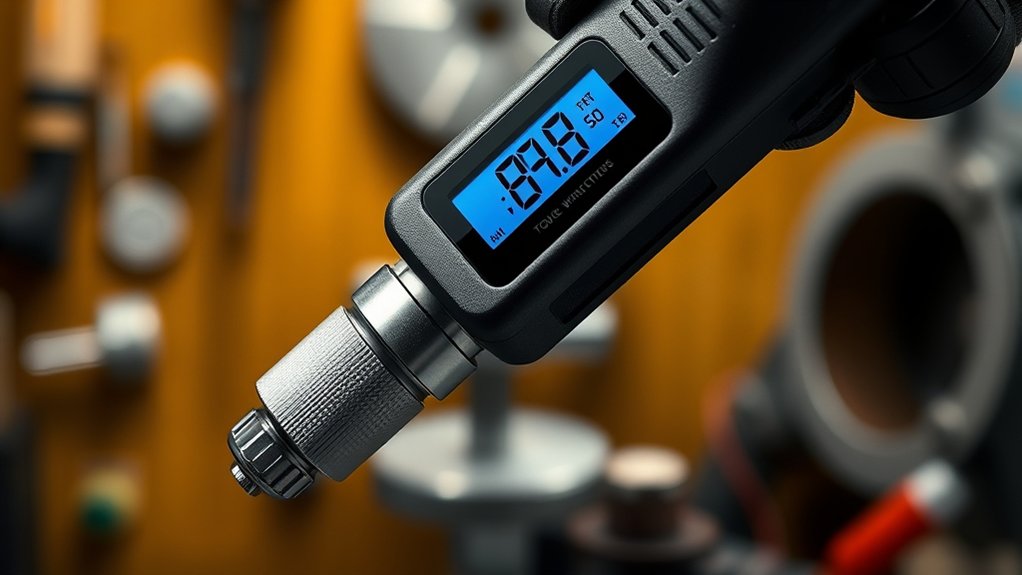
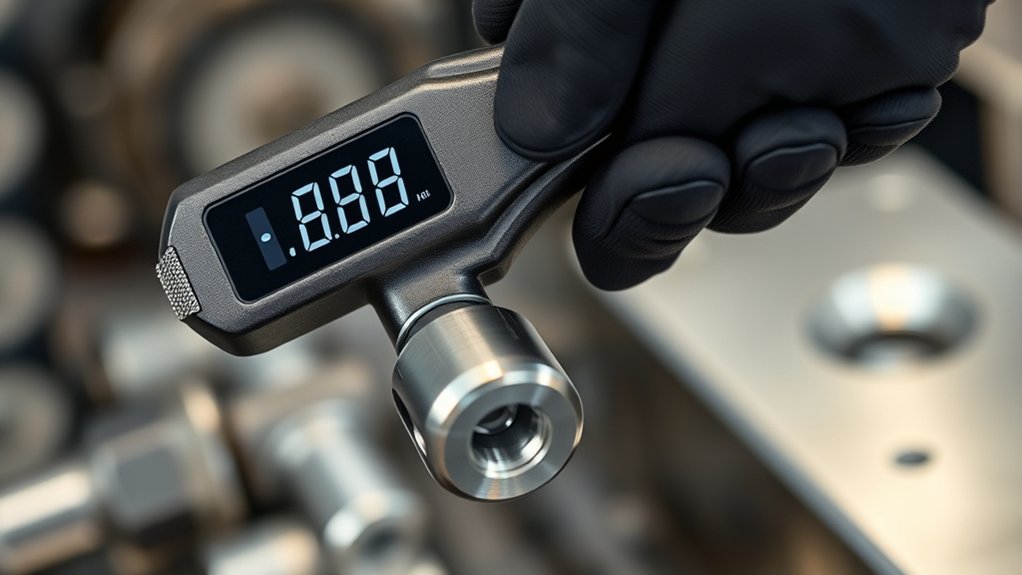
A digital torque wrench is a hand tool that measures and displays the twisting force you apply to a fastener. You use it to tighten bolts and nuts more consistently than with a standard wrench.
Its electronic display gives you a clear target, while audible, visual, or vibrating alerts can warn you when you approach the selected setting.
Unlike a mechanical torque wrench, this tool typically uses buttons, a screen, and internal sensors to support convenient operation. You can select measurement units, set a desired torque value, and often save readings or settings, depending on the model.
Digital calibration helps maintain accuracy, so you should follow the manufacturer’s schedule and instructions. Battery life also matters: a weak battery can interrupt your work or reduce convenience, so check its charge before use and store spare batteries when appropriate.
Choose a wrench with a suitable drive size, torque range, display, and grip for your fasteners and working conditions.
How Does It Measure Torque?
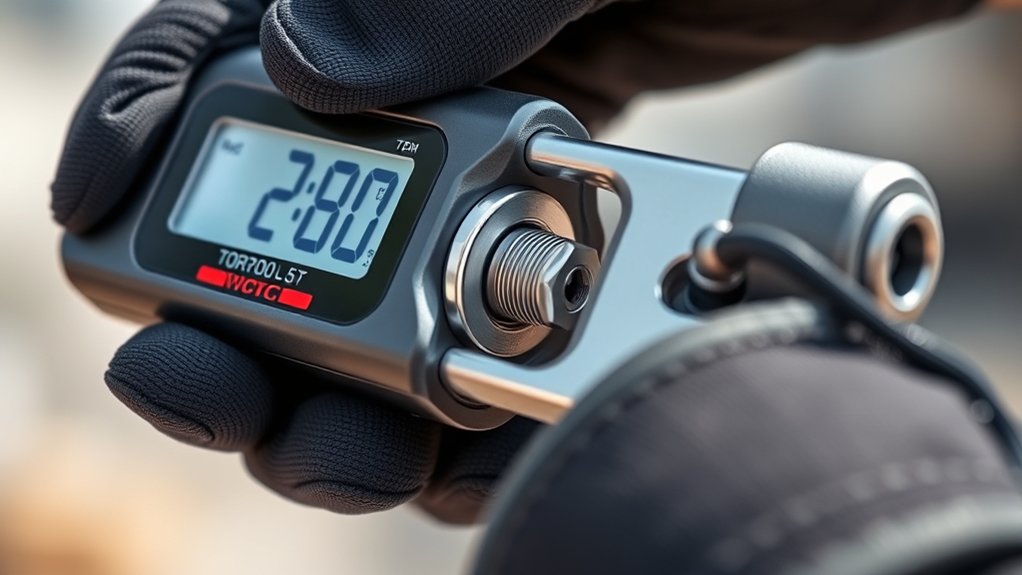
When you apply force, the wrench’s strain gauge detects tiny changes in its metal structure. The built-in electronics convert those changes into electrical signals and calculate the torque in real time. The measured value then appears immediately on the digital display.
Strain Gauge Detection
Strain gauges measure torque by detecting how much the wrench’s metal shaft flexes under load. You apply force to the handle, causing microscopic tension and compression in the shaft. A bonded gauge stretches or contracts with that movement, changing its electrical resistance.
The wrench relates that resistance change to applied torque through the shaft’s known mechanical characteristics.
You’ll get reliable readings when these factors stay controlled:
- Gauge placement aligns with the shaft’s stress pattern.
- Temperature compensation limits thermal expansion effects.
- Calibration accuracy keeps displayed torque consistent with actual torque.
- Sensor durability protects performance against repeated loading and vibration.
The gauge must remain firmly attached and respond consistently across the wrench’s rated range.
You should also avoid drops, overloads, and extreme temperatures, which can permanently alter its response.
This detection stage identifies shaft strain before the wrench processes the measurement.
Signal Conversion Process
Once the strain gauge detects shaft deformation, its resistance change becomes a small electrical signal. A Wheatstone bridge measures this resistance variation and converts it into a differential voltage.
Because the signal remains weak and vulnerable to electrical noise, an instrumentation amplifier strengthens it without markedly altering its proportions. Filtering then removes unwanted interference and helps preserve the measurement’s integrity.
During signal processing, an analog-to-digital converter samples the amplified voltage and translates it into digital values that the wrench’s electronics can interpret. The system checks these values for stability and sends them through data transmission pathways to the display or control circuitry.
This conversion chain prepares accurate torque information for the next processing stage, without yet calculating or displaying the final torque reading.
Real-Time Torque Calculation
The wrench’s processor converts each stabilized digital signal into torque using a calibration factor that relates shaft deformation to applied force. As you apply force, it repeatedly calculates the value and refreshes the display almost instantly.
You can watch torque rise smoothly while the processor compensates for temperature, zero drift, and minor electrical noise. Digital calibration ensures the factor matches the wrench’s sensor and measurement range, supporting consistent torque accuracy.
The calculation follows four essential steps:
- The strain sensor detects shaft deformation.
- The circuit converts that response into a digital value.
- The processor applies the calibration factor.
- The display shows torque in your selected unit.
If you approach the target slowly, you’ll see the reading stabilize before the alert activates. The wrench compares measured torque with your preset limit, then signals you with sound, vibration, or lights.
This immediate feedback helps you stop precisely at the required fastening value.
Check Calibration Before You Start
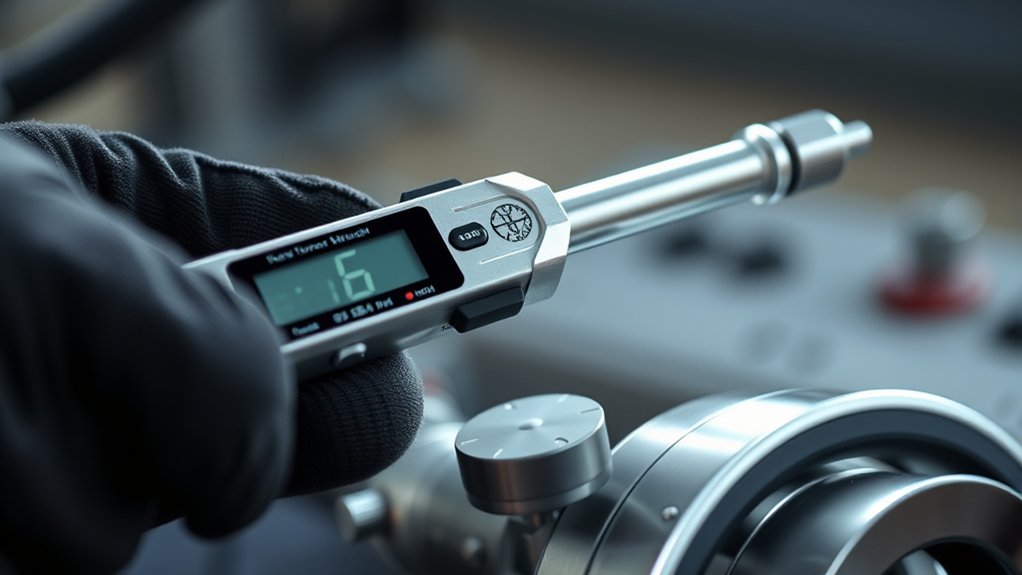
Before tightening any fastener, verify your digital torque wrench’s calibration status and inspect its display for an error message or low-battery warning. Check the manufacturer’s recommended calibration interval, typically listed in the manual or on a service label.
If the date has passed, stop and send the tool to an approved laboratory or qualified technician. Don’t assume a recent battery change confirms calibration; power and measurement accuracy are separate concerns.
You can also perform basic accuracy testing with a certified torque tester or a suitable calibration device. Apply several controlled loads across the wrench’s working range and compare each reading with the tester’s reference value.
Follow the manufacturer’s instructions for these calibration techniques, and record the results for your maintenance log. If readings fall outside the stated tolerance, remove the wrench from service.
Inspect the drive, handle, and connector for damage, then confirm the tool passes its self-check before use.
Set the Torque Value and Units
With the wrench inspected and its calibration confirmed, select the torque value specified for the fastener and set the correct unit, such as newton-metres (N·m), pound-feet (lb·ft), or pound-inches (lb·in).
Read the manufacturer’s specification carefully, then enter the value with the wrench’s buttons or dial. Check the display before applying force; one unit error can notably over-tighten or loosen the fastener.
Use this quick confirmation:
- Match the displayed unit to the service specification.
- Enter the exact target torque, including decimal places.
- Verify the screen shows the intended value steadily.
- Confirm the wrench’s alert setting, if available.
Don’t convert units mentally unless necessary. Use a reliable conversion reference to prevent mistakes.
Follow the manufacturer’s Calibration procedures when setting or verifying accuracy, and record any adjustments for future checks.
Battery maintenance also matters: install the recommended batteries, inspect for corrosion, and replace weak cells before use.
After confirming the setting, keep the display visible so you can monitor the reading during tightening.
Choose the Right Socket and Mode
Choose a socket that matches the fastener size and drive, then attach it securely to the wrench. Confirm socket compatibility before use; a loose, damaged, or incorrect socket can slip or distort the fastener.
Use impact-rated sockets when your wrench manufacturer requires them, and avoid adapters unless the manual approves them.
| Choice | What to check | Why it matters |
|---|---|---|
| Socket size | Exact fastener fit | Prevents rounding |
| Drive size | Matches wrench anvil | Ensures secure attachment |
| Socket type | Standard or impact-rated | Supports safe operation |
| Mode | Peak, track, or angle | Matches the task |
Next, select the wrench mode. Choose peak mode when you need the highest torque reached during tightening.
Select track mode to watch torque continuously, or angle mode when the procedure specifies torque plus rotation.
Review the manufacturer’s instructions before changing settings. Calibration procedures may vary by model, so verify the wrench’s calibration status and measurement units.
Keep the socket clean, fully seated, and free from cracks before starting. Don’t position or apply the wrench until these selections are complete.
Position the Digital Torque Wrench
Position the digital torque wrench so the socket sits squarely on the fastener and the handle aligns with the tightening path. Keep the tool straight with the fastener’s axis; an angled socket can slip, damage the head, or produce an inaccurate reading.
Seat the socket fully before you apply pressure, and confirm that nearby parts won’t obstruct the handle or display.
Use these positioning checks:
- Match the socket size precisely to the fastener.
- Keep your wrist aligned with the wrench handle.
- Hold the tool by its ergonomic grip for stable control.
- Position the display where you can read it clearly.
Make sure the wrench’s head has enough clearance to engage the fastener without contacting surrounding surfaces. If the tool uses a reversible ratchet, set its direction correctly before positioning it.
Check the battery life indicator as well. A weak battery could dim the screen or interrupt alerts during the task.
Don’t place your hand on the wrench head or extension, since that can affect leverage and measurement accuracy.
Pull Smoothly and Evenly
Pull the wrench with steady pressure as you tighten the fastener. Avoid jerking, rushing, or making sudden movements, since they can affect the torque reading. A smooth, even pull helps the digital wrench measure accurately.
Maintain Steady Pressure
To get an accurate reading from a digital torque wrench, apply smooth, even pressure rather than jerking the handle. Keep your wrist aligned with the wrench and maintain a controlled grip as the display tracks applied force.
An ergonomic design can reduce strain, helping you hold a consistent position during each operation. Use these practices:
- Grip the handle firmly, but don’t squeeze excessively.
- Keep your pulling hand centered on the marked grip area.
- Watch the digital display without changing your hand position.
- Stop when the wrench signals the preset torque value.
Calibration techniques also support reliable results, but steady pressure lets the sensor measure torque correctly in real time. Practice on a test fastener if you’re learning the tool.
Consistent technique improves repeatability, protects threads, and helps you achieve the specified clamping force. Follow the manufacturer’s instructions for proper operation.
Avoid Sudden Movements
A smooth, even pull lets the wrench’s sensor measure torque accurately. Position your hand on the ergonomic grip, align the wrench with the fastener, and apply steady force without jerking.
Sudden movements can create torque spikes, causing the reading to jump and potentially tightening the fastener beyond its target. Watch the digital interface as you pull, but don’t pause or accelerate when the number approaches the preset value.
Instead, maintain your pace and stop immediately when the wrench signals that you’ve reached the required torque. If you need more advantage, reposition your body rather than twisting your wrist or yanking the handle.
Keep the tool stable and your motion controlled throughout each measurement. With consistent technique, you’ll protect the fastener, improve accuracy, and get repeatable results every time you use the wrench.
Read the Torque Display
The digital display shows the torque you’re applying in real time, usually in units such as foot-pounds, inch-pounds, or Newton-meters. Watch the digital interface closely as you tighten the fastener.
Confirm that the selected unit matches your specification, because switching between units can change how you interpret the number. Keep your eyes on the rising value rather than relying on feel alone.
The display provides immediate user feedback, helping you make controlled, accurate adjustments.
Check these details before accepting the reading:
- Verify the target torque matches your service instructions.
- Confirm the measurement unit and decimal placement.
- Watch for changing digits as you apply steady pressure.
- Make sure the screen remains visible from your working position.
Some models show peak torque, current torque, or both, so learn what each icon and number represents.
If the display includes a backlight, use it in dim areas without turning your attention away from the fastener. Read the value carefully and record it when documentation matters.
Stop When the Wrench Signals
Listen for the wrench’s signal as you approach the target torque. When you hear it, stop applying force right away. Then check the display to verify the final torque before moving on.
Listen for the Signal
Once the wrench reaches the preset torque, it signals you with a beep, vibration, LED, or a combination of these alerts. Listen carefully and watch the digital display so you recognize the warning immediately.
Your response depends on the alert type and your work environment:
- Hear a beep when you can clearly monitor sound.
- Feel vibration when noise or protective equipment may hide audio.
- Watch the LED when visibility matters most.
- Confirm the alert through multiple indicators for added confidence.
Before using the tool, verify sensor calibration and test its notification settings according to the manufacturer’s instructions.
Keep your attention on the wrench while tightening, rather than relying on memory or guessing. If the signal seems weak, delayed, or inconsistent, check the batteries, display settings, and selected torque unit.
Learn the alert pattern during setup, so you’ll recognize it instantly during fastening.
Stop Applying Force
When the wrench signals that you’ve reached the preset torque, stop applying force immediately and remove it from the fastener. Don’t pull harder, hold pressure, or wait for another alert, because continued force can over-tighten the fastener and affect the joint.
Keep your grip steady as the tool approaches the target, then relax your hand as soon as the display, light, vibration, or beep confirms the setting. An ergonomic design helps you control the wrench comfortably, reducing the chance of an accidental extra movement at the stopping point.
Maintain a balanced stance and keep your other hand clear of moving parts. If the signal seems weak, check the Battery life before starting the task, since low power can reduce alert reliability.
Treat the signal as your clear command to stop.
Verify the Final Torque
After you stop applying force, verify the final torque on the wrench’s display or connected app. Confirm the reading falls within the fastener manufacturer’s specified range, not merely the target value you entered.
If the wrench signals too early, check battery power, socket engagement, and calibration before tightening again. Don’t keep pulling after the alert; extra force can over-tighten the joint or damage threads.
Use these checks before moving on:
- Read the displayed torque and units.
- Confirm the wrench recorded the result.
- Inspect the fastener and surrounding parts.
- Document the value for maintenance records.
Historical context shows that mechanical wrenches relied on scales and user judgment. Today, technological advancements provide audible, visual, and vibrating alerts, plus digital data logging.
Those features help you achieve repeatable results, but you still need to interpret the reading and follow the assembly specifications carefully.
Confirm the Torque and Store It
Press the confirmation button or release the trigger to verify the final torque reading, then save it if your wrench supports data logging. Check the displayed value against your specified target and confirm that the unit, direction, and fastener ID are correct.
Digital features may record peak torque, date, time, and operator details, helping you document each joint.
| Check | Action |
|---|---|
| Reading | Compare it with the target |
| Units | Confirm N·m, lb·ft, or lb·in |
| Record | Save the result and fastener ID |
If the result falls outside tolerance, don’t accept it automatically. Inspect the connection, review your technique, and retighten only according to the equipment manufacturer’s instructions.
Afterward, wipe the wrench clean, release spring tension to its prescribed storage setting, and switch it off. Store it in its protective case, away from moisture, heat, and impacts.
Follow your Calibration procedures and note the next calibration date in your maintenance log. Proper storage protects accuracy and keeps the wrench ready for the next job.
Export saved data when required for quality records.
Frequently Asked Questions
How Should You Clean and Maintain a Digital Torque Wrench?
Clean your digital torque wrench with a soft, slightly damp cloth, then dry it thoroughly. Don’t immerse it, spray solvents, or use abrasive cleaners, which can damage electronics and seals.
Store it in its case, away from heat, moisture, and extreme temperatures. Release tension before storage unless your manufacturer says otherwise.
Follow the recommended calibration frequency, and arrange professional calibration after impacts or heavy use. Check battery replacement instructions, and remove batteries during long-term storage.
How Often Should a Digital Torque Wrench Be Recalibrated?
You should recalibrate your digital torque wrench at least once a year or after every 5,000 uses, whichever comes first. Demanding jobs, impacts, overloads, moisture, and significant temperature changes can shorten that interval.
Follow your manufacturer’s calibration frequency recommendations, especially for safety-critical work. Between services, perform accuracy verification with a certified torque tester or comparison device.
If readings drift, the wrench falls, or you question its performance, stop using it and recalibrate it immediately.
Can You Use a Digital Torque Wrench to Loosen Bolts?
Yes, you can use a digital torque wrench for bolt removal, but check the manufacturer’s instructions first. Most models measure torque in both directions, allowing you to loosen fasteners safely.
Set the tool appropriately, select reverse mode if required, and avoid exceeding its maximum capacity. Remember, loosening often demands more torque than tightening.
For accurate work, use proper Torque adjustment settings, and don’t rely on the wrench as a breaker bar.
How Long Does a Digital Torque Wrench Battery Typically Last?
Your digital torque wrench battery typically lasts 20–40 hours of active use, though the exact duration depends on the model, display brightness, temperature, and alert settings. Think of its battery as a small fuel tank powering every precise click.
For effective Battery life management, turn it off after use, remove batteries during long storage, and carry spares. Power source options usually include replaceable alkaline cells, rechargeable batteries, or USB charging, depending on your wrench.
What Safety Precautions Should You Follow When Storing the Wrench?
Store your digital torque wrench in a clean, dry, temperature-controlled place, away from moisture, heat, chemicals, and direct sunlight. Remove the battery if you won’t use it for an extended period, and keep the tool in its protective case to prevent impacts.
Don’t leave torque settings loaded; return the wrench to its lowest setting according to the manufacturer’s instructions. These storage safety habits protect wrench durability, accuracy, electronics, and battery life.
Conclusion
A digital torque wrench turns your hand’s force into a precise, readable measurement. After checking calibration, setting units, choosing the socket, and pulling smoothly, you’ll know exactly when to stop.
Its sensor measures twisting force, while the display and alert help prevent overtightening. That precision matters: even a 10% torque error can substantially affect fastener performance.
Confirm the final reading, record it if needed, and store the wrench properly so it’s ready for your next job. Following these steps helps you understand how a digital torque wrench works and use it accurately on your next project.