How Does a Battery Load Tester Work?
A weak battery can leave you stranded when you need your vehicle most. If you’re unsure whether your battery is really failing, you’re not alone—many drivers struggle to diagnose the problem. The best battery load tester can make checking its condition faster and more reliable.
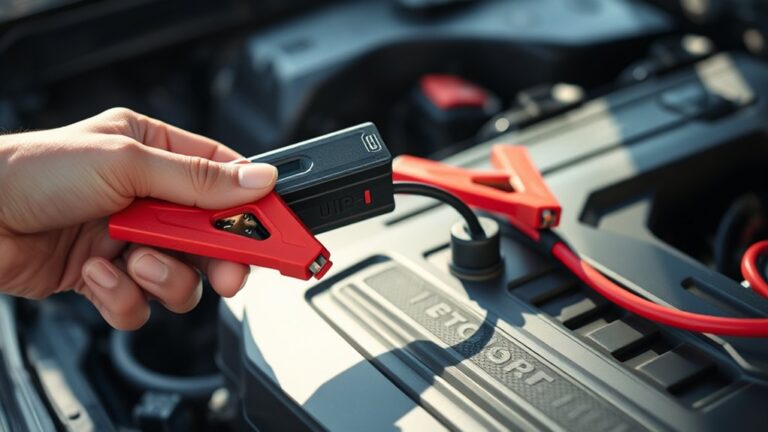
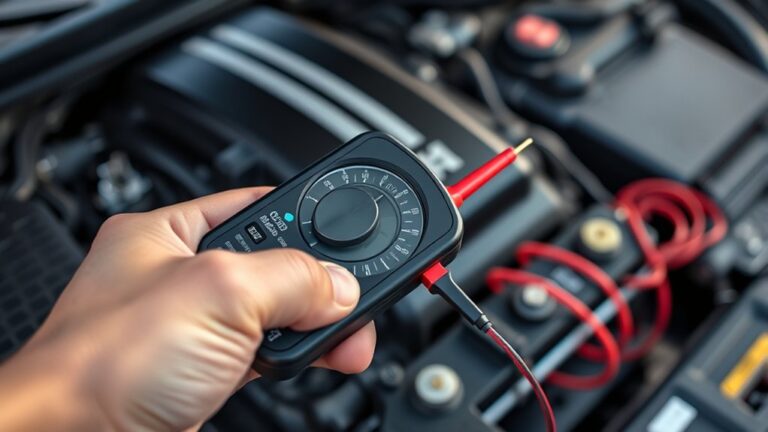
A battery load tester applies a controlled electrical current to simulate engine starting or equipment demand. You connect its positive and negative clamps to the battery terminals, select the proper load based on the battery’s rating, and apply it for about 10 seconds.
The tester tracks voltage before, during, and after the load, showing voltage drop and recovery. If voltage stays within the manufacturer’s minimum, the battery is likely healthy.
Temperature and charge level also affect results, as you’ll see below.
Key Takeaways
- A battery load tester applies a controlled electrical load that simulates engine starting or equipment operation.
- It measures voltage before, during, and after the load to assess voltage drop and recovery.
- The tester compares loaded voltage with the manufacturer’s minimum specification or cold-cranking-amp rating.
- A healthy battery maintains sufficient voltage, while excessive voltage loss indicates weakness, discharge, or deterioration.
- Testing requires secure connections, clean terminals, proper settings, safety equipment, and typically about 10 seconds of load.
What Does a Battery Load Tester Measure?
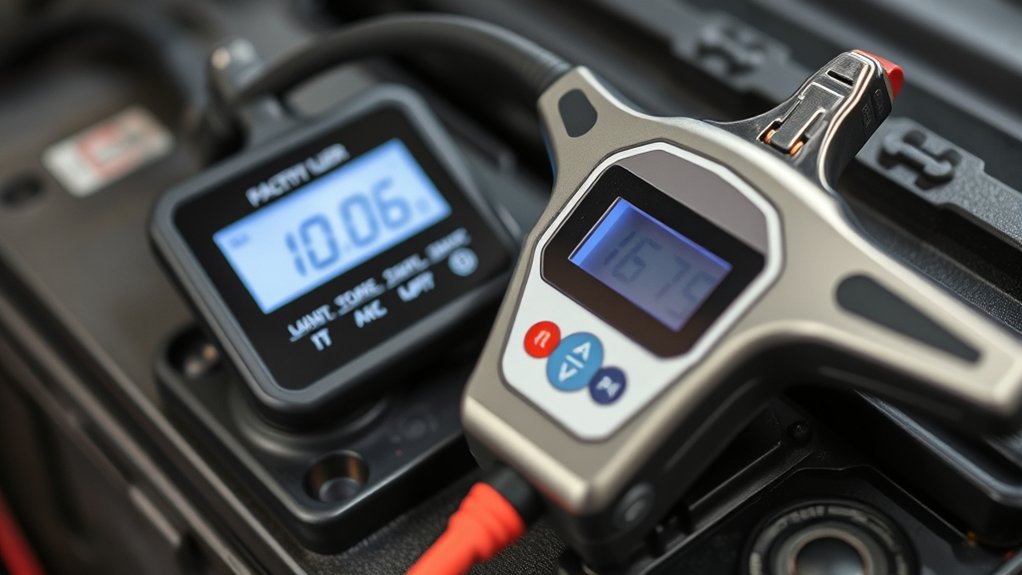
A battery load tester measures how well a battery maintains voltage when a controlled electrical load is applied. You use the reading to judge whether the battery can deliver sufficient starting power, rather than relying on its resting voltage alone.
The tester measures voltage before, during, and after the load, revealing how much the voltage drops and how quickly it recovers. A healthy battery usually holds its voltage within an acceptable range; a weak one shows a sharper decline or slow recovery.
The result reflects the battery’s available capacity, condition, and ability to supply current under demand. Battery chemistry affects normal voltage levels, performance, and acceptable test results, so you should compare readings with the manufacturer’s specifications.
Battery chemistry and condition affect voltage performance, so compare load-test results with the manufacturer’s specifications.
Internal electrical resistance also influences the outcome: higher resistance creates greater voltage loss when current flows. You can use these measurements to identify a discharged, aging, damaged, or potentially unreliable battery before it fails unexpectedly.
How Does a Battery Load Tester Work?
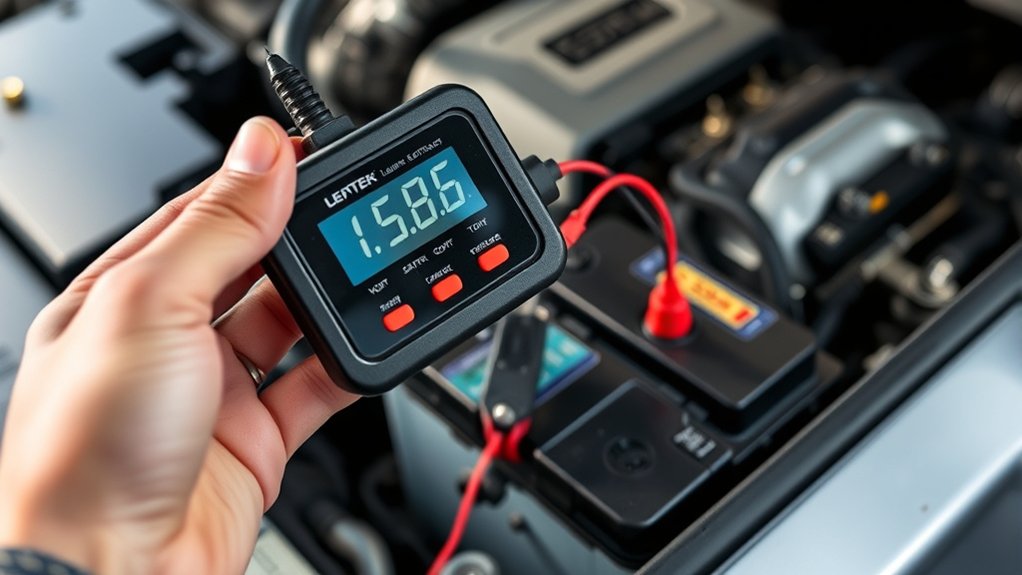
When you connect a battery load tester, it applies a controlled electrical load while measuring the battery’s voltage response. You first attach the tester’s positive and negative clamps to the matching battery terminals.
The tester then draws a specified amount of current, simulating the demand created by starting an engine or powering equipment. During this brief test, its meter or digital display tracks voltage and may show the result against a pass/fail scale.
You must use the correct load rating for the battery, typically based on its cold-cranking-amp specification. Follow the manufacturer’s testing time and safety instructions to prevent overheating, sparks, or damage.
Temperature also affects results, so some testers require compensation for cold conditions. Battery chemistry influences how the battery responds under load, while repeated charging cycles can change its available capacity and performance.
After testing, disconnect the clamps in reverse order and record the reading for maintenance decisions.
Why Load Testing Reveals More Than Voltage
Voltage alone shows a battery’s electrical potential at rest, but a load test reveals how well it can deliver current under demand. When you apply a controlled load, the battery’s voltage should remain within a useful range.
A sharp drop signals limited capacity, aging, or internal problems that a resting reading can hide.
- Current delivery: The test shows whether the battery can supply enough amperage for a starter, motor, or other system.
- Electrical resistance: Internal resistance converts energy into heat and causes voltage to sag as demand rises.
- Battery chemistry: Temperature, sulfation, and chemical wear affect how efficiently the cells produce current.
You’ll learn more by comparing the starting voltage, loaded voltage, and recovery voltage than by checking one number.
A healthy battery maintains voltage during the test and rebounds afterward. A weak battery may show a normal resting voltage yet fail quickly under load, leaving your equipment unreliable when you need it most.
This makes load testing a practical measure of real-world performance.
How to Prepare a Battery for Testing
Before applying a load, prepare the battery and tester to get an accurate, safe result. Turn off the vehicle and disconnect accessories.
Inspect the case for cracks, swelling, or leaks; don’t test a damaged battery. Perform Battery cleaning by removing corrosion from the terminals with an appropriate brush, then dry them fully.
Confirm the clamps can make firm contact. Check the battery’s label and follow its Charging procedures.
If it’s undercharged, recharge it first and let it rest so its surface charge dissipates. Confirm the tester’s cables and meter appear intact, and select the setting that matches the battery’s rated capacity.
| Preparation step | What you do | Why it matters |
|---|---|---|
| Inspect | Check case and terminals | Finds visible problems |
| Clean | Remove corrosion, then dry | Improves contact |
| Charge | Follow the manufacturer’s procedures | Establishes a fair starting condition |
Record the battery’s rating and temperature, since both provide useful context when you interpret the reading. Keep your workspace organized before connecting anything.
How to Use a Battery Load Tester Safely
Once the battery is prepared, connect the tester’s positive clamp to the positive terminal and its negative clamp to the negative terminal. Ensure neither clamp can touch the other.
Keep your hands, clothing, and tools away from moving parts and exposed electrical contacts. Before testing, inspect the testing equipment for damaged leads, loose clamps, or cracked insulation.
Follow these three safety steps:
- Wear safety glasses and insulated gloves to protect against sparks, acid, and accidental contact.
- Confirm the tester’s voltage setting matches the battery’s rating, and account for its battery chemistry, such as lead-acid or AGM.
- Work in a well-ventilated area, keep flames and cigarettes away, and stop immediately if you notice swelling, leaking, smoke, or unusual heat.
Don’t test a frozen, visibly damaged, or leaking battery. Keep the tester stable on a dry surface, and disconnect the clamps carefully after switching the unit off.
Always follow the manufacturer’s instructions and never bypass built-in safety features.
How Long Should You Apply the Load?
Apply the load for about 10 seconds while watching the tester’s reading. This brief test gives the battery enough demand to reveal its condition without creating unnecessary heat or draining it excessively.
Keep the tester’s leads firmly connected, and don’t extend the test beyond the manufacturer’s instructions. If the tester includes a built-in timer, let it control the duration.
Otherwise, release the load at the 10-second mark, then allow the unit to rest before repeating any test.
Your timing should reflect the battery’s design and Battery capacity. Smaller batteries may require a shorter test, while larger automotive batteries commonly use a 10-second load.
Check the tester manual for its specific procedure, especially with deep-cycle or specialty batteries. Repeated tests can add stress, particularly after many Charging cycles, so wait between attempts and avoid unnecessary retesting.
Never continue applying the load if the tester, cables, or battery becomes unusually hot, smells, leaks, or shows damage.
How to Read Battery Load Tester Results
Read the tester’s voltage while the load is still applied, then compare it with the battery’s rated load-test value, typically based on its Cold Cranking Amps (CCA). A healthy battery should maintain the manufacturer’s specified minimum voltage. If it drops below that threshold, the battery may be weak or discharged.
- Pass: Voltage stays at or above the required limit, indicating adequate cranking capacity.
- Recharge and retest: A low reading can reflect insufficient charge, so charge the battery fully before testing again.
- Fail: Voltage remains below specification after charging, suggesting internal deterioration or replacement.
Interpret results alongside the battery’s age, condition, and service history. Battery chemistry affects normal voltage behavior, so use the tester’s instructions for your battery type rather than relying on a universal number.
Charging cycles also influence capacity; repeated cycles gradually reduce performance. Don’t confuse a failed load result with a charging-system fault.
If the battery passes but starting remains difficult, inspect cable connections, the starter, and the vehicle’s charging system.
How Temperature Changes Test Results
Temperature can affect how your battery performs during a load test. Cold weather can reduce the available power, while excessive heat may also affect the battery’s performance and the test readings. For more accurate results, consider the battery’s temperature during testing.
Cold Weather Effects
Cold weather can make a battery appear weaker than it really is because low temperatures slow the chemical reactions that produce electrical current. When you use a load tester, the battery may show a lower voltage or fail to maintain its rated output, even if it performs normally in mild conditions.
Battery chemistry determines how strongly temperature affects results, so compare readings with the manufacturer’s cold-test specifications.
- Let the battery rest before testing, allowing its surface charge to stabilize.
- Clean and tighten the terminals to prevent extra resistance from distorting results.
- Consider the temperature when judging a Cold start rating, since starting demands rise in freezing conditions.
Test outdoors only with proper safety precautions, and don’t repeatedly discharge the battery. If the reading remains low after the battery warms naturally, recharge it and test again before replacing it.
Heat And Battery Performance
Heat can also change a battery load test by increasing internal resistance and accelerating chemical reactions. When you test a hot battery, you may see voltage drop differently from normal conditions.
Battery heat can temporarily improve current flow, yet excessive temperatures can damage plates, dry electrolyte, and raise self-discharge. As a result, your tester might show acceptable performance even though lasting capacity has declined.
Allow the battery to cool to its recommended testing temperature before connecting the load tester. If you test it immediately after driving or charging, record the temperature and interpret the reading carefully.
Repeated overheating causes performance degradation, so compare results over time rather than relying on one test. Keep the battery clean, properly charged, and away from engine heat.
That approach helps you distinguish temperature effects from genuine battery failure.
When Should You Replace the Battery?
Replace the battery when it fails a load test, struggles to start the engine, or shows signs of physical damage such as swelling, cracks, or leaks. You should also consider replacement when the battery reaches its expected service life, usually three to five years, especially if performance declines during cold weather.
Watch for these warning signs:
- Your headlights dim noticeably while the engine idles, or electronic accessories operate slowly.
- The battery repeatedly loses charge despite proper charging and normal vehicle use.
- Corrosion returns around the terminals, or the case appears distorted.
Check the battery’s age, test results, and starting performance together rather than relying on one symptom. Good Battery maintenance can extend service life, while suitable Charging strategies help prevent premature wear.
However, neither practice can restore a battery with damaged plates, severe sulfation, or a failing internal cell. Replace it promptly if safety-related damage appears, since leaking electrolyte can harm you, your vehicle, and nearby components.
What to Do After a Failed Load Test
After a failed load test, recharge the battery fully and repeat the test to rule out a low-charge condition or testing error. Clean the terminals, check cable connections, and make sure the tester’s settings match the battery’s rated capacity.
If the battery fails again, inspect it for swelling, cracks, leaks, or corrosion. These signs indicate damage, so don’t continue using the battery; replace it safely.
Consider the battery’s age and service history. Even without visible damage, a battery that repeatedly fails may have lost sufficient capacity to start your vehicle reliably.
Have a technician perform a conductance test or charging-system inspection if you’re uncertain whether the battery or alternator causes the problem.
Good battery maintenance can prevent future failures. Keep terminals clean, secure the battery firmly, and test it before extreme weather.
Use appropriate charging techniques, including a compatible charger and correct settings. Don’t repeatedly deep-discharge a starting battery, and follow the manufacturer’s instructions for storage and care.
Frequently Asked Questions
Can a Battery Load Tester Test Lithium-Ion Batteries?
Yes, you can test lithium-ion batteries with a compatible battery load tester, but you must verify its voltage range, current limits, and safety features first. Battery chemistry affects how the battery responds under load, so don’t use procedures designed for lead-acid batteries automatically.
Follow the manufacturer’s Testing procedures, wear appropriate protection, and prevent overheating, short circuits, or deep discharge. Stop testing immediately if the battery swells, heats rapidly, or smells unusual.
How Much Does a Battery Load Tester Typically Cost?
You’ll typically pay $20–$60 for a basic battery load tester, while professional models cost $100–$300 or more. Pricing variations depend on accuracy, maximum testing capacity, display features, and build quality.
Consider the battery types you’ll test: automotive lead-acid testers usually cost less, whereas equipment supporting lithium-ion, AGM, or deep-cycle batteries may cost more. You can find reliable midrange options around $50–$100 for occasional home or workshop use.
Can a Load Tester Diagnose Alternator or Charging-System Problems?
Not by itself. A load tester evaluates your battery’s ability to deliver current, so it can reveal a weak battery that mimics charging trouble.
For reliable Alternator diagnostics and Charging system insights, you’ll need a voltmeter or charging-system tester. Measure voltage at the battery with the engine off, idling, and under electrical load.
If voltage stays low while running, inspect the alternator, belt, wiring, grounds, and regulator for faults.
What Accessories Are Compatible With Battery Load Testers?
You can pair battery load testers with accessories—because apparently batteries need more gadgets to feel important. Choose heavy-duty test leads, replacement clamps, remote switches, temperature probes, and digital adapters designed for your specific model.
Check battery compatibility before connecting accessories, especially with AGM, gel, lithium, or automotive batteries. Confirm accessory compatibility in the tester’s manual, since mismatched connectors or ratings can damage equipment, produce inaccurate readings, or create safety hazards during testing and maintenance.
How Often Should a Battery Load Tester Itself Be Calibrated?
You should calibrate your battery load tester at least once yearly, or according to the manufacturer’s instructions. Increase calibration frequency to every six months if you use the tester heavily, expose it to harsh conditions, or depend on highly precise results.
Check tester accuracy before important diagnostics by comparing readings with a certified reference or another recently calibrated instrument. If readings drift, impacts occur, or repairs happen, calibrate it immediately rather than waiting.
Conclusion
A battery load tester shows whether your battery can deliver power when you need it, not merely whether it has voltage. By applying a controlled load, it exposes weak plates, low capacity, and failing performance before they leave you stranded.
In fact, a fully charged battery may still pass a voltage check yet lose more than half its rated cranking power under load. Test safely, account for temperature, and replace the battery if results fall below specifications.
Understanding how a battery load tester works helps you identify problems before they lead to a breakdown.