How Does a Car Diagnostic Scanner Work Step by Step
Trying to figure out why your check-engine light is on can feel overwhelming, especially when you’re unsure which scanner to trust. You’re not alone—many drivers struggle to understand diagnostic codes and sensor data. Learning how a car diagnostic scanner works step by step can make troubleshooting easier and help you choose the right tool.
To use a car diagnostic scanner, check that it supports your vehicle, then locate the 16-pin OBD-II port beneath the dashboard. Plug it in securely, turn the ignition on, and select your vehicle details.
The scanner communicates with the vehicle’s computers, retrieves trouble codes, and displays live sensor readings. Review freeze-frame data, record your findings, and diagnose the cause before making repairs.
Clear codes only after confirming the fix, then rescan and test-drive the vehicle for lasting results.
Key Takeaways
- Connect the scanner securely to the vehicle’s 16-pin OBD-II port and turn the ignition on without starting the engine.
- Select the vehicle’s make, model, year, and engine, then allow the scanner to establish communication with the ECU.
- Retrieve stored, pending, and permanent diagnostic trouble codes. Record their descriptions and associated freeze-frame information.
- View live sensor data, such as engine speed, coolant temperature, oxygen readings, and throttle position, while the engine runs.
- Interpret the codes alongside live and freeze-frame data, verify the fault, complete repairs, then clear the codes and retest the vehicle.
What a Car Diagnostic Scanner Can Tell You
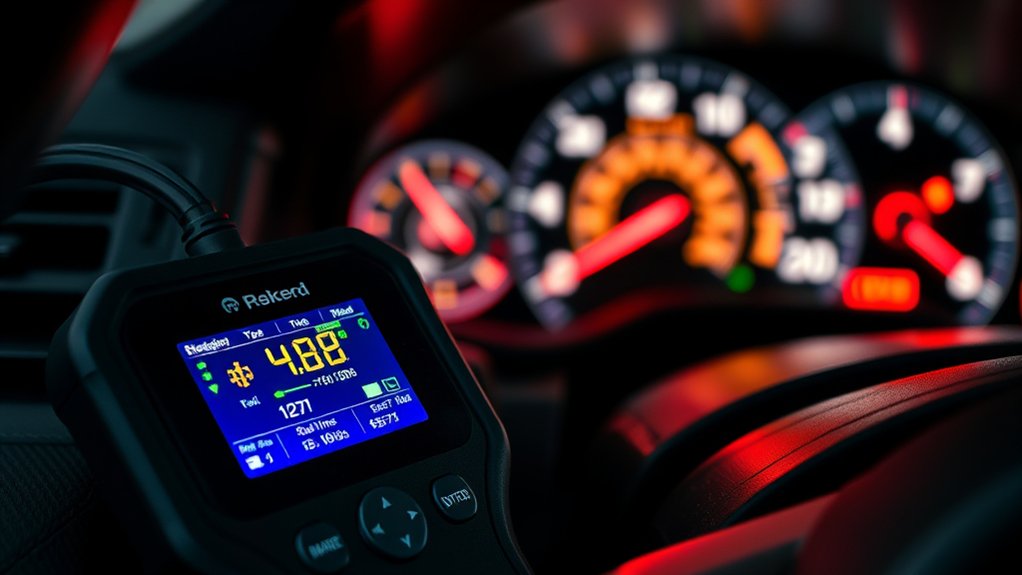
A car diagnostic scanner can identify fault codes stored by your vehicle’s onboard computer, helping you pinpoint problems with systems such as the engine, transmission, emissions, airbags, and anti-lock brakes.
A diagnostic scanner reveals stored fault codes, helping you locate problems across your vehicle’s critical systems.
When you connect the tool, you can read codes that reveal sensor failures, misfires, low fluid pressure, or emissions faults. You’ll also see whether a problem is current, intermittent, or previously recorded.
Some scanners display live data, including engine temperature, oxygen-sensor readings, fuel trims, and battery voltage. This information helps you compare actual performance with normal values before replacing parts.
You shouldn’t treat a code as a complete diagnosis, however. It identifies a monitored fault, while you must inspect wiring, connectors, fuses, and related components to find its cause.
Use these Maintenance tips to catch developing issues early, and apply practical troubleshooting techniques to confirm repairs.
After fixing the underlying problem, clear the code and rescan to verify it stays gone during normal driving.
Check Scanner and Vehicle Compatibility
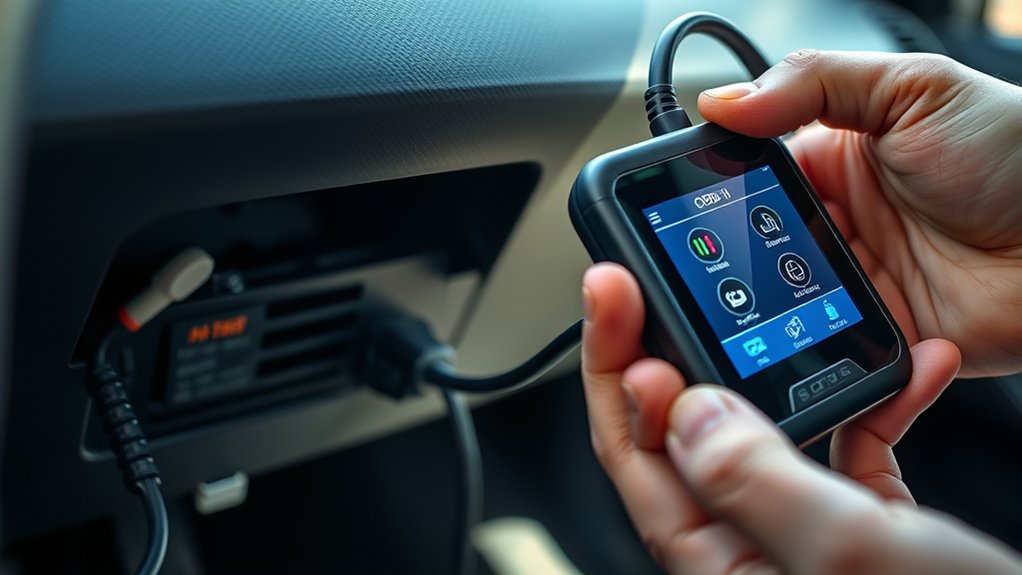
Before connecting the scanner, make sure your vehicle has the correct type of OBD port. Then, check that the scanner is compatible with your vehicle’s make, model, and year. Finally, confirm that it supports the communication protocols your vehicle requires.
Verify OBD Port Type
First, identify your vehicle’s OBD port type and confirm that your scanner supports it. Most cars built after 1996 use the 16-pin OBD-II connector, but some older vehicles use manufacturer-specific ports.
Look beneath the dashboard near the steering column, then compare the connector’s shape and pin layout with your scanner’s requirements. Don’t force the plug if it doesn’t fit; you could damage the port or tool.
Check whether the scanner supports the protocols your vehicle uses, such as CAN, ISO 9141, or KWP2000. Also confirm that the tool can access the systems you need, including Engine calibration or Tire pressure modules, if applicable.
A compatible port and communication protocol let the scanner establish a reliable connection and retrieve accurate diagnostic data without interruptions during testing.
Match Vehicle Model
Check your scanner’s compatibility list against the vehicle’s exact make, model, year, engine, and trim. Matching these details helps you avoid failed connections, incomplete readings, or unsupported features.
Don’t rely only on the vehicle’s badge; manufacturers may use different electronics across production years, engines, and regional versions.
Enter the vehicle identification number (VIN) when your scanner requests it, then review the displayed information carefully.
If the scanner offers manual selection, choose every category accurately rather than accepting a generic option.
Vehicle customization can also affect compatibility, especially after engine swaps, aftermarket control modules, or major electrical upgrades.
Keep these Car maintenance tips in mind: save your vehicle’s specifications, check the scanner’s coverage database for updates, and contact the manufacturer if your exact configuration isn’t listed before proceeding with diagnostics.
Confirm Scanner Protocols
Confirm that your scanner supports the vehicle’s communication protocols, such as OBD-II, CAN, ISO 9141, or KWP2000. Check your owner’s manual or the scanner manufacturer’s compatibility list to verify support for your vehicle’s year, make, model, and engine.
Don’t assume a universal connector guarantees full communication. Some vehicles require a specific protocol or adapter.
Next, inspect the scanner’s connector and cable for damage, then plug it into the diagnostic port with the ignition off. Turn the ignition on without starting the engine and watch for a stable connection.
If the scanner can’t communicate, confirm the port has power and try another compatible tool. Install software updates before scanning because outdated firmware may limit functions such as live data, fault-code access, or sensor calibration procedures.
Find Your Vehicle’s OBD-II Port
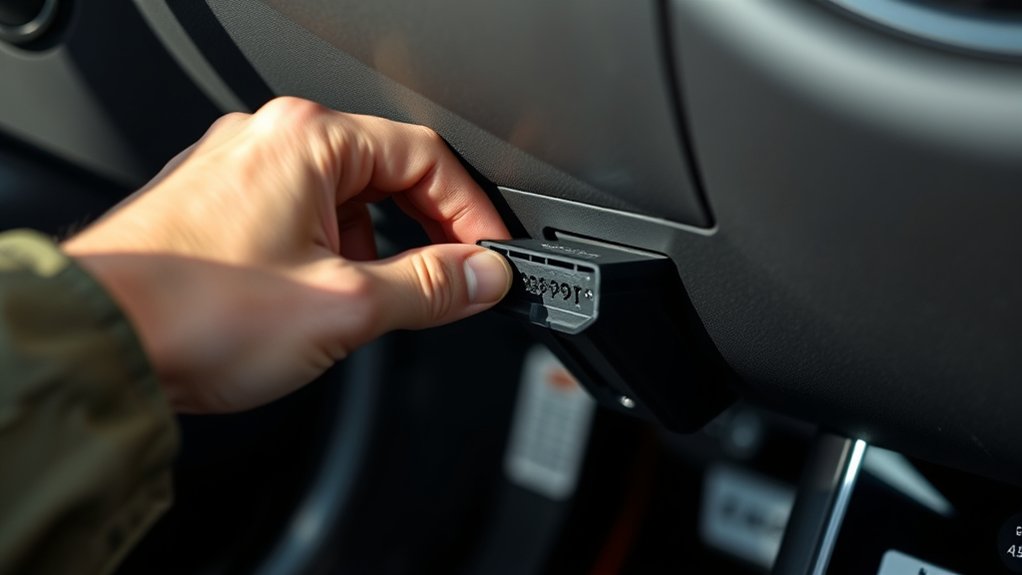
Before you connect your scanner, find your vehicle’s OBD-II port. It’s usually located beneath the dashboard, near the steering column, or beside the fuse box. Look for a 16-pin connector with a trapezoid shape.
Locate the Port
Locate your vehicle’s OBD-II port, usually beneath the dashboard near the steering column, so you can connect the diagnostic scanner. Before you reach underneath, switch off the ignition and remove the key.
Use a flashlight if the area looks dim, and avoid pulling on nearby wiring or trim. You’re looking for a small, rectangular connector with exposed metal contacts; it may have a protective cover.
Once you identify it, check that the connector isn’t cracked, loose, or blocked by debris. Don’t force anything into place, because damaged pins can prevent communication with your vehicle’s computers.
This port lets the scanner read information related to engine calibration, emissions, tire pressure, and other systems, depending on your vehicle’s equipment and the scanner’s capabilities. Leave the connector accessible for the next step.
Check Common Locations
If you don’t see the OBD-II port beneath the steering column, check common locations such as under the dashboard, beside the driver’s knee, near the center console, or behind a small access panel. Your vehicle’s layout may vary by model year and trim level, so consult the owner’s manual for a diagram.
Look around the lower dash and side panels without removing major components. Some vehicles place the port near the fuse box or just above the hood-release handle.
You might need a flashlight to spot it in a dark footwell. Avoid forcing covers or pulling wiring, since you could damage clips or electrical connections.
The port supports diagnostic tasks, including checking emissions, monitoring Tire pressure warnings, or confirming issues after Engine cleaning. Keep the area accessible for future scans.
Identify the Connector
Start by identifying the vehicle’s OBD-II connector, a 16-pin port used to link a diagnostic scanner to the car’s onboard computer. You’ll usually find it beneath the dashboard, near the steering column, though some models place it behind a cover or inside the center console.
Use a flashlight, and don’t force any plug into an unfamiliar socket.
- Check the shape: Most connectors have a trapezoidal outline, helping you recognize the correct port quickly.
- Inspect the pins: Compare the visible pin layout with your scanner’s requirements, since pin configurations can vary by vehicle and system.
- Confirm compatibility: Review your owner’s manual for connector types and location details before connecting the tool.
Once you’ve identified the port, make sure it’s clean and undamaged. A secure connection prevents frustrating errors and lets your scanner communicate reliably with the vehicle’s computer.
Connect the Car Diagnostic Scanner Safely
Before connecting the scanner, park the car safely, switch off the ignition, and engage the parking brake. Keep your keys away from the ignition until the connection is secure.
Locate the OBD-II port you identified earlier, usually beneath the dashboard near the steering column. Check the port for dirt, moisture, bent pins, or visible damage.
If you find debris, remove it carefully without forcing anything into the socket.
Hold the scanner’s plug by its housing, align its shape with the port, and push it in firmly. Don’t twist, rock, or force the connector, because you could damage the terminals.
Make sure the plug sits fully and securely in place. A loose connection can interrupt communication or produce unreliable results.
Keep the cable away from pedals, your feet, and sharp edges so it won’t interfere with driving controls. Proper handling protects your vehicle maintenance system and Diagnostic tools.
Don’t disconnect it until testing ends.
Turn On the Ignition and Scanner
With the scanner securely connected, turn the ignition to the ON position without starting the engine. This supplies power to the vehicle’s onboard electronics and wakes the diagnostic tool.
Press the scanner’s power button if it doesn’t start automatically, then watch its screen for the startup display. Keep the engine off unless your scanner specifically instructs you otherwise.
Before proceeding, check that the screen stays bright and the buttons respond normally. A stable power supply helps prevent interruptions and protects your vehicle’s electronics.
- You’ll feel reassured when the scanner powers up and confirms it’s ready.
- You’ll gain confidence knowing accurate information can support better Fuel efficiency.
- You’ll help protect the air we share by supporting compliance with Emission standards.
Don’t switch the ignition off or disconnect the cable during startup. If the scanner remains blank, verify the connector’s fit and check whether the vehicle’s battery has sufficient charge.
Once both devices are powered, follow the scanner’s displayed prompts carefully.
Establish Communication With the Vehicle
Once the scanner is powered on, select your vehicle’s make, model, and year if prompted, then choose the communication or diagnostic option. The scanner will request access through the vehicle’s onboard diagnostic system, usually via the OBD-II port beneath the dashboard.
Make sure the connector fits securely because a loose connection can interrupt communication.
Your scanner and vehicle then exchange basic information, including supported communication protocols and system details. You might see messages such as “Connecting,” “Initializing,” or “Linking to ECU.”
Don’t turn off the ignition, unplug the scanner, or press unrelated controls during this process.
If communication fails, check that the ignition is in the correct position, inspect the connector, and verify that you selected the right vehicle information.
Some diagnostic tools let you manually choose a protocol or retry the connection. Once communication succeeds, the scanner will display a ready or connected message, allowing you to continue with vehicle maintenance procedures.
Read and Record Diagnostic Trouble Codes
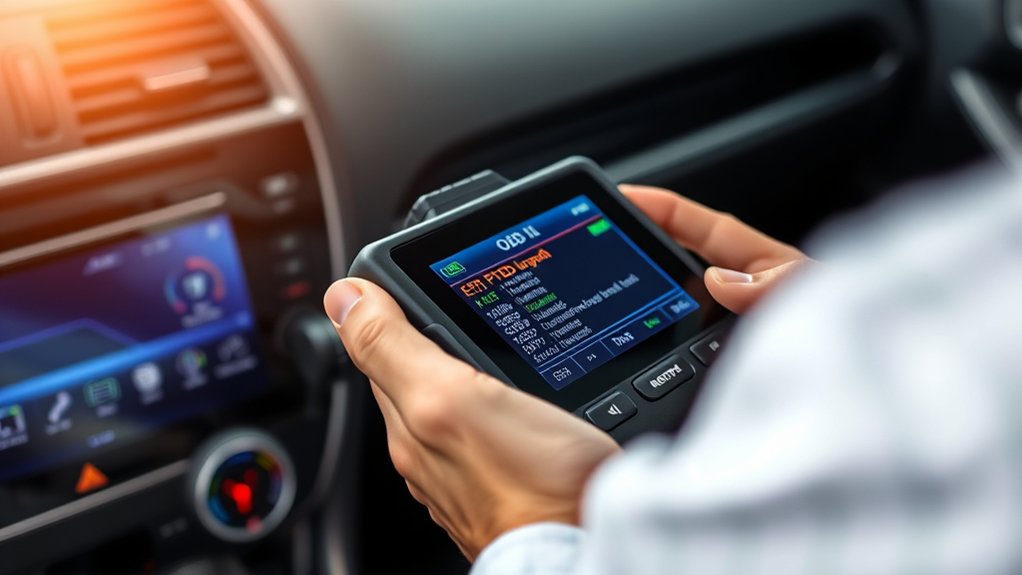
After the scanner connects successfully, select the option to read or retrieve diagnostic trouble codes (DTCs). Your tool queries the vehicle’s control modules and displays stored, pending, or permanent codes.
Each code combines letters and numbers that identify a system and a possible fault, such as an ignition, fuel, or emission control problem.
Record every code before clearing anything. Save the code number, description, module, and any freeze-frame information your scanner provides.
This snapshot helps you and your technician understand the conditions present when the fault occurred.
- Protect your engine: A warning code can reveal a problem before it causes expensive damage.
- Reduce anxiety: Clear explanations turn an alarming dashboard light into a manageable next step.
- Plan repairs wisely: Accurate records support engine maintenance and prevent unnecessary part replacement.
Don’t treat a code as a guaranteed diagnosis. It points toward a circuit or system that needs testing.
Research the manufacturer’s meaning, inspect related wiring and connectors, and address urgent warnings promptly. After documenting the results, you can clear codes only after repairs.
View Live Sensor Data With the Scanner
Live data lets you watch sensor readings and system activity as the engine runs. Connect your scanner, switch on the ignition, and choose the live-data menu.
Monitor real-time sensor readings as the engine runs by connecting your scanner and selecting the live-data menu.
Start the engine, then select useful parameters, such as coolant temperature, engine speed, oxygen-sensor voltage, fuel trims, throttle position, and manifold pressure. You’ll see values change as you accelerate, decelerate, or let the engine idle.
Compare readings with the vehicle manufacturer’s specifications. Look for values that stay fixed, respond slowly, or fluctuate outside their normal range.
Don’t condemn a component from one number alone. Consider related readings and operating conditions. A faulty wire, vacuum leak, or poor sensor calibration can create misleading results.
Use the scanner’s graphing feature to spot trends more easily. If available, enable data logging so you can review changes during a road test.
Record the test conditions and compare repeated measurements. This process helps you narrow the fault before testing individual parts.
Use Freeze-Frame Data to Check the Problem
Use freeze-frame data to see what conditions were present when the fault occurred. Review the stored sensor readings and compare them with their normal values. Then, try to recreate the fault under similar conditions to help confirm the cause.
Capture Snapshot Conditions
When a diagnostic scanner records a trouble code, it often saves freeze-frame data showing the vehicle’s conditions at that moment. This snapshot can reveal what happened before the warning light appeared.
Connect the scanner, choose the stored code, and open its captured conditions. You’ll typically find engine speed, coolant temperature, vehicle speed, load, and operating status.
Save or photograph the information before clearing anything, so you can compare the event with later findings.
- Protect the clue: Don’t erase freeze-frame data prematurely. It may be your best lead.
- Record the moment: Note mileage, weather, and driving conditions while they’re fresh.
- Stay organized: Label each snapshot with its code and date.
Sensor calibration and data encryption can affect how the scanner stores or presents information, so follow the tool’s instructions carefully.
Use the snapshot to guide diagnosis, not replace testing.
Review Sensor Readings
Compare the freeze-frame values with the sensor’s current readings to see whether the original condition still exists. Check engine temperature, intake pressure, airflow, oxygen levels, throttle position, and fuel trims against the stored snapshot.
Large differences may show that operating conditions have changed, while similar values can support the original diagnostic direction.
Next, look for readings outside the manufacturer’s specified range. A value may appear plausible yet still indicate a biased sensor, wiring issue, or poor connection.
Confirm sensor calibration requirements before judging a component, because incorrect reference values can lead you to the wrong inference.
Also consider data accuracy. Scanners may display rounded numbers, delayed updates, or readings affected by battery voltage.
Compare related sensors for consistency, and record unusual values so you can evaluate the fault logically without assuming the first suspicious reading identifies the cause.
Reproduce the Fault
Recreate the conditions recorded in the freeze-frame data, including engine temperature, vehicle speed, load, and throttle position, to see whether the fault returns. Drive safely, monitor live readings, and watch for the same warning light or drivability symptom.
Don’t deliberately create dangerous conditions. Use a controlled route or professional test area.
- Note exactly when the symptom appears, so you can connect it to specific sensor values.
- Compare current readings with the stored data to reveal changes or inconsistencies.
- Stop testing if the vehicle loses power, overheats, or behaves unpredictably.
This process strengthens fault diagnosis by confirming that the code reflects an active problem rather than a one-time event. Careful error interpretation also prevents unnecessary parts replacement.
If the fault doesn’t return, inspect wiring, connectors, and intermittent conditions before clearing the code. Record every result for an accurate repair decision.
Confirm Repairs Before Clearing Codes
Before you clear any trouble codes, confirm that you’ve repaired the underlying problem and that the scanner shows the expected sensor readings. Start the engine, let it reach operating temperature, and compare live data with the manufacturer’s specifications.
Reproduce the original conditions, such as acceleration or cold starting, to verify the fault no longer returns.
| Check | What to verify | Why it matters |
|---|---|---|
| Live data | Sensor values stabilize | Confirms proper operation |
| Test drive | Symptoms disappear | Validates the repair |
| Readiness monitors | Status changes appropriately | Supports inspection readiness |
Don’t erase codes immediately after replacing a part. Check the wiring, connectors, vacuum lines, and grounds because common diagnostic mistakes include overlooking simple causes.
If the first repair doesn’t work, consider alternative repair methods only after reviewing the test results and service information.
Record the original code, the repair performed, and the post-repair readings. Once everything looks normal, clear the codes and complete another scan to confirm no new faults appear.
This process proves your repair solved the cause rather than hiding the warning.
Frequently Asked Questions
How Much Does a Quality Car Diagnostic Scanner Typically Cost?
You’ll typically pay $50–$150 for a quality basic car diagnostic scanner, while advanced bidirectional models can cost $300–$1,000 or more. Pricing variability depends on vehicle coverage, update policies, screen quality, and professional functions.
Before buying, conduct a feature comparison: confirm ABS and airbag access, live data, coding, wireless connectivity, and repair guidance. A midrange scanner often gives you the best balance between dependable performance, useful features, and reasonable ownership costs.
Can a Car Diagnostic Scanner Drain Your Vehicle’s Battery?
Yes, a car diagnostic scanner can drain your vehicle’s battery, but usually only if you leave it connected while the engine’s off for an extended period. Most scanners draw minimal power, so brief testing won’t cause problems.
For better Scanner safety, turn the ignition off and unplug the device after reading codes. Battery drain becomes more likely with advanced scanners, weak batteries, or aftermarket devices that remain active while parked.
Are Wireless Bluetooth Diagnostic Scanners Secure to Use?
Yes, wireless Bluetooth diagnostic scanners are generally secure when you choose reputable brands and use them carefully. Look for strong wireless security, Bluetooth encryption, regular firmware updates, and password protection.
Don’t leave the scanner plugged in when you’re not using it, and avoid pairing it with unknown phones or apps. You should also disable Bluetooth afterward, review app permissions, and purchase devices that receive reliable manufacturer support.
How Often Should You Scan Your Vehicle for Potential Problems?
You should scan your vehicle at least twice a year and before long trips, even when no warning light appears. Scan it promptly if you notice poor acceleration, rough idling, unusual noises, reduced fuel economy, or dashboard alerts.
Regular checks can reveal developing issues affecting engine performance and emission control before they become expensive repairs. After maintenance, scan again to confirm repairs cleared stored trouble codes and restored normal operation.
Can Diagnostic Scanners Reset Maintenance Reminders and Service Lights?
Yes, many diagnostic scanners can reset a maintenance reminder and turn off a service light after you’ve completed the required work. You’ll connect the scanner, switch on the ignition, select the appropriate vehicle system, and follow its reset command.
However, basic code readers may only clear fault codes, not service intervals. Always fix the underlying problem first, because erasing a warning without repairing it won’t keep your vehicle safe.
Conclusion
Using a car diagnostic scanner is like giving your vehicle a voice. Check compatibility, connect it safely, turn on the ignition, and read the clues hidden in trouble codes, live data, and freeze-frame records.
Don’t rush to erase those clues. They’re your roadmap to the real problem. After repairs, scan again and confirm the issue has truly disappeared.
With each step, you’ll turn confusing warning lights into clear direction and better understand how a car diagnostic scanner works. Then, you can drive forward with confidence.