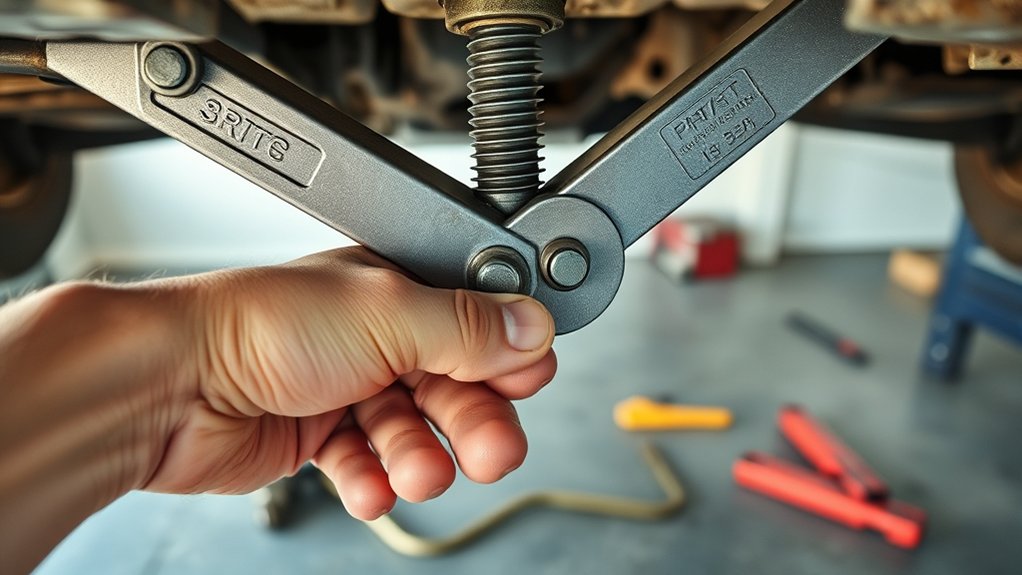
How Does a Scissor Jack Work Step by Step
Changing a flat tire or handling basic car maintenance can feel stressful, especially when you’re unsure how a scissor jack works. You’re not alone—many drivers struggle with safe, steady lifting.
This guide explains how a scissor jack works step by step, along with safe operation, maintenance, and common mistakes.
A scissor jack uses a threaded screw to raise your vehicle step by step. First, park on level ground, set the brake, and chock the wheels.
Position the jack beneath the manufacturer’s approved lift point.
Turn the screw clockwise to spread the crossed arms and lift the saddle.
Raise the vehicle only as high as needed, then use jack stands before working underneath.
Turn the screw counterclockwise slowly to lower it.
The following steps explain safe operation, maintenance, and common mistakes.
Key Takeaways
- Place the scissor jack on firm, level ground beneath the vehicle’s approved lifting point.
- Turn the threaded screw clockwise; its rotation converts into linear motion that spreads the crossing arms.
- As the arms open, they raise the saddle while distributing the vehicle’s load through multiple contact points.
- Keep the jack centered and stable, lifting only as high as necessary and stopping if shifting occurs.
- Turn the screw counterclockwise slowly to lower the vehicle, then confirm it rests securely before removing the jack.
What Is a Scissor Jack?
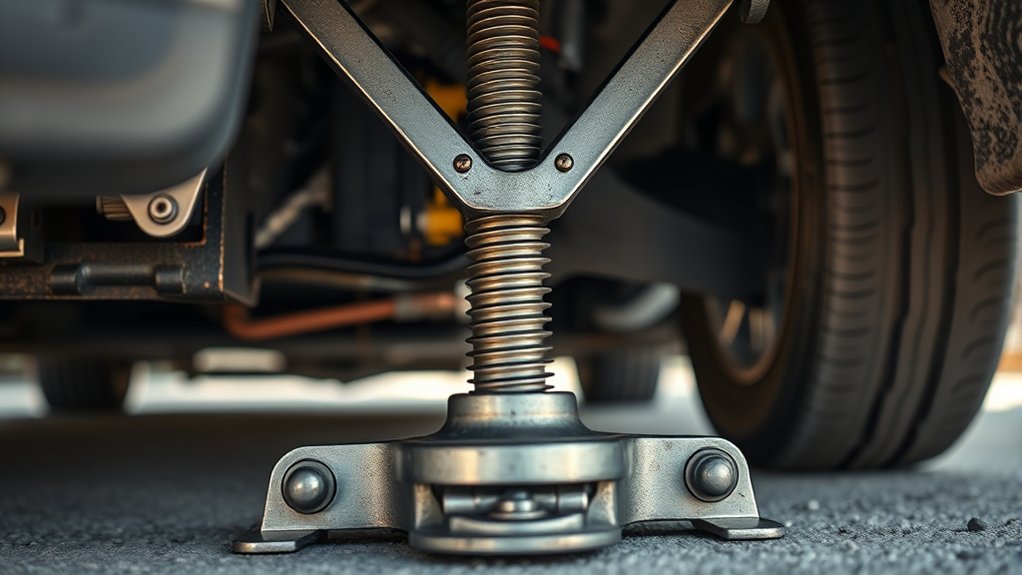
A scissor jack is a compact mechanical device that lifts a vehicle by turning a threaded screw. You’ll usually find one in a car’s emergency kit because it folds flat, weighs little, and stores easily in a trunk. Unlike a garage jack, it’s designed for occasional roadside lifting rather than frequent workshop use.
When you operate the handle, the screw draws the jack’s arms together or pushes them apart, raising the vehicle at a designated lifting point. You should use it only on firm, level ground and follow basic jack safety practices, including setting the parking brake and securing the wheels.
Never rely on the jack alone while working underneath a vehicle.
Before using one, check vehicle compatibility. Confirm that its lifting capacity exceeds your vehicle’s weight and that its saddle fits the manufacturer’s approved lifting point.
A properly matched jack helps you change a tire safely, but it isn’t a substitute for stable support equipment during repairs.
Identify the Main Scissor Jack Parts
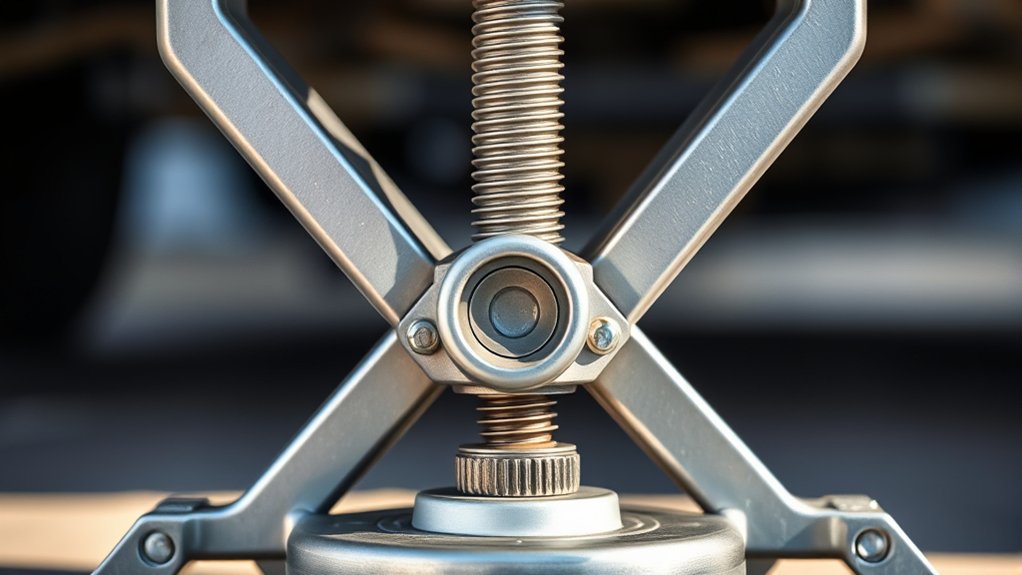
Most scissor jacks include a threaded screw, two pairs of pivoting arms, a base, and a saddle. You’ll find each part serving a specific role as you position the jack beneath a vehicle.
A scissor jack combines a threaded screw, pivoting arms, a base, and a saddle to lift vehicles safely.
The base spreads the load across the ground, while the saddle contacts and supports the vehicle’s approved lifting point. The arms connect through pivot joints, forming the folding frame that raises or lowers the saddle.
A handle or drive fitting lets you operate the assembly, but don’t confuse that control with the screw’s operating details.
When you inspect the jack, focus on these visible components:
- Base: Provides stability and reduces sinking.
- Saddle: Meets the vehicle’s lifting point.
- Arms: Transfer force through their pivots.
- Joints: Keep the frame aligned during movement.
Safety precautions include checking for cracks, bent arms, loose hardware, and a level surface before use. Follow your vehicle manual, and never work beneath a car supported only by the jack.
For Maintenance tips, clean dirt from pivots, inspect wear regularly, and store the jack dry.
How the Scissor Jack Screw Works
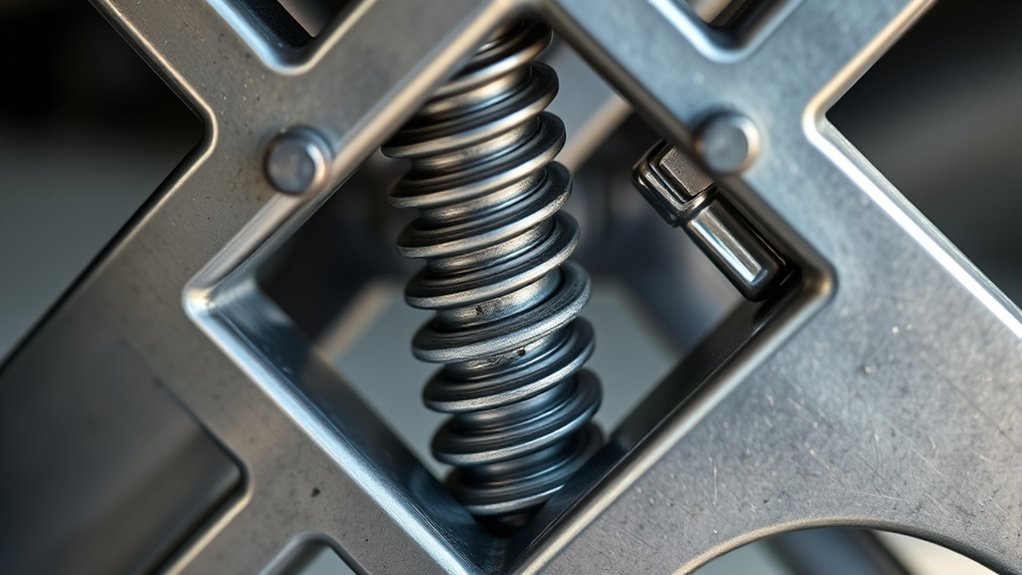
Turn the screw to move its threads through the jack’s center mechanism. This converts your turning force into linear motion, causing the arms to spread and lift the load. Next, you’ll see how the thread design affects lifting effort and stability.
Screw Thread Mechanics
As you turn the handle, the scissor jack’s threaded screw converts rotational motion into controlled linear movement. The screw’s helical ridge engages matching threads in the jack’s central nut.
Each turn advances the nut a small, predictable distance, raising or lowering the arms. A finer pitch provides precise positioning, while clean, undamaged threads keep movement smooth and aligned.
You should understand these features before relying on the jack.
- Threads guide the nut along a fixed path.
- The pitch determines movement per revolution.
- Lubrication reduces friction and wear.
- Debris can cause binding or misalignment.
Inspect the screw, nut, and threads before use. Follow scissor jack safety guidance, including level-ground placement and a suitable load rating.
Never work beneath a vehicle supported only by a jack; use stands instead. If the mechanism appears damaged, choose alternative lifting methods and replace the jack.
Turning Force and Lift
Turning the handle applies torque to the screw, and the screw converts that rotational force into upward movement through its threads. As you turn, the screw’s inclined threads push against the threaded arms, forcing the scissor legs to spread.
Their expanding angle raises the saddle and your vehicle gradually. A longer handle gives you more advantage, so you’ll need less hand force, although each turn may lift the load more slowly.
Friction between the screw and nut limits efficiency, but it also helps the jack hold its position when you stop turning. You should check the jack’s lifting capacity before applying force, then place it on firm, level ground.
For jack safety, keep your hands clear of the arms and never work beneath a vehicle supported only by this jack.
Position the Jack Under the Vehicle
Before lifting, locate the vehicle’s designated lift point. Then, position the scissor jack beneath it, making sure the saddle rests securely against the contact area. Check that the jack is properly aligned and stable before raising the vehicle.
Find the Lift Point
Find the vehicle’s designated lift point in the owner’s manual, usually located behind the front wheel or ahead of the rear wheel along the frame or pinch weld. Use only these reinforced points, not the vehicle’s floor pan, suspension components, exhaust, or plastic trim.
Before lifting, park on firm, level ground, shift into Park or first gear, and apply the parking brake. Chock the wheels remaining on the ground to improve vehicle stability.
Check that the lift point is clean and free from damage, rust, or obstructions.
For jack safety, confirm the location can support the vehicle’s weight:
- Verify the manual’s lift-point diagram.
- Identify the reinforced contact area.
- Keep clear of fragile body panels.
- Never lift from an unapproved location.
Don’t crawl beneath the vehicle until you support it with properly rated jack stands.
Align the Jack Properly
With the lift point identified, position the scissor jack so its saddle lines up squarely with the reinforced contact area. Keep the jack’s base flat on firm, level ground, and center it beneath the vehicle.
Make sure the saddle contacts the lift point evenly rather than resting against plastic, thin sheet metal, or nearby suspension parts.
Before raising anything, turn off the engine, engage the parking brake, and place wheel chocks behind the tires remaining on the ground. These safety precautions help prevent movement while you work.
Check that the jack stands straight, with its screw or handle facing outward for easy operation.
As maintenance tips, inspect the saddle, base, and threads for damage or debris before each use. Don’t continue if the jack shifts, tilts, or contacts an incorrect location.
Turn the Screw to Begin Lifting
Turn the screw clockwise using the jack’s handle, keeping the base flat and stable on the ground. Apply steady, controlled pressure rather than forcing the handle.
As the screw turns, listen for unusual sounds and watch for shifting or slipping. Stop immediately if the jack tilts, the handle binds, or the vehicle moves.
Follow these safety precautions before continuing:
- Keep your hands clear of pinch points.
- Turn the handle from a balanced stance.
- Check that the parking brake remains engaged.
- Never work beneath a vehicle supported only by this jack.
Use smooth, even rotations to maintain control and avoid damaging the threads. Don’t rush the first turns; they confirm that the screw engages correctly after you’ve aligned the jack.
If resistance feels excessive, lower the jack, inspect its position, and remove dirt from the screw. Apply suitable lubricant according to the manufacturer’s Maintenance tips, but don’t substitute oil for a damaged part.
Continue turning only while the base stays firmly planted and the jack remains centered.
How the Arms Raise the Platform
As you turn the screw, the threaded mechanism draws the scissor arms’ pivot points together, making the arms spread upward. This scissor mechanism converts your rotational effort into controlled vertical movement.
As the arms open, their upper ends travel along the platform’s supports or press directly against its underside. That arm movement pushes the platform higher while the lower ends stay aligned with the jack’s base.
Each arm carries part of the load, and the crossed design distributes force through multiple contact points. The threaded screw advances gradually, so the arms rise in small, predictable increments rather than jumping upward.
The screw’s threads also resist reverse movement under weight, helping the platform remain supported while you turn the handle. Keep the jack positioned squarely beneath the vehicle’s approved lifting point, because balanced contact lets the arms move evenly.
Watch the platform as it rises, and stop turning if the jack shifts, tilts, or no longer sits firmly on the ground.
Lift Only as High as Needed
Once the platform reaches the vehicle’s approved lifting point, stop raising it unless you need additional clearance for the task. Extra height can reduce stability, increase the jack’s load, and create more room for the vehicle to shift.
Stop lifting once you have adequate clearance; extra height can reduce stability and increase the risk of vehicle movement.
Keep the scissor jack on firm, level ground, and confirm that its saddle remains centered at the manufacturer-approved lifting point. Before you continue, ask whether the job truly requires more access.
For jack safety, use the minimum height that lets you work without reaching, twisting, or forcing tools. If you need substantial clearance, a scissor jack may not suit the job.
Choose properly rated alternative lifts, such as a floor jack with stands or a vehicle lift, when your repair requires greater working room.
- Check your vehicle manual for the approved lifting point.
- Keep the jack base fully supported.
- Stop when you have enough access.
- Never work beneath a vehicle supported only by the jack.
Measure clearance carefully, and protect your stability before starting the task.
Lower the Vehicle Safely
Lower the vehicle only after removing tools, parts, and people from beneath it, then turn the jack handle slowly counterclockwise while keeping your hands clear of moving components. Watch the vehicle descend steadily, and pause if it shifts, tilts, or makes unusual sounds.
Keep your body, feet, and hands away from the underside as the tire approaches the ground.
Once the tire touches down, continue lowering until the jack releases its load completely. Don’t remove the jack while it supports any weight.
Afterward, use your vehicle’s recommended procedure to confirm the vehicle sits securely on level ground. If you used a wheel chock, remove it only when appropriate for your parking setup.
For useful maintenance tips, wipe dirt from the jack, inspect its frame and screw, and check for damage before returning it.
Follow storage guidelines by folding the jack fully, securing its handle, and keeping it dry in the designated compartment. Finish by confirming each tire rests firmly on the ground.
Avoid Common Scissor Jack Mistakes
Avoid common scissor jack mistakes by using it only on firm, level ground and never exceeding its rated capacity. Set the parking brake, switch off the engine, and place wheel chocks opposite the lifted end.
Keep everyone out from beneath a vehicle supported only by the jack. Use properly rated jack stands for any work underneath.
Follow these jack safety essentials every time:
- Read your vehicle and jack manuals before lifting.
- Center the jack under the manufacturer’s designated lifting point.
- Raise the vehicle slowly, keeping the jack upright and stable.
- Lower the vehicle fully before removing the jack or chocks.
Don’t use the jack to lift more than one wheel unless your vehicle’s instructions specifically allow it. Keep the handle controlled while raising and lowering, and never jerk or extend it with tools.
For maintenance tips, keep the jack clean, lightly lubricate its moving screw as directed, and store it dry. Never modify the jack or substitute improvised blocks for approved supports.
Check for Damage Before Using the Jack
Before lifting, inspect the scissor jack for cracks, bent parts, heavy rust, loose hardware, or a damaged screw and base. Check the lifting saddle and feet for distortion, missing pieces, or sharp edges that could slip against your vehicle.
Turn the handle slowly; it should move smoothly without grinding, binding, or unusual play. If the screw looks dry, apply the lubricant recommended by the manufacturer, but don’t use grease that attracts dirt.
Tighten accessible fasteners carefully, and follow the jack’s maintenance tips to keep its threads and pivot points clean.
These safety precautions can prevent sudden movement or a collapse. Never use a jack with a twisted frame, stripped threads, leaking lubricant, or a cracked weld.
Don’t attempt makeshift repairs or weld structural parts yourself. Replace questionable components with approved parts, or replace the entire jack.
If you notice damage during lifting, lower the vehicle safely, stop using the jack, and inspect it again before storage.
Frequently Asked Questions
What Weight Capacity Should I Choose for My Vehicle?
Choose a jack rated above your vehicle’s gross weight, not merely its curb weight. For most cars, a 2-ton jack works, while SUVs and trucks usually need 3 tons or more.
Check your owner’s manual and the jack’s label before lifting. Never exceed its capacity, and use jack stands on solid, level ground.
Prioritize Vehicle safety through proper positioning, and include Jack maintenance in your routine inspections for reliable operation.
Can I Use a Scissor Jack on Uneven or Sloped Ground?
No—don’t use a scissor jack on uneven or sloped ground unless you can safely create a level, solid surface. Your ground stability matters because the jack may shift or tip while lifting your vehicle.
Park on firm, flat pavement, engage the parking brake, and chock the wheels. Check jack placement against the vehicle’s lifting points, then raise slowly.
If conditions remain unstable, you’re playing with fire. Wait or call roadside assistance.
How Often Should I Lubricate a Scissor Jack?
Lubricate your scissor jack every few months with normal use, or whenever the screw feels stiff, noisy, or difficult to turn. If you use it frequently, inspect and lubricate it monthly.
Include the threaded screw, pivot points, and contact surfaces in your jack maintenance routine. Clean away dirt first, then apply a light coat of grease rather than excessive oil.
Your lubrication frequency should increase in dusty, wet, or corrosive environments.
Is a Scissor Jack Suitable for Long-Term Vehicle Support?
Permanent parking? Pass on a scissor jack. You shouldn’t use it for long-term vehicle support because its compact design can tip, collapse, or suffer metal fatigue.
Safety precautions include parking on level ground, setting the parking brake, chocking wheels, and placing approved jack stands beneath designated support points.
Maintenance tips: inspect threads, pivots, and welds regularly; lubricate moving parts; and replace damaged components. Lower your vehicle onto stands before leaving it unattended.
What Alternatives Offer Greater Stability Than a Scissor Jack?
Choose hydraulic alternatives when you need greater stability than a scissor jack. A hydraulic floor jack lifts vehicles quickly and supports heavier loads, while jack stands provide secure, stationary support during repairs.
Floor jack advantages include a wider base, smoother operation, and better lifting capacity. For maximum safety, use the floor jack only for lifting, then place properly rated jack stands beneath approved support points.
Never rely on any jack alone for long-term support.
Conclusion
Using a scissor jack is simple, but treating it casually can turn a small mistake into a towering disaster. Before you lift, inspect every part, position the jack correctly, and work on solid, level ground.
Turn the screw steadily, raise the vehicle only as high as necessary, and lower it slowly when finished. Never crawl beneath a vehicle supported only by a jack.
With patience and care, you’ll understand how a scissor jack works and lift safely without needless trouble.