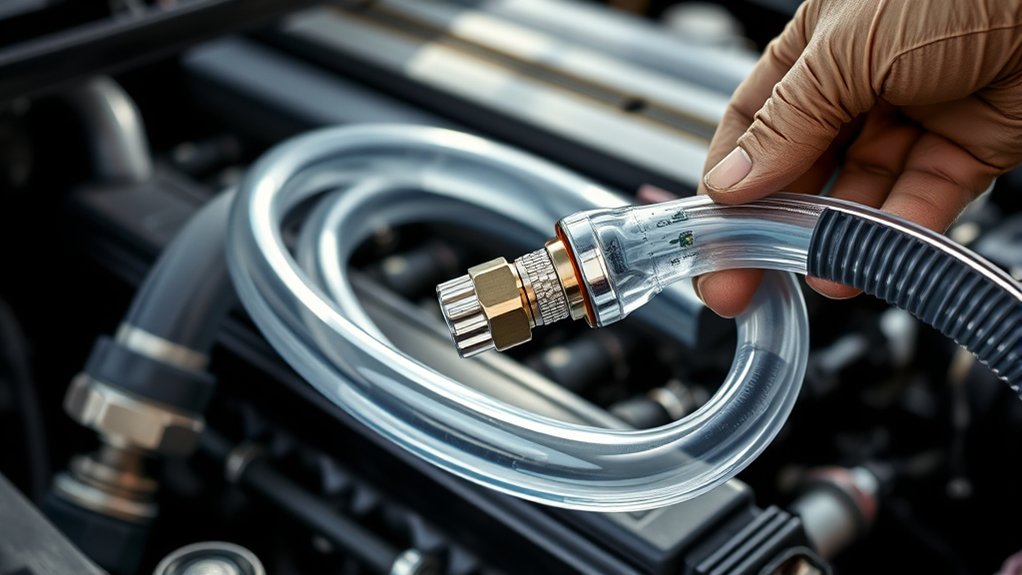
How Does a Coolant Flush Kit Work?
Many drivers struggle with overheating, rusty coolant, or weak heater performance, and you’re not alone. Finding the right coolant flush kit can make cleaning your vehicle’s cooling system much easier.
How Does a Coolant Flush Kit Work?
A coolant flush kit connects to a radiator or heater hose, letting pressurized water or cleaner circulate through the cooling system.
This flow loosens and carries out old coolant, rust, sludge, scale, and sediment from the radiator, heater core, hoses, reservoir, and internal passages.
You drain the contaminated fluid until it runs clear, then refill with the correct coolant and remove trapped air.
Always work on a cool engine and dispose of used coolant properly.
You’ll find more helpful flush guidance below.
Key Takeaways
- A coolant flush kit connects to the radiator or heater hose to create a controlled flushing path.
- Water or cleaning solution circulates through the cooling system, loosening rust, sludge, scale, and degraded coolant.
- Contaminated fluid exits through a drain hose into a suitable collection container until it runs clear.
- The process cleans the radiator, heater core, hoses, reservoir, and internal coolant passages more thoroughly than draining alone.
- After flushing, the system is refilled with the manufacturer-recommended coolant mixture and properly bled of air.
What Does a Coolant Flush Kit Do?
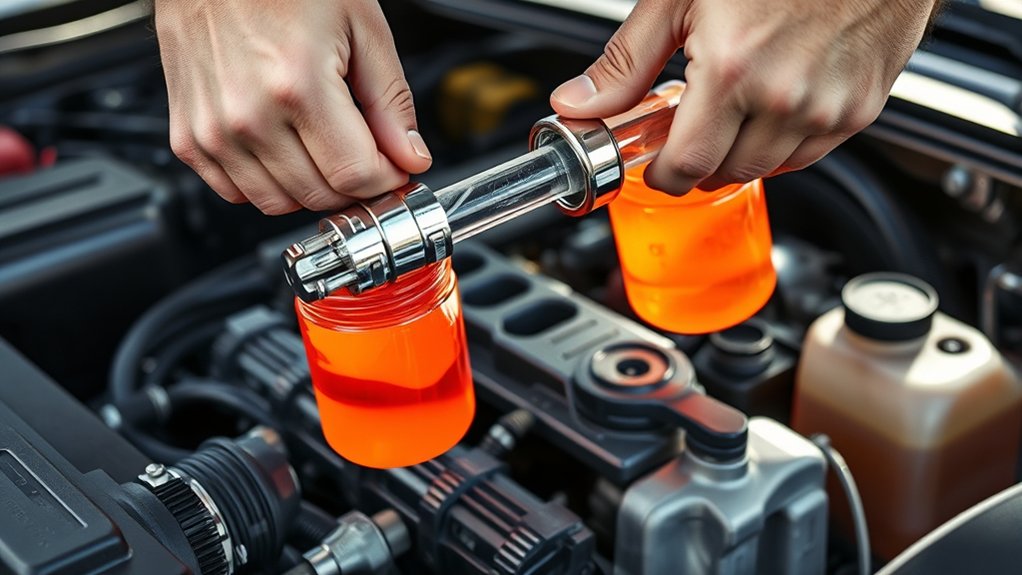
A coolant flush kit helps you remove old coolant, loosened contaminants, and buildup from your vehicle’s cooling system before replacing the fluid. You connect the kit as directed, introduce clean water or flushing solution, and let circulation carry unwanted material out through a drain hose.
After the discharged liquid runs clear, you drain the remaining water and add the manufacturer-recommended coolant mixture.
Once the fluid runs clear, drain the remaining water and refill the system with the recommended coolant mixture.
This process reduces coolant contamination caused by rust, scale, degraded additives, and other debris. It also restores the fluid’s ability to transfer heat and protect against corrosion and freezing.
By removing restricted, dirty fluid, you help the system maintain more consistent operating temperatures and reduce the risk of engine overheating.
Follow the kit’s instructions, use proper safety equipment, and never open a hot system. Dispose of used coolant responsibly because it’s toxic to people, pets, and wildlife.
Check your owner’s manual for the correct coolant type, dilution ratio, and service interval.
Which Cooling-System Parts Get Flushed?
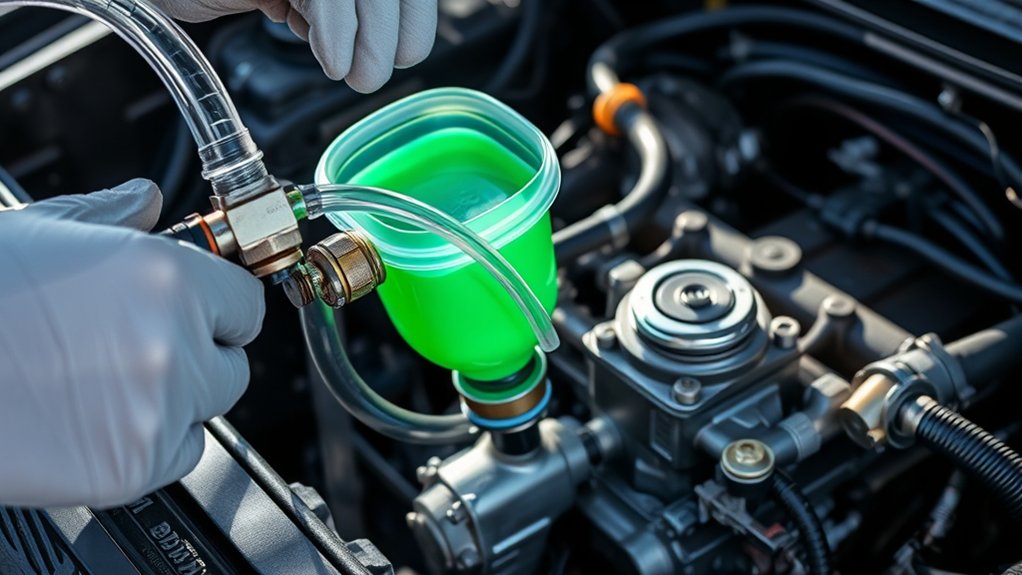
A coolant flush runs through the radiator and heater core, clearing out old fluid and buildup. It also cleans the hoses and internal passages that circulate coolant throughout your vehicle. Finally, the process rinses the reservoir, so you can refill the system with fresh coolant.
Radiator And Heater Core
During a coolant flush, the kit circulates fresh water or cleaning solution through the radiator and heater core to remove old coolant, rust, scale, and other buildup. This helps both components transfer heat efficiently, supporting steady engine performance and comfortable cabin heating.
- Radiator: The solution loosens deposits that restrict coolant movement and reduce heat dissipation.
- Heater core: Flow clears contamination from its narrow passages, helping warm air reach your cabin.
- Flush direction: Reversing flow can dislodge debris that normal circulation leaves behind.
- Final refill: After draining the cleaner, you add the correct coolant mixture to protect the cleaned surfaces.
Regular radiator maintenance helps prevent overheating and uneven heater output. A flush won’t repair leaks or replace damaged parts, but it can restore efficient heat exchange when contamination causes cooling-system problems.
Follow your vehicle manufacturer’s procedure, and dispose of used coolant responsibly.
Hoses, Passages, And Reservoir
Besides the radiator and heater core, a coolant flush moves cleaning solution through the hoses, engine passages, and overflow reservoir. As you run the kit, the solution loosens sludge, scale, and old coolant residue inside these connected areas.
Flexible hoses can trap deposits near their bends, while narrow engine passages may restrict coolant flow when contamination builds. The flush also reaches the overflow reservoir, where sediment and degraded coolant can collect below the visible fluid line.
You’ll drain the contaminated mixture, then rinse the system until the discharge runs clear. Because coolant chemistry affects rubber, metals, and seals, use a cleaner compatible with your vehicle.
Regular service helps limit system corrosion, but a flush can’t repair cracked hoses, blocked passages, or a damaged reservoir. Inspect those parts and replace them when necessary.
Coolant Flush Kit vs. Drain and Refill
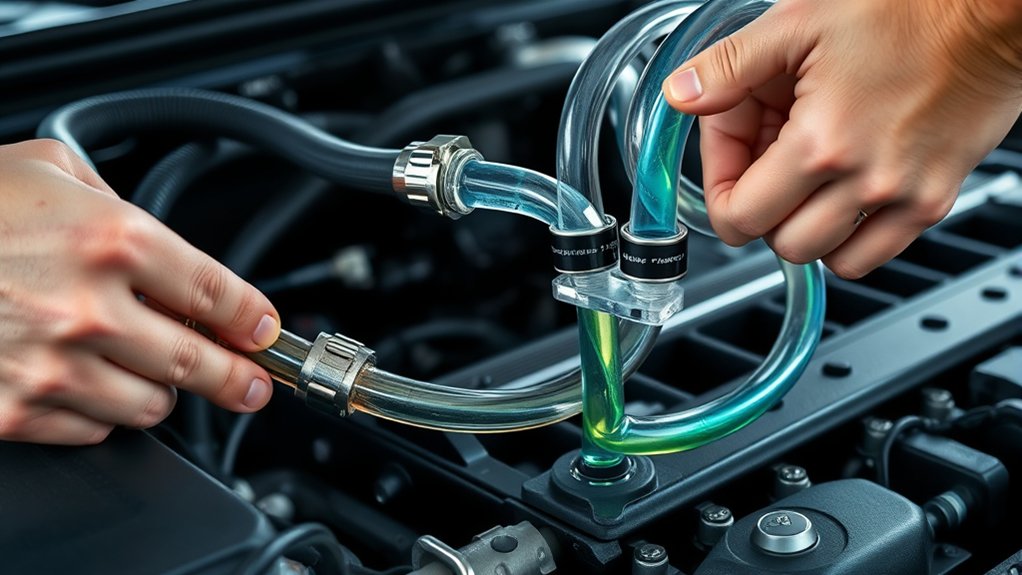
A coolant flush kit typically cleans more thoroughly than a simple drain and refill because it helps remove buildup and contaminants from the cooling system. It also replaces more of the old coolant, while a drain and refill leaves some old fluid behind. Still, consider the kit’s extra time and cost before choosing it over the simpler—and often cheaper—alternative.
Cleaning Effectiveness Compared
A coolant flush kit cleans more effectively than a basic drain and refill because it circulates fresh water or cleaning solution through the entire cooling system. That action reaches passages where old coolant, rust, scale, and sludge can remain trapped.
A drain and refill removes only the fluid that exits naturally, so deposits may stay behind.
- You dislodge buildup from the radiator, engine block, heater core, and hoses.
- You improve circulation by clearing restricted passages and debris.
- You support balanced coolant chemistry by removing contaminated residue.
- You reduce environmental impact when you collect and recycle the expelled fluid responsibly.
A kit provides a more thorough cleaning opportunity, especially when your vehicle shows overheating, weak cabin heat, or discolored coolant.
Follow the manufacturer’s instructions, use compatible cleaning products, and dispose of every removed liquid properly.
Fluid Replacement Differences
When you replace coolant with a flush kit, you remove more old fluid and rinse contaminants from the system before adding fresh coolant. This process typically uses clean water or a compatible flushing solution to push out diluted antifreeze, rust particles, scale, and sludge.
You then refill the system with the correct coolant composition and water ratio, helping restore the intended freeze and boil protection.
A drain and refill removes only the fluid that exits through the drain point, so some old coolant and debris remain in passages, the heater core, and the engine.
You’ll need to choose the method based on the coolant’s condition, your vehicle’s maintenance guidance, and its flush frequency.
Never mix incompatible coolant types, and bleed trapped air after either service to protect circulation and temperature control.
Time and Cost Factors
Beyond fluid replacement, you’ll also weigh the time and cost of each service. A drain and refill usually takes less time, uses fewer supplies, and costs less if you handle it yourself.
A flush kit requires extra water, cleaner, collection containers, and disposal planning. However, it removes more old coolant and contaminants. Consider these factors:
- DIY time: Set aside about 30–60 minutes for a drain and refill. A thorough flush may take one to two hours.
- Shop labor: Technicians charge more for the added steps, equipment, and cleanup.
- Long-term value: Better cooling-system maintenance can reduce deposits and support reliable performance.
- Risk reduction: Removing buildup may help prevent vehicle overheating and potentially avoid expensive repairs later.
Choose the service that matches your coolant’s condition, schedule, budget, and maintenance history.
How Does a Coolant Flush Kit Work?
A coolant flush kit helps you remove old coolant, contaminants, and trapped air from your vehicle’s cooling system before adding fresh coolant. You connect the kit to the radiator or heater hose, then route its adapter and drain hose safely.
Water pressure pushes through passages, loosening rust, sediment, and degraded coolant composition.
| Stage | What you do | What happens |
|---|---|---|
| Connect | Attach the adapter securely | The system gains a flush path |
| Flush | Run water through the passages | Debris and old fluid exit |
| Refill | Close the valve and add coolant | Fresh protection returns |
During flushing, watch the exiting liquid. It may begin dark or cloudy, then become clearer.
Keep the engine off while you work, and let it cool completely first. Pressurized coolant can cause severe burns.
Removing pockets of air helps prevent uneven circulation, hot spots, and engine overheating. Follow your vehicle’s service procedure when bleeding air afterward, since trapped bubbles can reduce heater performance and cooling efficiency.
Choose Coolant and Gather Flush Supplies
Choose a coolant that meets your vehicle manufacturer’s specification, then gather the flush kit, distilled water, drain pan, funnel, gloves, safety glasses, and replacement hoses or clamps if needed. Check your owner’s manual or service information before buying anything.
Don’t rely on coolant color alone. Different formulas can share the same shade, while similar-looking products may have incompatible additives.
- Confirm the formula: Compare the label with your vehicle’s required technology, such as IAT, OAT, or HOAT. Antifreeze types aren’t universally interchangeable.
- Buy enough coolant: Estimate the system’s capacity and keep extra premixed coolant available for final filling.
- Choose water wisely: Use distilled water for dilution when the product isn’t premixed. Minerals in tap water can promote deposits.
- Inspect your tools: Ensure the drain pan holds the full coolant volume, and verify the funnel and flush-kit adapters fit securely.
Keep supplies clean and organized so you won’t introduce dirt into the cooling system. Never mix products unless the manufacturer explicitly approves compatibility.
Read each label’s mixing ratio, disposal guidance, and storage instructions before use.
Prepare the Vehicle for Flushing
Before opening the cooling system, park the vehicle on level ground, switch off the engine, and let it cool completely. Check the engine temperature by touching neither the engine nor the radiator. Instead, read the dashboard gauge and wait until the components feel safe to handle.
Hot coolant can cause severe burns, and pressure may remain in the system.
Set the parking brake, place the transmission in Park or neutral, and keep children and pets away from the work area.
Put on safety glasses and chemical-resistant gloves. Review your vehicle’s owner’s manual to locate the radiator cap, expansion tank, drain valve, and any panels that obstruct access.
Remove debris from around the radiator cap so dirt won’t enter the system. Inspect hoses, clamps, and the radiator for cracks or leaks, noting problems that could reduce radiator efficiency.
Position a suitable drain pan beneath the vehicle, but don’t open or disconnect any components yet.
Connect the Coolant Flush Kit
Start by identifying the flush kit’s inlet and outlet hoses, then compare their fittings with your vehicle’s radiator or heater-hose connections. Choose the connection point shown in the kit instructions, and let the engine cool completely before opening any component. Correct routing supports accurate Cooling system diagnostics and prevents backflow or leaks.
- Remove the selected hose clamp with pliers, then twist the hose gently free. Don’t force brittle rubber.
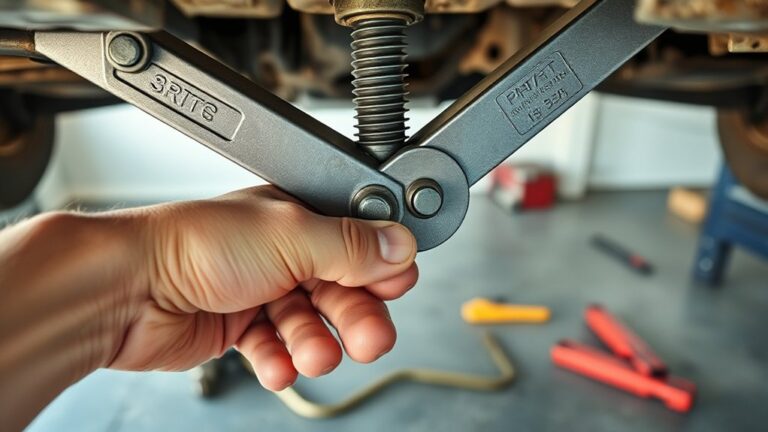
- Insert the kit’s adapter securely between the hose and fitting. Tighten clamps evenly, but don’t crush the connection.
- Connect the inlet hose to the adapter and attach the outlet hose to the designated drain or collection container.
- Verify every clamp, cap, and plug before proceeding. Keep hoses away from belts, fans, and hot surfaces.
Check your vehicle manual for coolant type selection before preparing replacement fluid. Don’t mix incompatible formulas. Once the kit sits firmly and the path remains unobstructed, inspect the setup again for seepage. A secure connection keeps the next flushing step controlled and clean.
Run Cleaner Through the Cooling System
Choose a cleaner designed for your vehicle’s cooling system. Add it according to the product instructions, then let the system circulate the cleaner for the recommended amount of time.
Choose the Right Cleaner
Use a cleaner formulated for automotive cooling systems, since household products can damage seals, hoses, or metal components. Choose a product compatible with your vehicle’s coolant type, engine materials, and flush-kit instructions.
A suitable cleaner loosens rust, scale, oil residue, and sludge without attacking aluminum or rubber. Check the label for required dilution, circulation time, and temperature limits, but save those application details for the next step.
- Match the cleaner to your vehicle’s cooling-system specifications.
- Select a formula designed for the level of buildup you’ve found.
- Avoid harsh acids or unapproved solvents that may weaken components.
- Confirm the product supports your coolant and disposal requirements.
The right choice helps restore radiator efficiency and maintain stable Engine temperature. If your system contains heavy contamination, choose a professional-strength formula.
Follow the manufacturer’s safety warnings before continuing.
Add Cleaner Properly
After selecting a compatible cleaner, drain enough coolant to make room for the recommended solution, then add the cleaner according to the flush-kit instructions. Keep the engine cool, remove the radiator cap carefully, and pour slowly to prevent splashing.
Respect the specified ratio. Changing it can disrupt coolant chemistry or reduce cleaning performance. Don’t mix products unless the label explicitly allows it.
| Check | Why it matters | Your action |
|---|---|---|
| Correct amount | Prevents damage | Measure precisely |
| Open vents | Helps filling | Follow the manual |
| Secure cap | Avoids leaks | Tighten gently |
Wear gloves and eye protection because old coolant and cleaner may irritate skin. Collect any drained fluid in a sealed container, and keep pets away.
Coolant’s sweet smell can hide serious danger. Proper dosing helps loosen system contamination without creating new problems.
Stop if you notice leaks, swelling, or unusual resistance.
Let the System Circulate
Start the engine and let the cleaner circulate through the cooling system according to the flush-kit instructions. Keep the vehicle on level ground, and don’t remove the radiator cap while the engine runs. Watch the Engine temperature gauge closely; shut the engine off if it rises beyond its normal range.
- Set the heater to maximum so cleaner reaches the heater core.
- Let the engine idle for the recommended time, allowing deposits to loosen.
- Check for leaks around hoses, clamps, the radiator, and the water pump.
- Turn the engine off, then wait until it cools completely before draining.
Don’t exceed the product’s specified circulation time. Cleaner concentration and other Coolant properties affect how effectively it dissolves scale, rust, and residue.
Follow the kit directions precisely, because some formulas require driving while others work only at idle.
Rinse, Refill, and Remove Air
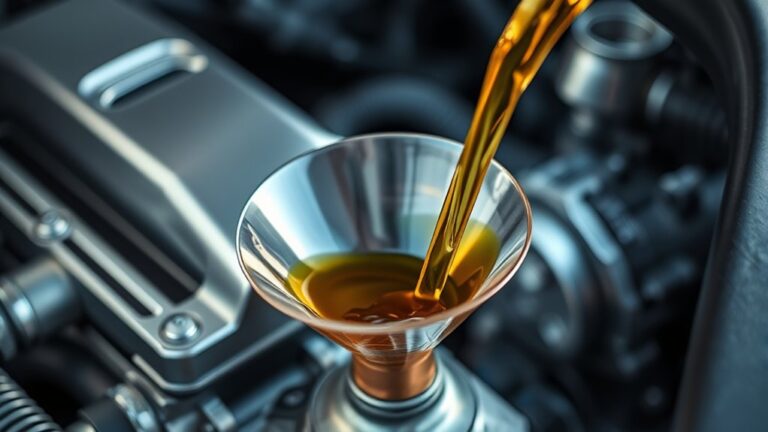
Once the old coolant runs clear, close the drain valve, remove the flush attachment, and reconnect the upper radiator hose. Check your vehicle’s manual for the correct coolant composition, then pour the recommended mixture into the radiator or expansion tank. Fill slowly to limit trapped pockets and leave room for expansion.
Start the engine and let it idle with the heater set to its hottest position. As the thermostat opens, watch the level and add coolant as needed. You’ll see bubbles rise as air escapes.
Some vehicles include a bleed screw. Open it carefully according to the manual until coolant flows without bubbles, then close it.
Monitor the engine temperature throughout this process. Shut the engine off if the gauge climbs unusually high, and let the system cool before checking the level again.
After the engine cools completely, bring the reservoir to its marked line and replace the cap securely. Recheck the level after your next drive.
Avoid Common Coolant Flush Safety Mistakes
Coolant can cause serious burns, so never remove the radiator cap or open a bleed screw while the engine is hot. Let the vehicle cool completely, then loosen the cap slowly with a thick cloth to release any remaining pressure.
Never open a hot cooling system; let the engine cool completely before slowly releasing pressure with a thick cloth.
Protect yourself and your workspace with these habits:
- Wear protection: Use gloves and safety glasses, and keep coolant off your skin and eyes.
- Secure the vehicle: Park on level ground, engage the parking brake, and use wheel chocks before working underneath.
- Prevent contamination: Catch old coolant in a sealed drain pan. Don’t pour it onto soil or down a drain; store it away from children and pets for approved recycling.
- Check before driving: Confirm hose connections, drain plugs, and the coolant level. Look for leaks and follow the manufacturer’s mixture requirements.
Good System maintenance includes monitoring Coolant quality, replacing contaminated fluid, and disposing of waste responsibly. If you’re unsure, stop and consult a qualified technician.
Don’t mix incompatible coolant types.
Frequently Asked Questions
How Often Should a Vehicle’s Coolant Be Flushed?
You should usually flush your vehicle’s coolant every 30,000 miles or two to five years, but always follow your owner’s manual. Modern long-life coolant may last up to 100,000 miles or five years.
Check the fluid’s color, level, and condition regularly, and flush it sooner if you notice overheating, rust, contamination, or frequent coolant loss. Proper radiator maintenance protects components, while fresh coolant supports engine efficiency and reliable temperature control.
What Symptoms Indicate That Your Vehicle Needs a Coolant Flush?
You should consider a coolant flush when your temperature gauge rises, your engine overheats, or warning lights appear. About 40% of engine-related breakdowns involve cooling-system problems, highlighting the importance of early action.
Watch for rusty, cloudy, or sludgy coolant, which can signal radiator corrosion, plus a sweet smell, visible leaks, or weak cabin heat. Don’t wait for severe engine overheating; inspect the system and follow your manufacturer’s recommended service interval.
Can You Flush Coolant Without a Flush Kit?
Yes, you can flush coolant without a flush kit using DIY maintenance methods. Let the engine cool, drain the old coolant into a container, refill the system with distilled water, run the heater, and drain again until the water looks clear.
Check your owner’s manual for drain locations and proper capacity. Use compatible coolant afterward, because chemical compatibility matters.
Never mix coolant types unless the manufacturer approves it, and dispose of used fluid responsibly.
How Much Does a Professional Coolant Flush Typically Cost?
You’ll typically pay $100–$200 for a professional coolant flush, though luxury vehicles, specialty coolant mixture requirements, and regional labor rates can raise the price to $250 or more.
The service usually includes draining old coolant, flushing contaminants, refilling the system, and checking for leaks. Ask whether the quote includes disposal fees and a cooling-system inspection.
Your technician should also verify proper engine temperature and confirm the coolant mixture matches manufacturer specifications.
Is Coolant Flush Water Safe for the Environment?
No, coolant flush water isn’t automatically safe for the environment. It may contain toxic antifreeze, heavy metals, corrosion inhibitors, and other contaminants that can harm soil, wildlife, and waterways.
For better environmental impact and chemical safety, you shouldn’t pour it onto the ground, down a drain, or into storm sewers. Collect the fluid in a sealed container, label it clearly, and take it to an approved recycling center or hazardous-waste facility for proper disposal.
Conclusion
A coolant flush kit doesn’t magically restore a failing cooling system, but it can challenge the theory that a simple drain-and-refill is always enough. By circulating cleaner and fresh water through the radiator, heater core, and passages, it helps remove contamination that could quietly damage your engine.
Follow the vehicle’s procedure, control the temperature, and bleed trapped air. A proper coolant flush kit can help protect essential components, reduce the risk of costly overheating, and leave you driving with confidence instead of false reassurance.