How Does a Transmission Fluid Extractor Work Step by Step
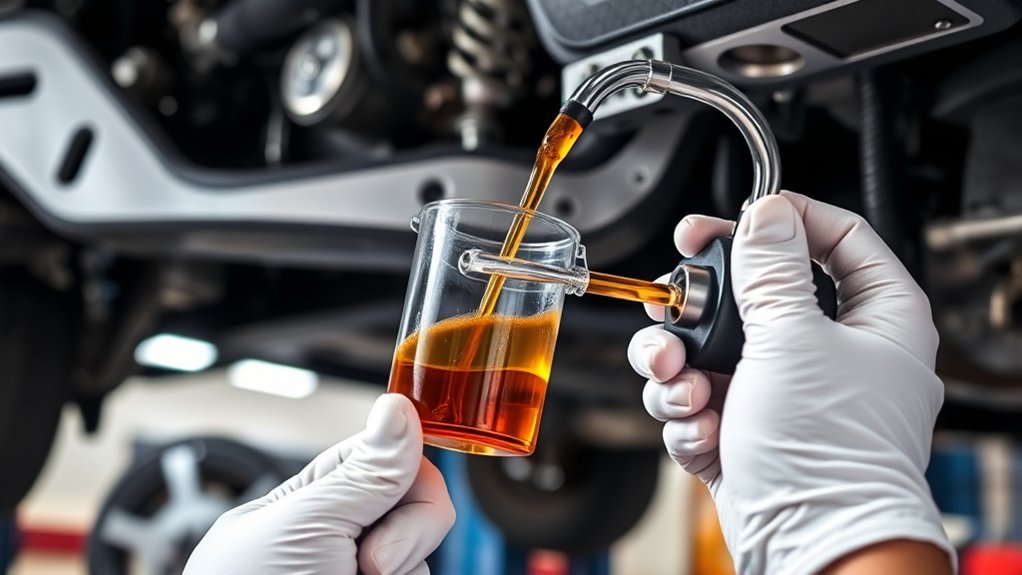
Changing transmission fluid can be messy, time-consuming, and difficult without the right equipment. If you’ve struggled to drain old fluid cleanly, you’re not alone. A transmission fluid extractor makes the job simpler by removing fluid through the dipstick tube with minimal mess.
A transmission fluid extractor uses vacuum suction to pull old fluid through a narrow tube into a sealed container. Park level, engage the brake, warm the transmission briefly, and turn off the engine.
Insert the probe through the dipstick tube without forcing it, then pump or activate the extractor. Move the tube gently as flow slows.
Measure and inspect the fluid, refill with the correct specification, check the level and leaks, and recycle the used fluid. The steps below explain each detail.
Key Takeaways
- Warm the transmission fluid briefly, park securely on a level surface, and turn off the engine before extraction.
- Insert the extractor tube through the dipstick opening or approved fill port to the recommended depth.
- Create vacuum with the hand pump or electric extractor, drawing fluid through the tube into a sealed container.
- Move the tube gently if flow slows, stopping when fluid stops or the desired amount has been removed.
- Measure and inspect the old fluid, refill with the correct specification, check the level, and dispose of waste properly.
How a Transmission Fluid Extractor Works
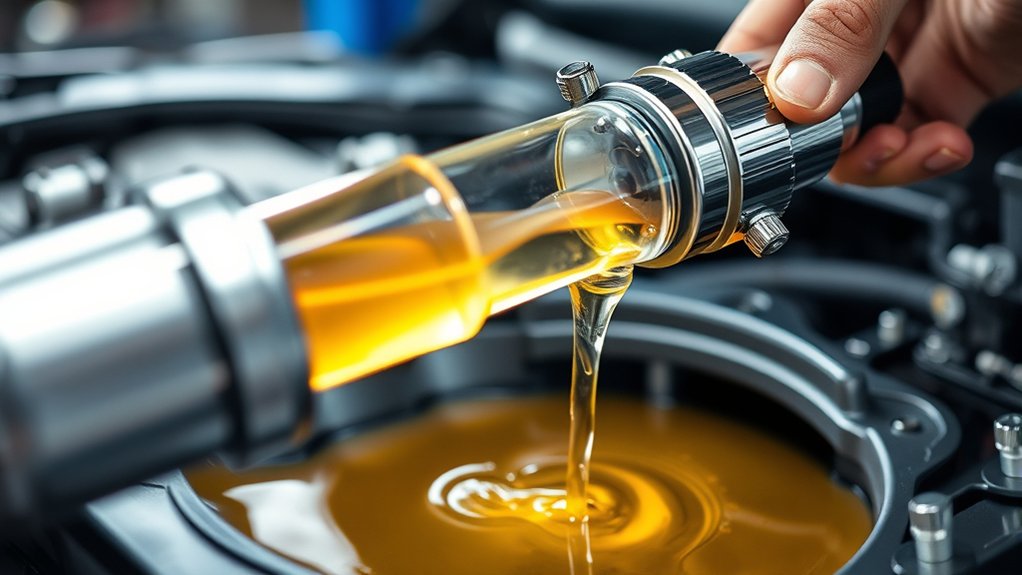
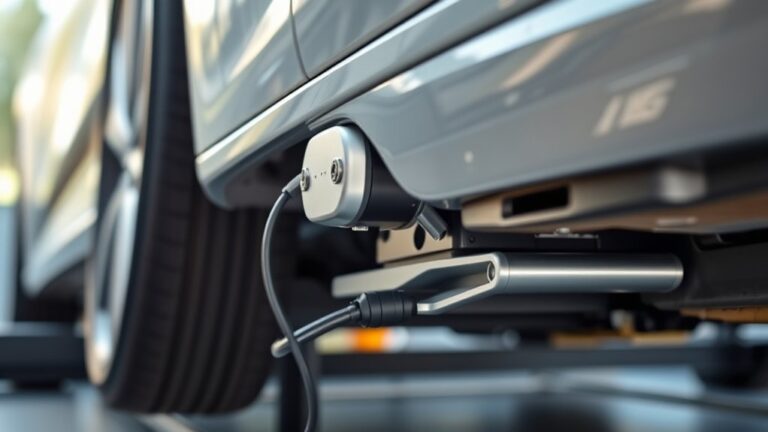
A transmission fluid extractor uses suction to draw old fluid from the transmission through a narrow tube. You insert the tube through the dipstick opening or another approved access point, then activate the pump.
As the pump creates negative pressure, atmospheric pressure helps push fluid toward the tube. The extractor carries the fluid into its sealed container, where you can monitor the amount removed.
During transmission maintenance, you should work slowly to maintain steady suction and prevent the tube from losing contact with the fluid. Moving the tube slightly can help reach fluid pooled in different areas, although the extractor may not remove every drop.
Work slowly, maintain steady suction, and reposition the tube to reach pooled fluid, though some fluid may remain.
Watch the fluid’s color and smell as it leaves. Dark fluid, burnt odors, or visible particles can indicate fluid contamination and possible internal wear.
After extraction, stop the pump before removing the tube. Then inspect the old fluid and transmission area for unusual debris or leaks.
Choose the Right Extractor and Supplies
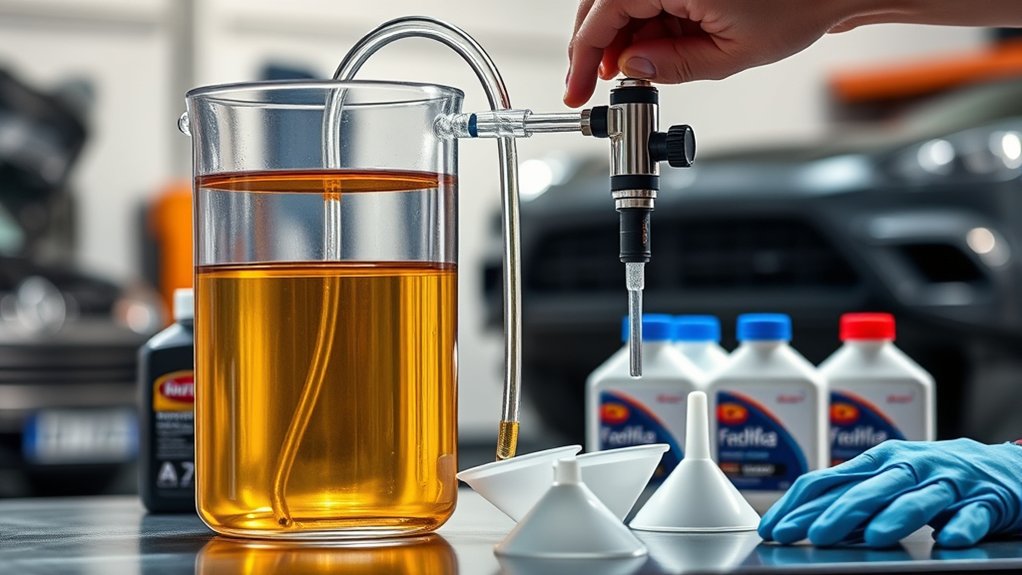
You’ll need to compare manual, pneumatic, and electric extractors to find the best fit for your vehicle and workspace. Make sure the extractor and hoses are compatible with your transmission fluid and won’t react with its additives. Before you begin, gather the correct adapter, a drain pan, gloves, and a clean storage container.
Compare Extractor Types
Choosing the right transmission fluid extractor depends on the vehicle, fluid volume, and access to the fill or dipstick tube. For routine transmission maintenance, compare how each design controls fluid dynamics, effort, and mess:
| Extractor type | Best use |
|---|---|
| Hand-pump vacuum | Small jobs and occasional service |
| Electric vacuum | Frequent work and larger fluid volumes |
A hand-pump model costs less and works without power, but you’ll pump repeatedly and monitor the reservoir. An electric unit drains faster and reduces effort, although it needs a battery or outlet.
Choose a tank with clear markings, a secure shutoff, and a wide base. You’ll also want flexible hoses and narrow probes that reach the service tube without kinking.
A drain pan, gloves, shop towels, and labeled containers help you control spills while you work. Match capacity to your expected fluid volume, leaving room to prevent overflow.
Check Fluid Compatibility
Before connecting the extractor, confirm that its tank, hoses, seals, and probes are compatible with transmission fluid and won’t react with additives or solvents. Check the manufacturer’s specifications for approved fluid types, operating temperatures, and chemical limitations.
Some transmission fluids contain conditioners that can soften unsuitable plastics or degrade rubber components. Verify that every fluid-contacting part resists swelling, cracking, and corrosion.
Also assure the extractor’s capacity and vacuum rating suit your transmission service, since excessive pressure can damage seals or pull contaminated fluid into the pump.
Good Fluid compatibility protects your vehicle and prevents equipment failure. Inspect component materials before each use, and replace questionable parts promptly.
Consistent Extractor maintenance includes cleaning residue from internal passages and storing the unit sealed, dry, and away from incompatible chemicals.
Gather Necessary Supplies
Gather an extractor with a tank capacity, vacuum rating, and probe size suited to your transmission service. Choose a model that creates steady vacuum without overheating, and confirm its hose and probe materials can tolerate transmission fluid.
For routine transmission maintenance, prepare a clean drain pan, approved fluid container, gloves, safety glasses, shop towels, and the manufacturer-recommended replacement fluid.
Keep a funnel, measuring container, and labels nearby so you can track the amount removed and refill accurately. Inspect every hose, fitting, and seal before connecting the extractor; damaged components can introduce air or cause leaks.
Use a dedicated, clean container for used fluid to prevent fluid contamination and simplify recycling. Finally, have the vehicle’s service information available for fluid capacity, temperature requirements, and proper checking procedures.
Park the Vehicle and Check Safety Requirements
Park the vehicle on a level, stable surface, switch off the engine, and engage the parking brake. Keep the transmission in Park for an automatic vehicle or in first gear for a manual vehicle. Choose a well-ventilated area with enough room to work around the transmission, and keep children and pets away from the workspace.
Before you begin, check vehicle safety essentials. Confirm that the vehicle can’t roll, and place wheel chocks against the wheels if the surface has any slope. Wear safety glasses and fluid-resistant gloves to protect your eyes and skin.
Inspect the extractor, hoses, and collection container for cracks, leaks, or loose connections. Keep shop towels and an approved spill container nearby.
Review your vehicle’s emergency procedures, including how to respond to a fluid spill or accidental contact. Don’t work beneath an unsupported vehicle. Use properly rated jack stands if access requires lifting.
Ensure adequate lighting, remove loose clothing, and keep tools organized.
Warm the Transmission Fluid Carefully
Start the engine and let the transmission idle for a few minutes so the fluid reaches a safe, workable temperature. Warm fluid flows more easily, helping the extractor remove suspended contaminants and old lubricant. Don’t race the engine or drive aggressively. Excessive heat can damage seals, distort readings, and create burn hazards.
Check the temperature according to your vehicle’s service instructions. If you have a gauge or scan tool, confirm that the transmission has reached its recommended range rather than guessing by touch.
Keep the vehicle on level ground, set the parking brake, and avoid contact with hot components.
- Moderate warmth improves fluid flow without stressing transmission parts.
- Stable temperature supports more reliable fluid analysis.
- Controlled heating makes transmission maintenance safer and more consistent.
Turn off the engine when the fluid reaches the specified temperature, then allow exposed surfaces to cool slightly. Wear gloves and eye protection, and keep clothing away from moving parts.
Follow the manufacturer’s limits, since some transmissions require specific temperatures or procedures.
Insert the Extractor Tube Correctly
With the engine off, guide the extractor tube through the transmission dipstick opening until it reaches the fluid pan without forcing it. Keep the tube straight as you lower it, and stop if you meet resistance. Forcing the line can bend it, damage internal components, or leave the tube stuck inside the transmission.
Check the vehicle’s service information to confirm the correct dipstick opening and the proper insertion depth. Some transmissions use a guarded tube or don’t provide enough clearance for an extractor, so you’ll need an approved service method instead.
Mark the recommended depth on your extractor tube with tape, then lower it only to that point. Before beginning transmission maintenance, inspect the tube for cracks, sharp edges, or contamination.
Clean equipment helps protect fluid compatibility and prevents debris from entering the system. Keep the tube’s end submerged in the pan, but don’t scrape or push against its bottom.
Connect and Prime the Extractor
Attach the extraction hose securely to the tube and the extractor inlet. Then prime the pump to create suction before removing any fluid. Check each connection to make sure it’s sealed tightly and won’t leak or lose pressure.
Attach the Extraction Hose
Once the transmission fluid has warmed slightly, connect the extractor hose to the pump’s intake port and secure it with the supplied fitting or clamp. Push the hose firmly onto the transmission’s dipstick tube or designated service opening, ensuring it reaches the fluid reservoir without forcing it.
Keep the connection straight so the hose won’t kink, collapse, or loosen during removal. Before operating the extractor, check that every joint fits tightly and that the collection container stands securely on a level surface. These checks support extraction safety and help prevent fluid contamination.
- Use a clean, dry hose to protect the transmission.
- Confirm the hose reaches the fluid without binding.
- Keep the container nearby to limit spills.
Wear gloves and eye protection, and place absorbent material beneath the work area. Don’t proceed if the hose or fittings show cracks, dirt, or damage.
Prime the Pump
Connect the extractor hose to the pump’s intake port, then prime the pump according to the manufacturer’s instructions. Check every connection before you begin, and tighten loose fittings to prevent air leaks.
If your extractor uses a hand primer, operate it steadily until you feel consistent resistance or see fluid moving through the clear hose. For electric models, switch the pump on briefly, following the manufacturer’s safety guidance, and stop if it sounds strained.
Keep the hose end secured inside your approved waste container. A properly primed pump creates steady suction and helps you remove fluid efficiently without unnecessary interruptions.
This step supports cleaner transmission maintenance because it limits spills and air pockets. During fluid analysis, collect a representative sample after flow becomes consistent, then label it promptly for accurate inspection and comparison later.
Remove the Old Transmission Fluid
With the engine off and the vehicle safely supported, insert the extractor’s suction tube through the transmission dipstick or fill port until it reaches the fluid pan. Connect the tube to the extractor, then create suction according to the tool’s instructions.
Watch the fluid flow into the reservoir, and keep the container upright to prevent spills. Move the tube gently if flow slows, but don’t force it against internal components.
Continue until the extractor stops pulling fluid or the specified amount has been removed.
- Keep the vehicle level so the tube reaches the lowest area.
- Wear gloves and protect painted surfaces from fluid splashes.
- Dispose of the old fluid through an approved recycling center.
This step supports reliable transmission maintenance by removing worn fluid before replacement. Work patiently, because rushing can leave fluid behind or damage the dipstick tube.
Clean the tube’s exterior before withdrawing it to prevent drips and reduce fluid contamination around the vehicle. Cap the extractor immediately after removal.
Measure and Inspect the Used Fluid
Measure the fluid you removed and compare the amount with your vehicle’s specified transmission capacity. Record the measurement, but don’t assume a difference automatically indicates a problem; the extractor may not remove fluid trapped in passages, the torque converter, or the pan.
Pour a representative sample into a clear, clean container and let it settle briefly.
Examine the fluid’s color, clarity, and consistency under good lighting. Transmission fluid contamination may appear as metal flakes, grit, coolant-like pinkness, water droplets, or unusual debris.
Smell the sample carefully for a sharp, burnt odor, which can indicate overheating. Watch for fluid deterioration signs, including very dark coloring, a thick or sludgy texture, foam, or a strong burnt smell.
Compare your observations with the manufacturer’s service guidance rather than relying on color alone, since fluid color varies by formulation.
Photograph unusual findings and keep the sample if you need to show a technician. Dispose of the fluid according to local hazardous-waste rules, and clean any spills promptly.
Refill After Extraction and Set the Level
Choose the correct transmission fluid specified for your vehicle. Refill the transmission through the designated port, using the proper amount and method. Then, check the fluid level according to the manufacturer’s procedure.
Choose Correct Fluid
Before refilling, verify your vehicle’s exact transmission-fluid specification in the owner’s manual or service information. The wrong fluid can cause shifting problems and internal damage.
Don’t choose a product solely by fluid color or odor. Manufacturers may use different dyes and additive packages.
Match the required viscosity, performance standard, and approved brand or equivalent listed for your transmission.
- Confirm whether your vehicle requires conventional, synthetic, or low-viscosity fluid.
- Check the container’s specification against the manual, not just its marketing name.
- Never mix incompatible fluids unless the manufacturer explicitly permits it.
If the specification remains unclear, contact a dealer or qualified technician before adding anything.
Keep the selected fluid clean, sealed, and at room temperature. Record the product and quantity you use so future servicing stays consistent and you can identify potential mistakes quickly.
Refill Through Port
With the correct fluid ready, refill the transmission through its specified fill port, using a clean funnel or pump to prevent contamination. Add fluid slowly, allowing it to move through the passages without creating air pockets or spills.
Keep the container and equipment capped whenever you pause, because fluid contamination can damage internal components and shorten service life. Follow your vehicle’s service manual for the specified fluid type and approximate refill quantity, accounting for what the extractor removed.
Don’t force fluid into a sealed opening or use an unapproved port; doing so can cause leaks or improper distribution. During this transmission maintenance task, wipe the area around the port before reinstalling its plug, cap, or dipstick.
Tighten the closure to the manufacturer’s specification, then clean away any residue.
Verify Fluid Level
Start the engine and let the transmission reach the temperature specified in the service manual. Then move the shifter through each gear and return it to Park or Neutral as directed.
Check the level using the manufacturer’s specified method, whether it requires a dipstick or an overflow plug. Add the approved fluid in small amounts until it reaches the correct mark or flows lightly from the port.
Don’t overfill. Excess fluid can foam, raise pressure, and cause shifting problems.
- Inspect the fluid for discoloration, a burnt odor, or metal particles indicating fluid contamination.
- Keep the vehicle level and secure, and wear gloves during extraction safety procedures.
- Reinstall the dipstick or plug, clean spills, and confirm there are no leaks.
Recheck the level after a short drive, following the service manual’s final instructions.
Check for Leaks and Recycle the Fluid
Once the extraction is complete, inspect the transmission pan, drain plug, hoses, and connections for fresh fluid or seepage. Wipe each area clean, then run the vehicle briefly and check again.
This leak detection step helps you catch loose fittings, damaged seals, or an improperly tightened drain plug before they cause fluid loss. If you find a leak, shut the vehicle off, let components cool, and repair the source before driving.
Next, examine the extracted fluid. Look for a burnt smell, metal particles, sludge, or unusual discoloration, since these signs may indicate internal wear or fluid contamination.
Don’t pour used transmission fluid onto the ground or into household drains. Transfer it into a sealed, labeled container, keep it away from children and ignition sources, and take it to an auto-parts store, service center, or recycling facility that accepts used oil.
Clean spills with absorbent material and dispose of it according to local regulations. Finally, reinstall caps and store your extractor securely.
Frequently Asked Questions
Can a Transmission Fluid Extractor Be Used on Manual Transmissions?
Yes, you can use a transmission fluid extractor on many manual transmissions, provided the service opening and fluid path allow access. Check your vehicle’s service manual first, because some gearboxes require draining through a bottom plug rather than suction.
Confirm fluid compatibility before refilling, since manual transmissions may use gear oil, automatic transmission fluid, or specialized lubricant. Use clean equipment, avoid contamination, and never force the extractor into the filler opening.
How Often Should Transmission Fluid Extraction Be Performed?
An ounce of prevention is worth a pound of cure: you should perform transmission fluid extraction about every 30,000–60,000 miles, or according to your manufacturer’s schedule. Severe towing, frequent stop-and-go driving, heat, or contaminated fluid may require more frequent service.
During transmission maintenance, inspect the fluid’s color, smell, and level. Your vehicle’s manual should guide fluid replacement techniques, since some transmissions require drain-and-fill service instead of extraction for proper protection and performance.
What Are Common Signs That an Extractor Needs Replacement?
Replace your extractor when you notice weak suction, inconsistent fluid flow, cracked hoses, leaking seals, damaged fittings, or unusual noises. You may also struggle to remove fluid completely, indicating internal wear or a blocked filter.
Inspect the unit after each use, and prioritize extractor maintenance to prevent failures. Transmission fluid contamination, such as sludge or metal particles, can accelerate damage.
If cleaning and part replacement don’t restore performance, choose a new extractor.
Can Extraction Damage the Transmission Filter or Internal Components?
Extraction usually won’t damage your Transmission filter or Internal components if you use the correct equipment and follow the manufacturer’s procedure. You shouldn’t apply excessive vacuum, insert the probe forcefully, or extract fluid while the transmission runs unless specified.
A flexible probe and controlled suction help prevent contact damage. You’ll reduce risk further by using the proper fluid temperature, avoiding debris, and stopping immediately if you feel unusual resistance or hear abnormal sounds during extraction.
Is Professional Service Better Than Using a Home Transmission Fluid Extractor?
Think of your transmission as your vehicle’s bloodstream: professional service offers a trained hand, while DIY maintenance gives you control.
Professional service is usually better when you need a complete fluid exchange, filter replacement, inspection, or diagnosis, because technicians use proper equipment and follow manufacturer procedures.
However, you can safely use a home extractor for routine fluid removal if you follow specifications carefully.
Don’t force hoses or overfill the transmission, and check for leaks afterward.
Conclusion
A transmission fluid extractor turns a messy service into a controlled handoff: the tube reaches the pan, and suction draws tired fluid into its reservoir. Once you’ve inspected the old fluid, refill to the proper level, check for leaks, and recycle the waste responsibly.
Think of a transmission fluid extractor as giving your transmission a fresh start, like replacing muddy water in a working stream. With careful steps and the right equipment, you’ll help keep that stream and your vehicle moving smoothly.