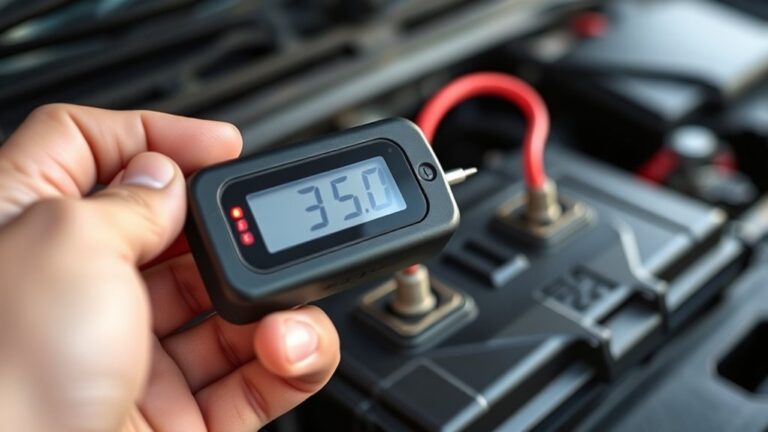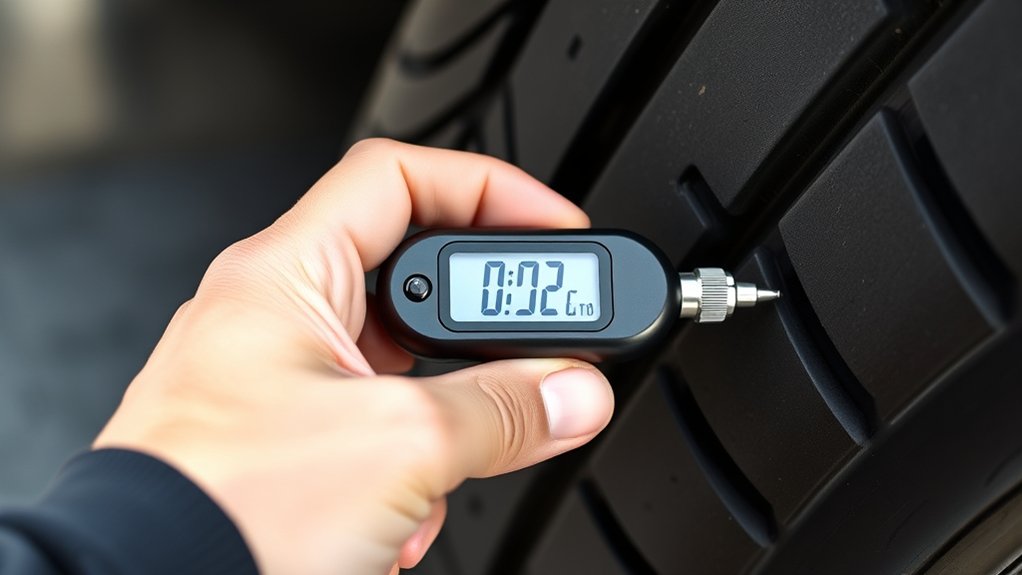
How Does a Digital Tire Pressure Gauge Work Step-by-Step
Many drivers struggle to check tire pressure accurately, especially when gas-station gauges are hard to read or unreliable. You’re not alone—finding the right digital tire pressure gauge can make the process faster, easier, and more dependable.
When you press a digital tire pressure gauge onto the valve stem, its gasket forms an airtight seal and depresses the valve core. Air flows into a small chamber, where pressure flexes a diaphragm.
Strain gauges detect that movement and create an electrical signal. The circuitry filters, converts, and calibrates the signal, then displays pressure in PSI, bar, or kPa.
Batteries power the sensor and screen, while auto-shutoff saves energy. You’ll find accuracy checks and troubleshooting tips next.
Key Takeaways
- Pressing the gauge onto the valve stem opens the valve core and creates an airtight seal through the gasket.
- Air enters a sealed chamber and flexes a diaphragm according to the tire’s pressure.
- Strain gauges detect diaphragm movement by changing resistance within an electrical bridge circuit.
- Electronics filter, convert, calibrate, and translate the sensor signal into selected PSI, bar, or kPa units.
- The digital display shows the reading, while batteries power the sensor and automatic shutoff conserves energy.
Inside a Digital Tire Pressure Gauge
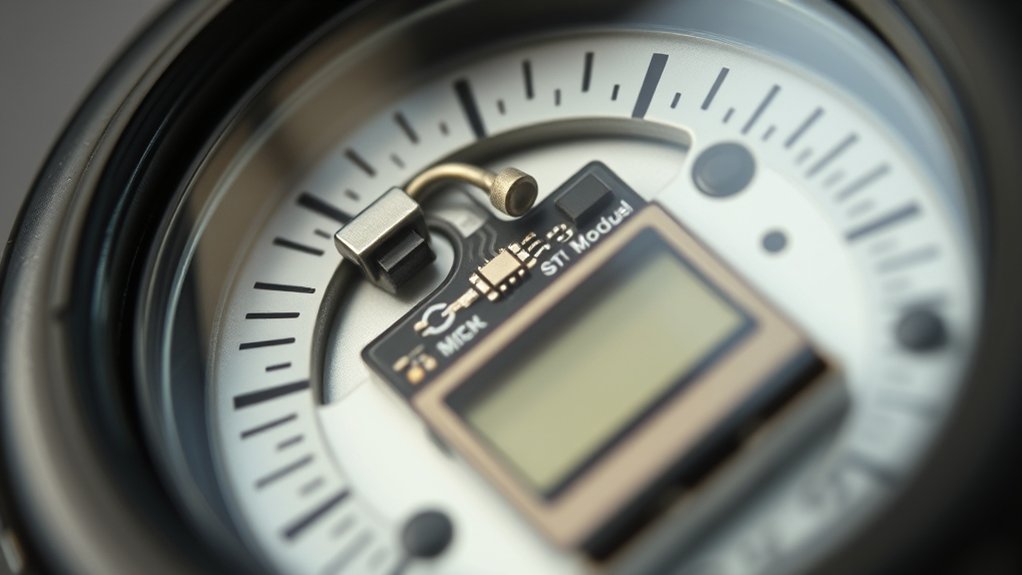
Inside a digital tire pressure gauge, a pressure sensor detects the force of air against a small diaphragm. As you apply the gauge, this diaphragm flexes slightly, and the sensor converts that movement into an electrical signal.
A tiny circuit then processes the signal and calculates pressure in pounds per square inch, bar, or kilopascals.
You’ll find a microcontroller inside the housing that manages measurements, display updates, and automatic shutoff. The screen shows your reading, while buttons let you select units or activate features.
Battery life depends on the display type, sampling frequency, and shutoff design. A low-power gauge can provide months or years of service from one battery.
Accurate results also depend on calibration procedures. Manufacturers calibrate sensors against known pressures, and some models let you perform user calibration.
Temperature compensation helps maintain accuracy as conditions change. When you switch on the gauge, its electronics stabilize, interpret sensor data, and present a clear reading within seconds.
How the Gauge Seals the Valve
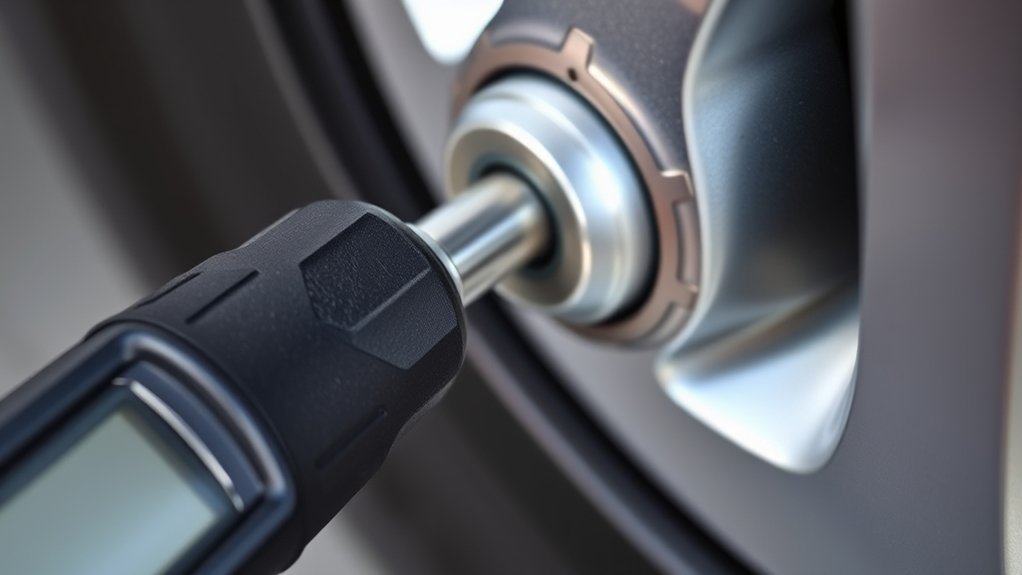
Press the gauge firmly onto the valve stem connection to create a secure fit. This compresses the sealing gasket around the valve opening, creating a tight seal that prevents air from escaping and ensures an accurate pressure reading.
Valve Stem Connection
When you press a digital tire pressure gauge onto the valve stem, its connector depresses the valve core and forms an airtight seal around the opening. You can then measure pressure without removing the tire’s valve insert.
- Position the gauge: Align the connector straight with the stem to prevent air from escaping.
- Apply steady pressure: Hold the gauge firmly until its connection feels secure.
- Read the display: Wait for the number to stabilize before recording the result.
- Check regularly: Compare readings with your vehicle’s recommended pressure, especially when tire tread wear or changing road conditions may affect handling.
A properly connected gauge gives you a reliable reading in seconds. If air hisses continuously, lift the gauge, inspect the stem for dirt or damage, and reconnect it squarely.
Don’t force a crooked connection, because you could bend the stem or lose measurement accuracy. Keep the gauge clean so its connector remains dependable during routine checks.
Sealing Gasket Compression
A sealing gasket compresses against the valve stem’s rim when you press the gauge into position, creating an airtight path for pressure to reach the sensor. This sealing gasket usually sits inside the gauge head, where its flexible material conforms to the metal rim.
As you apply firm, even pressure, the gasket flattens slightly and fills tiny surface irregularities around the opening. That compression seal directs the tire’s internal air toward the gauge’s pressure sensor instead of letting air escape around the connection.
You don’t need excessive force. Press until the gauge head sits squarely on the stem. The gasket’s shape, thickness, and elasticity determine how well it adapts to different valve stems.
Once seated, the sealed passage allows the sensor to read pressure accurately and consistently.
Air Leakage Prevention
The gauge prevents air leakage by pressing its sealing gasket firmly against the valve stem’s rim, creating a closed path to the pressure sensor. When you push the connector straight onto the valve, its inner seal flexes around the opening.
A locking collar or trigger holds steady pressure, so air can’t escape while you read.
- Align: Center the connector over the valve stem to avoid an uneven seal.
- Press: Apply firm, even pressure until the gauge engages.
- Read: Keep the connection stable while the sensor measures pressure.
- Release: Remove the gauge smoothly to protect the gasket and valve threads.
Inspect the gasket regularly for cracks, dirt, or flattening. Clean contact surfaces before use, especially after Tire rotation.
If the valve core leaks or the seal stays weak, arrange Valve replacement. Don’t force the gauge, because misalignment can damage both sealing surfaces and produce inaccurate readings.
How Tire Pressure Reaches the Sensor
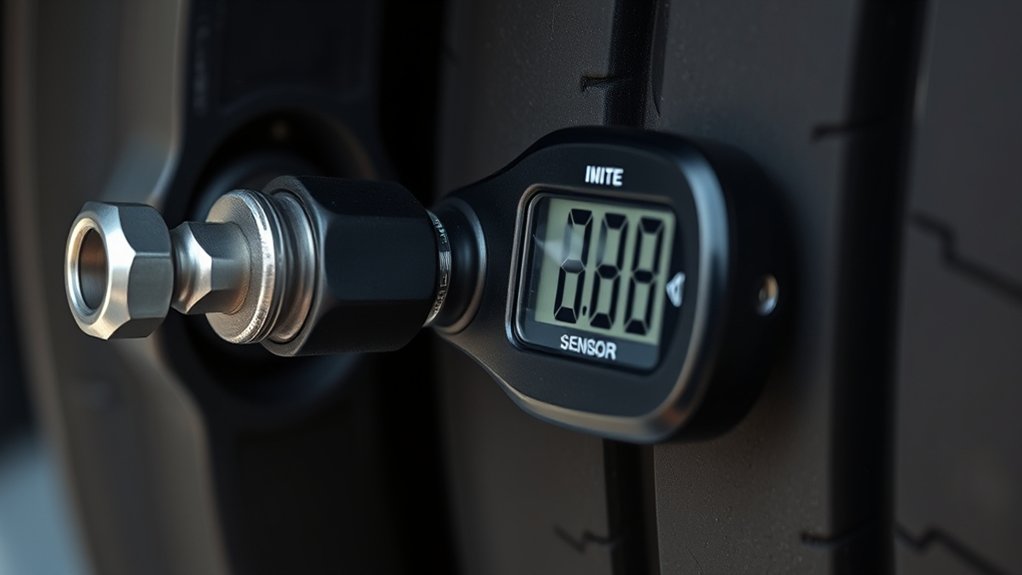
Once you connect the gauge to the tire valve, air flows through the sealed connection. It fills the gauge’s internal chamber, and the resulting pressure pushes against the sensing mechanism. The sensor measures that pressure and converts it into a digital reading.
Tire Valve Connection
When you press a digital gauge onto the tire’s valve stem, the valve core opens and allows compressed air to enter the gauge’s sealed passage. A snug connection prevents pressure loss and gives you an accurate reading before you begin tire inflation.
The gauge’s rubber seal surrounds the stem, while its connector holds firmly against the valve opening.
- Press straight: Keep the gauge aligned with the stem.
- Listen briefly: A short hiss is normal; continued hissing signals a poor seal.
- Hold steady: Maintain contact until the display stabilizes.
- Release carefully: Remove the gauge to let the valve core close.
Check the stem cap and seal during regular valve maintenance. Replace damaged caps or worn seals promptly.
Dirt around the stem can interfere with contact, so wipe it clean before measuring. Don’t force the connector, because excessive pressure may damage the valve core or gauge seal.
Airflow Into Chamber
After the valve core opens, tire air flows through the gauge’s inlet and into a small sealed chamber. You’ll notice the airflow dynamics change as the narrow passage guides air inward.
The chamber fills quickly, while its walls and internal parts accommodate expansion without allowing leaks. A filter may catch dust or moisture, keeping the pathway clean.
| Stage | Air movement | What you observe |
|---|---|---|
| Entry | Air crosses inlet | A brief rush |
| Guidance | Flow narrows | Speed stabilizes |
| Filling | Chamber receives air | Space becomes occupied |
You don’t need to pump or adjust anything; tire pressure supplies the moving air. The gauge’s seals keep outside air from entering, so the chamber receives a controlled sample.
As airflow settles, turbulence decreases and the trapped air becomes evenly distributed throughout the chamber. This smooth delivery prepares the gauge for the next sensing step without transferring pressure details here.
Pressure Transfer Mechanism
With the air settled in the chamber, the gauge transfers its pressure to the sensor through a flexible diaphragm or pressure-sensitive element. As you press the gauge onto the valve, incoming air pushes against this barrier.
The diaphragm bends in proportion to the force, while the sensor converts that movement into an electrical signal. Your gauge then processes the signal and displays the tire’s pressure.
- Valve connection: A tight seal prevents air leaks during measurement.
- Force detection: The diaphragm responds to pressure inside the chamber.
- Signal conversion: Electronics translate movement into a readable value.
- Accurate reading: Compensation accounts for factors such as road temperature and tire tread conditions.
You’ll get the most reliable result when the valve is clean and the gauge sits straight. Check pressure when tires are cool, because heat from driving can temporarily raise the reading.
How the Sensor Measures Air Pressure
A digital tire pressure gauge measures air pressure with a pressure sensor that detects how forcefully the air pushes against a small diaphragm. When you press the gauge onto the tire valve, compressed air enters through the connector and reaches the sensor chamber.
The air’s pressure pushes on the diaphragm, while a reference side provides a stable comparison. As pressure rises, the diaphragm bends slightly; as pressure falls, it returns closer to its resting position.
The amount of movement corresponds to the pressure inside your tire, allowing the gauge to assess inflation accurately. During tire inflation, you can check the reading repeatedly without removing the valve connection for long.
Valve design affects how smoothly air reaches the chamber and how well the connector seals. A secure seal prevents leaks that could distort measurement.
The sensor responds to the pressure present at that moment, so you should hold the gauge steady and keep the valve connection properly aligned.
How Pressure Becomes an Electrical Signal
As the diaphragm bends under air pressure, strain gauges or another sensing element convert that movement into a changing electrical signal. Inside your tire gauge, tiny resistive elements stretch or compress with the diaphragm.
As air pressure flexes the diaphragm, tiny strain gauges convert its movement into a changing electrical signal.
Their resistance changes in proportion to the applied pressure, creating a measurable voltage difference. The sensor sends this raw signal onward without interpreting the pressure yet.
- Mechanical movement: Air pressure flexes the diaphragm.
- Resistance change: The sensing element responds by altering electrical resistance.
- Voltage creation: A bridge circuit turns that resistance shift into a small voltage.
- Signal transfer: Wiring carries the voltage toward the gauge’s electronic section.
This conversion happens rapidly, so you’ll see a reading almost immediately. Stable sensor construction helps maintain accuracy despite vibration and temperature changes.
Efficient components also support longer battery life. Some models use wireless connectivity to transmit the electrical signal to a display or smartphone.
At this stage, the gauge has only captured pressure as electricity. It hasn’t processed or calculated the final value yet.
How the Gauge Processes the Signal
Once the sensor has converted pressure into an electrical signal, the gauge’s electronic circuit processes it into a readable pressure value. First, the circuit filters electrical noise that could cause unstable results.
An analog-to-digital converter then changes the signal into numerical data that the gauge’s microprocessor can calculate. The processor compares that data with a stored reference curve, which accounts for the sensor’s characteristics and operating range.
During the Calibration process, the manufacturer sets those reference points against known pressures. This lets your gauge correct small sensor variations and produce more accurate measurements.
The processor may also compensate for temperature changes, since heat can affect sensor resistance and pressure readings. Internal software checks the result for unusual values, such as a sudden signal outside the gauge’s safe range.
Finally, the circuit prepares the calculated pressure for the gauge’s output system. Efficient processing matters because it preserves Battery life, especially when the gauge samples pressure repeatedly or remains active between measurements.
How the Gauge Displays PSI, BAR, or kPa
Once the gauge processes the signal, it converts the pressure into your selected unit—PSI, BAR, or kPa. The converted value then appears clearly on the digital screen. Next, let’s look at how unit conversion works with the screen readings.
Pressure Unit Conversion
A digital tire pressure gauge converts the sensor’s pressure reading into the unit you select—PSI, bar, or kPa—using fixed conversion factors. The sensor measures pressure, then the gauge’s processor applies the appropriate mathematical relationship before displaying the result in your chosen unit.
- PSI: Pounds per square inch, commonly used in the United States.
- bar: A metric unit convenient for many automotive specifications.
- kPa: Kilopascals, often listed in international vehicle manuals.
- Conversion: One bar equals 100 kPa, while one PSI equals approximately 6.895 kPa.
You can usually change units with a mode or unit button. Select the unit that matches your vehicle’s recommended specification to avoid mistakes.
Pressure calibration keeps the underlying measurement accurate, while battery maintenance helps the gauge process conversions reliably during repeated checks.
The conversion itself doesn’t change tire pressure. It only changes how you quantify it.
Digital Screen Readings
After the gauge converts the pressure reading into PSI, bar, or kPa, its digital screen presents the selected value in large, readable numbers. You’ll see the pressure unit beside the measurement, so you won’t confuse PSI with bar or kPa.
Most gauges hold the result briefly, giving you time to read it before the display shuts off to preserve battery life. Some models light the screen automatically, which helps you check pressure in dim conditions.
Watch for a low-battery symbol or an error message, since either can affect reliability. Compare the displayed value with your vehicle’s recommended pressure, not the number printed on the tire sidewall.
Correct inflation supports even Tire tread wear and handling. If Valve corrosion prevents a firm seal, the screen may show an inaccurate reading.
How Power and Auto-Shutoff Work
Digital tire pressure gauges run on batteries that power the pressure sensor, display, and control circuitry. When you press the power button, the unit wakes, completes a brief startup check, and activates its screen. You can then attach the nozzle and take a measurement.
- Power button: Press it once to start the gauge; hold it only if your model requires a manual shutdown.
- Battery lifespan: Expect performance to vary with battery type, storage conditions, and how often you measure.
- Auto-shutoff timer: After a period of inactivity, the gauge turns itself off to conserve energy, so you won’t drain the cells if you forget.
- Low-battery warning: Watch for a battery icon, dim screen, or slower startup, then replace the batteries promptly.
Keep spare batteries available, and remove them before long-term storage if your manual recommends it. Follow the manufacturer’s Calibration procedures separately; they don’t control power use or the shutdown timer.
Avoid pressing buttons while attaching the gauge, since accidental input can interrupt operation.
How to Check Reading Accuracy
How can you tell whether your gauge is giving an accurate reading? Start by checking your vehicle’s recommended pressure on the driver’s doorjamb label or owner’s manual.
Measure each cold tire before driving, because heat increases pressure and can affect the result. Press the gauge firmly and straight onto the valve stem, then wait for the display to stabilize.
Repeat the measurement once or twice. Consistent results suggest proper operation.
For added confidence, compare your digital gauge with a recently calibrated gauge at a tire shop. Test both gauges on the same tire under identical conditions, and note any consistent difference.
Don’t compare readings taken at different times or temperatures. You can also check the gauge’s manual for an accuracy rating and calibration guidance.
Accurate measurements support tire maintenance, even wear, fuel efficiency, and road safety. Record readings periodically so you can recognize normal pressure changes.
Check all tires, including the spare, according to your vehicle manufacturer’s schedule.
Fix Low, Unstable, or Blank Readings
If your gauge shows a low, unstable, or blank reading, check the battery, clean the valve connector, and press it firmly and straight onto the valve stem. Keep the gauge still until the display settles.
> For low, unstable, or blank readings, check the battery, clean the connector, and press the gauge straight onto the valve stem.
Then try these fixes:
- Replace the battery: Install the correct type, match the polarity marks, and inspect the contacts for corrosion. Good Battery maintenance prevents weak displays and erratic results.
- Check the seal: Make sure the connector’s rubber gasket sits properly. Air leakage can produce unusually low readings.
- Repeat the measurement: Remove the gauge, wait a few seconds, and reconnect it squarely. Compare two or three readings before adjusting tire pressure.
- Verify calibration: Follow the manufacturer’s Calibration techniques, such as comparing the gauge with a trusted instrument or using its reset function. Don’t calibrate near a drafty compressor or damaged valve.
If the screen remains blank after a fresh battery, inspect the display and internal wiring. Stop using the gauge if it smells hot, cracks, or gives wildly different readings, and contact the manufacturer for service.
Frequently Asked Questions
How Often Should I Check My Tire Pressure?
Check your tire pressure at least once a month and before every long trip. You should also inspect it whenever temperatures change sharply, since cold weather lowers pressure.
Make Tire maintenance part of your routine by checking when tires are cold and comparing readings with your vehicle’s door-jamb recommendation. As essential Safety tips, examine pressure after hitting potholes, carrying heavy loads, or noticing uneven wear, vibration, or handling changes.
What Tire Pressure Should My Vehicle’s Tires Have?
Your vehicle’s ideal tire pressure is listed on the driver’s-door placard or owner’s manual, not on the tire’s sidewall. Think of each tire as a shoe: too little air makes it stumble, while too much makes it rigid.
Check pressure when tires are cold and match the recommended PSI. For reliable tire pressure accuracy, verify your digital gauge calibration occasionally.
Don’t adjust pressure based solely on load, weather, or appearance. Follow the manufacturer’s specifications.
Can I Use a Digital Gauge on Motorcycle or Bicycle Tires?
Yes, you can use a digital gauge on motorcycle and bicycle tires. Choose a model that measures their lower pressure range accurately, especially for road-bike tires or high-pressure motorcycle applications.
Check the valve type and use the correct adapter if needed. Tire material and temperature can affect readings slightly, so measure when tires are cool.
Replace batteries regularly and verify calibration accuracy against a trusted gauge to guarantee reliable results.
Should I Check Tire Pressure When Tires Are Hot or Cold?
Check tire pressure when the tires are cold—before driving, when your vehicle has sat for at least three hours. Heat makes air expand, so Tire temperature causes a Pressure fluctuation that can produce a falsely high reading.
Think of cold tires as a clean slate for accurate measurement. If you’ve already driven, wait until they cool, then compare the reading with your vehicle manufacturer’s recommended pressure, not the maximum printed on the tire sidewall.
Can a Digital Tire Pressure Gauge Damage the Valve Stem?
No, a digital tire pressure gauge won’t usually damage your valve stem when you use it correctly. Press the gauge straight onto the valve, avoid forcing or twisting it, and remove it gently after reading.
Inspect the valve cap and sealing surface for dirt or damage first. You’ll maintain pressure accuracy by using a clean, calibrated gauge and checking the tire when it’s cold.
Replace a leaking or bent stem promptly.
Conclusion
A digital tire pressure gauge turns invisible air into a clear number. When you press it onto the valve, a seal forms, pressure travels to a sensor, and a tiny electrical signal carries the message.
The display then translates that message into PSI, BAR, or kPa, like a translator giving air a voice. With a fresh battery, steady seal, and accurate reading, you’ll keep your tires safely balanced and your journey rolling smoothly.
Understanding how a digital tire pressure gauge works helps you check tire pressure with confidence.