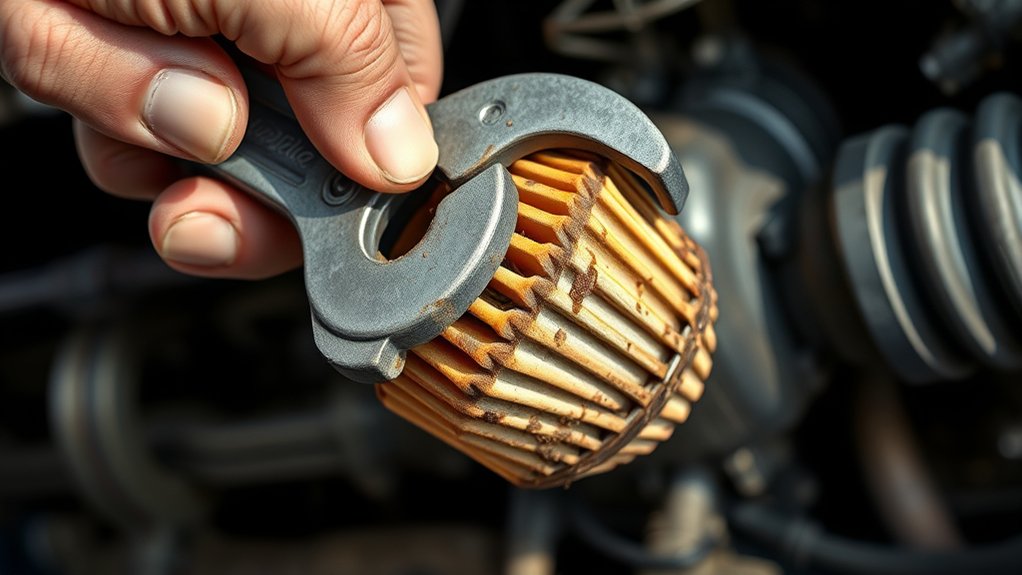
How Does an Oil Filter Wrench Work Step by Step
Removing a stubborn oil filter can be messy, frustrating, and surprisingly difficult without the right tool. You’re not alone—many DIYers struggle to get a secure grip in the tight space around the filter.
In this guide, we’ll explain how an oil filter wrench works step by step and share helpful tips for smoother removal.
To use an oil filter wrench, first park safely, let the engine cool, and place a drain pan beneath the filter.
Choose a wrench that fits, then position it evenly around the filter and secure its grip.
Turn the handle counterclockwise with steady pressure until the seal breaks.
Finish loosening the filter by hand, keeping it level to control spills.
If it’s stuck, reposition the wrench and apply gradual force.
Clean the mounting surface before installing the new filter, and you’ll soon uncover helpful removal tips.
Key Takeaways
- Park safely, let the engine cool, gather tools, and place a drain pan beneath the oil filter.
- Choose a wrench matching the filter’s size and type, then position it evenly around the filter.
- Turn the wrench counterclockwise with steady, controlled force until the filter’s seal breaks.
- Remove the loosened filter by hand, keeping it level to minimize oil spills.
- Clean the mounting surface, remove old gasket material, and lubricate the replacement filter’s gasket.
Gather Tools and Prepare the Vehicle
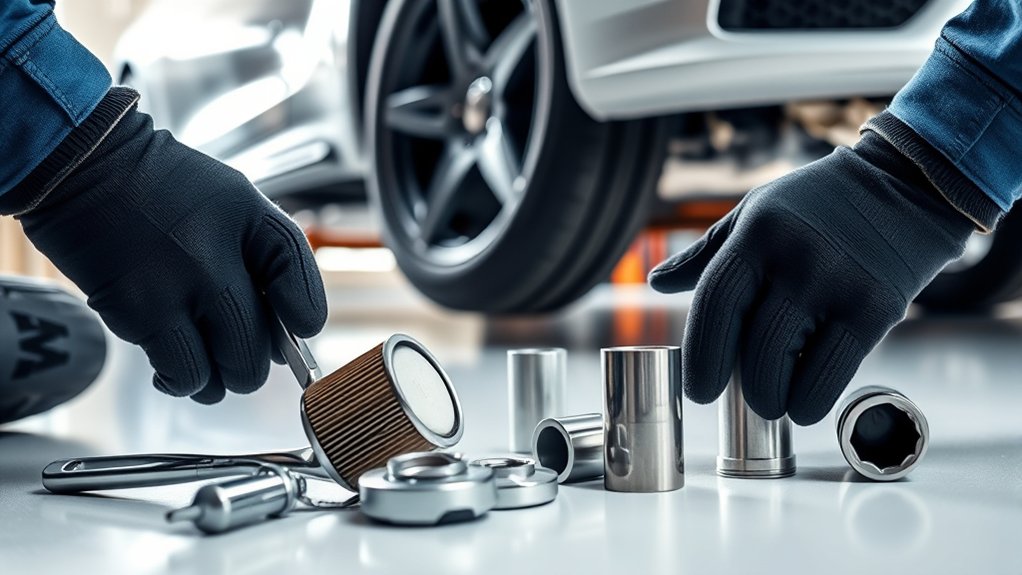
Before you begin, gather an oil filter wrench, a drain pan, gloves, safety glasses, and the correct replacement filter and engine oil. Park your vehicle on a level surface, engage the parking brake, and switch off the engine.
Gather the proper tools, park safely on level ground, engage the parking brake, and switch off the engine before beginning.
Let it cool until warm rather than hot, reducing burn risks while keeping the oil fluid enough to drain. Check your owner’s manual for the oil capacity, filter location, and recommended lubricant grade.
Place wheel chocks behind the tires if the vehicle could roll. Raise the vehicle only with an approved jack and support it securely with jack stands. Never rely on the jack alone.
Inspect the new filter’s oil filter material and confirm its seal matches the old filter. Check the wrench for wrench durability, clean the drain area, and position the pan beneath the filter and drain plug.
Keep paper towels nearby, remove loose clothing, and ensure adequate lighting before you start.
Choose the Right Oil Filter Wrench
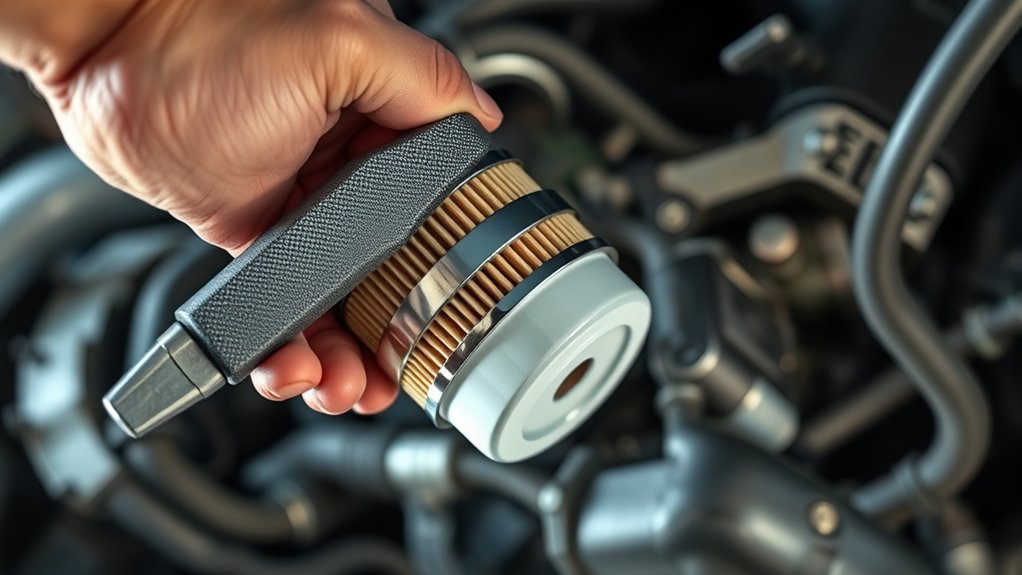
Choose a wrench that matches your filter’s size and design. Check your vehicle’s manual or the replacement filter’s packaging for its diameter and shape.
A properly fitted tool grips securely without crushing the filter, making filter maintenance safer and easier.
Compare common wrench types before you decide. A cap wrench fits one specific filter size and usually works well when space is limited.
A band wrench wraps around the filter and adjusts to different diameters, while a strap wrench offers flexibility for occasional use.
Chain wrenches provide strong gripping power, but they can damage thin filter shells if you apply excessive force.
Pliers-style wrenches suit stubborn filters, though their jaws may puncture the housing.
Choose a handle length that gives you useful leverage without creating clearance problems. Select a durable steel or reinforced tool, and avoid a loose fit.
If you’re unsure, choose an adjustable wrench designed for your filter’s specifications.
Locate and Inspect the Oil Filter
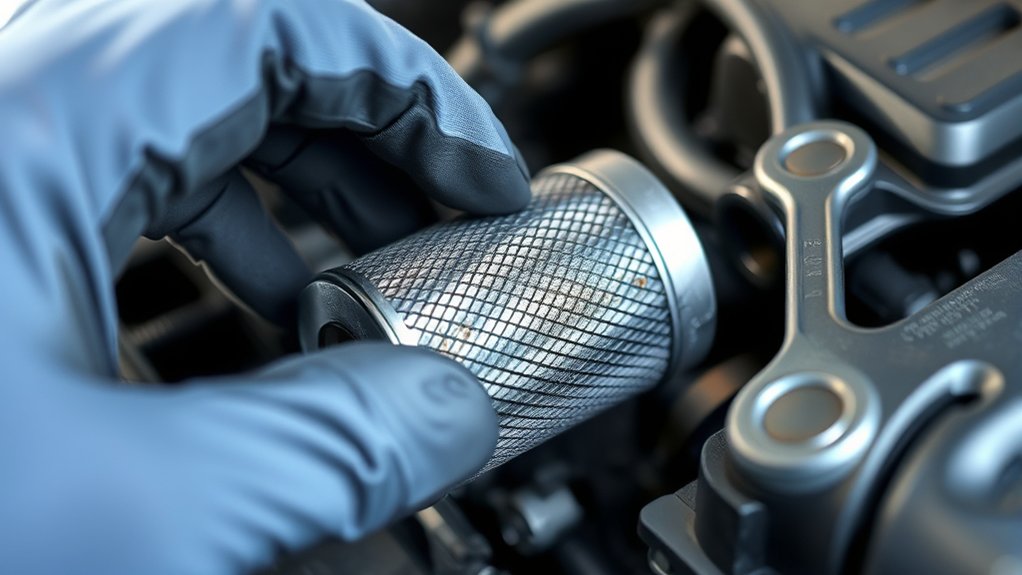
Once the engine has cooled, locate the oil filter beneath the vehicle and inspect the area around it for leaks, damage, or heavy buildup. Use a flashlight if visibility is limited, and confirm you’ve identified the filter rather than the drain plug or another component.
Before touching it, note its size, shape, and access path so you can select the appropriate wrench and replacement filter.
- Check the filter housing for dents, corrosion, or oil trails that could signal a previous installation problem.
- Examine the Oil filter gasket for cracking, flattening, or signs that it has stuck to the engine’s mounting surface.
- Wipe away loose dirt surrounding the filter, but don’t force debris into nearby openings or electrical connections.
Look for enough clearance to work safely, and place a drain pan beneath the filter. If the filter appears severely damaged or seized, plan carefully for filter replacement and consider professional assistance.
Don’t proceed until the engine and surrounding parts feel cool.
Position the Oil Filter Wrench Correctly
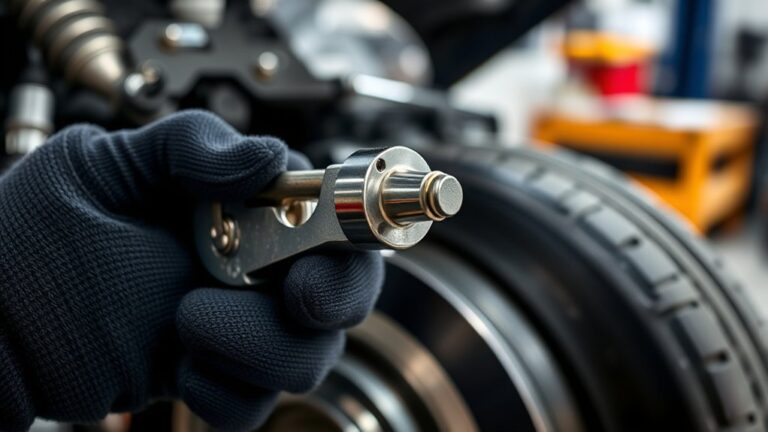
Place the wrench around the oil filter, making sure it sits evenly against the filter’s surface. Tighten it until the jaws or strap hold firmly without slipping. Once it’s secure, you’ll have a solid grip for loosening the filter safely.
Align the Wrench
Before applying force, position the oil filter wrench squarely around the filter with its handle angled for a clear, comfortable pull. Check that the wrench sits level against the filter’s sides, not tilted or resting on nearby hoses, wiring, or the drain pan.
Proper alignment helps distribute pressure evenly and reduces the chance of crushing the filter or slipping.
- Center the tool: Keep the wrench’s contact points evenly positioned around the filter.
- Check clearance: Confirm the handle has enough room to move without striking components.
- Inspect first: Look for oil, damage, or debris that could affect alignment, and follow basic safety precautions.
Your tool maintenance routine should include cleaning the wrench after use and checking its moving parts for wear.
Take your time during this step. A straight setup makes the next operation smoother and more controlled. Don’t apply force yet.
Secure the Grip
Secure the grip by pressing the oil filter wrench firmly against the filter so its jaws, strap, or chain make full contact with the housing. Keep the wrench square to the filter, not tilted, to prevent slipping or crushing the canister.
If you’re using a strap wrench, wrap it tightly and position the handle where you’ll have room to pull. For a chain or jaw-style tool, confirm that the teeth sit evenly and bite securely.
Don’t force the wrench until you’ve checked that it matches the filter size. Your Safety precautions should include wearing gloves, keeping your face clear, and supporting the vehicle properly.
Clean the tool after use as part of regular Tool maintenance. A firm, aligned grip lets you apply controlled pressure and remove the filter safely.
Tighten the Wrench Around the Filter
Once the wrench sits firmly around the oil filter, tighten its handle or strap until it grips the filter without slipping. Keep the tool centered so its jaws, band, or chain contacts the filter evenly.
Don’t overtighten the mechanism, because excessive pressure can crush the filter housing or make removal harder.
Use these checks before turning:
- Confirm the wrench fits the filter’s diameter and doesn’t sit at an angle.
- Match the tool’s wrench material to the job. Steel handles provide strength, while a coated strap helps protect the filter.
- Apply steady tightening torque by hand, stopping when the wrench holds securely.
Test the grip with a gentle counterclockwise movement. If the wrench slides, release it, reposition it, and tighten the strap slightly more.
Avoid sudden force, which can damage the filter or cause your hand to slip. A firm, balanced fit gives you better control during removal and keeps the tool engaged throughout each turn.
Protect the Drain Pan From Spills
Position the drain pan directly beneath the oil filter so it catches oil as soon as the seal breaks. Center it beneath the filter’s lowest point, leaving enough room to account for a stream that may angle outward.
Choose a pan with high sides and sufficient capacity for both the filter’s contents and the oil that drains from it. Place cardboard, an absorbent mat, or shop towels around the pan to protect the floor from splashes.
Keep the pan steady on a level surface, and don’t let tools, cords, or debris interfere with its position. If your pan has a drain screen, check that it’s seated correctly so oil won’t escape through gaps.
Wear gloves and eye protection as part of proper oil filter safety. Good spill prevention also means keeping replacement containers nearby, but don’t move the pan until dripping has slowed completely.
Clean any residue promptly to prevent slipping and staining.
Loosen the Filter Counterclockwise
Position the wrench securely around the filter so it grips firmly without slipping. Then, turn the handle counterclockwise steadily to loosen the filter. Keep your hand controlled to prevent spills or damage.
Position the Wrench Correctly
With the wrench seated firmly around the oil filter, turn it counterclockwise to loosen the filter. Before applying force, position yourself so you can see the tool’s grip and maintain control.
Choose the correct wrench size, then slide or clamp it squarely around the filter’s base. Keep the handle accessible, and align it where your hand can push without contacting hot engine parts, sharp edges, or nearby components.
Check these points:
- Full contact: Make sure the wrench sits evenly around the filter, not at an angle.
- Stable footing: Plant your feet securely and keep your body balanced.
- Safety precautions: Wear gloves and confirm the engine is cool enough to touch.
Good tool maintenance keeps the jaws, strap, or chain clean and functional. Don’t force a poorly positioned wrench, since it can slip, crush the filter, or cause injury.
Turn Counterclockwise Steadily
Once the wrench sits squarely and you have secure footing, apply steady counterclockwise pressure to break the filter loose. Keep your arm aligned with the wrench handle, then increase force gradually rather than jerking it. This controlled rotational force helps the wrench grip the filter without slipping or crushing its casing.
If the filter resists, pause and check that you’re turning in the correct direction and maintaining full contact. Use a longer handle only if necessary, since extra advantage increases torque application and could damage the filter housing.
Once the seal breaks, continue turning counterclockwise with smooth, even movements. As the filter loosens, support it with your other hand to prevent spills or dropping it.
Stop if you notice slipping, distortion, or unexpected resistance, and reposition the wrench securely.
Finish Removing the Filter by Hand
After the oil filter loosens, grip it firmly and turn it counterclockwise by hand. Keep your other hand beneath the filter to support its weight as the threads release. Continue slowly until you can pull the filter straight away from the mounting surface.
After loosening, remove the oil filter by hand, supporting it from beneath and turning slowly to prevent spills.
- Control the final turns: Keep the filter level to prevent oil from spilling onto nearby components.
- Protect your hands: Wear gloves, since the filter may be hot, oily, or sharp around its edges.
- Check the seal: Confirm the old rubber gasket came off with the filter, then inspect the mounting surface for residue.
Place the removed filter upright in a drain pan and let excess oil drain before disposal. Don’t use the wrench for these final turns. Hand removal gives you better control and prevents unnecessary damage.
Oil filter types vary, so follow your vehicle’s service instructions for disposal and replacement. Wipe the wrench clean after use as part of regular Wrench maintenance.
Keep the removed filter until you’ve confirmed the new one matches.
Free a Stuck Filter Without Crushing It
A filter that won’t budge needs controlled force, not brute strength. First, confirm you’re turning the filter counterclockwise from the open end.
Position the wrench close to the filter’s base, where the metal can withstand pressure. Keep the tool square and tighten its grip before applying steady force.
If you notice wrench slipping, stop and reposition it rather than squeezing harder. A strap wrench may work better on a smooth canister, while a cap-style wrench provides more even contact.
For extra *advantage*, use a longer handle, but pull gradually and keep your hands clear of sharp edges.
If heat or corrosion seems responsible, let the engine cool completely and try again; don’t puncture or crush the filter.
A stubborn filter may have a dried filter gasket bonded to the mounting plate. Gentle rocking can break that seal, but avoid sudden jerks.
If the housing begins deforming, stop and use a professional-grade remover designed for seized filters.
Clean the Mounting Surface After Removal
With the old filter removed, inspect and clean the mounting surface before installing the replacement. Check the engine’s filter surface for leftover rubber, oil sludge, metal flakes, or grit.
Debris can prevent the new gasket from sealing evenly, causing leaks after startup. Use this simple process:
1. Wipe away loose oil and dirt with a clean, lint-free rag. Keep debris from falling into nearby openings.
2. If residue remains, apply a small amount of fresh engine oil or an approved degreaser to the rag. Choose a gentle cleaning method.
Don’t scrape the surface with a screwdriver or damage its sealing edge.
3. Run your finger around the entire rim to confirm it feels smooth. Remove any stuck gasket material carefully with a plastic scraper, then wipe the area dry.
Don’t leave the old gasket stuck to the engine. Once the surface looks clean and undamaged, lightly coat the replacement filter’s gasket with fresh oil and install it according to the manufacturer’s instructions.
Frequently Asked Questions
How Often Should You Replace Your Oil Filter?
Replace your oil filter every time you change your engine oil, typically every 5,000 to 7,500 miles for modern vehicles, unless your owner’s manual specifies otherwise.
If you drive in severe conditions, such as frequent short trips, dusty roads, towing, or heavy traffic, change it more often.
Regular oil filter maintenance keeps contaminants out of your engine and supports proper engine lubrication.
Don’t reuse an old filter because it may restrict oil flow or bypass filtration.
Can You Reuse an Oil Filter After Removing It?
You shouldn’t reuse an oil filter after removing it; treat it like a spent shield, not a reusable tool. Its gasket may no longer seal reliably, and trapped contaminants can circulate through your engine.
Install a new filter whenever you change the oil. Drain the old filter, place it in a sealed container, and follow local oil filter recycling guidelines.
Oil filter recycling facilities can recover its metal and properly manage residual oil.
What Happens if You Install the Wrong Oil Filter?
Installing the wrong oil filter can cause leaks, poor filtration, restricted oil flow, or inadequate pressure, potentially damaging your engine. You might notice warning lights, unusual noises, or reduced performance.
Check oil filter compatibility by matching the filter’s part number, thread size, gasket, and pressure rating with your vehicle’s specifications. Don’t ignore installation mistakes, such as cross-threading or overtightening.
Stop driving, inspect the filter, and replace it correctly immediately.
Which Oil Filter Brand Offers the Best Performance?
You’ll find the best performance from trusted oil filter brands such as Mobil 1, Bosch, Wix, and Purolator, though your vehicle’s specifications matter most.
In a performance comparison, evaluate filtration efficiency, dirt-holding capacity, anti-drainback valves, construction quality, and pressure ratings, not just price.
You shouldn’t assume the most expensive option wins. Choose a filter that matches your manufacturer’s requirements, driving conditions, and oil-change interval, then verify fitment before installation.
How Should You Dispose of a Used Oil Filter?
Take your used oil filter to a recycling center, auto-parts store, or service station that accepts filters, not your regular trash. Like a medieval knight guarding the domain, drain the filter into your used-oil container for at least 24 hours, then seal both items securely.
This reduces environmental impact. During the recycling process, facilities recover steel and residual oil, preventing leaks and protecting soil and waterways.
Conclusion
An oil filter wrench works by turning stubborn filters into slightly less stubborn ones. Once your vehicle’s safely supported, choose the correct wrench, fit it snugly, and turn counterclockwise.
Tighten the tool without crushing the filter, then finish the job by hand—assuming the filter hasn’t achieved permanent residency. If it’s stuck, apply steady pressure rather than heroic force.
After removal, clean the mounting surface so your new filter seals properly and doesn’t join the rebellion. That’s how an oil filter wrench helps make oil filter removal safer and easier.