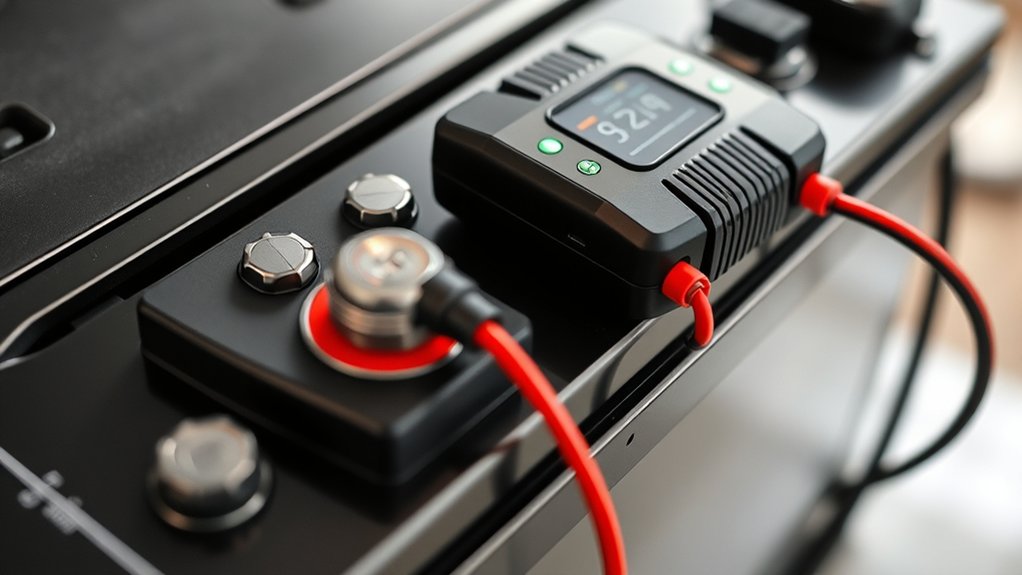
How Does a Car Battery Maintainer Work Step-by-Step
A dead battery can ruin your plans, especially when your car sits unused for long periods. You’re not alone—many drivers struggle to keep their batteries charged and ready to go. Understanding how a car battery maintainer works can help you choose the right product and avoid unexpected starting problems.
To use a car battery maintainer, inspect the battery and device for damage, leaks, corrosion, and correct voltage compatibility. Turn off the vehicle, connect the red clamp to positive and black to negative or ground, then plug in the maintainer.
It checks the battery’s condition and supplies controlled current through charging stages. As voltage rises, current decreases. When full, it switches to low-current maintenance mode, monitoring and topping up the battery safely.
The steps below explain each stage in more detail.
Key Takeaways
- Inspect the battery and maintainer for damage, corrosion, leaks, correct voltage, and compatible battery chemistry.
- With power disconnected, attach red to positive and black to negative or a suitable chassis ground.
- Plug in the maintainer; it assesses voltage, temperature, battery condition, and connection quality.
- It charges through controlled stages, adjusting current to prevent overheating, gassing, overcharging, and battery damage.
- Once full, it switches to maintenance mode, supplying occasional current while monitoring voltage until disconnected.
Understand How a Car Battery Maintainer Works
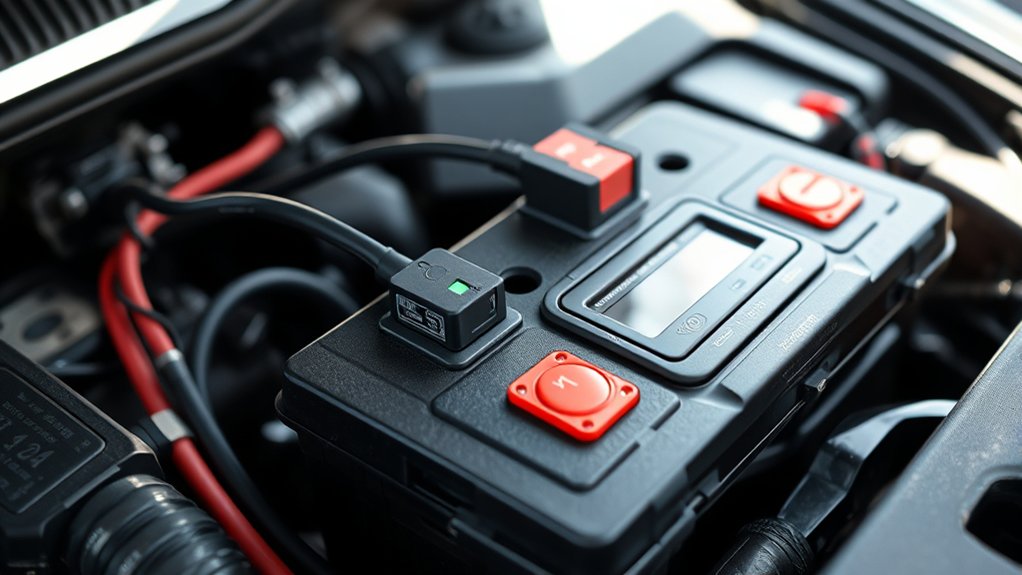
A car battery maintainer monitors your battery’s voltage and delivers a small, controlled charge when needed. You connect it to a power outlet and the battery terminals, then its internal circuitry evaluates the battery’s electrical state.
When voltage drops below a preset level, the maintainer supplies current. As the battery approaches full charge, the device reduces or stops current flow, preventing continuous overcharging.
The maintainer’s operation depends on battery chemistry. Lead-acid batteries accept charge in stages, so the device adjusts voltage and current as charging progresses.
Some smart maintainers also select modes for standard flooded, AGM, or gel batteries. This design improves charging efficiency by matching power delivery to the battery’s condition instead of forcing a constant output.
After reaching full charge, the maintainer usually switches to float or pulse mode. It then replaces the small amount of energy lost through normal self-discharge, keeping the battery ready without demanding your constant attention or wasting significant electricity during storage periods.
Check the Car Battery and Maintainer
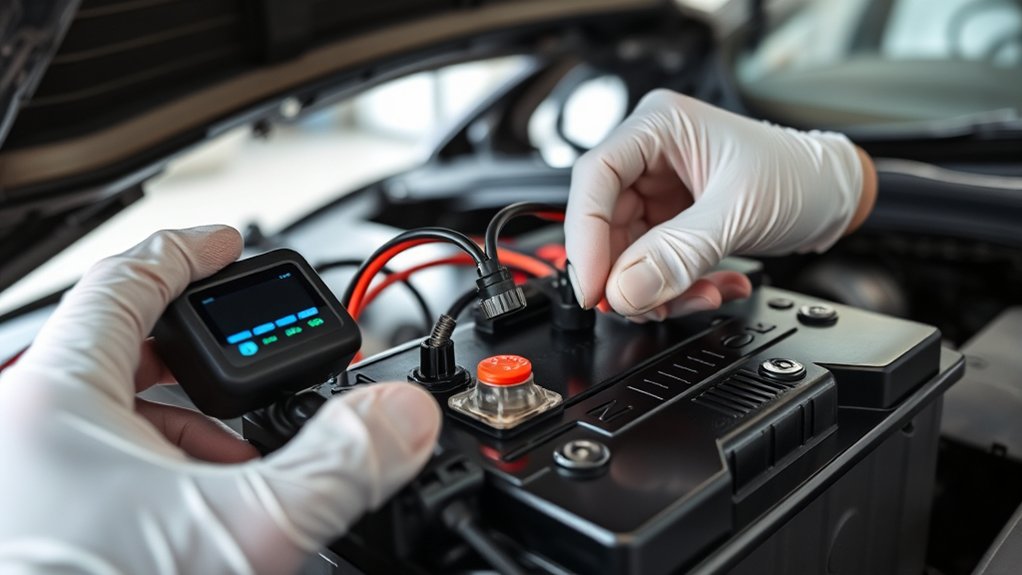
Before connecting anything, inspect the car battery and maintainer for damage, corrosion, or loose parts. Check the battery case for cracks, bulges, leaks, or swelling, which can signal internal failure.
If you notice damage, don’t use the battery; seek professional advice instead. Examine the terminals and surrounding area for battery corrosion, including white, blue, or green deposits.
Corrosion can interfere with electrical contact and reduce charging efficiency. Don’t scrape or clean the terminals while the maintainer is nearby or powered.
Also, confirm that the battery isn’t frozen, excessively hot, or emitting a strong sulfur smell. Next, inspect the maintainer’s housing, display, cables, and clamps for cuts, exposed wires, melted plastic, or bent metal.
Check its label to confirm that its voltage and battery type match your vehicle’s battery. Make sure the maintainer’s indicator lights and controls appear intact.
Replace damaged equipment rather than risk unreliable operation or electrical hazards during charging.
Connect the Car Battery Maintainer Safely
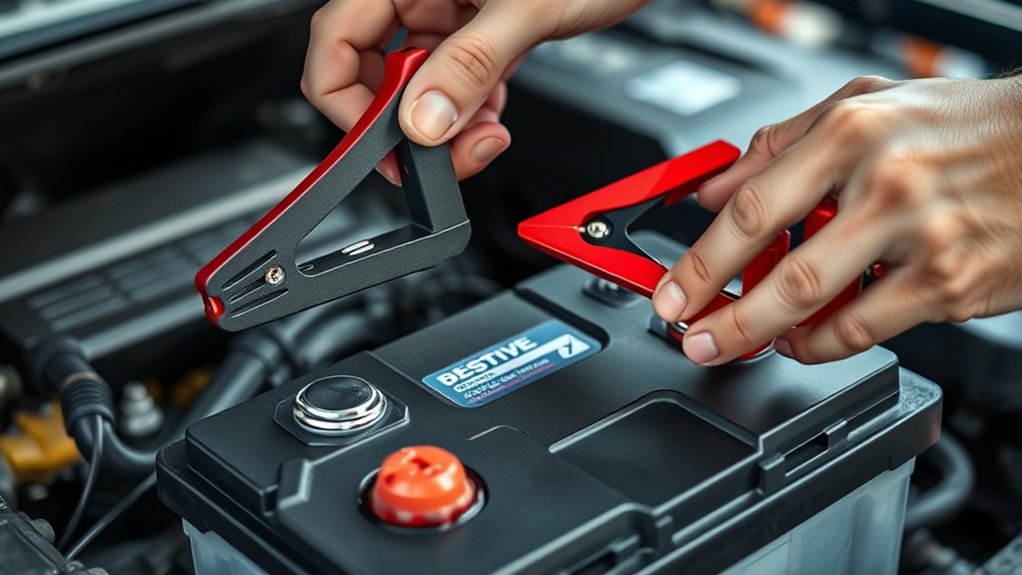
Once the battery and maintainer pass inspection, park the vehicle in a well-ventilated area, switch off the ignition, and remove the keys. Keep flames, sparks, and cigarettes away from the battery. Turn the maintainer off and unplug it before making connections.
Attach the red positive clamp to the battery’s positive (+) terminal. Then connect the black negative clamp to the negative (–) terminal, or to a clean, unpainted chassis ground if your vehicle’s instructions require it. Don’t let the clamps touch each other or any moving parts.
Check each connection for a firm grip. Wipe away battery corrosion from the terminals first, using appropriate safety precautions, because a clean contact improves charging efficiency. If you’re using ring terminals or a quick-connect harness, secure them tightly without pinching wires.
After connecting the clamps, plug the maintainer into a grounded outlet and switch it on. Route the cable away from hot surfaces, belts, and sharp edges, leaving enough slack to prevent strain.
Let the Maintainer Check Battery Condition
With the maintainer powered on, let it analyze the battery before selecting a charging mode. You’ll see it evaluate voltage, temperature, and overall condition without immediately forcing power into the battery.
This diagnostic step helps identify whether the battery is healthy, deeply discharged, sulfated, or unable to accept a charge. Review the indicator lights or display, and follow the manufacturer’s guidance if it reports a fault.
Accurate testing can protect battery lifespan by revealing problems early and showing when replacement makes more sense than continued maintenance.
| Reading | What you’ll notice | Recommended response |
|---|---|---|
| Healthy voltage | Stable condition | Continue setup |
| Low voltage | Significant discharge | Follow manual guidance |
| Fault warning | Possible damage | Stop and inspect |
| Temperature alert | Unsafe condition | Let battery cool |
Your maintainer may also estimate remaining capacity or record charging cycles. Don’t interpret that information as a charging command yet; simply confirm the battery qualifies for maintenance.
Check connections again if readings seem inconsistent, then wait for the unit’s condition assessment to finish before proceeding. This pause supports safer decisions and prevents charging a battery that needs professional attention.
Understand How It Controls Charging Current
The maintainer first senses your battery’s voltage before adjusting its output. It then changes the current flow to meet the battery’s needs and prevent overcharging. As conditions change, it switches between charging modes to restore the battery and keep it safely maintained.
Sensing Battery Voltage
A battery maintainer continuously senses your battery’s voltage to determine how much charging current it needs. Its internal sensor takes frequent voltage readings while you connect the unit to your vehicle.
These measurements reveal whether your battery remains deeply discharged, partially charged, or nearly full. Because battery chemistry affects voltage behavior, the maintainer interprets readings according to the battery type, such as flooded lead-acid, AGM, or gel.
Temperature can also influence voltage, so accurate sensing helps the unit account for changing conditions. Charging algorithms compare each reading with programmed voltage thresholds and charging stages.
You’ll see this process reflected in indicator lights or a display on some maintainers. By monitoring voltage continuously, the device recognizes changing battery conditions and prepares an appropriate charging response without guesswork or unnecessary stress.
Adjusting Current Flow
After sensing the battery’s voltage, the maintainer adjusts current flow to match its charging needs. It doesn’t force a fixed amount of electricity into the battery. Instead, its control circuitry limits or increases amperage according to the battery’s condition.
When the battery accepts energy readily, the maintainer supplies enough current to restore charge efficiently. As resistance rises, it reduces output to prevent overheating, excessive gassing, and internal damage.
Voltage regulation keeps the charging voltage within a safe range, protecting sensitive electrical components connected to the vehicle. Meanwhile, current regulation controls how many amps reach the battery at any moment.
You’ll see this process happen continuously as the maintainer measures electrical conditions and fine-tunes its output. This careful adjustment supports steady charging while minimizing stress on the battery and charger.
Switching Charging Modes
As the battery’s condition changes, the maintainer switches between charging modes to control current safely. During bulk charging, it delivers higher current to restore most of the battery’s capacity quickly.
As voltage rises, the maintainer enters absorption mode and gradually reduces current, preventing overcharging while completing the charge. When the battery reaches its target level, it changes to float mode, supplying only a small current to replace natural energy loss.
Some maintainers add a pulse or reconditioning mode to address mild sulfation, but you should use it only when the manufacturer allows it. This automatic sequence improves charging efficiency because you don’t need to select settings manually.
It also protects battery lifespan by limiting heat, voltage stress, and prolonged high-current exposure during storage periods or daily use.
Follow the Main Charging Stage
During the main charging stage, the maintainer supplies a controlled current that gradually restores the battery’s charge. You’ll see the unit regulate output rather than deliver maximum power continuously. Its charging algorithms monitor voltage, current, and response, then adjust the process to suit the battery chemistry.
This controlled approach helps prevent overheating, excessive gassing, and unnecessary stress on the plates.
Watch for these normal behaviors:
- The charger displays active charging.
- Current gradually supports recovery.
- Voltage rises within safe limits.
- The battery remains connected securely.
- The maintainer adjusts output automatically.
You shouldn’t disconnect the clamps while this stage continues, because interruptions can confuse the controller or leave the battery incompletely conditioned.
Keep the battery and charger in a ventilated area, and check for unusual heat, swelling, odors, or damaged cables. If you notice any warning sign, stop charging and inspect the setup.
Let the maintainer complete its programmed regulation before expecting it to transition into the next operating mode.
Estimate How Long Charging Takes
Charging time depends on the battery’s capacity, its current state of charge, and the maintainer’s output. To estimate the duration, divide the amp-hours your battery needs by the maintainer’s rated amperage, then add extra time for charging efficiency losses. For example, replenishing 30 amp-hours with a 5-amp maintainer takes at least six hours, though real conditions may require longer.
Check your vehicle’s battery rating and maintainer specifications before calculating. A deeply discharged battery typically needs substantially more time than one that’s only partially depleted. Cold temperatures, aging, sulfation, and electrical resistance can also slow the process.
If your maintainer offers a low current, expect gradual charging rather than a quick recovery. Use the estimate to plan overnight or multi-day charging sessions.
Avoid rushing the process with an oversized charger, because excessive current can increase heat, stress the battery, and shorten battery lifespan. Consistent, moderate charging generally supports better charging efficiency and helps you maintain reliable starting performance.
Recognize When the Battery Is Full
A smart maintainer recognizes when the battery is full by monitoring voltage and charging current, then automatically reducing output or switching to float mode.
You’ll notice charging current gradually falls as the battery accepts less energy. This change, rather than voltage alone, helps the device judge battery condition accurately.
Watch for these signs:
- Voltage reaches the maintainer’s specified full-charge range.
- Charging current drops to a very low level.
- The maintainer reports “full” or displays a similar indicator.
- The battery remains cool, without hissing or swelling.
- A multimeter shows stable voltage after you disconnect the charger.
Accurate detection improves charging efficiency because the maintainer doesn’t waste energy pushing excessive current into a charged battery.
It also limits heat and gassing, which can accelerate battery corrosion around terminals.
If readings stay unusually low, inspect cable connections and clean dirty posts before assuming the battery is full.
A failing or sulfated battery may appear charged quickly yet lose voltage soon afterward, so confirm stability before relying on the result.
Switch to Automatic Maintenance Mode
Once the maintainer detects that the battery is fully charged, it automatically switches to maintenance mode. It adjusts its output to keep the battery at the ideal voltage, so you won’t need to monitor or adjust it constantly.
Detects Full Charge
When the battery reaches its target voltage, the maintainer detects that it’s fully charged and automatically switches from charging to maintenance mode. It compares voltage readings with programmed limits and evaluates charging behavior rather than relying on time alone. This process helps account for Battery capacity, temperature, and the battery’s condition.
You’ll notice that the charger stops delivering a continuous charging current, reducing unnecessary electrical stress. The detection process provides:
- Accurate voltage sensing
- Charge-level confirmation
- Reduced overcharging risk
- Adaptation to Battery capacity
- Improved Voltage stability during monitoring
The maintainer’s control circuit repeatedly checks whether the battery remains at its expected charged level. If readings indicate incomplete charging, it won’t declare the cycle finished prematurely.
Instead, it continues assessing the battery until measurements support a full-charge decision. This automatic transition prepares the unit for its next operating stage without requiring your attention.
Maintains Optimal Voltage
After detecting a full charge, the maintainer automatically switches to maintenance mode and supplies only the small amount of current needed to keep the battery at its ideal voltage. You’ll avoid overcharging while the unit compensates for natural discharge, temperature changes, and electrical drain.
Its sensors check voltage repeatedly, then pause or deliver brief pulses as needed. Battery chemistry influences the target range, while charging efficiency improves because the maintainer supplies energy only when necessary.
| Condition | Maintainer action | Benefit |
|---|---|---|
| Voltage drops | Adds a brief pulse | Restores charge |
| Voltage stabilizes | Reduces output | Limits heat |
| Temperature changes | Adjusts charging | Protects cells |
| Parasitic drain | Replenishes energy | Preserves readiness |
This automatic cycle keeps your battery prepared without constant supervision. You can leave the maintainer connected safely, provided you use the correct setting and inspect cables regularly.
Troubleshoot and Use the Maintainer Safely
To use a car battery maintainer safely, inspect the cables and battery for damage, switch the maintainer off before connecting it, and match the red clamp to the positive terminal and the black clamp to a suitable negative connection. Then plug it in, select the correct mode, and confirm the indicator shows charging.
If it stays in fault mode, disconnect power and check polarity, terminal contact, and battery voltage.
For safer troubleshooting, remember these checks:
- Clean battery corrosion from the terminals, then tighten each clamp securely.
- Keep vents clear and place the battery in a dry, well-ventilated area.
- Stop immediately if you notice heat, swelling, leaking fluid, sparks, or a burning smell.
- Don’t use a damaged cable, charger, or battery.
- Watch the display for charging efficiency. Unusually long charging may signal a failing battery.
After charging, switch the maintainer off before removing the clamps. Disconnect the black clamp first, then the red clamp.
Never leave connections loose or allow clamps to touch. When problems persist, consult the manufacturer or a qualified technician.
Frequently Asked Questions
Can a Battery Maintainer Charge Different Battery Types?
Yes, you can use a battery maintainer with different battery types, but you must verify charging compatibility first. Check whether your maintainer supports your battery’s chemistry, such as flooded lead-acid, AGM, gel, or lithium.
Each battery chemistry requires specific voltage limits and charging stages. Don’t connect a standard lead-acid maintainer to a lithium battery unless the manufacturer approves it.
Choose a model with selectable modes, and follow both manufacturers’ instructions carefully.
What Is the Difference Between a Maintainer and a Trickle Charger?
A maintainer automatically adjusts or stops charging when your battery reaches full capacity, while a trickle charger delivers a continuous, low current. That difference matters: proper maintenance can extend battery lifespan by up to 50% compared with repeated deep discharge.
You’ll get better charging efficiency from a maintainer because it monitors voltage and switches to float or monitoring mode. A trickle charger may overcharge your battery unless you disconnect it periodically or use a timer.
Can I Leave a Maintainer Connected During Winter Storage?
Yes, you can leave a maintainer connected during winter storage, provided you use an automatic, temperature-compensating model designed for long-term connection. Connect it to a fully charged battery, verify correct polarity, and keep the unit dry and ventilated.
Don’t wrap it in winter insulation, which can trap heat or moisture. Check the cables periodically and follow the manufacturer’s guidance for storage duration, especially in freezing conditions or unheated garages.
Does a Maintainer Use Much Electricity?
A maintainer sips electricity like a careful candle, so you’ll usually use very little power. Once your battery reaches full charge, the device switches to monitoring mode and delivers only occasional pulses, keeping power consumption low.
Exact usage depends on the maintainer, battery condition, and charging time. You’ll improve battery efficiency by choosing an automatic, energy-efficient model and avoiding unnecessary accessories.
Check its wattage to estimate household energy costs accurately.
When Should I Replace My Car Battery Instead of Maintaining It?
Replace your car battery when it can’t reliably start the engine, fails a load test, or shows swelling, leakage, cracked casing, or severe corrosion. Consider replacement if its Battery lifespan has reached about three to five years, especially after extreme temperatures or repeated deep discharges.
Don’t rely on a maintainer to revive a worn-out battery. Your Maintenance frequency can extend battery life, but it can’t repair damaged or sulfated cells.
Conclusion
By following each step, you’ll see how a car battery maintainer checks the battery’s condition, delivers controlled current, and shifts to maintenance mode once charging is complete.
Connect it carefully, allow time for testing and charging, and watch for warning signs instead of guessing. With safe habits and routine checks, you’ll help extend your battery’s life and avoid unexpected breakdowns.
Think of the car battery maintainer as a quiet guardian, keeping your vehicle ready when you need it most.