How Does a Battery Tester Work Step by Step
Dead batteries and unreliable power can be frustrating, especially when you’re unsure whether the battery needs charging, repair, or replacement. You’re not alone—many people struggle to get clear answers. Understanding how a battery tester works can help you choose the right tool with confidence.
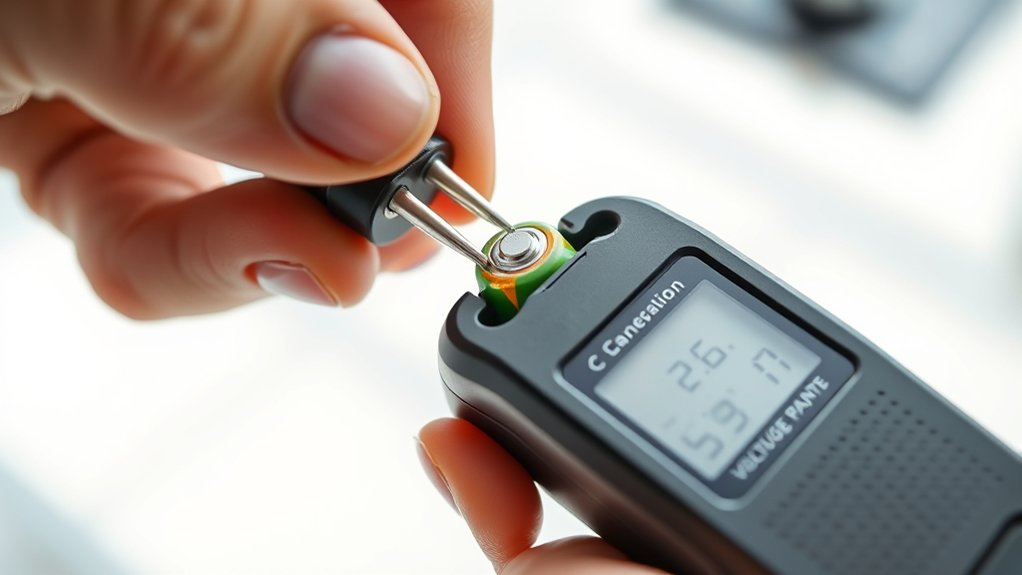
A battery tester works by measuring voltage and testing how well your battery delivers current. First, choose a tester that matches the battery’s chemistry, voltage, and application.
Inspect and clean the terminals, then connect red to positive and black to negative. Check the open-circuit voltage, apply a controlled load, and observe the voltage drop.
The tester may also measure internal resistance or conductance. Compare results with the battery’s rating, repeat questionable tests, and learn the next steps below.
Key Takeaways
- Inspect the battery for swelling, leaks, heat, corrosion, or damage, and wear appropriate safety equipment.
- Clean and dry the terminals, then connect the red probe to positive and black probe to negative.
- Select the correct battery chemistry, voltage, capacity, and test mode on the tester.
- Measure open-circuit voltage, then apply a controlled load or electronic signal to evaluate voltage drop, resistance, or conductance.
- Compare results with the battery’s ratings, repeat questionable tests, and replace the battery if weakness persists after charging.
What Does a Battery Tester Measure
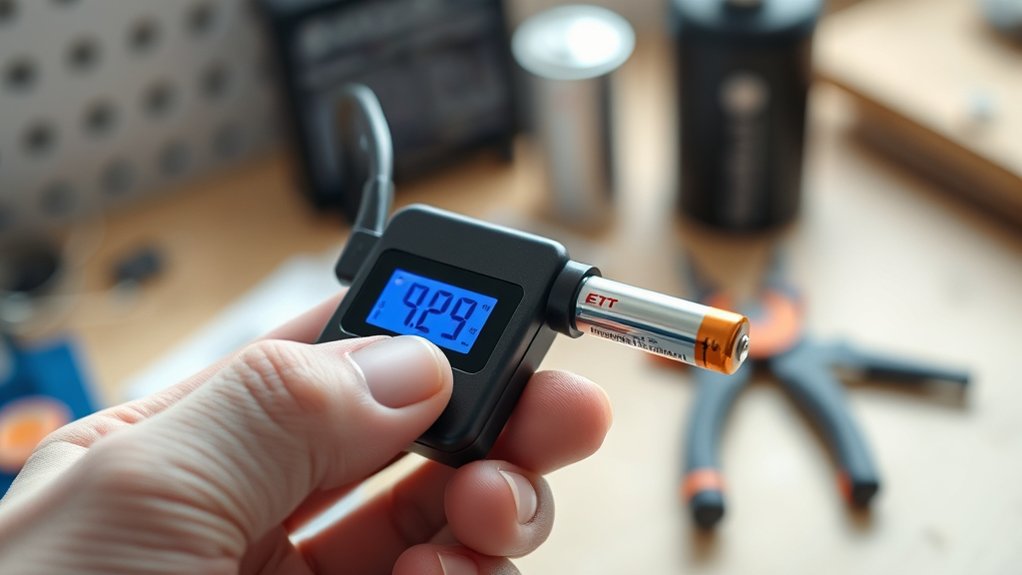
A battery tester measures a battery’s electrical condition, primarily its voltage and ability to deliver current. You connect the tester to the battery terminals, and it reads the potential difference between them. This voltage reading shows whether the battery has enough charge at that moment, but it doesn’t always reveal its true condition.
Many testers also apply a controlled load or send a small test signal through the battery. You’ll then see how well the battery maintains voltage while supplying current. A sharp voltage drop can indicate weak capacity, internal resistance, sulfation, or other damage.
A controlled load reveals how well a battery maintains voltage, helping identify weakness, sulfation, or internal damage.
Some advanced testers estimate cold-cranking ability, remaining capacity, state of charge, and state of health.
Results depend on battery chemistry, temperature, charge level, terminal contact, and the tester’s method. You’ll improve testing accuracy by following the instrument’s instructions and interpreting readings within the battery manufacturer’s stated limits.
The measurement describes performance. It doesn’t repair or recharge the battery.
Choose the Right Battery Tester
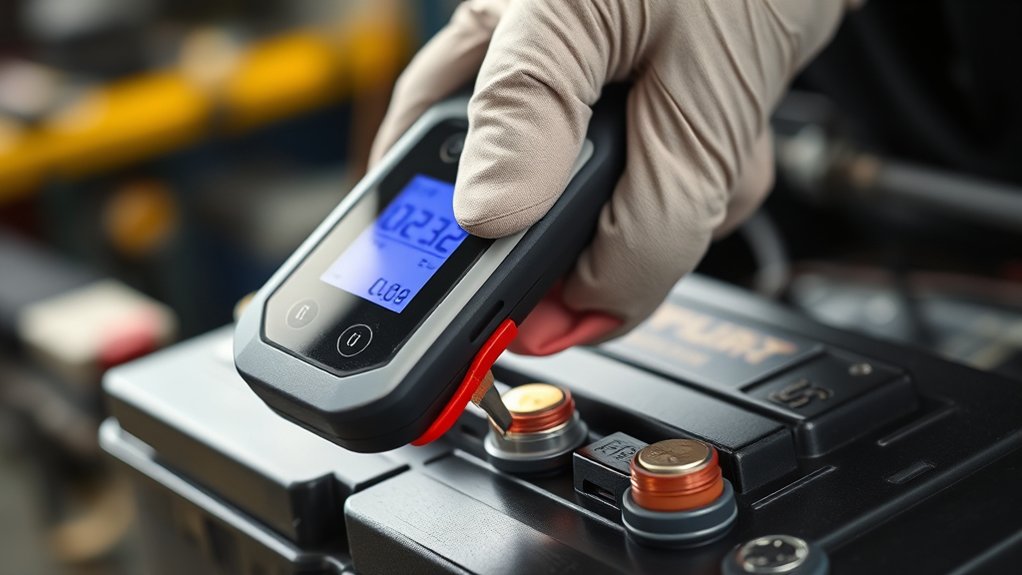
Choose a battery tester that matches your battery’s chemistry, voltage, and application. Different batteries produce different electrical responses, so select a device designed for your battery chemistry, such as alkaline, lithium-ion, lead-acid, or NiMH.
Check the tester’s supported voltage range to verify it can measure your battery safely and accurately.
Consider how you’ll use the tester. A basic load tester may suit household batteries, while a conductance or impedance tester can provide more useful information for automotive, marine, or backup power batteries.
If you need repeatable results, choose a model with clear readings, durable leads, and automatic range selection.
Pay attention to tester calibration, too. A calibrated device delivers more trustworthy measurements and helps you compare results over time.
Look for calibration information, a stated accuracy rating, and a reputable manufacturer. You’ll also benefit from testers that display capacity, internal resistance, or remaining charge rather than voltage alone, depending on your testing goals.
Prepare the Battery for Testing
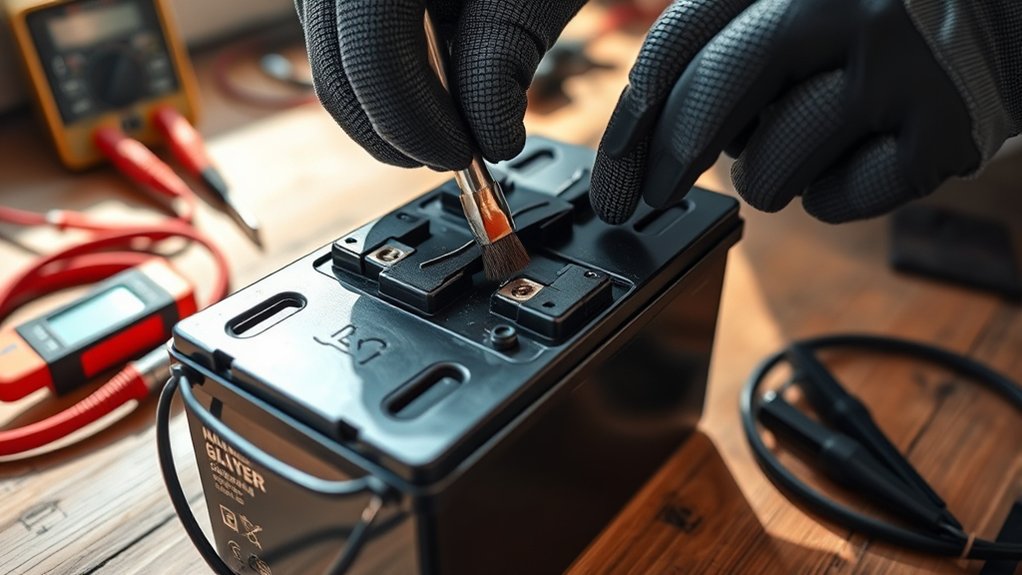
Before testing, check the battery for any damage, leaks, or corrosion. Clean the terminals to remove dirt and buildup. Then, make sure the tester’s connections are secure and attached to the correct terminals.
Inspect the Battery
Inspect the battery for cracks, leaks, swelling, or corrosion before connecting a tester. Don’t test a battery that appears damaged, deformed, or unusually hot; move it to a ventilated area and follow the manufacturer’s safety guidance.
Your inspection supports safer handling and improves Testing accuracy, regardless of the Battery technology involved.
- Check the case for splits, bulges, dents, or melted areas.
- Look for wet spots, dried residue, or a sharp chemical odor that may indicate leakage.
- Confirm the battery isn’t excessively hot, frozen, or visibly damaged around its housing.
Wear safety glasses and gloves if you suspect leakage. Keep sparks, flames, and metal tools away from the battery.
If you notice severe swelling, active leakage, or extensive damage, don’t connect a tester. Replace the battery or ask a qualified technician to assess it safely.
Clean Battery Terminals
Once the battery passes inspection, clean its terminals to guarantee a solid connection and accurate tester readings. Turn off the vehicle and put on safety glasses and gloves before beginning.
Battery corrosion may appear as white, blue, or green buildup around the posts. Don’t brush it away with bare hands.
First, disconnect the cables according to the vehicle manufacturer’s instructions, keeping sparks and open flames away from the battery.
Apply a battery-safe terminal cleaning solution or a paste of baking soda and water to the affected areas. Use a terminal brush to loosen residue, then wipe the surfaces with a clean, damp cloth.
Dry everything thoroughly with a lint-free towel. Effective terminal cleaning removes dirt and oxidation, helping your tester measure the battery’s condition accurately.
Dispose of contaminated materials safely and wash your hands afterward.
Ensure Proper Connections
Reconnect the battery cables securely, matching the positive and negative terminals correctly, and make sure the clamps sit firmly on clean, dry posts. Correct polarity protects the tester and supports an accurate reading.
Before connecting, review your battery chemistry because flooded lead-acid, AGM, and gel batteries may require different testing modes.
- Turn off the vehicle and remove jewelry or metal tools.
- Connect the red tester lead to the positive terminal first.
- Connect the black lead to the negative terminal, then confirm both grips feel tight.
Good connections help prevent sparks, loose readings, and accidental short circuits. Don’t test a cracked, leaking, swollen, or frozen battery.
Keep the leads away from moving parts, and never allow the clamps to touch each other. Once everything looks secure, select the tester’s battery type and rated cold-cranking amps before beginning the test.
Connect the Battery Tester Correctly
To connect a battery tester correctly, turn off the device and match the red probe to the positive (+) terminal and the black probe to the negative (–) terminal. Press each probe firmly against clean metal so it won’t slip or create a weak connection.
Turn off the device, then connect the red probe to positive and the black probe to negative terminals.
Check that you’re using the correct tester setting for the battery chemistry, such as alkaline, lithium, or lead-acid. Choosing the wrong mode can affect the tester’s interpretation and reduce testing accuracy.
Don’t let the probes touch each other while they’re connected, because doing so may cause a short circuit or damage the tester. Keep the leads separated from moving parts, moisture, and nearby conductive objects.
If the battery uses recessed, corroded, or hard-to-reach terminals, use suitable adapters or clean the contact points first. Follow the tester’s polarity markings and manufacturer instructions.
Stop immediately if the device displays a connection warning, becomes hot, or produces an unusual smell.
Check the Battery’s Open-Circuit Voltage
With the probes connected correctly, check the battery’s open-circuit voltage before applying a load. Set your tester to the appropriate DC voltage range, then confirm that the red probe touches the positive terminal and the black probe touches the negative terminal.
Keep the battery disconnected from chargers, devices, and other circuits so the reading reflects its resting condition.
- Read the display after the value stabilizes.
- Compare the result with the battery’s rated voltage.
- Record the measurement for later evaluation.
An open-circuit reading gives you a useful starting point. For example, a fully charged 12-volt lead-acid battery typically measures around 12.6 volts, while a significantly lower value may indicate discharge or deterioration.
Your voltage measurement should remain steady. A fluctuating display can signal poor probe contact, dirty terminals, or an unstable connection.
Don’t interpret the number alone as proof of battery health. It shows the present voltage, not how well the battery performs under demand.
Note the result before proceeding with further testing.
Apply a Load to Test Battery Strength
Connect the tester’s load to the battery terminals to simulate real operating conditions. Then, measure how much the voltage drops under load. This reading will help you evaluate the battery’s strength and overall condition.
Connect the Load
Once the tester is set to the correct voltage range, connect its load across the battery’s positive and negative terminals. Make certain the clamps grip clean, dry contact points, and never let them touch each other.
Before activating the test, check three details:
- Match the tester’s setting to the battery’s rated voltage.
- Confirm the selected Load capacity suits the battery’s size and type.
- Keep the battery upright in a ventilated area, away from sparks.
Press or hold the tester’s load button only when you’re ready to begin. Battery chemistry affects how much current the battery can safely deliver, so follow the manufacturer’s recommended test procedure.
If the tester includes adjustable settings, choose the specified load rather than guessing. Stop immediately if you notice heat, swelling, leaking, smoke, or unusual odors.
Don’t leave the load connected longer than instructed.
Measure Voltage Drop
Press the tester’s load button to draw current from the battery, then watch how far its voltage falls on the meter. This voltage measurement shows the battery’s response while supplying power, rather than sitting without demand.
Keep your eyes on the display as the tester applies a controlled load for a short period. The load forces current through the battery’s internal electrical resistance, creating a measurable voltage drop.
Hold the tester firmly and keep the contacts steady so movement doesn’t distort the reading. Note the starting voltage and the loaded voltage, then calculate the difference between them.
Use the same test duration and load setting each time for consistent measurements. Don’t leave the load engaged longer than the tester’s instructions recommend, because extended current draw can heat the battery and equipment.
Evaluate Battery Strength
Compare the loaded voltage with the tester’s rating to evaluate the battery’s strength. Apply the specified load, then watch how far the voltage falls during the test.
A healthy battery should remain near its rated level, while a weak one drops quickly or fails to recover after you remove the load.
- Check the rating: Match the tester’s load and voltage range to your battery type.
- Read the result: Green usually indicates good strength, yellow suggests reduced capacity, and red signals replacement.
- Confirm safely: Stop testing if the battery overheats, leaks, or swells.
Your result reflects present performance, not an exact prediction of battery lifespan. Heat, storage conditions, and repeated charging cycles can reduce capacity over time.
Recharge rechargeable batteries fully and retest them after resting. Never load a damaged battery, and follow the tester manufacturer’s instructions for accurate results.
Check Internal Resistance and Conductance
To check a battery’s internal resistance and conductance, connect the tester properly and start the measurement. Clean the terminals first, then attach the positive and negative clamps to their matching posts.
Confirm each connection is firm. Loose or corroded contacts can distort the test.
Next, select the correct battery type, chemistry, and rated capacity if the tester requests those details.
The device sends a small, controlled signal through the battery and measures how easily current flows. It uses that response to calculate internal resistance and conductance.
Internal resistance reflects opposition inside the battery, including resistance from plates, electrolyte, and connections.
Conductance testing provides an electrical assessment of the battery’s ability to deliver current.
Keep the battery still and avoid charging or starting the vehicle during the process. Wait while the tester completes its sampling cycle.
When the measurement finishes, save or record the test data for comparison during later maintenance checks and service decisions.
Interpret Voltage, Load, and Resistance Readings
Read the tester’s voltage, load, and resistance results together rather than relying on one number alone.
Begin your voltage analysis with the resting reading. A healthy battery typically shows a stable value near its rated voltage, while a noticeably lower result may indicate discharge or a problem.
Start with the resting voltage: a stable reading near the rated value suggests health, while a lower result may indicate discharge or trouble.
Next, observe how far the voltage drops during the load test. A sharp drop suggests the battery can’t deliver sufficient current, even if its resting voltage looks acceptable.
Use these three checkpoints:
- Compare the resting voltage with the battery’s stated rating.
- Check whether the loaded voltage stays within the tester’s recommended range.
- Review the resistance alongside the voltage change.
For resistance interpretation, a higher-than-normal reading usually signals aging, poor connections, or damaged internal components.
Confirm that the clamps contact clean, sound terminals before judging the result. If the readings conflict, repeat the test after allowing the battery to rest, then compare the results with the tester’s guidelines.
A single measurement shouldn’t determine replacement. Consistent patterns provide stronger evidence.
Use a Battery Tester With Different Chemistries
Different battery chemistries require different testing approaches, so check that your tester supports the battery type before connecting it. Chemistry compatibility affects the test mode, voltage range, and load that you should select.
Read your battery’s label to identify whether it’s alkaline, lithium, nickel-metal hydride, lead-acid, or another chemistry.
For disposable alkaline cells, choose the tester’s primary-cell setting and match the stated voltage. Don’t apply a rechargeable-battery program to them.
For NiMH or nickel-cadmium cells, select the appropriate rechargeable setting because their voltage behavior differs from alkaline batteries.
Lithium batteries need extra care. Confirm whether the tester supports the exact lithium format and voltage before testing.
For lead-acid batteries, use a tester designed for their higher capacity and starting-current demands. Battery chemistry variations can change expected readings, terminal behavior, and test duration.
Follow the tester’s instructions, connect the leads with correct polarity, and use the prescribed mode for each chemistry to obtain meaningful measurements safely.
This approach helps you compare readings accurately across compatible batteries.
Fix Errors and Decide When to Replace the Battery
If your tester shows an error, start by checking the connections, settings, and battery condition. Look for corrosion, a low charge, or an incorrect chemistry setting, then fix the issue and test the battery again. If it still fails or can’t hold a charge, it’s probably time to replace it.
Check Tester Errors
Check for loose connections, dirty battery terminals, or a weak tester battery before trusting an unexpected reading. Confirm that you’ve selected the correct battery type and test mode. If the display shows an error code, consult the tester’s manual instead of guessing.
- Repeat the test: Disconnect the leads, wait briefly, and reconnect them firmly.
- Verify accuracy: Compare results with a known-good battery of the same type and rating.
- Inspect the tester: Replace its batteries or arrange professional service if errors continue.
Battery calibration keeps readings dependable, while tester calibration may be necessary after heavy use, drops, or long storage. Don’t replace your vehicle battery solely because one test looks unusual.
Take two consistent readings under the same conditions. If the tester repeatedly reports impossible values or won’t complete a test, stop using it and replace or service the tester. Keep its probes clean and dry.
Troubleshoot Battery Issues
Troubleshoot battery issues by separating tester errors from genuine battery problems. Confirm clean terminals, tight connections, the correct test mode, and a fully charged battery before interpreting results.
Compare readings with the battery’s rated Battery capacity. Observe whether Charging efficiency improves after charging.
| Symptom | Check | Action |
|---|---|---|
| Low reading | Terminals | Clean and retest |
| No reading | Leads | Reconnect securely |
| Rapid drop | Charge level | Recharge, then retest |
| Inconsistent results | Test mode | Select the correct setting |
If readings remain abnormal, test the battery in another compatible device or use a second tester.
Check for swelling, leaks, unusual heat, or physical damage. Stop using the battery if you notice any of these hazards.
Record voltage, test conditions, and repeated results so you can identify patterns instead of relying on one measurement. Follow the manufacturer’s safety instructions throughout troubleshooting.
Know When to Replace
After you’ve ruled out tester errors and confirmed consistent results, decide whether the battery has reached the end of its service life. Compare its measured capacity, voltage, and cranking performance with the manufacturer’s specifications.
A fully charged battery that repeatedly tests weak needs attention, especially if it struggles during starting or loses charge quickly.
- Check age: Most batteries last three to five years, but heat, vibration, and driving habits can shorten that battery lifespan.
- Confirm symptoms: Dim lights, slow cranking, corrosion, swelling, or repeated jump-starts indicate declining performance.
- Plan replacement: Don’t wait for complete failure. Use test results and expected weather demands to guide replacement timing.
Replace the battery when it fails testing after charging, shows physical damage, or can’t meet your vehicle’s requirements. Record the installation date so you can monitor future performance.
Frequently Asked Questions
Can a Battery Tester Damage a Healthy Battery During Testing?
No, a battery tester generally won’t damage a healthy battery when you use it correctly. Most testers apply only a small load or measure voltage without drawing significant current.
For battery safety, choose a tester rated for your battery type, inspect the leads, and follow the instructions. Avoid prolonged testing or reverse connections.
Testing accuracy improves when the terminals stay clean and you test at room temperature. Stop immediately if the battery becomes hot, leaks, or swells.
How Often Should Batteries Be Tested for Reliable Performance?
Test your batteries monthly—because apparently they won’t schedule their own checkups. For everyday devices, use this Testing frequency to catch weakening performance before failure.
Test more often in extreme temperatures, high-drain equipment, or critical systems such as alarms and medical devices. Check batteries whenever performance drops or storage exceeds six months.
Tracking Battery lifespan helps you replace aging cells proactively, so you won’t uncover a dead battery when you need it most.
Are Battery Testers Safe to Use Around Children and Pets?
Yes, battery testers are generally safe around children and pets when you use them properly. For Battery safety, keep the tester, batteries, and leads away from mouths, moisture, and chewing.
Don’t let children operate the device unsupervised, and secure loose batteries to prevent swallowing. For Child protection, store everything in a locked or raised location, inspect testers for damage, and follow the manufacturer’s instructions.
Remove batteries before cleaning or storing the tester.
Can Battery Testers Detect Counterfeit or Mislabeled Batteries?
You can use a battery tester like a quick health check, but it won’t prove authenticity alone. A tester measures voltage, resistance, or capacity, helping you spot batteries that perform unusually poorly.
For stronger battery authenticity checks, compare packaging, markings, weight, and manufacturing codes with the manufacturer’s information. Label verification also matters because counterfeit cells may display inaccurate ratings.
If results seem suspicious, don’t use the battery. Contact the seller or manufacturer for confirmation.
How Should a Battery Tester Be Cleaned and Stored?
Clean your battery tester after each use by switching it off, removing batteries, and wiping its contacts and casing with a dry, lint-free cloth. Don’t use water, solvents, or abrasive materials.
For Battery maintenance, remove corrosion carefully with an approved electronics cleaner and let everything dry completely.
Store the tester in a cool, dry place, away from metal objects, heat, moisture, and children. Follow Storage safety practices, and protect its probes from damage.
Conclusion
By following each step, you’ll turn battery testing from guesswork into a clear diagnosis. Choose the right tester, prepare the battery, connect it safely, and compare voltage, load, and resistance readings.
Keep in mind that different chemistries need different testing methods, so don’t rely on one number alone. If results stay weak or inconsistent, replace the battery.
With the right checks, you won’t just test power. You’ll understand the battery’s condition before it leaves you stranded unexpectedly. That’s how a battery tester works step by step.