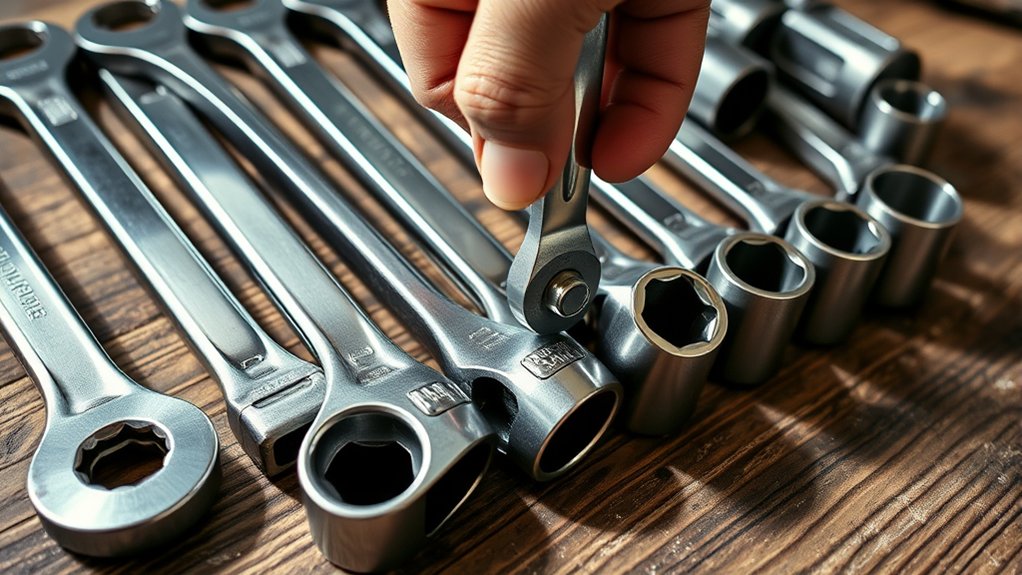
How Does a Mechanic Tool Set Work Step by Step
Struggling to find the right tool for every repair can make even simple jobs feel frustrating. You’re not alone—many people waste time searching for the correct socket or worry about damaging a fastener. The best mechanic tool set can make each step more organized, efficient, and manageable.
A mechanic tool set guides you through repairs step by step. First, identify the problem and inspect the part.
Choose a snug metric or SAE socket that matches the fastener, then attach it securely to the correct ratchet.
Use steady pressure, lubricant, and safe footing when loosening stubborn bolts.
For tightening, follow manufacturer torque specifications with a torque wrench.
Use wrenches or pliers where needed.
Finally, clean, inspect, label, and store each tool properly for your next repair.
Key Takeaways
- Identify the fastener, then select the correct metric or SAE socket, wrench, screwdriver, or pliers.
- Attach the socket to a matching ratchet drive, push it fully onto the fastener, and gently test its security.
- Stabilize the tool with one hand and apply steady, controlled pressure with the other. Avoid jerking or forcing.
- For rusted fasteners, remove dirt, apply penetrating lubricant, wait 5–15 minutes, and try again carefully.
- Tighten replacements using a torque wrench, following manufacturer specifications. Then clean, inspect, label, and store the tools.
Understand How a Mechanic Tool Set Works
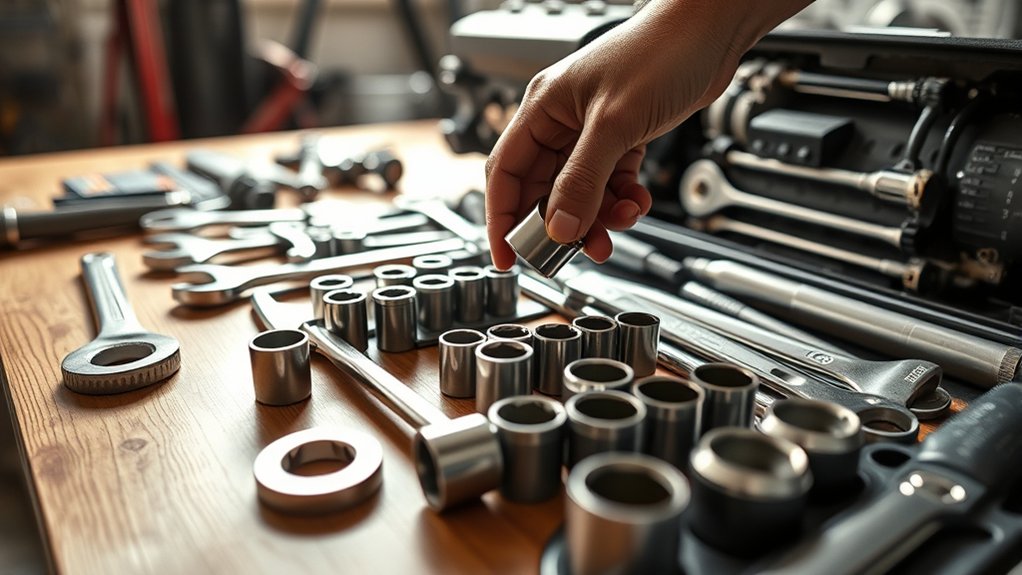
A mechanic tool set works by giving you a coordinated selection of tools for loosening, tightening, measuring, and repairing mechanical components. You choose each tool according to the fastener, part, or task in front of you.
A socket and ratchet turn nuts efficiently, while wrenches handle areas with limited clearance. Screwdrivers transfer torque to slotted, Phillips, or specialty screws, and pliers grip, cut, or bend materials.
You use extensions and adapters to reach recessed hardware or match different drive sizes. Measuring tools help you check dimensions, torque wrenches apply specified force, and hammers or punches help separate or position parts.
Each tool converts your effort into controlled movement, helping you work accurately without damaging components. Ergonomic design improves your grip, comfort, and control during repeated tasks.
Proper tool maintenance, including cleaning, inspection, lubrication, and timely replacement, keeps tools reliable and safe. You’ll work more efficiently when you understand each tool’s purpose and limitations.
Organize Your Mechanic Tool Set
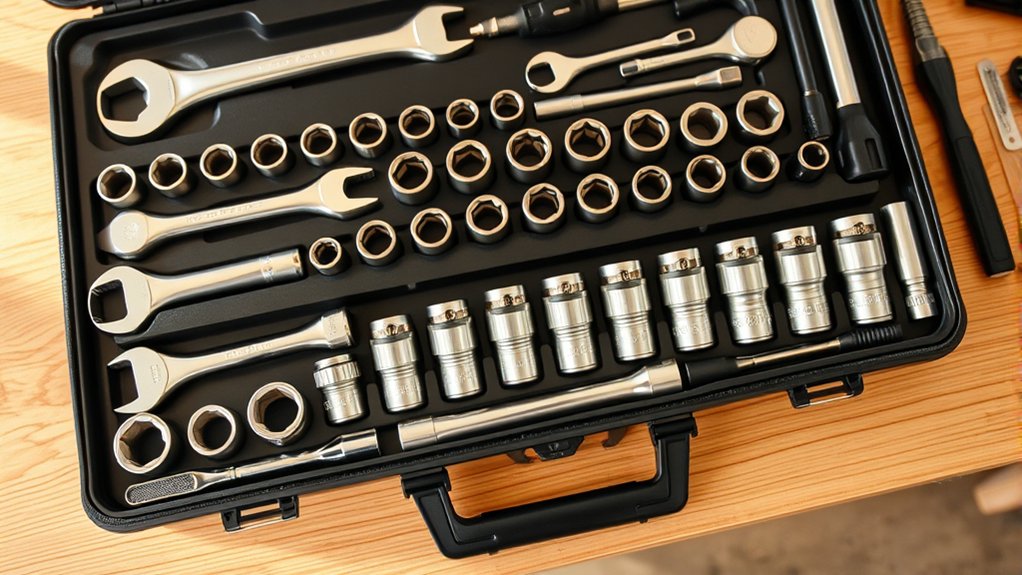
Organize your mechanic tool set by type, keeping sockets, wrenches, pliers, and drivers together. Place the tools you use most often where they’re easy to reach, and label each storage compartment so you can find what you need without searching.
Sort Tools By Type
Start by sorting your mechanic tools into clear categories, such as sockets, wrenches, screwdrivers, pliers, and specialty tools. Group each item with similar tools so you can identify what belongs in your set quickly.
Separate metric and standard sizes within each category, then arrange pieces from smallest to largest. Keep ratchets, extensions, and adapters with their matching sockets, while storing screwdriver bits beside their compatible handles.
Place cutting tools, measuring tools, and electrical testers in distinct sections to prevent confusion. As part of regular Tool maintenance, inspect each item for rust, cracks, worn grips, or damaged edges before returning it.
Follow Safety precautions by keeping sharp tools covered and securing heavy tools so they can’t fall or cause injuries. Use labeled drawers, trays, or cases to maintain these categories.
Arrange By Frequency
Place the tools you use most often in the easiest-to-reach drawers or trays. During daily repairs, keep ratchets, sockets, screwdrivers, and pliers near your primary work area. Reserve lower or less accessible spaces for specialty tools you use occasionally.
This approach makes tool storage support faster maintenance routines and reduces unnecessary searching.
| Usage level | Placement |
|---|---|
| Daily | Top drawer or front tray |
| Weekly | Middle drawer |
| Monthly | Lower drawer |
| Rarely | Back compartment |
After each project, return tools to their assigned frequency zone rather than leaving them wherever you last used them. Review your arrangement periodically.
If a tool moves into regular rotation, shift it upward; if you rarely reach for another, move it down. Keep heavier items in stable, easy-to-lift locations, and place delicate instruments where other equipment won’t damage them.
Your set then matches your actual workflow.
Label Storage Compartments
Clear labels help you find each tool quickly and return it to the correct compartment. Start labeling with common names, sizes, and drive measurements.
For example, mark spaces “10 mm socket,” “3/8-inch ratchet,” or “Phillips screwdriver.” Use durable adhesive labels, engraved tags, or a paint marker that can withstand oil, friction, and repeated cleaning.
Match label colors to tool categories if you prefer faster visual recognition. Place labels where you can read them while opening the case, not underneath tools.
Include diagrams or silhouettes for specialty pieces so you’ll notice missing items immediately. Update labels whenever you add, remove, or rearrange equipment.
Consistent tool storage saves time, prevents misplaced tools, and helps you return every item correctly after each repair. Keep handwriting clear, and replace damaged labels promptly to preserve your system.
Identify the Repair and Inspect the Part
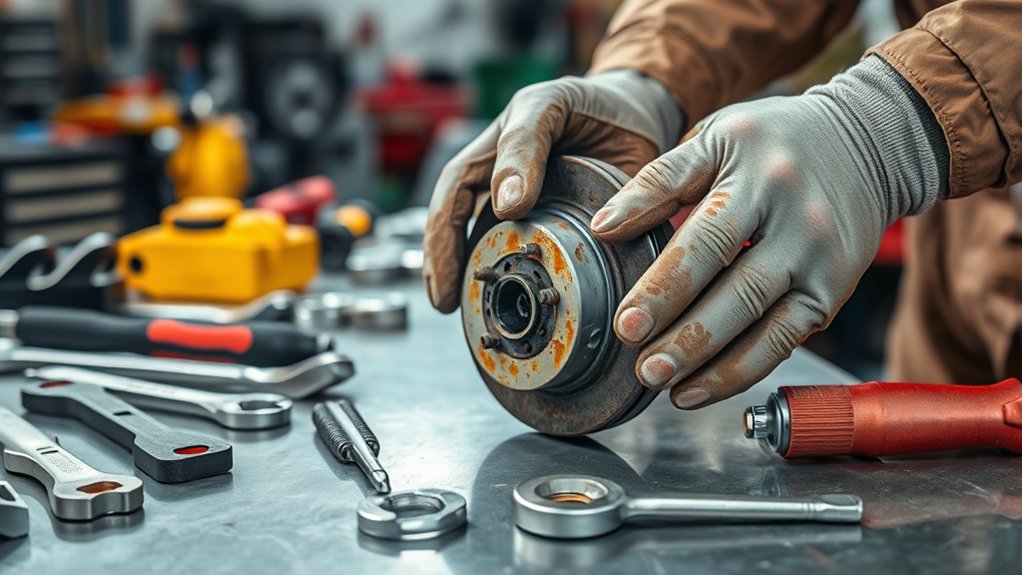
First, diagnose the issue by noting the symptoms and tracing them to their likely source. Then, inspect the part for cracks, leaks, wear, or other visible damage. This will help you determine the appropriate repair and choose the right tools.
Diagnose the Issue
Before you reach for a wrench, determine what’s wrong and identify the repair you need. Start by reviewing the vehicle’s symptoms, warning lights, recent work, and service information.
Use Automotive diagnostics to narrow the cause: connect a scan tool, read fault codes, check live data, and compare readings with manufacturer specifications. Don’t replace a part solely because a code points toward it; confirm the related circuit or system with a multimeter, test light, or pressure gauge.
Follow a logical sequence, testing the simplest likely causes first. Keep your notes organized so you can track results and avoid repeating checks.
Good Tool maintenance also matters during diagnosis. Clean probes, charged batteries, and calibrated equipment help you trust your measurements.
Once you’ve confirmed the fault, choose the correct repair procedure and tools.
Examine for Damage
With the fault confirmed, inspect the affected part and its surrounding components for visible damage before removing anything. Use a flashlight to spot cracks, leaks, corrosion, frayed wires, loose fasteners, or unusual wear.
Compare the part with service-manual images or a known-good component so you can identify the repair accurately. Check nearby surfaces for impact marks or fluid trails that might reveal the original cause.
Before touching damaged electrical or pressurized components, follow proper safety precautions: disconnect power, relieve pressure, wear eye protection, and let hot parts cool.
Select the correct mechanic tools, then test each tool for damage before use. Good tool maintenance prevents slips and inaccurate work.
Mark disconnected hoses or wires, photograph their positions, and avoid forcing stuck hardware. Record every finding before you begin disassembly.
Match Each Fastener to a Socket
Match the fastener to a socket that fits snugly over its head without slipping or wobbling. Identify the fastener’s shape first, then compare it with your tool set’s markings.
Metric and SAE measurements may look similar, so check both before choosing. The table below helps you visualize common Fastener types and matching Socket sizes:
| Fastener type | Socket size | Visual clue |
|---|---|---|
| Hex nut | 10 mm | Small, six-sided profile |
| Hex bolt | 13 mm | Broader head, straight edges |
| Flange nut | 15 mm | Built-in circular washer |
| Spark-plug hex | 16 mm | Deep, narrow opening |
Slide the socket over the fastener by hand and confirm that all six corners engage evenly. Don’t force a nearly matching size; it can round the head and make removal harder.
If the fit feels loose, test the next smaller size carefully. For damaged or recessed fasteners, choose a six-point socket rather than a twelve-point design.
Keep Socket sizes organized so you can select accurately during each repair.
Attach the Socket to the Ratchet
Once you’ve chosen the correct socket, press it firmly onto the ratchet’s square drive until it clicks or seats securely. Check socket compatibility first: the socket’s drive size must match the ratchet’s drive size.
A 3/8-inch socket won’t fit a 1/2-inch drive without a suitable adapter.
Before you begin, inspect the connection:
- Align the socket’s square opening with the drive head.
- Push straight until the detent ball engages the socket.
- Tug gently to confirm the socket stays attached.
- Test the release collar or button, if your ratchet includes one.
Consider ratchet handle types, too. A standard fixed-head handle suits most tasks, while a flex-head model offers adjustable access in confined spaces.
A long-handle ratchet provides added reach, and a compact handle works well where clearance is limited. Keep the socket fully seated and aligned, and don’t force a mismatched combination.
If the fit feels loose, remove it and verify the sizes before continuing. Your tool is now ready for controlled operation.
Loosen Fasteners Without Damage
To loosen fasteners without damaging them, start by choosing the correct socket for a secure fit. Apply steady pressure rather than forcing the ratchet. If the fastener still resists, use a penetrating lubricant and let it soak in before trying again.
Choose the Correct Socket
Choose a socket that fits the fastener snugly, with no wobble or excessive force required. The correct match protects the fastener’s corners and helps your ratchet transfer torque efficiently.
Check whether you need a metric or SAE socket, then compare the marking with the fastener before attaching it.
- Inspect socket sizes to find the exact measurement, not an almost-match.
- Select six-point sockets for stubborn hex fasteners and better corner contact.
- Use the proper drive size for your ratchet or extension.
- Match the tool material to the task. Chrome vanadium suits general repairs, while impact-rated steel handles powered tools.
Keep the socket fully seated, and replace any piece with cracks, rounded edges, or excessive wear. A clean, precise fit reduces slipping and keeps both your hardware and tools in good condition.
Apply Steady Pressure
With the correct socket seated fully, apply steady pressure through the ratchet handle to loosen the fastener without damage. Keep the handle aligned with the bolt so you don’t twist or slip.
Use both hands when necessary: one steadies the socket, while the other controls the handle. Avoid sudden jerks, extensions, or excessive force that could round edges or strain your wrist.
Tool calibration helps torque tools deliver predictable force, while ergonomic design improves grip and control. Stop if the fastener binds, and reassess your alignment before continuing.
| Action | Benefit |
|---|---|
| Align the handle | Prevents slipping |
| Grip firmly | Improves control |
| Pull smoothly | Protects threads |
| Keep wrists straight | Reduces strain |
Listen for movement, and maintain even pressure until the fastener breaks free. Don’t rush the motion; controlled force protects both the hardware and your mechanic tool set.
Use Penetrating Lubricant
When a fastener won’t budge, apply penetrating lubricant to its exposed threads and let it soak before pulling harder. This lubricant application helps the fluid reach rusted surfaces, reducing friction and protecting the fastener from damage.
Wipe away dirt first so the product can penetrate effectively. Use this simple process:
- Brush loose rust from the threads.
- Spray lubricant around the fastener’s base and exposed threads.
- Wait five to fifteen minutes; severe corrosion may require longer.
- Turn the fastener slowly with the correct socket or wrench.
If it still resists, reapply lubricant rather than forcing it. Gentle tapping on the fastener can help the fluid travel deeper, but avoid striking delicate components.
After removal, clean and inspect the threads. Apply anti-seize during reassembly for corrosion prevention and easier future servicing.
Tighten Fasteners to the Correct Torque
A torque wrench lets you tighten each fastener to the manufacturer’s specified level, preventing loose connections and damaged threads. Before tightening, check the service manual for the required torque specifications. Match the setting to the fastener’s unit, such as newton-meters or foot-pounds, and confirm whether the value applies to dry or lubricated threads.
A torque wrench ensures precise tightening, while manufacturer specifications and thread conditions guide every adjustment.
Identify the fastener types involved, because bolts, nuts, screws, and studs may require different torque values. Select the correct socket, set the wrench precisely, and attach it securely.
Seat the fastener by hand first, then apply steady pressure until the wrench clicks or signals the target. Don’t jerk the handle or exceed the setting.
For multiple fasteners, tighten them in the recommended sequence and use several gradual passes when specified. Recheck only if the manufacturer calls for it.
Reset an adjustable wrench to its lowest setting after use, and store it carefully to preserve calibration. Replace damaged or stretched fasteners instead of relying on torque alone.
Use Wrenches and Pliers Safely
- Wear safety glasses and secure loose clothing, hair, or jewelry.
- Choose insulated tools for electrical work, and confirm they’re rated for the voltage.
- Keep both feet stable, and avoid working above your shoulder or in awkward positions.
- Use a longer-handled tool only when its design permits it. Don’t add pipes for extra leverage.
Keep pliers aligned with the part. Don’t use them as hammers, cutters beyond their rating, or substitutes for wrenches.
If a tool slips, stop, reset your stance, and reassess the setup before continuing.
Fix Stripped Bolts and Stuck Sockets
If a bolt’s head is stripped or a socket is stuck, stop applying force and inspect the tool’s fit before trying again. A loose socket can worsen the damage, so choose the correct size and tap it firmly onto the fastener.
Apply penetrating oil, wait several minutes, and try steady pressure rather than sudden jerks.
For badly damaged heads, use a Bolt extractor designed for your fastener’s size. Seat it fully with a hammer, then turn it slowly with a ratchet or breaker bar.
Keep your hand aligned with the tool, and wear eye protection in case metal chips break free.
If the socket won’t release from the ratchet or fastener, reverse the ratchet and press its release button.
When that fails, use a Socket remover or tap the socket’s outer edge gently while supporting the tool. Don’t heat a fastener near fuel, wiring, or plastic parts.
Replace damaged hardware before reassembly.
Clean and Store Your Mechanic Tool Set
Once you’ve finished a repair, wipe grease and moisture from each tool with a clean rag before storing it. Clean pliers, screwdrivers, and ratchets thoroughly, then inspect them for rust, cracks, or damaged teeth.
This simple Tool maintenance routine keeps your mechanic tool set reliable and ready for the next job.
Follow these steps:
- Brush dirt from socket interiors and wipe away residue.
- Apply a light rust-preventive oil to exposed metal surfaces.
- Let every tool dry completely before closing the case.
- Return each piece to its labeled slot, drawer, or tray.
Choose Storage solutions that protect tools from humidity, dust, and accidental impact. Keep the case in a dry cabinet, not on a damp garage floor.
Store extension bars and adapters with compatible sockets so you can find them quickly. Don’t force tools into crowded compartments, because pressure can damage handles and finishes.
Finally, replace missing pieces promptly and check the set periodically to maintain organization, safety, and performance.
Frequently Asked Questions
How Often Should I Replace Worn Mechanic Tools?
Replace worn mechanic tools when they become unsafe, inaccurate, or ineffective—not on a fixed schedule. Inspect them before every use, and retire cracked handles, rounded sockets, bent extensions, slipping ratchets, or damaged insulation immediately.
With regular tool maintenance, quality hand tools may last decades, while heavily used power tools might need replacement after several years. Check warranty coverage first, because manufacturers may repair or replace defective tools.
Never keep a tool that could cause injury.
Which Brands Offer the Best Mechanic Tool Set Warranties?
Snap-on, Craftsman, and Milwaukee offer some of the best mechanic tool set warranties. Like a trusted shield in a long campaign, their policies protect your investment when tools fail.
Snap-on provides strong lifetime coverage, while Craftsman covers many hand tools for life. Milwaukee offers impressive warranties on qualifying products, though terms vary.
Compare exclusions, registration requirements, and service procedures. Prioritize tool durability and brand reputation, not warranty length alone, before you buy.
Can I Bring a Mechanic Tool Set on an Airplane?
You generally can’t bring a mechanic tool set in your carry-on luggage. Airline security typically prohibits wrenches, pliers, screwdrivers, and other tools that could cause injury.
Pack the set in checked baggage, preferably secured in a sturdy case. Carry-on regulations vary by airline and country, so check the Transportation Security Administration or your local aviation authority before traveling.
Remove batteries or fuel-related items, and confirm restrictions for powered tools.
How Much Should a Quality Mechanic Tool Set Cost?
You should expect to pay $100–$300 for a quality mechanic tool set, while professional-grade kits often cost $500 or more. Choose a set with durable chrome-vanadium steel, strong ratchets, complete metric and SAE sizes, and a solid warranty.
When comparing brands, evaluate the included tools, case quality, and replacement policies rather than focusing only on price. Proper tool maintenance extends your investment, so clean, dry, and organize every piece regularly after use.
Are Mechanic Tool Sets Suitable for Professional Automotive Workshops?
Yes, mechanic tool sets suit professional automotive workshops, and they can transform your workflow faster than lightning. You’ll benefit from complete coverage, consistent sizing, and convenient tool organization that keeps essential tools within reach.
Choose sets featuring high tool durability, corrosion-resistant finishes, and lifetime warranties to withstand daily use. However, you shouldn’t rely on one kit alone; specialized diagnostic equipment, impact tools, and manufacturer-specific adapters may still be necessary.
Conclusion
A mechanic tool set doesn’t fix problems by itself. It works when you match the right tool to each fastener and use it correctly. Could the theory that more force solves every repair be true? Usually, no.
Proper organization, correct socket fit, safe leverage, and accurate torque protect both you and your vehicle. When you inspect parts, handle stuck bolts patiently, and store tools cleanly, you’ll turn a basic set into a reliable repair system.
That’s how a mechanic tool set works step by step: each tool supports a safe, efficient, and accurate repair.