How Does a Tire Inflator Gauge Work Step-by-Step
Many drivers struggle to keep their tires at the right pressure, especially when their gauge is difficult to read or use. You’re not alone—an accurate tire inflator gauge can make the process faster, safer, and far less stressful.
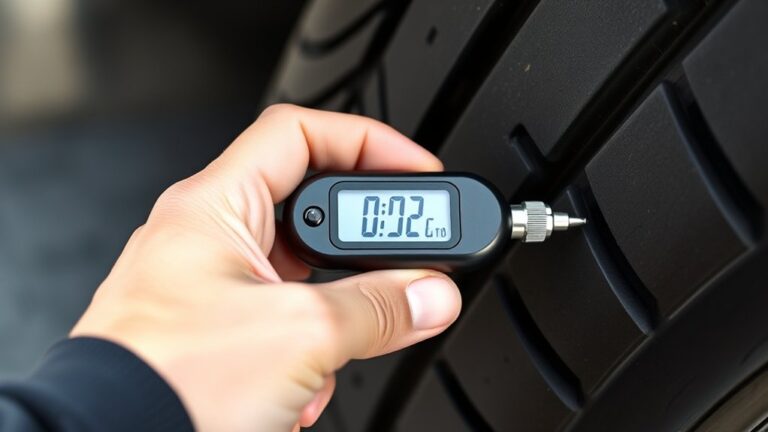
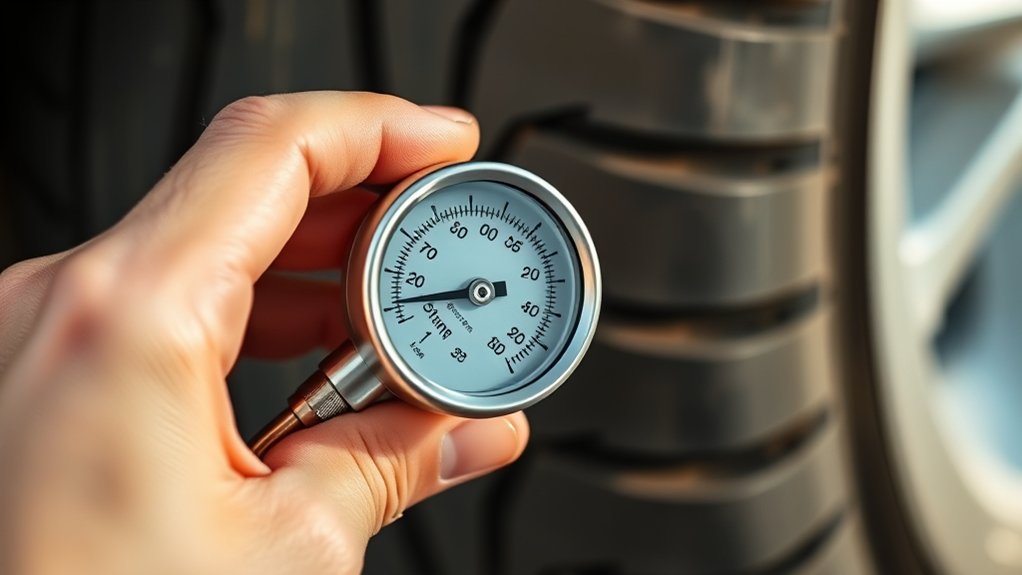
A tire inflator gauge works by connecting to your tire’s valve stem and measuring air pressure as you inflate or deflate it. Remove the cap, attach the chuck firmly, and check the PSI on the analog dial or digital display.
Compare it with the vehicle’s recommended cold pressure, then add air in short bursts or release excess gradually. Recheck all tires, inspect for leaks, and replace the caps.
Continue for more guidance on accurate, safe tire inflation.
Key Takeaways
- Connect the inflator’s chuck securely to the tire valve, depressing the valve core so air can enter and pressure can be measured.
- Internal air pressure acts on a mechanical diaphragm, Bourdon tube, or electronic sensor inside the gauge.
- The sensing mechanism converts pressure changes into needle movement or an electronic signal displayed in PSI, bar, or kPa.
- Compare the reading with the vehicle manufacturer’s recommended cold-tire pressure, adding air in short bursts as needed.
- Wait for the reading to stabilize, release excess pressure gradually, check for leaks, and replace the valve cap securely.
What Is a Tire Inflator Gauge?
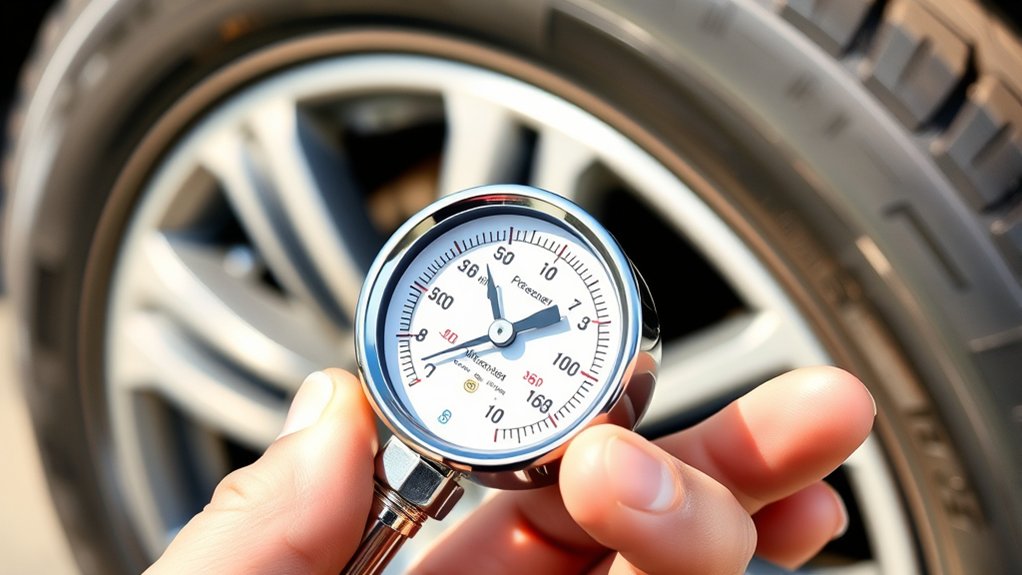
A tire inflator gauge is a tool that lets you add air to a tire while monitoring its internal pressure. You connect it to an air compressor or another air source, then use its handle to control airflow. The attached gauge gives you a convenient pressure reading as you work, so you can stop adding air at the recommended level.
You can use this tool for routine tire pressure maintenance at home, a service station, or on the road. It combines two useful functions: inflation and pressure checking.
Unlike a basic inflator, it helps you avoid adding air blindly and potentially overfilling the tire. Models may include digital or analog displays, flexible hoses, trigger handles, and interchangeable connectors for different valve types.
Before relying on a gauge, check its accuracy and follow the manufacturer’s tire gauge calibration instructions. A properly maintained tool supports safer driving, more even tread wear, improved handling, and better fuel efficiency during regular vehicle care.
How a Tire Inflator Gauge Measures Pressure
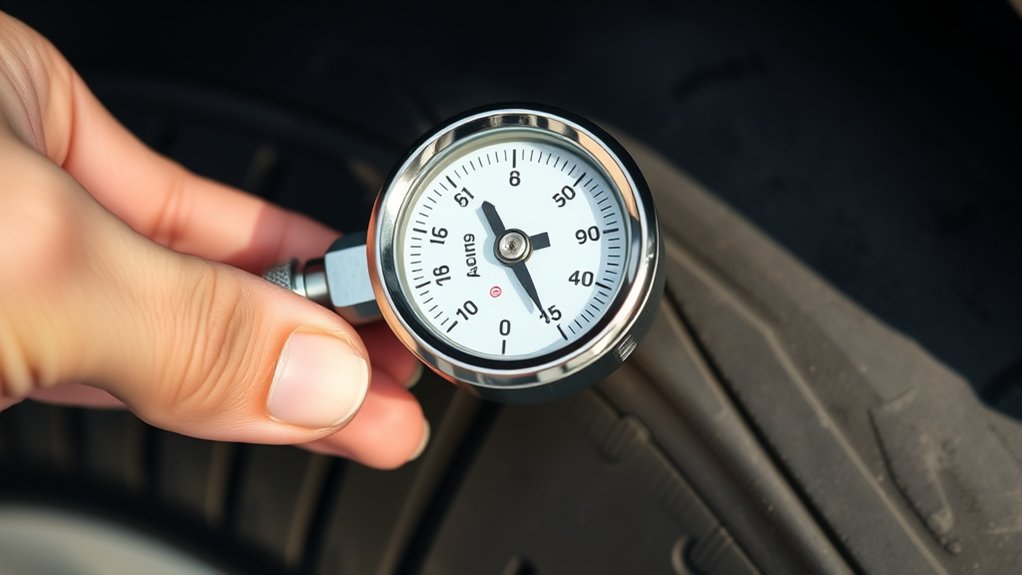
When you connect the inflator gauge to the tire valve, air pressure pushes against a sensing mechanism inside the tool. That mechanism may be a flexible diaphragm, a Bourdon tube, or an electronic sensor.
As pressure changes, it moves or changes an electrical signal. The gauge converts that response into a readable value, helping you adjust inflation accurately.
| Component | Measurement role |
|---|---|
| Air pressure | Applies force to the sensor |
| Diaphragm | Flexes with pressure changes |
| Bourdon tube | Straightens as pressure rises |
| Electronic sensor | Converts force into a signal |
| Display or dial | Shows the measured value |
You’ll see Tire pressure units such as PSI, bar, or kPa. Select the unit that matches your vehicle’s recommended specification before interpreting the reading.
Mechanical gauges use calibrated scales, while digital models process sensor data electronically. Accurate results depend on proper Calibration procedures, including zero checks and periodic testing.
Temperature can also affect readings, so measure when the tire is cool. The gauge reports pressure; it doesn’t determine whether that pressure suits your vehicle.
Compare the reading with the manufacturer’s recommended value.
How the Gauge Connects to the Tire Valve

After understanding how the gauge senses pressure, connect it to the tire’s valve stem to create an airtight path for measurement. First, remove the valve cap and keep it somewhere clean.
Press the inflator’s chuck straight onto the stem, then secure its lever or locking collar, depending on the design. You should feel the connector seat firmly without forcing it sideways.
A properly fitted chuck depresses the valve core, allowing air to move between the tire and gauge while its seal prevents leaks. Check Tire valve compatibility before connecting; most passenger vehicles use Schrader valves, while some bicycles and specialty tires use Presta valves requiring an adapter.
If you hear steady hissing, reposition the chuck or inspect its rubber seal. Keep the connection steady while reading pressure, and disconnect only after releasing the lock.
Although gauge calibration methods verify measurement accuracy, a poor connection can still produce an unreliable reading. Replace the cap when finished to protect the valve from dirt and moisture.
Digital vs. Analog Tire Inflator Gauges
Digital and analog tire inflator gauges measure the same pressure but display it differently. A digital gauge uses electronic sensors and shows a numerical reading on an LCD screen. You can usually read its large, bright digits quickly, even in dim conditions. Many models also include automatic shutoff, selectable units, and battery indicators.
An analog gauge uses mechanical parts, such as a diaphragm or Bourdon tube, to move a needle across a graduated dial. You don’t need batteries, and you can often rely on it in harsh conditions. However, small markings may require closer attention, and vibration can make the needle harder to read.
For either type, accuracy depends on proper Tire gauge calibration. You should test the gauge against a trusted reference periodically and replace a digital gauge’s battery when needed. Regular Tire gauge maintenance includes keeping the connector clean, protecting the body from impacts, and storing the tool in a dry place.
Choose digital for convenience or analog for simplicity and durability.
Compare the Reading With Recommended PSI
Read the gauge’s pressure and compare it with the recommended PSI on the vehicle placard, usually found inside the driver’s doorjamb or in the owner’s manual. Use the placard’s number, not the maximum pressure molded into the tire’s sidewall.
Check the tires when they’re cold, because driving creates heat and temporarily raises pressure.
- A matching reading means the tire meets the vehicle maker’s target.
- A lower reading indicates underinflation, which can increase rolling resistance, heat, and tread wear.
- A higher reading indicates overinflation, which can reduce contact with the road and ride comfort.
Compare all four tires, and note that the front and rear axles may require different pressures.
If one tire differs significantly, inspect for a puncture or valve leak rather than assuming normal variation. Reliable comparisons depend on proper Inflator gauge calibration.
Keep the gauge clean, handle it carefully, and verify its accuracy periodically. Good Tire valve maintenance also helps prevent leaks that could distort your assessment.
Record unusual changes so you can address them promptly during future checks.
Add Air With a Tire Inflator Gauge
Check your tire’s current pressure with the inflator gauge before adding air. Securely attach the nozzle, then add air in short bursts. Stop when the gauge reaches the manufacturer’s recommended PSI.
Check Current Tire Pressure
Before adding air, connect the tire inflator gauge to the valve stem and note the pressure reading. Press the connector firmly onto the valve until you hear little or no escaping air. Read the dial or digital display while the tire remains still and cool. Don’t judge pressure by appearance; even a properly shaped tire may be underinflated.
- Compare the reading with your vehicle’s recommended cold-pressure specification.
- Check all four tires, since pressure can vary between them.
- Inspect the valve connection if the display fluctuates or shows zero.
If the result seems inaccurate, confirm the gauge’s inflator calibration against a trusted gauge. Tire pressure sensors can also provide a dashboard warning or individual readings, but they may lag behind changes or require resetting.
Record unusually low readings and look for punctures, damaged valves, or leaking bead areas before proceeding.
Inflate to Recommended Level
Once you’ve confirmed the tire’s current pressure and found no obvious leaks, add air with the inflator gauge connected securely to the valve stem. Hold the inflator trigger briefly, then release it and check the gauge.
Add air in short bursts to avoid overinflation, especially when using a compressor with strong airflow. Compare the reading with the vehicle manufacturer’s recommended pressure, listed in the owner’s manual or driver’s doorjamb, not the maximum pressure printed on the tire sidewall.
Stop when the gauge reaches that target. If you go too high, press the gauge’s release valve to bleed air gradually, then recheck the pressure.
Follow these Safety precautions: keep your face and hands away from the valve, and wear eye protection. Regular checks support Tire maintenance, handling, and even tread wear.
Release Excess Air Safely
How can you release excess air safely? After inflating your tire, pause and read the gauge. If the pressure exceeds the vehicle manufacturer’s recommendation, remove air in short, controlled bursts.
Keep the inflator connected, but don’t press the trigger. Locate the gauge’s bleed button or briefly press the valve core with a suitable tool.
- Press the release for one or two seconds.
- Wait for the gauge needle to settle.
- Repeat until the reading matches the recommended level.
Hold the gauge firmly, and keep your face, hands, and clothing away from the valve opening. Never release air near sparks, extreme heat, or moving equipment.
Check the pressure when the tire is cool, since heat can raise the reading. Replace the valve cap once you’ve finished to protect the valve from dirt and moisture.
These Inflation safety tips support consistent Tire pressure maintenance and help you avoid underinflation or overinflation. Work slowly; removing too much air means you’ll need to inflate the tire again.
Check for Leaks After Inflation
Check for leaks after inflation by applying a few drops of soapy water around the valve stem, valve core, and tire bead. Watch each area for bubbles. Growing bubbles reveal escaping air, so mark the location and release pressure before tightening or replacing the faulty component.
If the solution stays still, wipe it away and continue your inspection.
| Checkpoint | What you see | What you should do |
|---|---|---|
| Valve stem | Bubbles form | Tighten or replace the valve |
| Valve core | Steady bubbling | Install a new core |
| Tire bead | Edge bubbles | Seek tire service |
After repairs, inflate the tire again and repeat the test. Confirm the reading with your gauge, using the vehicle’s recommended Tire pressure units and target value.
Keep your hands and face away from the bead while checking, and wear eye protection if damage appears. This simple inspection supports Inflation safety and helps prevent gradual pressure loss while you drive.
If bubbles continue, don’t drive on the tire. Have a qualified technician inspect it promptly.
Avoid Common Tire Gauge Mistakes
To avoid common tire gauge mistakes, check your tire pressure when the tires are cold. Be careful not to overinflate them, and check your gauge regularly to make sure it’s accurate.
Check Pressure Cold
Measure your tire pressure when the tires are cold—ideally before driving or after they’ve rested for at least three hours—because heat from road friction temporarily raises the reading. This practice improves tire pressure accuracy and gives your inflator gauge a reliable baseline.
Before measuring, check your vehicle’s recommended pressure on the driver’s doorjamb label or owner’s manual, not the tire sidewall.
- Remove the valve-cap carefully and keep it clean.
- Press the gauge straight onto the valve stem until you hear minimal air escaping.
- Read the display or dial at eye level, then record the result.
Gauge calibration also matters. If your readings seem inconsistent, compare the inflator with a trusted gauge or have it tested.
Measure each tire under the same cold conditions, including the spare when applicable, and replace the caps afterward.
Avoid Overinflation
Overinflation can reduce traction, make the ride harsh, and wear the center of the tread prematurely. Set your inflator gauge to the vehicle maker’s recommended cold pressure, not the maximum pressure printed on the tire sidewall.
Add air in short bursts, then release the trigger and recheck the reading. Don’t rely on Tire pressure myths, such as assuming firmer tires always improve handling or fuel economy.
| Check | What you’ll do | Why it matters |
|---|---|---|
| Door label | Follow its pressure | Matches vehicle needs |
| Sidewall | Don’t use maximum | It isn’t the target |
| Short bursts | Inflate gradually | Prevents overshooting |
| Tread feel | Don’t judge by touch | Feels can mislead |
Include Inflator gauge maintenance in your routine: keep the hose clean, protect the tool from impacts, and store it dry. Stop when you reach the specified pressure.
Inspect Gauge Accuracy
Because an inaccurate gauge can mislead you by several psi, inspect its accuracy before relying on the reading. Compare your inflator gauge with a trusted digital gauge or a calibrated service-station gauge. Check both instruments on the same tire, immediately after removing the inflator, and note any consistent difference.
- Look for cracked hoses, bent connectors, loose fittings, or a needle that doesn’t return to zero.
- Confirm the gauge displays the tire manufacturer’s recommended unit, usually psi, rather than bar or kPa.
- Apply Pressure unit conversion carefully. Rounding can create a noticeable error at low pressures.
If readings differ repeatedly, don’t guess or compensate mentally. Arrange Tire gauge calibration or replace the gauge. Test it again after dropping and restoring pressure.
Also inspect accuracy periodically, especially after impacts, extreme temperatures, or storage in a damp toolbox. A reliable reading helps you prevent both underinflation and overinflation.
Finish With a Final Pressure Check
Once you release the trigger, how can you confirm the tire has reached the correct pressure? Wait a few seconds for the reading to stabilize, then check the gauge at eye level. Compare the displayed pressure with your vehicle manufacturer’s recommended value, found on the driver’s doorjamb, fuel-filler door, or owner’s manual. Don’t use the tire’s maximum pressure printed on its sidewall as your target.
If the reading is too low, add short bursts of air and recheck after each burst. If it’s too high, press the gauge’s release valve briefly, then measure again.
Check every tire, including the spare if applicable, because temperatures and usage can create different readings. Accurate results support consistent tire pressure maintenance, better handling, and even tread wear.
Keep your tool dependable by following its Inflator gauge calibration schedule. Finally, replace the valve cap securely and inspect for leaks before driving. Recheck pressure when the tires are cold for the most reliable result.
Frequently Asked Questions
How Often Should a Tire Inflator Gauge Be Calibrated?
Calibrate your tire inflator gauge at least once a year to maintain reliable readings. Increase the calibration frequency to every six months if you use it frequently, drop it, expose it to harsh conditions, or notice inconsistent results.
Check the manufacturer’s recommendations, since some models require different intervals. To protect gauge accuracy, compare readings with a trusted certified gauge regularly.
Replace or professionally service the gauge if calibration fails or damage affects its performance.
Can Extreme Temperatures Affect Tire Pressure Readings?
Yes, extreme temperatures can affect your tire pressure readings. Cold air contracts, lowering pressure, while heat expands air, raising it.
A significant temperature fluctuation can consequently make your gauge show different values, even when no air has escaped.
For better pressure accuracy, check your tires when they’re cold, preferably before driving.
Keep your inflator gauge away from intense heat or freezing conditions, and let it reach room temperature before measuring.
What Safety Gear Should You Use While Inflating Tires?
Wear safety glasses and sturdy gloves while inflating tires, and keep your face and body away from the sidewall and tread. Use hearing protection if you operate a loud compressor.
For Inflation safety, choose a hose with a secure chuck, check it for damage, and stand clear while adding air. Don’t exceed the vehicle manufacturer’s recommended pressure.
Proper Safety equipment helps protect you if a tire, valve, or hose fails unexpectedly during inflation.
Are Tire Inflator Gauges Compatible With All Valve Types?
Like a universal key, some tire inflator gauges fit many valve types, but not every one. You’ll usually find compatibility with Schrader valves on cars, bikes, and motorcycles.
Presta valves, common on road bicycles, may require an adapter or a dedicated chuck. For reliable valve compatibility, check the gauge’s specifications before buying.
Proper connections also support pressure accuracy, helping you inflate safely without leaks, underinflation, or damage to delicate valve stems during use.
How Should You Store a Tire Inflator Gauge Between Uses?
Store your tire inflator gauge in a clean, dry place away from direct sunlight, moisture, extreme temperatures, and chemicals. Coil its hose loosely, protect the connector, and keep the gauge in a case to prevent impacts or contamination.
These Storage techniques help preserve accuracy and extend service life. Check the manufacturer’s recommended Calibration frequency, and inspect the gauge before each use for cracks, leaks, damaged fittings, or a sticking needle.
Conclusion
Using a tire inflator gauge is simple once you know the steps. Connect it securely, read the pressure, add or release air, and check again until the PSI matches your vehicle’s recommendation.
Don’t guess. Your tires deserve more than a leap of faith. Watch for leaks, avoid common mistakes, and finish with one final check.
With this routine, you’ll drive more safely, improve handling, and help your tires last longer on every journey. Knowing how a tire inflator gauge works makes proper tire care easier.