How Does a Brake Bleeding Kit Work?
Spongy brakes or a pedal that sinks too far can be frustrating, especially when you’re unsure whether trapped air or old fluid is to blame. You’re not alone—many drivers struggle with brake bleeding, but the right brake bleeding kit can make the job cleaner, easier, and more manageable.
A brake bleeding kit helps you remove trapped air and old brake fluid from your hydraulic brake lines. You connect its hose to a caliper’s bleeder screw, then use a hand pump, pressure, or vacuum to move fluid and bubbles into a container.
Continue until clean fluid flows without bubbles, keeping the reservoir filled to prevent more air from entering. Afterward, check for leaks and confirm the pedal feels firm.
You’ll find helpful bleeding methods and safety tips below.
Key Takeaways
- A brake bleeding kit connects to the caliper’s bleeder screw, directing old fluid and trapped air into a collection container.
- It uses manual, vacuum, or pressure methods to move brake fluid through the hydraulic lines.
- Opening the bleeder screw allows air bubbles and contaminated fluid to escape from the brake system.
- Repeating the process until bubble-free fluid flows removes compressible air and restores firm pedal feel.
- The reservoir must remain filled, connections checked for leaks, and manufacturer-recommended bleeding sequences followed.
What Does a Brake Bleeding Kit Do?
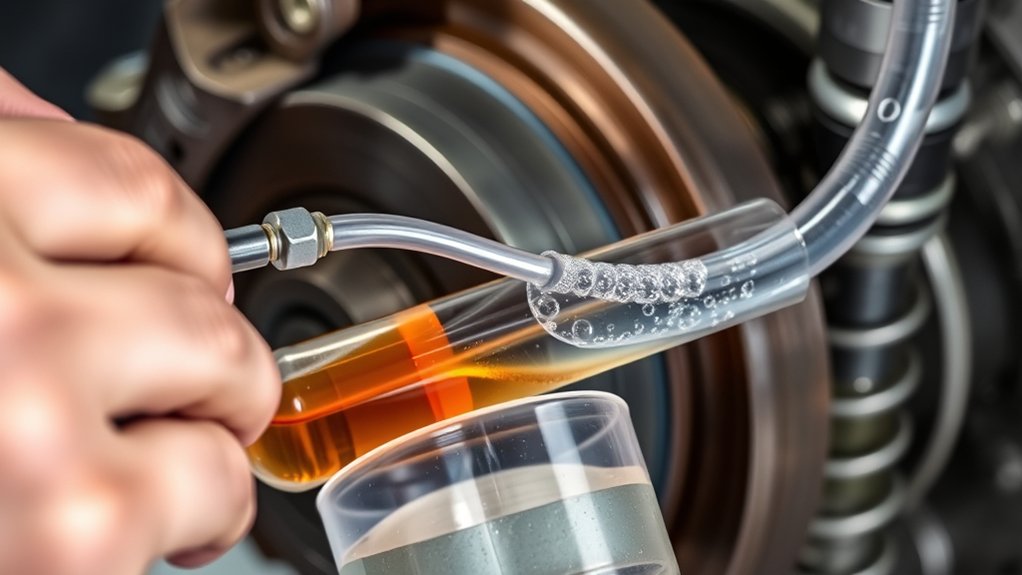
A brake bleeding kit helps you remove air bubbles and old fluid from your vehicle’s brake lines. It typically includes a hose, collection bottle, adapters, and a pump or one-way valve.
A brake bleeding kit simplifies removing air and old fluid, helping maintain reliable brake performance and cleaner service.
You connect the equipment to a caliper’s bleeder screw, open the screw, and direct the fluid into the container. This setup lets you replace contaminated fluid while keeping spills away from painted surfaces.
By refreshing fluid, you protect Brake fluid quality and support consistent pedal performance. Old fluid can absorb moisture, become dirty, and reduce protection for internal components.
Regular Brake system maintenance also helps you spot leaks, damaged hoses, or loose connections during service.
Choose a kit that fits your vehicle’s bleeder fittings and follow the manufacturer’s instructions. Wear gloves and safety glasses, use the recommended fluid, and dispose of waste responsibly.
After servicing, secure each bleeder screw and check the reservoir level before driving.
How Does Brake Bleeding Remove Air?
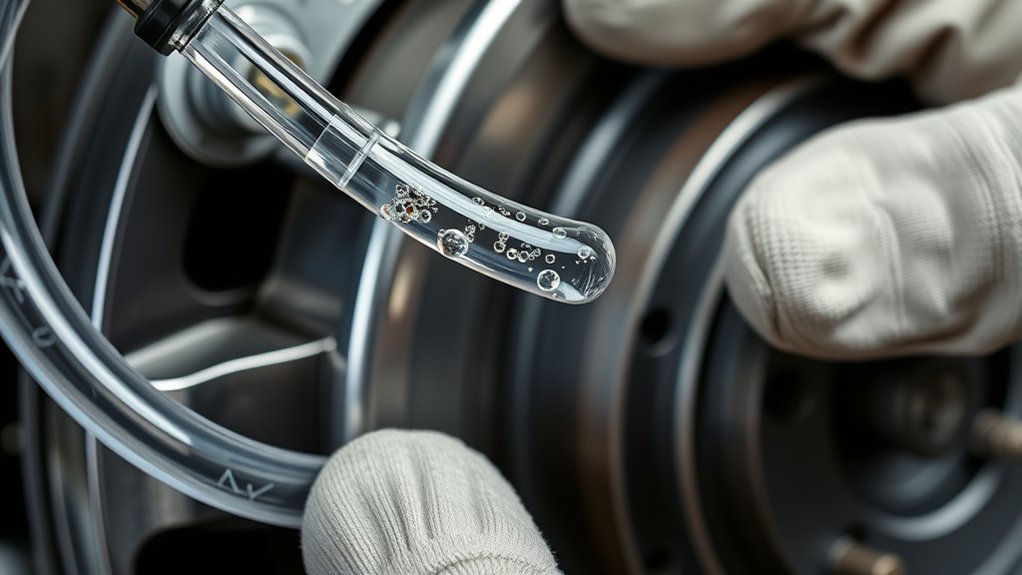
When you open the bleeder screw and press the brake pedal or activate the pump, hydraulic pressure pushes trapped air and old fluid through the brake line into the collection bottle. As fluid moves, bubbles travel out of the caliper or wheel cylinder and leave the sealed hydraulic circuit. You repeat this process until the fluid flows smoothly without visible bubbles.
Air entrapment makes the pedal feel soft because air compresses, while brake fluid doesn’t. That compression reduces how effectively pedal force reaches the brake components, increasing pedal travel and weakening response. By removing the air, bleeding restores a firm pedal and improves Brake efficiency.
You’ll typically begin with the brake circuit farthest from the master cylinder, then work toward the closest one. Keep the reservoir filled during bleeding so you don’t draw more air into the system.
Watch the exiting fluid carefully, and stop when it appears clean, bubble-free, and consistent. Finally, tighten the bleeder screw before releasing pedal pressure to prevent air from returning.
What Tools Do You Need to Bleed Brakes?
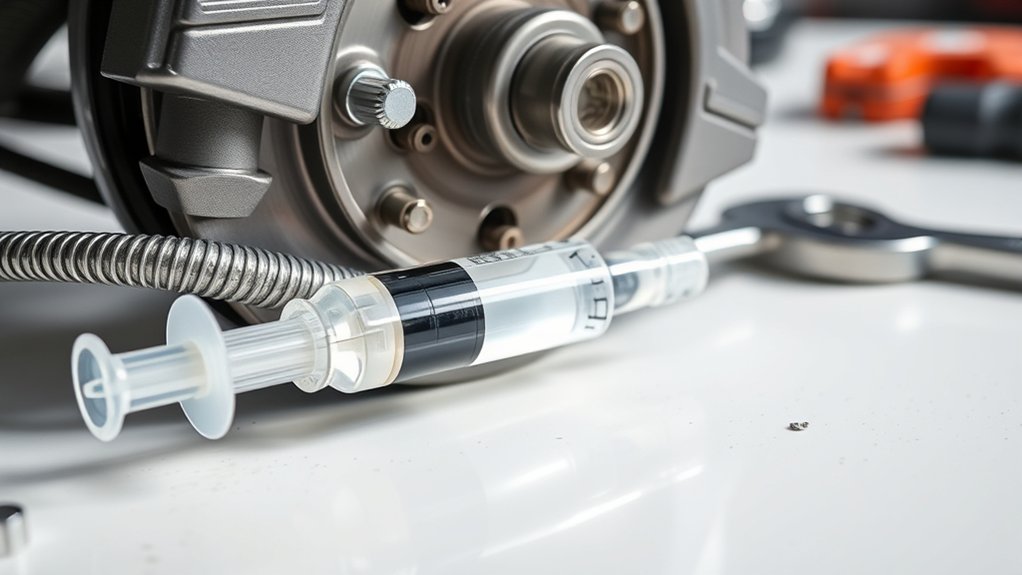
To bleed your brakes, you’ll need a brake bleeding kit with a wrench and tubing. You’ll also need a container to catch the old brake fluid. Once you have these tools ready, you can remove air from the brake lines more easily.
Brake Bleeding Kit
Bleeding brakes doesn’t require a complicated setup, but you’ll need the right tools to move fluid safely and remove trapped air. A basic brake bleeding kit usually includes a fluid container, a hand pump or vacuum device, and protective supplies.
Choose equipment that matches your vehicle and brake fluid type.
| Tool | Purpose |
|---|---|
| Bleeder bottle | Collects old fluid |
| Hand pump | Creates suction |
| Fluid hose | Directs expelled fluid |
You’ll also need fresh, manufacturer-approved brake fluid, gloves, safety glasses, shop towels, and wheel chocks.
Keep the vehicle secure on level ground, and protect painted surfaces from spills. These vehicle safety tips support cleaner brake fluid maintenance and help prevent contamination.
Check your owner’s manual before starting, since some vehicles require specialized adapters or electronic procedures.
Dispose of used fluid properly; never reuse it.
Wrench and Tubing
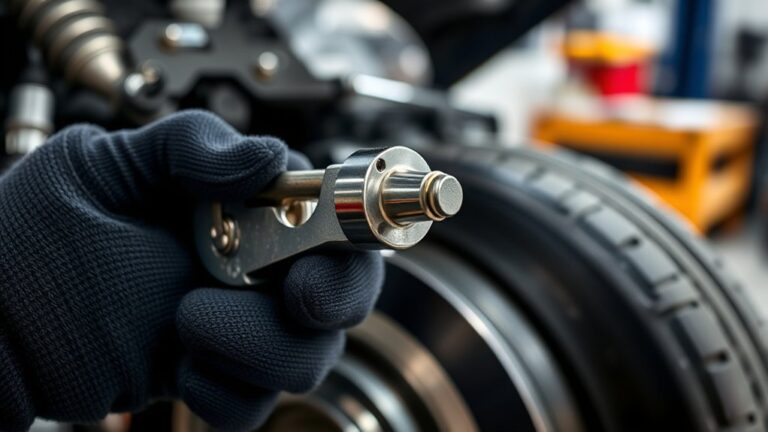
A properly sized flare-nut wrench and clear, chemical-resistant tubing make brake bleeding cleaner and safer. Choose a wrench that fits the bleeder screw snugly, usually the size listed in your vehicle’s service information.
Wrench compatibility matters because a standard open-end wrench can slip, round the fitting, and make future removal difficult. Slide the tubing firmly over the bleeder nipple so it won’t loosen while you open the screw.
Tubing material also matters: select hose that resists brake fluid, stays flexible, and remains transparent enough for you to spot air bubbles and fluid movement. Keep the hose long enough to work comfortably without kinking, but not so long that it becomes difficult to control.
Inspect both tools before starting, and replace cracked tubing or damaged wrench jaws.
Brake Fluid Container
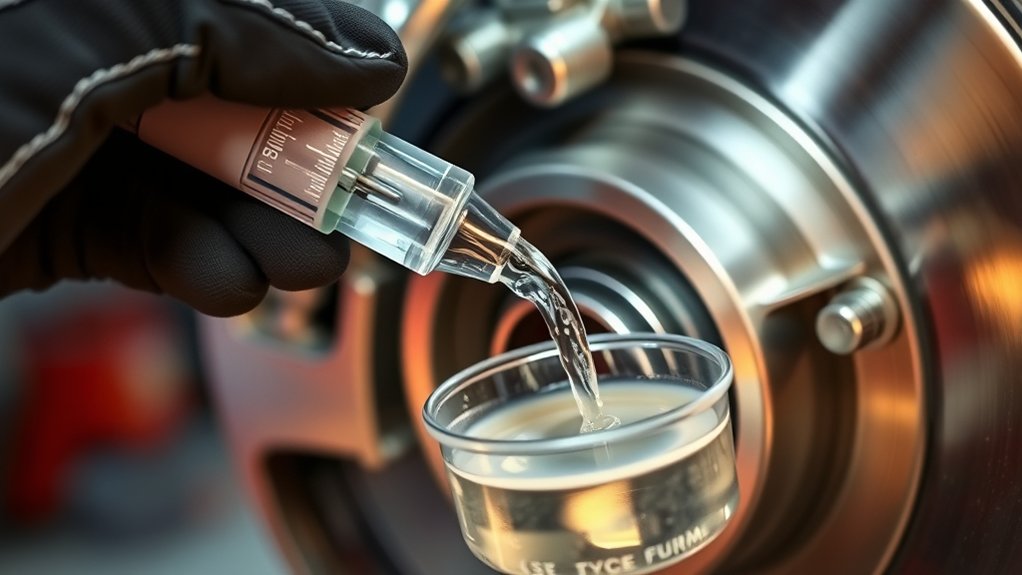
With the wrench and tubing ready, you’ll also need a clean brake fluid container to catch the fluid leaving the bleeder screw. Choose a container that won’t react with brake fluid and has enough capacity for the old fluid from every wheel.
A clear jar helps you monitor the fluid’s color and spot air bubbles as you pump the brake pedal. Keep it stable, upright, and positioned below the bleeder screw so the tubing drains properly.
Don’t reuse a container that held oil, coolant, or other chemicals. Contamination can damage seals and reduce braking performance.
Brake fluid is hygroscopic, meaning it absorbs moisture from the air. Seal the waste container promptly and dispose of the fluid according to local regulations. Never pour it down a drain or onto soil.
Which Brake Bleeding Method Should You Choose?
You can choose manual bleeding if you want a simple, low-cost method and have a helper available. Pressure bleeding pushes fluid through the system efficiently, while vacuum bleeding pulls air and fluid out through the bleeder screw. Before choosing a method, consider the tools you have, your vehicle’s requirements, and which approach you feel most comfortable using.
Manual Brake Bleeding
Manual brake bleeding is the simplest method for removing air from a brake system, but it requires two people: one to press the brake pedal and another to open and close each bleeder screw. You’ll connect a clear hose to the screw, place its other end in a container, and ask your helper to pump the pedal slowly.
Hold the pedal down while you briefly loosen the screw, then tighten it before releasing the pedal. Repeat this process until fluid flows without bubbles.
Check the reservoir often, because letting it empty introduces more air. Brake fluid composition matters: use only the manufacturer-approved fluid, since incompatible fluid can damage seals.
These manual bleeding techniques work well for routine service when you communicate clearly, follow the correct wheel sequence, and keep every connection clean.
Pressure And Vacuum Bleeding
Pressure bleeding forces fresh brake fluid through the system from the reservoir, while vacuum bleeding draws fluid and air out through each bleeder screw.
You’ll usually choose pressure bleeding when you want consistent flow and efficient flushing, especially on vehicles with complex Hydraulic systems. It also helps minimize air entering the master cylinder during service.
Choose vacuum bleeding when access to the reservoir is limited or when you’re working alone. Attach the pump to each bleeder screw, maintain steady suction, and watch for bubbles.
However, a poor seal can pull air around the screw threads, making diagnosis confusing.
Whichever method you select, follow the manufacturer’s sequence and use the specified fluid. Afterward, test pedal firmness and complete Brake calibration procedures if required.
Don’t drive until braking feels reliable and leak-free.
Prepare Your Vehicle and Work Area
Before opening the brake system, park the vehicle on a level, stable surface and let the brakes cool completely. Engage the parking brake, place the transmission in Park or first gear, and chock the wheels that remain on the ground. Wear safety glasses and gloves to protect your eyes and skin from brake fluid.
Gather your brake bleeding kit, fresh fluid matching the manufacturer’s specification, a wrench, shop towels, and a suitable waste container. Read the vehicle’s service information to identify the reservoir, bleed-screw locations, fluid type, and required sequence.
Keep the work area well lit, clean, and ventilated, and prevent dirt from entering the open reservoir. Cover painted surfaces because brake fluid can damage finishes.
Inspect the reservoir, hoses, calipers, and visible lines for leaks or damage before proceeding. Complete any needed tire maintenance and engine diagnostics separately, since neither replaces a brake-system inspection.
Keep pets and children away while you work.
Connect the Brake Bleeding Kit Correctly
Connect the bleeder hose firmly to the caliper’s bleeder screw. Make sure the vacuum pump is secure and won’t move while you bleed the brakes. Tight connections help prevent air leaks and keep the brake fluid flowing smoothly.
Attach the Bleeder Hose
Once the bleeder screw is clean, slide the kit’s hose firmly over the screw’s nipple and place the other end in the collection container. Ensure the hose fits snugly so fluid won’t leak or allow air to enter. Keep the container upright and position it below the screw to encourage steady flow.
Before opening the screw, check these details:
- The hose remains clear and free from cracks.
- The container can hold the expelled fluid.
- The connection stays aligned with the nipple.
Use a transparent hose when possible, because you’ll see air bubbles and monitor fluid color. Brake fluid chemistry makes this liquid damaging to paint and irritating to skin, so wipe spills immediately and wear gloves.
Proper Bleeding system maintenance includes replacing contaminated fluid and keeping the hose clean after each use. Don’t operate the vacuum pump yet. Connect it only in the next step.
Secure the Vacuum Pump
With the hose secured, attach the vacuum pump to its free end and make sure the connection is airtight. Push the connector firmly onto the bleeder hose, then check for cracks, loose fittings, or gaps that could let air enter.
Keep the pump upright and position it where you can operate the handle while watching the tubing and fluid flow. Before pumping, verify Brake fluid compatibility: use a pump, hose, and catch container rated for your vehicle’s fluid type.
Don’t allow contaminated tools or fluid to contact the system. Squeeze the handle slowly to create steady vacuum, but stop if the gauge drops immediately, since that signals a leak.
Good Vacuum pump maintenance, including clean fittings and lubricated seals, helps the kit hold pressure during bleeding.
Bleed the Brakes in the Correct Order
To bleed the brakes properly, follow the manufacturer’s sequence, which usually starts with the wheel farthest from the master cylinder and ends with the closest. This order helps you push trapped air and old fluid through each line without recontaminating a freshly serviced circuit.
Follow the manufacturer’s bleeding sequence, typically starting with the wheel farthest from the master cylinder.
Check your vehicle’s service manual before connecting the kit, because some systems use a different pattern, especially those with diagonal plumbing or electronic components.
Work on one wheel at a time, keeping the bleeder screw accessible and the hose firmly attached. Open the screw only as directed, then close it before releasing pressure or moving to the next wheel.
Keep your tools clean to prevent brake fluid contamination and protect the system during routine brake system maintenance.
- Start at the specified farthest wheel.
- Follow the exact sequence in the service manual.
- Close each bleeder before repositioning the kit.
Use fresh fluid recommended for your vehicle, and never mix incompatible types. Don’t rush between wheels; consistent technique gives the kit the best chance to remove air completely.
Check Fluid Levels, Leaks, and Pedal Feel
After you’ve finished the specified bleeding sequence, check the master-cylinder reservoir and refill it to the marked level with the correct fluid. Don’t overfill it, and secure the cap to keep moisture and dirt out. Brake fluid contamination can damage components, so use a sealed container and never mix incompatible fluid types.
Inspect each bleeder screw, hose, fitting, and caliper for fresh fluid. Wipe away residue first, then look again for seepage. A dry connection supports reliable Brake system maintenance and helps you spot problems early.
Check the reservoir once more after inspection, since the level may settle slightly.
With the engine off, press the brake pedal several times. It should feel firm and hold pressure without slowly sinking. Compare its travel and resistance with the manufacturer’s specifications.
Don’t drive if the level drops, a connection stays wet, or the pedal feels unusual. Address those concerns before returning the vehicle to service. Dispose of used fluid properly, and record the service for future reference.
Fix Bubbles, Leaks, and a Spongy Pedal
If the pedal still feels spongy, air may remain in the lines or a leak may be letting fluid escape. Secure your brake bleeding kit, use the correct adapter, and bleed each wheel according to your vehicle’s sequence.
Keep the reservoir filled with fresh fluid so you don’t draw in more air.
- Watch for bubbles in the hose. Continue bleeding until the stream runs clear and bubble-free.
- Inspect hoses, bleeder screws, fittings, and the master-cylinder area for wetness or drips.
- Check calipers for seized pistons, damaged seals, or loose bleeder screws during caliper maintenance.
Use only the recommended fluid. Brake fluid quality affects pedal response and component protection.
Tighten connections carefully, but don’t overtighten bleeder screws, which can damage threads or seats.
After bleeding, close each screw securely, reinstall protective caps, and clean spilled fluid immediately.
Press the pedal several times. It should feel firm and hold pressure.
If it still sinks or fluid disappears, stop driving and locate the leak before testing the brakes.
When Should a Professional Bleed Your Brakes?
A professional should bleed your brakes when the pedal remains spongy, fluid continues to leak, or you can’t identify the cause of the problem. You should also seek help if bleeding doesn’t restore firm pedal pressure or if your vehicle pulls, vibrates, or makes unusual sounds while stopping.
Seek professional brake bleeding if the pedal stays spongy, fluid leaks, or braking remains unpredictable after bleeding.
A technician can inspect the entire system for air, damaged hoses, seized calipers, worn wheel cylinders, and master-cylinder problems. They’ll select the correct procedure for your vehicle’s Brake system design, since some models require scan-tool activation or a specific bleeding sequence.
They can also confirm that the Brake fluid formulation matches the manufacturer’s requirements and replace contaminated fluid safely.
Don’t drive if the pedal sinks toward the floor, braking feels unpredictable, or a warning light appears. A professional has pressure and vacuum equipment, catches leaks accurately, and disposes of old fluid properly.
After service, they’ll test the brakes to verify consistent pressure and safe stopping performance before returning your vehicle.
Frequently Asked Questions
Can Brake Bleeding Damage the Master Cylinder?
Yes, brake bleeding can damage the master cylinder if you push the pedal aggressively to the floor, especially in an older system. You may force the piston seals across corroded areas, causing leaks or failure.
Protect your brakes by using gentle, controlled strokes, a pressure or vacuum bleeder, and clean fluid. Good master cylinder maintenance and preventing brake system contamination help preserve reliable braking and reduce repair costs over time.
How Often Should Brake Fluid Be Completely Replaced?
Replace your brake fluid every two years, or according to your vehicle manufacturer’s schedule. Like water slowly clouding a clear stream, brake fluid deterioration begins as it absorbs moisture, reducing boiling resistance and potentially causing corrosion.
You should replace it sooner if the fluid looks dark, feels spongy, or your vehicle faces heavy heat, towing, or humidity. Include this service in regular brake system maintenance, and have a qualified technician inspect leaks, hoses, and components.
What Type of Brake Fluid Does My Vehicle Require?
Check your owner’s manual or the brake-fluid reservoir cap to identify the required brake-fluid type, usually DOT 3, DOT 4, or DOT 5.1. Don’t assume you can substitute one type for another; brake-fluid types have different boiling points and chemical properties.
Verify fluid compatibility before adding or replacing fluid. Never mix silicone-based DOT 5 with glycol-based fluids.
If you’re unsure, ask a qualified technician to confirm your vehicle’s specification.
Can Old Brake Fluid Affect Anti-Lock Braking Systems?
Yes, old brake fluid can affect your anti-lock braking system. Coincidentally, the same moisture that darkens fluid can quietly lower its boiling point and damage precision components.
Brake fluid contamination may cause corrosion, sticking valves, or clogged passages, creating a serious ABS system impact and triggering warning lights.
You’ll protect braking performance by using the manufacturer-specified fluid, inspecting it regularly, and flushing the system at recommended intervals with proper bleeding procedures.
Is Brake Bleeding Necessary After Replacing Brake Pads?
Usually, you don’t need to bleed your brakes after replacing brake pads if you haven’t opened the hydraulic system. However, inspect the fluid and hoses, and bleed the brakes if you find air, leaks, contaminated fluid, or a soft pedal.
Brake fluid contamination can reduce braking performance, while moisture promotes brake system corrosion. After installation, pump the pedal until firm, verify the fluid level, and test-drive cautiously to confirm proper operation.
Conclusion
A brake bleeding kit doesn’t “flush” air out by pressure alone. It creates controlled fluid movement that carries trapped bubbles from each caliper or wheel cylinder.
Whether you use vacuum, pressure, or a two-person method, success depends on preventing air from re-entering through an open bleeder or empty reservoir. Finish by confirming firm pedal feel, correct fluid level, and leak-free fittings.
If the pedal stays spongy, don’t drive. Have a professional diagnose the system and inspect the brake bleeding kit setup.