How Does a Wheel Balancing Machine Work Step by Step
Uneven tire wear, steering-wheel vibrations, and a rough ride can make driving frustrating. You’re not alone—many drivers struggle to identify the cause. A wheel balancing machine can quickly pinpoint imbalances and help restore a smoother, safer ride.
To see how a wheel balancing machine works, you first clean and inspect the wheel, check tire pressure, and mount it securely. You then enter its diameter, width, and offset before sensors measure forces and rotational position as the wheel spins.
The machine calculates imbalance and displays weight amounts and placement angles. You install the recommended clip-on or adhesive weights, spin the wheel again, and adjust if needed.
The steps below explain each stage in greater detail.
Key Takeaways
- Secure and center the wheel, clean the rim and tire, check tire pressure, and confirm the machine’s calibration.
- Enter accurate wheel dimensions, then spin the wheel while sensors measure forces, vibrations, and rotational position.
- The machine analyzes repeated sensor readings to locate imbalance and calculate the required correction weights.
- Apply the specified clip-on or adhesive weights at the indicated inner or outer positions after cleaning the rim.
- Spin the wheel again, verify readings meet tolerance, and inspect for mechanical faults or road-test vibrations.
How Does a Wheel Balancing Machine Detect Imbalance?
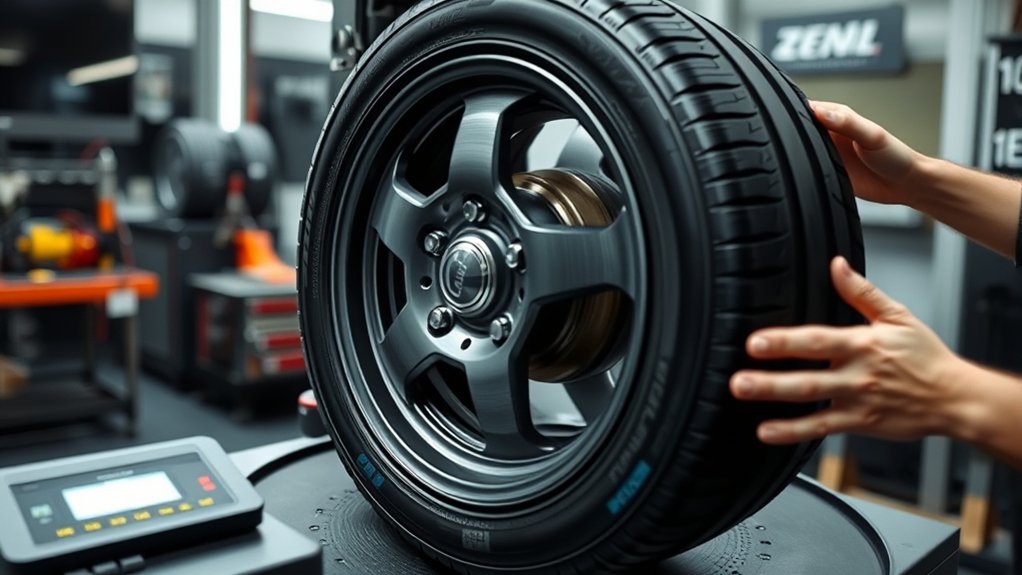
A wheel balancing machine detects imbalance by spinning the mounted wheel and measuring how its weight is distributed around the axle. As the assembly rotates, sensors monitor vibrations and forces transmitted through the spindle.
The machine’s computer compares these signals with the wheel’s rotational position, identifying heavy and light spots. It then calculates the amount and location of correction weight needed to restore even rotation.
The system pinpoints imbalance and calculates where correction weights should be placed for smooth, even rotation.
You’ll see that imbalance doesn’t always result from one obvious defect. Uneven tire material, a bent rim, or inconsistent wear can shift mass away from the centerline.
Road conditions may worsen the symptoms, making vibration more noticeable at specific speeds, but they don’t change the machine’s measurement. Instead, the sensors isolate rotational imbalance from ordinary driving feedback.
Prepare the Wheel for Balancing

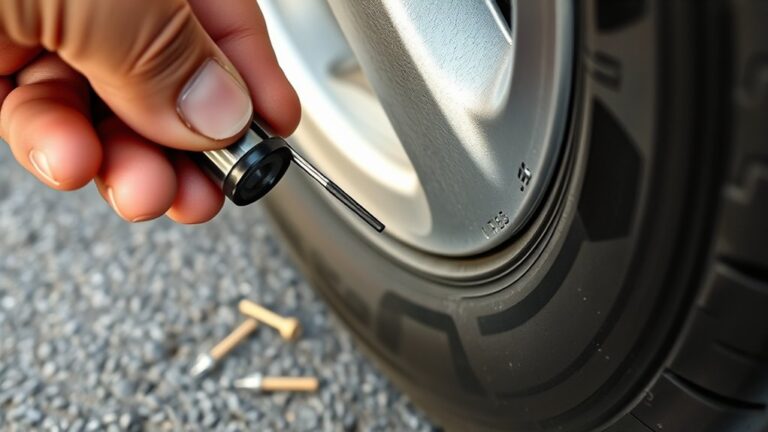
Before mounting the wheel, remove dirt, mud, and loose debris from the tire and rim. Clean around the bead, valve stem, and lug holes so nothing affects the reading.
Inspect the tire for bulges, uneven wear, embedded objects, or sidewall damage. Check Tire pressure and adjust it to the vehicle manufacturer’s specification; incorrect pressure can distort the balancing result.
Remove old wheel weights, then wipe the rim dry. Confirm that the rim isn’t bent or cracked.
Remember, balancing won’t correct a suspension problem or poor Wheel alignment, so note any related symptoms for later service.
| Check | What you do | Why it matters |
|---|---|---|
| Surface | Clean tire and rim | Removes measurement-changing debris |
| Pressure | Set specified Tire pressure | Ensures consistent results |
| Damage | Inspect tire and rim | Prevents unsafe testing |
| Weights | Remove old weights | Avoids inaccurate readings |
Also verify the valve cap and tire bead look intact. Keep the wheel dry and free of tools.
Then prepare the correct adapter and accessories without attaching them yet.
Mount the Wheel Securely
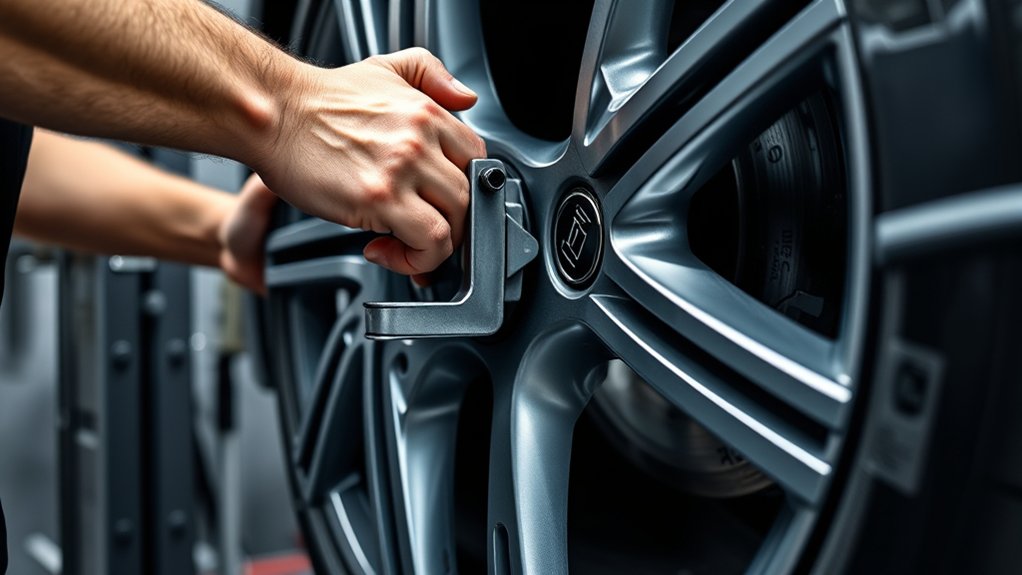
Place the wheel on the spindle and center it carefully. Slide the cone adapter into place, then tighten it securely. This keeps the wheel stable and ensures accurate balancing results.
Center the Wheel
Center the wheel by sliding it onto the balancer’s spindle and securing it with the correct cone or adapter. Proper centering keeps the wheel aligned with the machine’s rotational axis, so the readings reflect actual imbalance rather than mounting error.
Before measuring, inspect the hub, spindle, and wheel contact surfaces for dirt, rust, or damage. Clean them carefully if needed, then check that the wheel sits flush against the mounting face.
- Match the adapter to the wheel’s center bore.
- Keep the wheel straight as it slides into position.
- Confirm no debris prevents full contact.
- Check alignment from both sides before continuing.
Accurate centering supports reliable tire rotation and prevents unnecessary corrections. It also helps you distinguish balancing issues from problems requiring brake adjustment.
Don’t begin the measurement cycle until the wheel remains stable and centered without forcing it.
Tighten the Cone Adapter
Once the wheel sits flush against the balancer, tighten the cone adapter by hand until it holds the wheel firmly against the mounting face. Keep the wheel centered as you turn the adapter, ensuring the cone contacts the hub opening evenly.
During this tightening process, apply steady pressure rather than forcing the threads. A loose fit can let the wheel shift during rotation, producing inaccurate readings or creating a safety hazard.
Check that the adapter spins smoothly and that no gap remains between the wheel, cone, and mounting face. Don’t use tools to overtighten the adapter unless your machine’s instructions specifically require them; excessive force may damage the hub, cone, or spindle.
Before starting the balancing cycle, give the wheel a gentle tug to confirm that it’s secure and stable.
Enter the Wheel’s Measurements
Next, measure the wheel’s diameter and width accurately. Then, enter the offset distance from the machine’s reference point. These measurements help the balancer determine where to place the weights correctly.
Measure Wheel Diameter
Measure the wheel’s diameter by entering the rim size shown on the tire or measuring it directly with the machine’s gauge. Confirm the value carefully, because an incorrect diameter can cause the balancer to calculate the wrong correction points.
Before measuring, check the tire pressure and make sure the Hub assembly is clean and secure. Remove stones, mud, or debris that could affect the gauge’s contact.
- Read the tire sidewall for the marked rim size.
- Position the gauge against the rim’s specified measuring point.
- Keep the gauge straight and steady during contact.
- Enter the displayed measurement in the machine’s control panel.
Follow the balancer’s instructions if it requests millimeters or inches, and verify the unit before continuing. Don’t estimate from the tire’s outer edge, since tread height and sidewall shape can distort the reading.
Measure Wheel Width
Enter the wheel’s width by reading the rim marking or measuring from the inner flange of one bead seat to the other with the balancer’s width gauge. Keep the gauge square against both bead seats for an accurate reading.
If the rim has dirt, corrosion, or damage, clean it before measuring. These conditions can affect contact and produce an incorrect value.
Check that the Tire tread doesn’t interfere with the gauge or prevent the wheel from sitting correctly on the balancer.
Enter the measured width in the machine’s control panel using the recommended unit, such as inches or millimeters. Confirm the displayed value before continuing.
Accurate width data helps the machine calculate weight placement correctly and supports proper wheel performance without affecting the Brake system.
Enter Offset Distance
Once the wheel width is recorded, position the balancer’s distance gauge against the rim’s inner edge to determine the offset distance. Keep the gauge straight and read the measurement where it meets the machine’s scale.
Enter that value into the balancer’s control panel, using the correct unit, such as millimeters or inches. You’ll help the machine calculate the precise correction points.
- Confirm the gauge touches the rim, not the tire.
- Check Tire pressure before spinning the assembly.
- Verify Brake alignment if the wheel shows unusual resistance.
- Recheck the offset entry before starting the balance cycle.
If the rim has a special profile, use the manufacturer’s recommended measuring point. Accurate input prevents incorrect weight placement and reduces vibration.
Don’t estimate the distance; even a small error can affect the result. Clean the rim edge first so dirt won’t shift the gauge.
Spin the Wheel and Collect Data
With the wheel mounted securely, you close the guard and start the balancing machine. The motor accelerates the assembly to its programmed test speed, creating the conditions needed for a reliable measurement.
Before spinning, confirm the Tire pressure matches the manufacturer’s specification, because an underinflated or overinflated tire can affect the reading. Also check Brake alignment to ensure nothing rubs against the rotating wheel or creates unnecessary resistance.
As the wheel turns, the machine monitors its movement through the hub and spindle. It records rotational speed, vibration, and timing throughout the test cycle.
Keep the hood closed and avoid touching the equipment while it runs. The machine may complete one or more rotations before automatically slowing down.
Wait until the wheel stops completely, then review the collected measurements on the display. Don’t add weights yet; first, let the machine finish processing the test data and present the required correction values.
Understand How Sensors Locate Imbalance
Sensors locate imbalance by measuring how the spinning wheel moves and linking each vibration to a specific position around the rim. As you run the machine, force sensors detect changes in the axle’s load while position sensors track rotational timing.
Sensors measure axle forces and rotational timing to connect each vibration with its exact location around the wheel.
The controller compares these signals to the wheel’s normal movement, separating true imbalance from noise, mounting errors, or machine vibration.
- You secure the wheel and confirm proper sensor calibration before spinning.
- The sensors record vertical and horizontal forces during rotation.
- The system matches each force peak with its angular location.
- The controller verifies repeatable readings to identify imbalance causes accurately.
This process shows whether the wheel’s mass distribution creates a consistent disturbance. It doesn’t yet determine the required correction weight or its placement.
Instead, it establishes reliable measurement data for the next calculation. Keep the wheel centered, the shaft clean, and the mounting secure, because small setup errors can distort sensor signals.
When readings repeat across multiple rotations, you can trust the machine’s imbalance detection and continue to the following step.
Read the Weight Amount and Placement
After the machine confirms a repeatable imbalance, its controller calculates the correction weight and identifies the exact rim position where you should place it. Read the display carefully: it may show an inner-plane value, an outer-plane value, and an angle measured from the machine’s reference point. Some models use arrows, LEDs, or a brake lock to guide you toward that angle.
| Display item | What you read | Why it matters |
|---|---|---|
| Inner value | Weight amount | Corrects the inside plane |
| Outer value | Weight amount | Corrects the outside plane |
| Position indicator | Clock angle | Locates the correction point |
| Mode symbol | Clip or adhesive | Identifies the specified weight style |
Before trusting the result, verify tire pressure and confirm the wheel sits securely on the adapter. Inspect for rim corrosion, dirt, or trapped debris, since these conditions can affect measurement accuracy.
Record each displayed value and position clearly. You’ll use this information in the next step to select the appropriate correction hardware.
Install the Corrective Wheel Weights
Now, identify the marked placement points on the wheel. Choose the correct weight type for each location, then secure the weights firmly to prevent them from shifting while driving.
Identify Weight Placement
Once the machine identifies the imbalance locations, you’ll install the specified corrective weights on the wheel. Confirm the wheel’s Tire pressure first, because an incorrect pressure can affect the reading. Check Brake alignment and remove debris from the rim so the marked positions remain accurate.
- Rotate the wheel until the machine indicates the first correction point.
- Mark that exact spot on the rim, following the machine’s inner or outer reference.
- Repeat the process for the second location, if the display shows another imbalance.
- Position each weight precisely on its corresponding mark, then press it firmly against the clean surface.
Keep the wheel stationary while placing weights, and don’t estimate their locations. After installation, spin the assembly again to verify that the displayed imbalance falls within the machine’s acceptable range. If it doesn’t, inspect your marks, positioning, and attachment.
Select Proper Weight Type
Select the weight type that matches the machine’s instructions and the wheel’s rim. Choose clip-on weights for compatible steel rims, or adhesive weights for alloy wheels with limited flange space.
Check the displayed correction amount and select a weight that matches its value and location. Before installation, clean the selected area and confirm the rim’s finish can accept the chosen product.
| Rim or need | Recommended weight | Check first |
|---|---|---|
| Steel rim flange | Clip-on | Flange profile |
| Alloy wheel | Adhesive | Clearance and finish |
| Concealed placement | Adhesive | Machine location |
Match inner and outer corrections separately when the machine identifies both planes. Don’t substitute weight styles without verifying compatibility.
During routine service, combine balancing with tire rotation and Brake inspection. Then reassess the machine’s readings before moving to the next step.
Secure Weights Firmly
With the correct weight type and correction location confirmed, install each weight on the marked spot. Clean the rim thoroughly so dirt, oil, or moisture won’t weaken adhesion. Position every Wheel weight precisely, then apply firm, even pressure across its entire surface.
Don’t move it after pressing; shifting changes the correction and can damage the adhesive.
- Peel the backing from an adhesive weight without touching the bonding surface.
- Align the weight with the machine’s indicated position and rim contour.
- Press firmly for several seconds, especially along the weight’s edges.
- For clip-on weights, seat the clip squarely and tap it gently with the proper tool.
After installation, inspect each attachment and confirm that no gap exists between the weight and rim.
Following these steps helps secure weights reliably, ensuring the wheel remains balanced during operation.
Recheck the Wheel’s Balance
After adding the correction weights, run the wheel through the balancing cycle again to verify the result. Keep the wheel centered on the adapter, close the safety hood, and select the same settings you used during the initial measurement.
Start the machine and let it reach its specified measuring speed. Watch the display for the remaining imbalance values on both the inner and outer planes.
Ideally, the readings should fall within the manufacturer’s tolerance, often showing zero or an acceptably small value. If the machine identifies a minor difference, apply the indicated correction precisely, then repeat the cycle.
Confirm that each weight remains firmly attached and that no new warning appears. Don’t remove a weight unless the machine directs you to do so.
Once the readings pass, mark the wheel as balanced and prepare it for installation. Proper balancing complements Tire rotation and Wheel alignment, helping you achieve smooth driving, even tread wear, and reduced vibration.
Troubleshoot Persistent Balancing Problems
If the wheel still shows an imbalance after repeated correction cycles, stop adding weights and investigate the cause. Remove the wheel and inspect the tire, rim, and mounting surfaces before running another measurement. Persistent readings often result from damage, trapped debris, incorrect centering, or a loose adapter.
- Check the rim for bends, cracks, corrosion, or dirt between the hub and mounting face.
- Inspect the tire for uneven wear, a shifted belt, bulges, or improper seating on the bead.
- Confirm the machine’s cones, adapters, shaft, and calibration. Mount the wheel securely and center it accurately.
- Check vehicle components, including wheel bearings, suspension parts, and brake adjustment, for looseness or drag.
Verify inflation pressure, then perform a tire rotation if wear patterns suggest the wheel belongs elsewhere. If the imbalance follows the tire, replace or remount it.
If it remains with the machine, recalibrate or service the balancer. Don’t compensate for a mechanical fault with excessive weights. Correct the underlying problem, then complete another balance cycle and road test.
Frequently Asked Questions
How Often Should Wheels Be Balanced?
You should balance your wheels whenever you install new tires, feel vibrations through the steering wheel, or notice uneven tread wear. Most drivers should also request balancing during every tire rotation, typically every 5,000 to 8,000 miles, depending on the vehicle and tire manufacturer.
If you hit a pothole, lose a wheel weight, or complete rim repair, have the wheels checked again. Regular balancing improves handling, ride comfort, tire life, and safety.
Can Wheel Balancing Prevent Uneven Tire Wear?
Yes, wheel balancing can help prevent uneven tire wear by keeping each wheel spinning smoothly, like a steady compass guiding your journey. When imbalance causes vibrations, your tires may develop scalloped or patchy wear.
Balancing corrects weight differences, but it can’t solve every problem. Schedule regular Tire rotation to distribute wear evenly, and request a Suspension inspection to identify worn components, misalignment, or damaged parts that balancing alone won’t fix.
Is Wheel Balancing Necessary After Installing New Tires?
Yes, you should balance your wheels after installing new tires. Even new tires can distribute weight unevenly, causing vibrations, steering shake, or premature tread wear.
A technician mounts each tire, measures imbalance, and adds small weights to the rim. Ask for a Rim inspection to identify bends or damage that could affect results.
Follow your vehicle’s recommended Tire rotation schedule afterward to promote even wear and extend tire life.
How Much Does Professional Wheel Balancing Typically Cost?
You’ll typically pay $15–$40 per wheel, or about $60–$160 for a complete professional wheel balancing service. Prices vary by location, vehicle type, and whether you purchase tires there.
Some shops include balancing with new-tire installation, while others charge separately. Ask whether the quote covers weights, installation, and rechecking.
You can also bundle balancing with a tire rotation and brake inspection to save time and potentially reduce costs during one visit.
What Is the Difference Between Wheel Balancing and Wheel Alignment?
Wheel balancing corrects uneven weight around each wheel, while wheel alignment adjusts your wheels’ angles to match manufacturer specifications. Balancing reduces vibrations; alignment prevents pulling, uneven tread wear, and an off-center steering wheel.
You’ll usually balance wheels after mounting tires or feeling shaking, while you’ll align them after hitting potholes or noticing handling changes. During service, ask for tire rotation and brake inspection to promote even wear, improve safety, and keep your vehicle driving smoothly.
Conclusion
By following each step, you’ll turn a vibrating wheel into a precision-balanced component. The machine detects even microscopic weight differences, then tells you exactly where to place corrective weights.
Mount the wheel securely, enter accurate measurements, spin it, apply the recommended weights, and recheck your results. If imbalance persists, inspect the tire, rim, mounting, and machine setup.
With careful attention, a wheel balancing machine helps eliminate wobble, protect suspension parts, and achieve an almost unbelievably smooth, safer ride.