How Does a Car Jack Work Step by Step
Changing a flat tire or handling basic car repairs can feel stressful, especially when you’re unsure how a car jack works. You’re not alone—many drivers worry about lifting their vehicle safely and choosing the right equipment.
This guide breaks down the process step by step so you can work with greater confidence.
To use a car jack, park on firm, level ground, switch off the engine, engage the brake, select Park or a low gear, and chock the wheels.
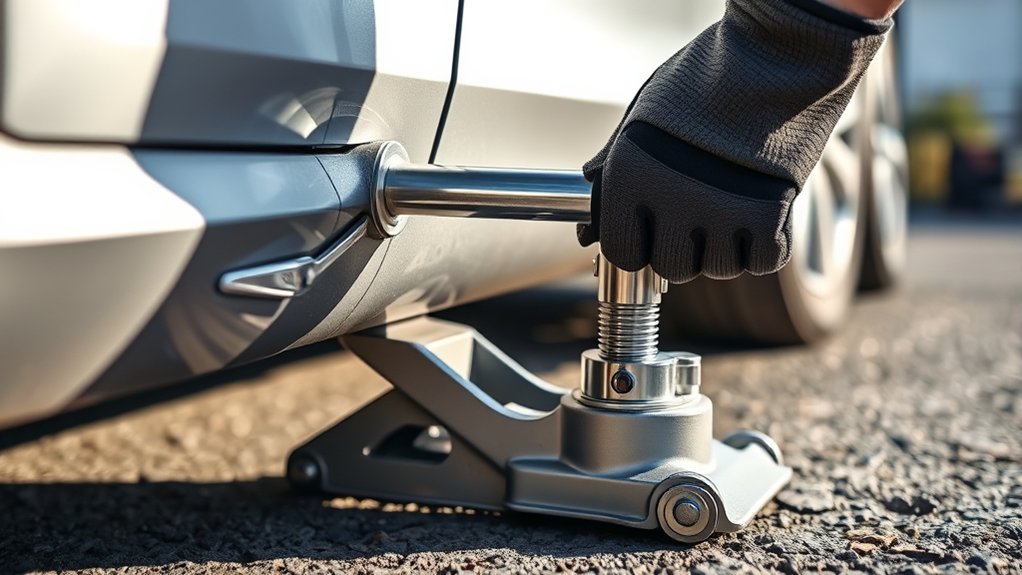
Find the manufacturer’s approved lift point, position the jack beneath it, and raise the vehicle slowly.
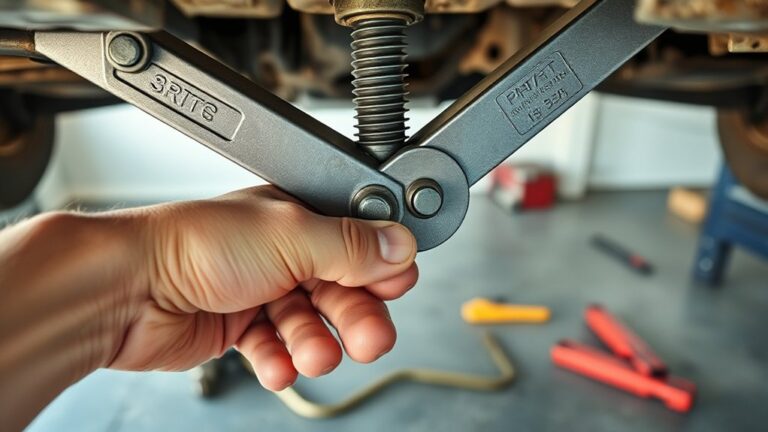
A mechanical jack uses a screw, while a hydraulic jack uses pumped fluid to multiply force.
Support the vehicle with jack stands, complete your work, then lower it carefully and store the jack safely.
The steps below explain each stage in greater detail.
Key Takeaways
- Choose a jack rated for your vehicle, then park on firm, level ground, engage the brake, select Park or gear, and chock the wheels.
- Locate the manufacturer-approved jack point and position the centered, level saddle directly beneath it.
- Operate the handle, crank, or pump smoothly. Mechanical jacks use screws, while hydraulic jacks use pressurized fluid to raise the vehicle.
- Lift only high enough for the task, then place jack stands under approved support points before working near or underneath the vehicle.
- Lower the vehicle slowly using the release mechanism. Confirm stable ground contact, remove the stands, and store the inspected jack safely.
Learn the Main Parts of a Car Jack
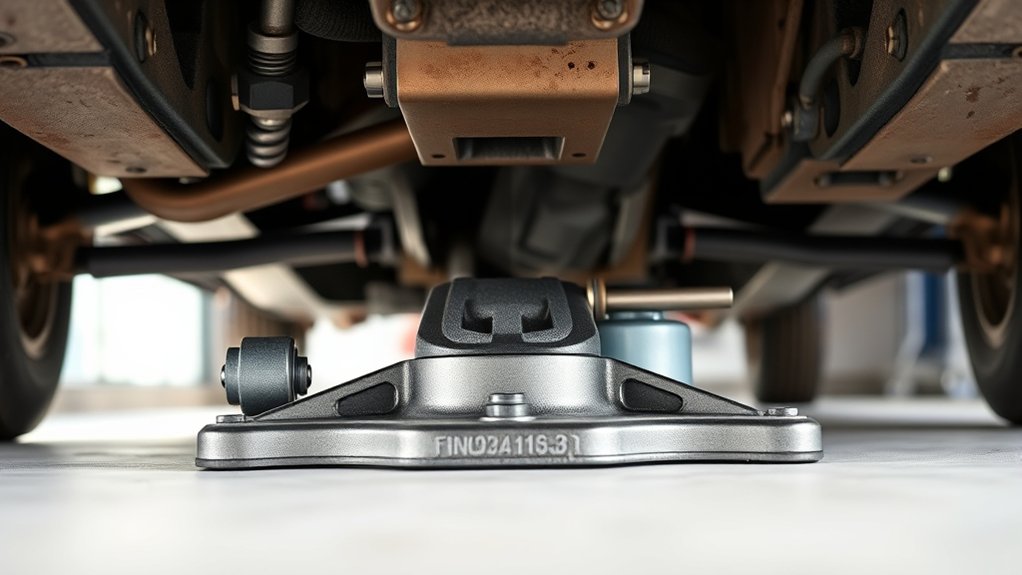
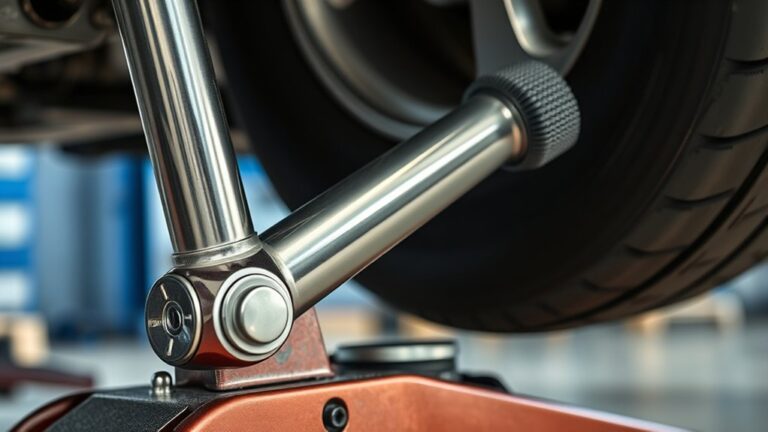
A car jack has several key parts that work together to lift a vehicle safely. You’ll find a lifting saddle at the top, which contacts your vehicle’s approved lift point.
Its broad base keeps the jack stable on firm, level ground. The frame supports the load, while the lifting arm or piston raises the saddle.
Depending on your jack, a handle, crank, or control switch lets you operate the lifting mechanism. A release valve or lowering control helps you bring the vehicle down gradually.
A handle, crank, or switch operates the jack, while the release valve lowers your vehicle gradually and safely.
Many jacks also include wheels, locking features, or an extension section for easier positioning.
Before lifting, inspect every part for cracks, bent metal, leaks, or loose hardware. Confirm that the saddle fits securely and that the base sits flat.
These checks support car jack safety and effective jack maintenance. Remember, the jack should lift your vehicle, while properly rated stands must support it during work underneath.
Compare Mechanical, Hydraulic, and Electric Jacks
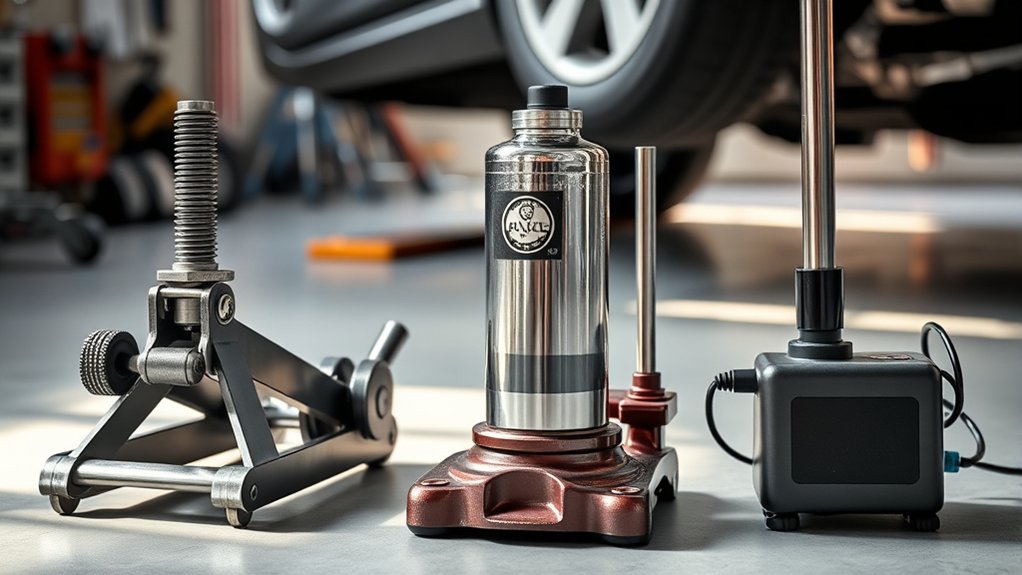
Knowing the main parts of a car jack makes it easier to compare different designs. Each type transfers your effort through a different mechanism, affecting speed, control, and dependence on power.
- Mechanical jacks: You turn a handle or rotate a screw, using mechanical advantage to multiply your force. Scissor and bottle-screw designs are simple, compact, and usable without electricity, but lifting can take time and effort.
- Hydraulic jacks: You pump a handle, forcing fluid into a cylinder. Pressure moves a piston and raises the saddle smoothly with less physical effort. These jacks often lift quickly, although seals can leak and the fluid system needs proper storage.
- Electric jacks: A motor drives the screw or hydraulic pump after you connect it to a vehicle battery or outlet. Electric power reduces manual work and may include remote controls, but motors, wiring, and switches add complexity.
All three rely on a stable saddle, base, and release system to control movement during lifting.
Choose the Right Car Jack for Your Vehicle
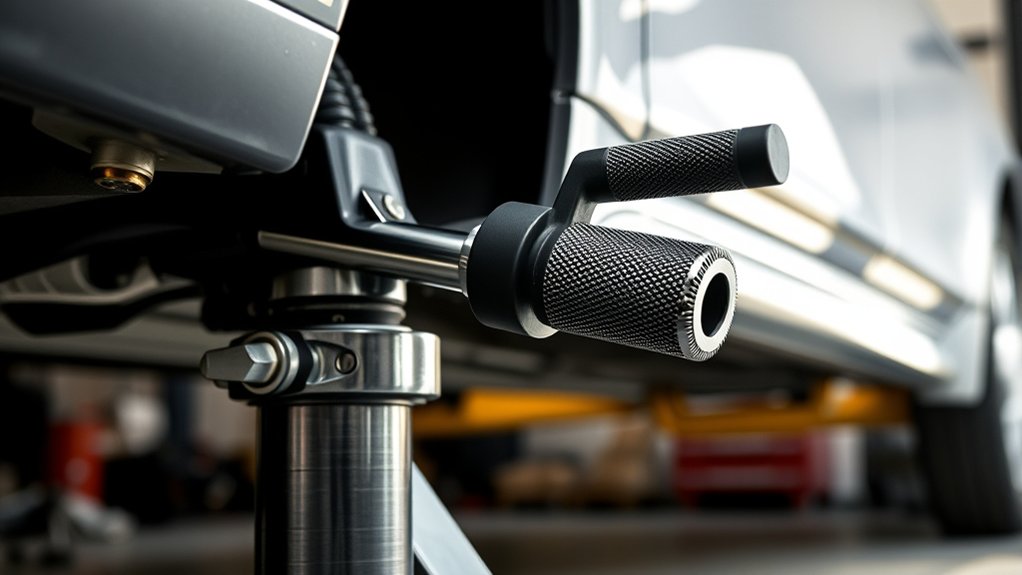
Choose a jack by matching its lifting capacity, height range, and design to your vehicle. Check your owner’s manual for the car’s weight and approved lifting points, then select a jack rated comfortably above that load.
Confirm that the minimum height fits beneath your vehicle, especially if it has low ground clearance. Make certain the maximum height lets you lift the tire far enough for your intended task.
A compact scissor jack suits emergencies and stores easily in your trunk, but it works slowly and offers limited stability. A floor jack provides quicker lifting and a broader base for home repairs, while a bottle jack fits heavy vehicles with suitable clearance.
Don’t rely on any jack alone: place jack stands beneath approved support points before working underneath. Use the correct jack for Tire rotation, brake inspection, or Alternative maintenance, and keep it clean, dry, and easy to access.
Never exceed its rated capacity or lift on soft, uneven ground.
See How a Hydraulic Car Jack Multiplies Force
How can a hydraulic jack lift a heavy vehicle with relatively little effort? It uses Pascal’s law: pressure applied to a confined fluid spreads similarly in every direction.
When you pump the handle, a small piston pushes hydraulic oil through a valve into a larger cylinder. Because the larger piston has more surface area, the same pressure produces greater lifting force. That’s force multiplication in action.
- Your input stroke moves a small volume of oil and creates pressure.
- The pressure travels through the fluid, pushing the larger lifting piston upward.
- A check valve holds the oil in place, so the piston stays raised between pumps.
The jack trades distance for strength: your small piston moves farther, while the larger piston moves less but lifts more. The piston-area ratio determines the mechanical advantage.
For example, a four-times-larger output area can produce roughly four times your input force, minus friction and seal losses. Release the valve, and oil returns, lowering the load smoothly.
Prepare Your Vehicle Before Using a Jack
Before you lift the vehicle, park it on firm, level ground, switch off the engine, and engage the parking brake. Remove passengers, close all doors, and keep children and pets away from the work area.
If your vehicle has an automatic transmission, select Park; with a manual transmission, select first gear or reverse. Place wheel chocks snugly against the wheels that will remain on the ground, preventing movement while you work.
Gather the jack, lug wrench, and any required tools before starting, and inspect the jack for damage, leaks, or unstable parts. Check your owner’s manual for the vehicle’s lifting procedure and weight limits.
Don’t rely on the jack alone if you’ll work underneath the vehicle; use properly rated jack stands. Before lifting, check Tire pressure so you can spot a flat or damaged tire, and check Engine oil only when the engine is cool and the vehicle sits level.
Keep loose clothing clear and maintain steady footing.
Find Your Vehicle’s Correct Jacking Point
Before you lift your vehicle, check the owner’s manual to find the recommended jacking points. Then, look underneath for the reinforced areas designed to support the jack safely. Never place the jack on weak or unapproved areas.
Check the Owner’s Manual
Your owner’s manual identifies the designated jacking points for your specific vehicle, which may vary by model and body style. Before lifting, read the relevant section carefully and follow its instructions. The manual may also specify the correct jack type, lifting sequence, and weight limits.
Use this information as part of routine Vehicle maintenance, not as an afterthought.
- Confirm your vehicle’s model, trim, and drive configuration match the manual’s instructions.
- Check whether the manufacturer requires a particular jack, adapter, or positioning procedure.
- Review Safety precautions, including parking on level ground, setting the parking brake, and securing the wheels.
Keep the manual accessible while you work, and consult its diagrams if any instruction seems unclear. Don’t rely on assumptions or another vehicle’s procedure; incorrect guidance can damage components or cause the car to shift.
Identify Reinforced Lift Points
Find the reinforced lift points shown in your owner’s manual, usually located behind the front wheels and ahead of the rear wheels along the vehicle’s pinch welds or frame rails. These reinforced lift points can include marked notches, solid frame sections, or designated pads.
Position your jack directly beneath the specified point, keeping its lifting saddle centered and level. Don’t place the jack under thin floor panels, suspension components, fuel lines, exhaust parts, or plastic trim.
Using the wrong location can bend bodywork, damage components, or compromise vehicle integrity. Before lifting, clear away dirt that could prevent stable contact.
Check that the surface remains flat and firm, and confirm the jack won’t slip as it rises. If you can’t identify a safe point, stop and consult your manual or a qualified technician.
Position the Car Jack Safely
Position your car on level ground and engage the parking brake before lifting it. Then, locate the manufacturer-designated jack points. These steps will help keep the vehicle stable and prevent damage.
Choose Level Ground
Before you lift the vehicle, park it on firm, level ground to keep the jack stable and prevent the car from rolling or shifting. Avoid hills, gravel, soft soil, wet grass, and uneven pavement, which can let the jack sink or tilt. A clean, solid driveway or garage floor works best.
Check that you’ve got enough space to place the jack beneath the manufacturer-specified lift point and operate its handle safely.
- Inspect the surface for cracks, debris, oil, or ice that could reduce stability.
- Keep the vehicle clear of traffic, doors, walls, and other obstacles.
- Consider Tire pressure before lifting. Properly inflated tires support safer positioning and can improve Fuel efficiency afterward.
Read your owner’s manual for any model-specific ground requirements, and never rely on an unstable surface while raising the vehicle.
Engage the Parking Brake
Engage the parking brake and shift the car into Park, or into first gear or Reverse if it has a manual transmission. This parking brake activation helps prevent the vehicle from rolling while you raise it.
Press the brake pedal firmly as you select the gear, then release the pedal slowly to confirm the drivetrain holds the car stationary.
Turn off the engine, remove the key, and keep it with you so nobody can start the vehicle unexpectedly. Ask passengers to exit, and keep everyone clear of the car while you work.
Never rely on the transmission alone, especially on a slope. Confirm the brake warning light appears briefly, but don’t continue if the pedal feels soft or the brake won’t hold.
These steps support brake system safety during lifting.
Locate Jack Points
Find the vehicle’s designated jack points in the owner’s manual or on the vehicle’s underbody, then place the jack beneath a solid, reinforced point—not the floor pan, suspension components, or plastic trim. Park on firm, level ground, and confirm the opposite wheels remain planted before lifting.
- Align the jack saddle directly under the marked point, keeping its base flat and stable.
- Check clearance around hoses, wiring, and body panels so nothing gets crushed as you raise the vehicle.
- Lift slowly until the saddle contacts the point, then pause and verify alignment before adding height.
Don’t rely on a jack alone; support the vehicle with correctly rated jack stands. After securing the car, inspect Tire pressure and adjust it later to support safe handling and Fuel efficiency.
Never crawl underneath during initial lifting or reposition a loaded jack.
Raise the Vehicle Step by Step
Park on level, stable ground, set the parking brake, and follow your jack’s instructions as you position it beneath the vehicle’s approved lifting point. Keep the jack’s base flat and centered before you begin.
If you’re changing a tire, loosen each lug nut slightly while the wheel remains on the ground. Check the owner’s manual for the correct lifting height and any special procedure.
Pump the handle, turn the crank, or operate the switch smoothly, depending on your jack type. Watch the contact point and vehicle as the lift begins.
Stop immediately if the jack tilts, shifts, or makes unusual noises. Raise the vehicle only high enough to clear the tire or complete your task; excessive height reduces stability.
Don’t crawl underneath, place any part of your body beneath the vehicle, or inspect tire pressure and engine oil during lifting.
Lower the vehicle if conditions change, then reposition the jack safely before continuing.
Secure the Vehicle With Jack Stands
Once the vehicle reaches the correct height, position jack stands beneath the manufacturer-approved support points. Keep the jack engaged as temporary support, but don’t rely on it alone.
Adjust each stand to the same height, then lower the vehicle’s support points onto the saddles slowly and evenly.
- Confirm each saddle sits centered on a solid frame point or reinforced pinch weld, not plastic trim, thin sheet metal, or suspension components.
- Check that every stand rests completely flat on firm, level ground. Avoid soft soil, slopes, loose gravel, and damaged stands.
- Test stability by gently pushing the vehicle from the side. If it shifts, raise it slightly, reposition the stands, and repeat the check.
Before working underneath, remove loose tools and keep bystanders clear. You can inspect Tire pressure or check Engine oil later, but don’t crawl beneath the vehicle until all stands carry the load securely.
Never exceed their rated capacity, and support the vehicle at the required points.
Lower and Store Your Car Jack
Once you’ve finished the job, carefully lower the vehicle from the jack stands. After the car is resting securely on the ground, remove the jack. Then clean and collapse it before storing it in a dry, accessible place.
Lower the Vehicle
Lower the vehicle slowly by turning the jack’s release valve counterclockwise, keeping your hands and feet clear of the car’s underside. Control the descent; don’t open the valve abruptly, or the vehicle could drop unexpectedly.
Watch each tire as it approaches the ground, and stop if the car shifts, tilts, or makes unusual noises.
- Once all tires touch the ground, close the release valve securely. Don’t overtighten it.
- Remove the jack only after confirming the vehicle rests evenly and the parking brake remains engaged.
- If you used the jack for a Tire rotation or Oil change, check that no tools, stands, or equipment remain underneath.
After lowering, remove wheel chocks if appropriate and perform a final stability check. Your car should sit level, with no rocking or visible damage.
Keep people away until you’ve confirmed everything is secure.
Store the Jack
After the car is fully lowered and stable, store the jack before driving away. Remove the handle, release any locking mechanism, and fold or collapse the jack according to its design. Don’t leave it beneath the vehicle, where it could interfere with moving parts or create a road hazard.
Wipe dirt, moisture, and grease from the jack before putting it away. Check for bent components, damaged threads, leaks, or unusual wear. If you find a problem, repair or replace the jack before your next use.
Keep the tool, handle, adapters, and instructions together in the trunk or designated compartment. Secure everything so it won’t slide, rattle, or become a projectile during sudden braking. Proper storage supports car maintenance and strengthens vehicle safety every time you lift your car.
Frequently Asked Questions
How Often Should a Car Jack Be Inspected or Maintained?
You should inspect your car jack before every use, checking for cracks, leaks, bent parts, loose hardware, and smooth movement.
Include thorough jack maintenance every three to six months if you use it regularly, or at least annually for occasional use.
Follow the manufacturer’s inspection schedule, lubricate moving components as directed, and keep the jack clean and dry.
Replace damaged equipment immediately, and never use a jack that feels unstable or fails to lift properly.
Can a Car Jack Lift Vehicles on Uneven or Sloped Surfaces?
Like balancing a tray on a moving table, lifting a vehicle on an uneven or sloped surface creates serious instability. You shouldn’t use a car jack there unless you can first move the vehicle onto firm, level ground.
Surface stability affects whether the jack stays upright, while weight distribution can shift unexpectedly and cause the vehicle to slip. Park safely, engage the brake, chock the wheels, and use jack stands before working underneath.
What Should You Do if a Car Jack Fails While Lifting?
If a car jack fails while lifting, stop work, move away, and don’t reach beneath the vehicle. Keep everyone clear until the car settles completely.
Call roadside assistance if you can do so safely, and never try to repair or stabilize a failing jack yourself. Afterward, inspect the jack for damage and replace it.
Follow essential safety precautions: use level ground, engage the parking brake, add wheel chocks, and support the vehicle with jack stands.
Are Car Jacks Safe for Lifting Motorcycles or Trailers?
A sedan’s scissor jack can tip while lifting a motorcycle, so don’t assume it’s safe. For Motorcycle safety, use a motorcycle lift or properly rated jack, secure the bike upright, and add wheel chocks.
For Trailer compatibility, check the trailer’s loaded weight, lift points, and your jack’s capacity; never lift beyond its rating. Park on level, solid ground, block wheels, and support the load with jack stands. Never work beneath a jack-supported vehicle.
How Long Do Car Jacks Typically Last Before Replacement?
You can expect a quality car jack to last 5–15 years, depending on its type, workload, storage, and care. Car jack durability improves when you follow a regular maintenance schedule, inspect lifting arms, check hydraulic fluid, and lubricate moving parts.
Replace your jack immediately if you notice leaks, bent components, rust, unstable lifting, or difficulty holding weight. Don’t rely on age alone; replace it when damage or unsafe performance appears.
Conclusion
Now you know how a car jack works, from its main parts and lifting mechanism to safe positioning and lowering. Whether you use a mechanical, hydraulic, or electric model, follow each step carefully and support your vehicle with jack stands before working underneath it.
Why risk an accident by rushing? Choose the right jack, prepare your car, lift on approved points, and store your equipment properly. With these habits, you’ll handle routine lifting more safely and confidently.