How Does a Car Fuse Tester Work?
A blown car fuse can leave you guessing, especially when you’re trying to diagnose an electrical problem quickly. You’re not alone—many drivers struggle to tell whether a fuse is faulty or the circuit has another issue. The best car fuse tester can make the process faster and easier.
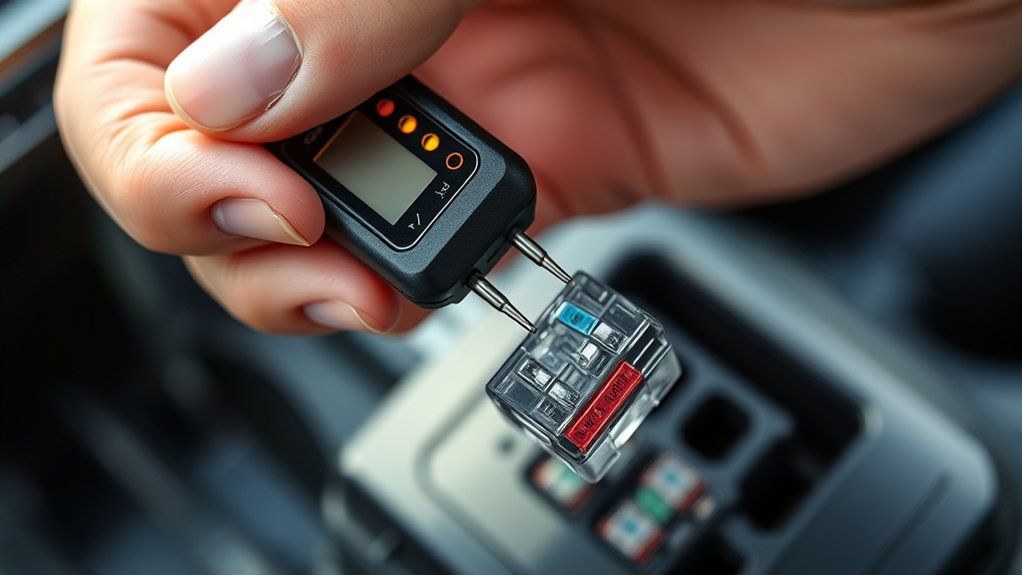
A car fuse tester checks whether current can pass through a fuse. You touch its probes to the fuse’s terminals or exposed test points, and the tester sends a small electrical signal through the circuit.
A light, beep, or continuity reading means the fuse is intact. No signal usually indicates a blown fuse. Test in place when possible, ensure clean contact, and compare results with a known-good fuse.
Keep reading to learn safe testing and replacement steps.
Key Takeaways
- A car fuse tester checks whether electrical current can pass through a fuse’s internal link.
- When the fuse is intact, the tester lights up, beeps, or displays continuity.
- A blown fuse produces no signal because its melted link interrupts the circuit.
- In-place testers contact exposed fuse points, while multimeters test removed fuses for continuity or resistance.
- Testing both fuse terminals helps distinguish a blown fuse from wiring, power, or grounding problems.
What Does a Car Fuse Tester Do?
A car fuse tester checks whether a fuse is allowing electrical current to pass through its circuit. When you use one, you can quickly identify a blown fuse without removing every fuse from the fuse box.
A car fuse tester quickly identifies blown fuses by checking whether electrical current can pass through the circuit.
The tool helps you confirm whether a fuse still supports the vehicle’s electrical system or needs replacement.
You’ll find testers designed for different fuse types, including blade and cartridge styles. Some models include built-in lights or digital displays that give you a clear pass-or-fail indication.
This simple feedback helps you restore accessories such as lights, radios, wipers, and power outlets more efficiently.
A tester also supports safe troubleshooting by helping you locate an interruption in circuit protection. You can replace the failed fuse with the correct rating and reduce unnecessary guesswork.
During fuse manufacturing, producers design each fuse to open when current exceeds its limit. A tester doesn’t repair that fuse; it helps you identify its condition and choose the right next step.
How Does a Car Fuse Tester Work?
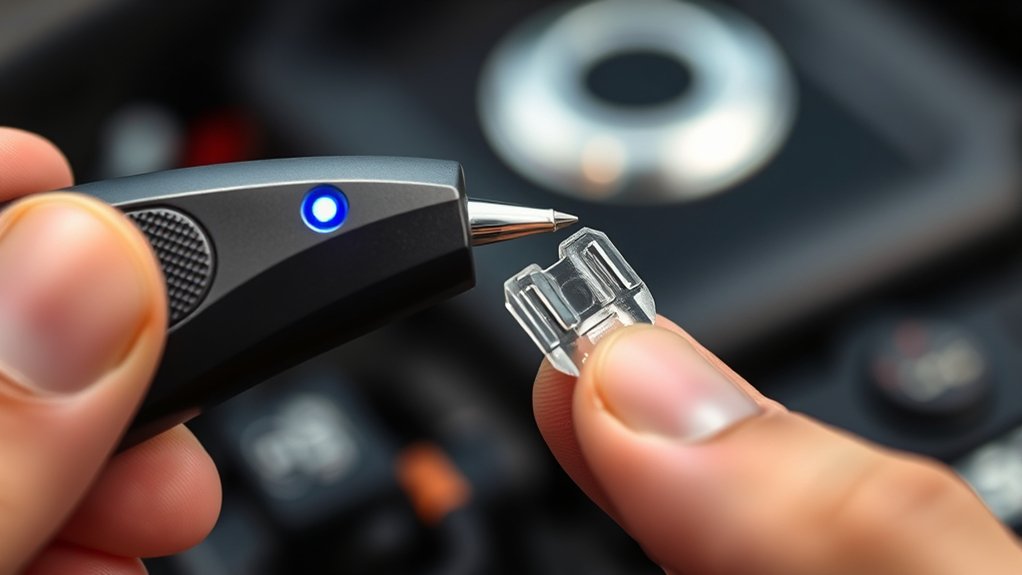
After identifying what a fuse tester does, you can understand its operation by checking for a complete electrical path through the fuse. When you touch the tester’s probes to the fuse’s test points, the tool sends a small current through its internal element.
If that element remains intact, the circuit closes, and the tester lights up, beeps, or displays continuity. If the element has melted, the path stays open, so the tester shows no signal.
Fuse design affects how you perform this check. Blade fuses typically provide exposed metal contacts, allowing you to test them without removing the fuse.
Some testers also measure voltage at each contact, helping you distinguish a blown fuse from a missing power supply. Digital models may show resistance or voltage readings, while simple testers use an indicator lamp.
You improve testing accuracy by selecting the correct mode, touching both test points firmly, and interpreting the result according to the tester’s instructions.
Prepare Safely Before Testing a Fuse
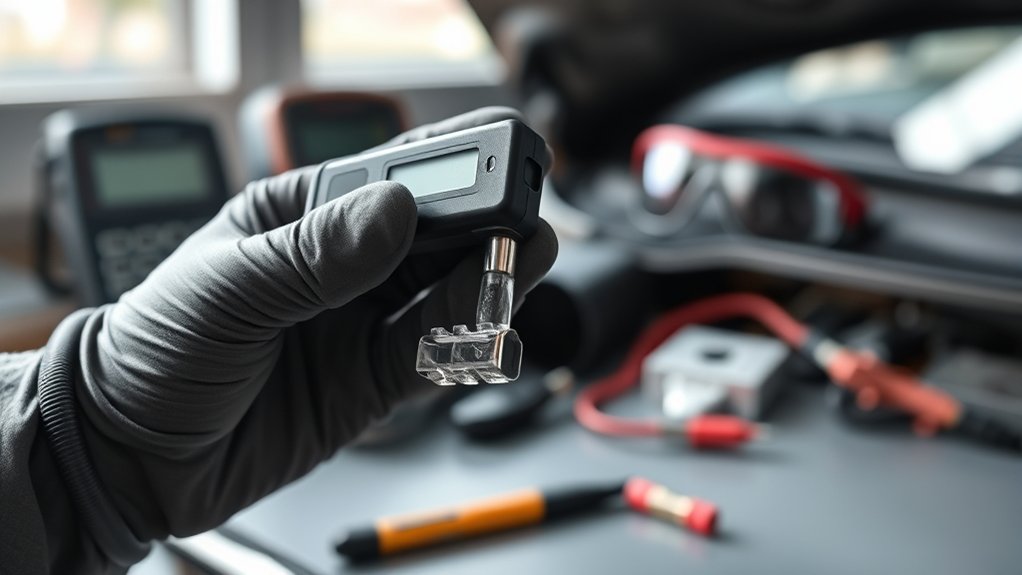
Before testing a fuse, switch off the vehicle and remove the ignition key to reduce the risk of short circuits or accidental contact with powered components. Park on level ground, engage the parking brake, and let hot parts cool.
Keep children, pets, and loose clothing away from the work area.
Use these safety precautions before opening the fuse box:
| Action | Why it matters |
|---|---|
| Disconnect the negative battery cable | Helps prevent accidental shorts |
| Read the owner’s manual | Identifies the correct fuse location |
| Dry your hands and workspace | Reduces shock and slip risks |
| Wear protective gear | Shields eyes and skin from debris |
Check for water, corrosion, or burned plastic around the fuse box. Don’t force its cover; release the clips gently.
Gather the vehicle manual, a replacement fuse of the exact rating, and a flashlight. Never substitute foil, wire, or a higher-rated fuse.
If you smell burning, see melted insulation, or notice smoke, stop and seek professional help. A calm setup protects you and your vehicle.
Test a Fuse With a Test Light
Once the vehicle is safely off, use a 12-volt test light to check whether power reaches both test points on the fuse. Connect the test light’s clip to a clean, unpainted metal ground. Turn the ignition to the position that powers the circuit, then touch the probe to each exposed test point.
The light should illuminate at both points on a working fuse when the circuit is energized. If it lights on only one side, the fuse has blown and interrupted current.
If neither side lights, the circuit may not be powered, or another fault may exist. Don’t assume a fuse’s rating from its appearance; use the fuse panel diagram and fuse color coding to identify the correct replacement.
Replace a failed fuse only with one of the same amperage. That rating provides essential circuit protection. Turn the ignition off before replacing it, and never bridge the fuse with wire or metal.
A test light helps you diagnose the fuse without guessing.
Test Fuses Without Removing Them
Many car fuse testers let you check a fuse in place, so you don’t have to remove it from the fuse box. This method saves time and helps you avoid disturbing nearby wiring.
First, switch off the vehicle and locate the fuse panel. Then:
- Identify the fuse’s rated position using the diagram.
- Turn the ignition on only if the tester’s instructions require circuit power.
- Touch the tester’s probes or contacts to the fuse’s exposed test points.
- Compare the indicator result on both sides of the fuse.
Matching readings usually indicate that the Fuse material and internal link remain continuous. A result on only one side suggests a blown fuse, while no reading may indicate a powered-off circuit or poor contact.
Keep your testing equipment clean, hold it steadily, and don’t force the probe against the fuse. Always follow the tester’s instructions and vehicle safety guidance.
This approach lets you screen several fuses quickly without removing them or risking misplaced replacements.
Test a Fuse With a Multimeter
A multimeter can confirm whether a fuse has continuity or an open internal link. Set your testing equipment to the continuity or lowest resistance setting.
Turn off the vehicle and remove the fuse from its slot, since testing it in place can produce misleading readings through parallel circuits. Touch one probe to each metal terminal.
Keep your fingers behind the probe guards, and don’t let the tips contact other components.
Before testing, inspect the fuse’s rating and construction. Fuse materials and design vary, but every serviceable fuse provides a conductive path between its terminals.
Clean corroded contacts gently if necessary, then repeat the measurement. Avoid forcing probes into small openings, which can spread terminals or damage coatings.
If your multimeter lacks an audible continuity mode, watch the resistance display while maintaining steady contact. Compare the measurement with the meter’s expected behavior for a connected circuit, not with another fuse’s physical appearance.
Disconnect power before changing the fuse or handling nearby wiring.
Interpret Car Fuse Tester Results
To interpret your car fuse tester results, check whether the tester lights up on both contacts of each fuse. If it lights up on both sides, the fuse is usually working properly.
If it doesn’t light up at all, the circuit may not be receiving power. If it lights up on only one side, the fuse is likely blown. Replace the fuse with one of the same rating, or investigate the circuit further if the new fuse blows again.
Reading Tester Lights
When the tester lights up, the pattern tells you whether the fuse is working. Touch the probe to each metal test point on top of the installed fuse while the ignition is on, if required by your vehicle.
- Two lights: Power reaches both sides, so the fuse has continuity.
- One light: Power reaches only one side, indicating an open fuse.
- No lights: The circuit may not be energized, or you may have poor probe contact.
- Dim light: Weak contact, low voltage, or an unsuitable setting may affect the reading.
Check your owner’s manual before testing, because procedures vary. Consistent testing frequency helps you monitor fuse durability over time.
Compare readings with a known-good fuse, and switch off the ignition before removing any fuse.
Identifying Fuse Problems
Interpreting car fuse tester results starts with comparing the light pattern on both test points. If both sides illuminate, the fuse passes power.
If neither side lights, check the ignition position, ground connection, and power supply before condemning the fuse. One illuminated side usually indicates a blown fuse.
| Light pattern | Likely issue | Your next step |
|---|---|---|
| Both sides lit | Fuse is good | Test the circuit |
| One side lit | Fuse is blown | Replace it |
| Neither side lit | No power or ground | Check connections |
Replace a failed fuse only with the same amperage rating. A repeated failure may signal a circuit overload, a short, or damaged wiring.
Don’t install a larger fuse, because it can create a fire hazard. Inspect the holder for heat damage, and consider fuse durability when choosing a replacement.
Replace a Blown Fuse Safely
- Inspect the removed fuse for a broken or burned element.
- Confirm the replacement matches its rating, color, and design.
- Press the new fuse firmly into the correct slot.
- Turn on the vehicle and test the affected accessory.
Keep spare fuses in the vehicle, but store them where moisture won’t damage them.
If the replacement blows immediately or soon after installation, switch everything off and have a qualified technician inspect the circuit. Repeated failures can indicate a short, damaged wiring, or a faulty component.
Never bridge the slot with metal or substitute an object for a fuse.
Avoid Common Fuse Testing Mistakes
After replacing a blown fuse, avoid testing mistakes that could damage the circuit or produce a false result. Turn off the ignition before removing or installing a fuse, and use the correct amperage and physical type.
Never substitute a higher-rated fuse, bridge the fuse with wire, or probe a live socket with an unsuitable tester. Check your tester’s instructions, select the proper setting, and touch its probes only to the fuse’s designated test points.
Confirm the fuse and your hands are dry, then press firmly enough for reliable contact without forcing the tool. Don’t interpret a dark indicator as proof of failure; verify the tester works by checking a known-good fuse or its battery.
Replace questionable testers, and follow electrical standards rather than relying on appearance alone. Reputable Fuse manufacturing follows precise specifications, but counterfeit or damaged fuses may not.
Compare markings, inspect for cracks, and test again after installation before closing the fuse-box cover.
Check for Wiring and Circuit Faults
When a replacement fuse blows again, don’t keep installing new ones; inspect the circuit for a short, damaged wire, loose connection, or overloaded component. A car fuse tester helps you locate the problem without repeatedly sacrificing fuses.
Switch off the ignition, remove the fuse, and test for continuity. Then turn on the circuit and use the tester to check voltage at both fuse terminals. A reading on only one side usually confirms a blown fuse; unusual readings can point to wiring trouble.
- Examine wires for melted insulation, chafing, corrosion, or pinched sections.
- Wiggle connectors gently while monitoring the tester for intermittent power.
- Disconnect accessories to identify an overloaded branch.
- Compare readings with your vehicle’s service manual before replacing parts.
Never bypass a fuse or install a higher rating. The correct fuse material and amperage provide essential circuit protection.
If the fault remains, disconnect the battery and seek professional help. Accurate testing protects sensitive electronics and prevents overheating, smoke, or fire while you trace the underlying cause safely.
Frequently Asked Questions
Can a Car Fuse Tester Diagnose Intermittent Electrical Problems?
Yes, a car fuse tester can help you diagnose intermittent electrical problems, but it can’t confirm every cause. Test the fuse while the problem occurs, then inspect related wiring, connectors, grounds, and relays.
A tester reveals whether power reaches the fuse and whether its circuit opens unexpectedly. Consider fuse lifespan, heat, vibration, and loose connections.
Testing accuracy improves when you reproduce the symptom and compare readings with the manufacturer’s specifications safely.
Are Car Fuse Testers Compatible With Every Vehicle’s Fuse Type?
Are all car fuse testers compatible with every vehicle’s fuse type? No, you’ll need to match the tester with your vehicle’s fuse design, such as blade, mini, low-profile mini, or glass cartridge fuses.
Some testers support multiple fuse types, while others work only with specific formats. Check the product specifications before buying to preserve testing accuracy.
You should also confirm voltage ratings and terminal access, especially on newer vehicles with specialized fuse layouts.
How Often Should I Inspect My Vehicle’s Fuses?
Inspect your vehicle’s fuses whenever an electrical accessory stops working, after installing modifications, and during routine maintenance—typically every 12 months or 12,000 miles.
Check sooner if you notice repeated fuse failures, flickering lights, or burning smells. Consult your owner’s manual for the Fuse box layout, then switch off the ignition before examining each fuse.
Verify Battery voltage and replace damaged fuses only with the correct amperage. Don’t substitute wire or oversized fuses.
Can a Fuse Tester Damage Sensitive Vehicle Electronics?
You won’t typically damage sensitive vehicle electronics with a fuse tester because it draws minimal current. In fact, over 90% of standard automotive fuse tests require only a few milliamps.
Use the tool as directed, touch only the fuse’s test points, and avoid bridging terminals. Good fuse quality improves testing accuracy, while a poorly designed tester can cause problems.
Never probe powered circuits beyond the fuse or force connections.
What Should I Do if Replacement Fuses Keep Blowing?
If replacement fuses keep blowing, stop installing new ones and find the underlying fault. Check for damaged wiring, loose connections, water intrusion, or a shorted component.
Confirm you’re using the correct amperage and dependable Fuse quality; never substitute a larger fuse. An Electrical overload may indicate a failing motor, relay, or accessory.
Disconnect aftermarket equipment, inspect the circuit, and have a qualified technician test it before driving if the fault persists.
Conclusion
A car fuse tester helps you find electrical problems before they grow into bigger headaches. By checking for voltage on both sides of each fuse, you’ll quickly see whether it’s working, blown, or affected by a deeper wiring fault.
Test safely, interpret the results carefully, and replace damaged fuses only with the correct rating. If a new fuse blows again, don’t keep guessing. Have the circuit inspected before trouble sparks.
Understanding how a car fuse tester works can help you diagnose electrical issues safely and confidently.