

Why Prep Work and Decontamination Are 90% of Ceramic Coating Success
Quick Answer: Ceramic coating prep work, not the coating product itself, determines over 90% of a successful installation. Decontamination, clay barring, paint correction, and a final solvent panel wipe all need to happen before a coating ever touches the surface, since any dirt, oil, or old sealant left behind will cause bonding failure, hazy patches, or permanently locked-in defects.
When people marvel at a freshly ceramic-coated vehicle, their eyes naturally focus on the final result: the liquid gloss, razor-sharp reflections, and effortless water beading. It’s easy to assume the bottle of coating itself is doing all the heavy lifting. In professional surface restoration, however, there is a fundamental truth: a ceramic coating does not create the finish, it locks it in.
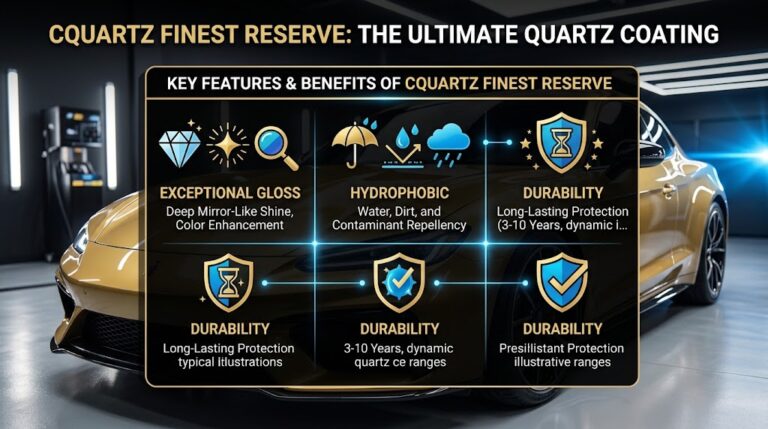
Applying even the most advanced nanotech coating, such as CQuartz Finest Reserve, over an improperly prepared surface leads to bonding failure, hazy optics, and wasted investment. The meticulous ceramic coating prep work and chemical decontamination carried out before the coating ever opens dictate over 90 percent of the job’s success.

1. The Chemistry of Adhesion: Why Clear Coats Must Be Bare
Automotive clear coats are micro-porous. For liquid nanopolymers to cross-link into a permanent crystalline shield, they must penetrate those microscopic valleys and bond directly with the polyurethane clear coat molecules, which is exactly why ceramic coating prep work exists as a distinct phase from the coating application itself.
If anything sits between the coating and the paint, the bond fails. Residual traffic film and road oils create a physical barrier that prevents cross-linking. Old waxes and silicone sealants repel the coating solvent, causing patchy coverage. Polishing lubricants leave behind slick oils that cause immediate coating delamination. Without bare, squeaky-clean paint, the coating bonds to the topical dirt rather than the vehicle itself, washing away within weeks.

2. The 5 Essential Stages of Professional Ceramic Coating Prep Work
A professional studio spends 10 to 20-plus hours on preparation across five systematic stages before application. This sequence is the actual heart of ceramic coating prep work, and skipping any single stage compromises everything that follows it.
Stage 1: The High-Alkaline Strip Wash
Standard maintenance washes use pH-neutral soaps to preserve existing layers. Ceramic coating prep work requires the opposite: a high-pH, wax-stripping wash paired with citrus degreasers to break down road grime, traffic exhaust film, and old synthetic sealants.
Stage 2: Chemical Iron Fallout Decontamination
Brake pads emit microscopic, red-hot iron particles that fly off wheels, turn airborne, and embed into hot clear coat pores. Regular washing cannot remove embedded iron shards. Detailers apply color-changing chemical iron dissolvers, such as CARPRO IronX, that turn purple as they chemically dissolve sintered metallic particles without touching the clear coat.
Stage 3: Mechanical Clay Bar Treatment
Even after chemical washes, industrial fallout, tree sap droplets, and overspray remain mechanically stuck to the paint. A lubricated clay bar or clay mitt glides across the panels, safely shearing off bonded contaminants. Detailers often use the “baggie test” to confirm this stage of ceramic coating prep work is complete: running a hand inside a plastic sandwich bag over untreated paint feels like rough sandpaper, while paint that has been properly clayed feels smooth as glass.
Stage 4: Multi-Stage Machine Paint Correction
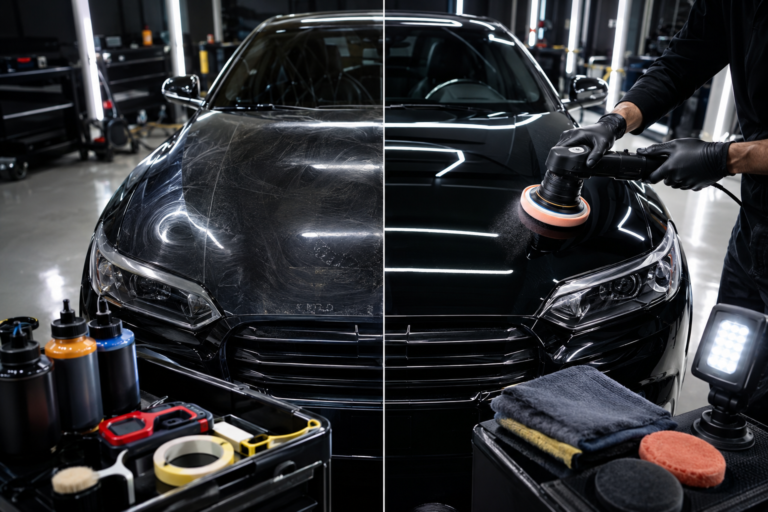
Because cured ceramic coatings are optically transparent, any scratch, buffer hologram, or swirl mark left on the paint will be permanently sealed beneath the glass layer. Dual-action and rotary polishers level microscopic clear coat imperfections during this stage, restoring true color depth and mirror-like light reflection before the coating locks everything in place.
Stage 5: Solvent Panel Wipe
Machine compounds and finishing polishes contain natural and synthetic lubricating oils that keep the buffing pads gliding smoothly. Detailers wipe down every square inch with specialized alcohol or solvent prep solutions, such as CARPRO Eraser, removing every trace of polishing oil and leaving raw, unmasked paint ready for molecular bonding. This final stage of ceramic coating prep work is the last checkpoint before the actual coating gets applied.

Stage-by-Stage Breakdown: Prep Work Checklist
| Preparation Phase | Purpose | Tool / Chemical Used | What Happens If Skipped? |
|---|---|---|---|
| 1. Strip Wash | Strips old waxes, silicones, and traffic film | High-pH soap and citrus degreaser | Coating solvent repels off oily panels |
| 2. Iron Decontamination | Melts embedded ferrous brake dust shards | Color-changing iron dissolver spray | Hot iron rusts and bubbles under cured coating |
| 3. Mechanical Claying | Removes bonded tree sap, tar, and overspray | Detailing clay bar plus dedicated lube | Gritty texture locked under smooth glass |
| 4. Paint Correction | Removes swirl marks, buffer haze, and scratches | DA polisher plus abrasive compounds | Imperfections magnified and locked in place |
| 5. Solvent Panel Wipe | Strips residual polishing oils and lubricants | Alcohol/solvent degreaser wipe | Coating bonds to slick oils and washes off |
This checklist is a useful reference for understanding exactly what proper ceramic coating prep work involves at each stage, and why cutting any single row short compromises the entire installation.
What Happens When Detailing Shops Cut Corners on Prep?
Low-cost detailers often skip extensive decontamination to cut labor hours and offer bargain “complete ceramic” specials for a few hundred dollars. The consequences of skipped ceramic coating prep work show up consistently across the industry.
Premature coating failure is the most common result, where the coating sheets and flakes off within months due to poor adhesion. High spots and cloudy patches are another frequent outcome, since polishing oils mix with the coating during application, leaving dark, oily streaks that cannot be wiped off without wet sanding. Locked-in swirl webs are a third consequence, where clear coat defects remain visible under the glass coating, ruining depth and gloss that a proper installation would have delivered.

How to Evaluate Whether a Shop Takes Prep Seriously
Since ceramic coating prep work happens largely out of sight before the visible coating application, it can be hard for owners to judge quality just from a finished photo. A few direct questions help separate shops that take this seriously from ones that don’t.
Ask how many total hours are allocated to decontamination and correction versus coating application itself, since a heavily front-loaded prep schedule is a strong sign of proper ceramic coating prep work. Ask whether iron decontamination and clay barring are standard steps or optional add-ons, since making them optional often signals they’re routinely skipped to save time. Ask to see the vehicle under high-CRI inspection lighting before the coating is applied, since a shop confident in its prep work will welcome that kind of scrutiny rather than avoid it.

Does More Expensive Always Mean Better Prep?
Not necessarily, though price and thoroughness are often correlated. A shop charging a premium price without a clear explanation of its ceramic coating prep work process isn’t automatically doing better preparation than a mid-priced competitor with a transparent, itemized process.
The clearest signal isn’t the price tag alone, but whether the shop can walk you through each of the five stages above and explain what tools and products they use at each one. A shop that can’t explain its own prep process in detail is a bigger red flag than one whose pricing simply falls in the middle of the market.
The Time Investment Owners Often Underestimate
Because the finished result looks so effortless, many owners are surprised at just how much of the total appointment time goes toward ceramic coating prep work rather than the actual coating application. On a typical vehicle, the coating itself might take only an hour or two to apply and level. Decontamination, claying, and correction routinely consume the other 80 to 90 percent of the total time in the bay.
This time investment is exactly why a rushed one-day “express” ceramic package should raise questions. A genuinely thorough prep process on a vehicle with any meaningful swirl marks or contamination typically can’t be compressed into a couple of hours without skipping steps that matter. Understanding this time breakdown helps set realistic expectations when comparing quotes and turnaround times between different studios.
How Vehicle History Affects Ceramic Coating Prep Work
Not every vehicle requires the same depth of preparation, and a car’s history plays a significant role in how much ceramic coating prep work is actually needed. A brand-new vehicle straight from the dealership typically needs lighter decontamination and only minor correction, since the factory clear coat hasn’t yet accumulated years of swirl marks or embedded contaminants.
A vehicle with a history of automated tunnel washes, on the other hand, often carries deep, widespread swirling that requires more aggressive, time-consuming correction than a similarly aged car that has only ever been hand washed. Vehicles previously treated with consumer wax or sealant products also need a more thorough strip wash stage, since these products can leave stubborn residues that ordinary maintenance shampoos don’t fully remove. Knowing a vehicle’s maintenance history in advance helps a detailer estimate ceramic coating prep work time more accurately before the car even arrives for inspection.
Why Skipping a Single Stage Undermines the Whole Process
Ceramic coating prep work is often described as a five-stage process, but it functions more like a chain than a checklist, where each stage depends on the one before it being done correctly. Skipping the strip wash means the iron decontamination chemicals have to work through a layer of residual wax or sealant, reducing their effectiveness. Skipping iron decontamination means the clay bar stage has to shear through embedded metallic particles it isn’t designed to remove cleanly, risking marring.
Skipping paint correction means the final panel wipe reveals swirl marks and holograms that get sealed permanently under the coating instead of removed beforehand. Skipping the final panel wipe means residual polishing oils sit directly beneath the coating, causing the same adhesion failure that motivated the entire process in the first place. This interconnected nature is why professional detailers treat ceramic coating prep work as a single continuous system rather than a series of optional add-ons that can be picked and chosen individually.
Tools of the Trade: What Proper Prep Actually Requires
Beyond the chemicals and products already discussed, thorough ceramic coating prep work depends on a fairly specific set of equipment that separates a properly outfitted studio from an improvised setup. Dual-action and rotary polishers, paired with a range of pad and compound combinations, allow a technician to match correction aggressiveness to the specific paint condition of each vehicle rather than using a single generic approach.
High-CRI inspection lighting, often mounted on adjustable stands, reveals swirl marks and holograms that are invisible under normal garage lighting or daylight, making it possible to confirm correction work is actually complete rather than assumed to be.
Paint depth gauges measure clear coat thickness in microns before any aggressive correction begins, ensuring there’s enough material remaining to safely polish without risking burn-through. Dedicated, color-coded microfiber towels and applicators, kept separate for each stage of the process, prevent cross-contamination between decontamination chemicals, polishing oils, and the final panel wipe. Without this equipment, even a technician who understands the theory behind ceramic coating prep work will struggle to execute it consistently across an entire vehicle.
Setting Expectations Before Your Appointment
Because ceramic coating prep work is what determines most of the final outcome, a short conversation with your installer beforehand can help align expectations. Bringing photos of the vehicle’s current condition, or being upfront about known issues like a history of automated car washes, gives the detailer a more accurate sense of how much correction time to budget.
Asking directly what the quote includes in terms of decontamination and correction stages, rather than assuming “ceramic coating” means the same scope of work everywhere, helps avoid surprises when the final invoice arrives. A studio that walks through this process patiently before booking is generally a good sign of how seriously they’ll treat the actual preparation work once your vehicle is in their bay.
Frequently Asked Questions
Can I just clay bar my car and apply ceramic coating without polishing?
ceramic coating without polishing is not recommended. Mechanical clay bars inherently cause light micro-marring as they shear off heavy grit. A light finishing polish is always needed after claying to refine the paint and maximize gloss before coating, which is why paint correction remains a required stage of ceramic coating prep work rather than an optional add-on.
Is chemical decontamination safe for factory clear coat?
Yes. Quality iron dissolvers and tar removers are engineered with neutral or balanced chemical bases that react strictly with metallic and organic contaminants, leaving modern factory clear coats completely unharmed during this stage of the process.
How do detailers know the paint is 100% stripped of oils?
After a proper panel wipe, the paint exhibits zero slickness and feels squeaky clean. Water sprayed on bare, stripped paint will form a flat, sluggish sheet rather than tight beads, which is the clearest sign that this stage of ceramic coating prep work succeeded.
Does ceramic coating prep work take longer on an older vehicle?
Generally, yes. Older vehicles typically carry more accumulated swirl marks, oxidation, and embedded contaminants, which extends the correction and decontamination stages considerably compared to a brand-new car with minimal existing damage.
Can rushed ceramic coating prep work be fixed after the fact?
Sometimes, though it usually requires stripping the coating entirely first. If defects were locked in due to skipped correction, or if the coating failed early due to skipped decontamination, a certified detailer typically needs to machine polish the surface back down before starting the full prep process over from scratch.
Experience Precision Surface Prep at Red’s Detail Co.
At Red’s Detail Co., we never compromise on the unseen foundation of detailing. Our certified specialists dedicate hours to meticulous multi-stage decontamination and machine jeweling as part of every ceramic coating prep work process, before applying certified CQuartz Finest Reserve ceramic coatings in Marietta and Atlanta.
Ready to lock in true showroom gloss with master-level preparation? Contact Red’s Detail Co. today to book your vehicle’s paint inspection.
Related Reading on Our Site
- Top 10 Ceramic Coating Benefits
- Ceramic Coating vs PPF: Which Is Right for Your Car
- How Long Does Ceramic Coating Really Last
- What Is CQuartz Finest Reserve
- How to Wash and Maintain a Ceramic Coated Vehicle
- Is Ceramic Coating Scratch-Proof? Myths and Realities
- Ceramic Coating vs Wax: Which Is Worth the Investment
- How Much Does Ceramic Coating Cost
- Why Apply Ceramic Coating to a Brand-New Car Immediately
- Ceramic Coating Curing Time: Rules and Care Guide
- Ceramic Windshield Coating: Clear Vision and Rain Repellency
- Wheel Ceramic Coating: Repel Brake Dust and Grime
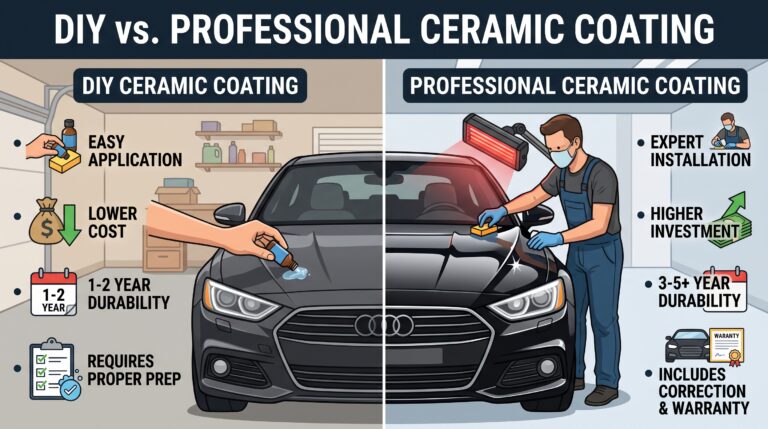
- DIY vs Professional Ceramic Coating: The Honest Truth
- How to Prevent and Remove Water Spots from Ceramic Coating
- Book a Consultation
Note on architectureassociate.com: Checked again for consistency with the previous fifteen posts. It remains an architecture and design blog with no automotive content, so it has not been included here for the same relevance reasons noted previously. but if you are interested in architecture then you may visit the website Architecture Associate.
Note on internal link domain: These internal links continue to assume redsdetailco.com as your site’s domain, matching the slugs used across the prior fifteen articles in this series. Please confirm or correct before publishing.

3 Comments