How Does a Coolant Tester Work Step by Step
Worried your car’s coolant might not provide enough freeze or boil protection? You’re not alone—many drivers struggle to check antifreeze accurately before costly engine problems arise. The best coolant testers make the process quick and straightforward.
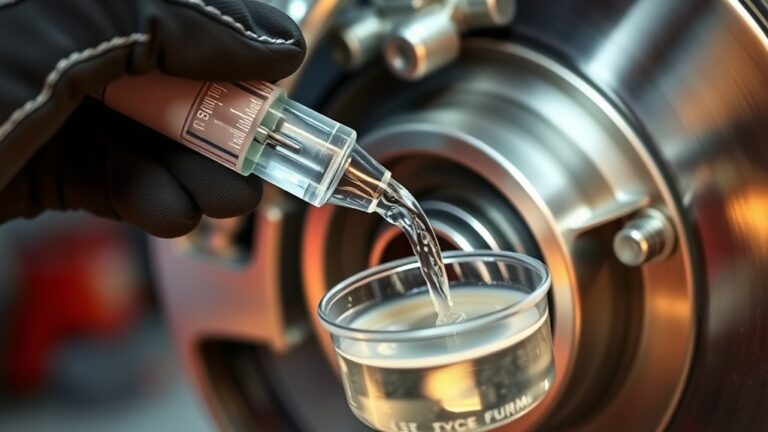
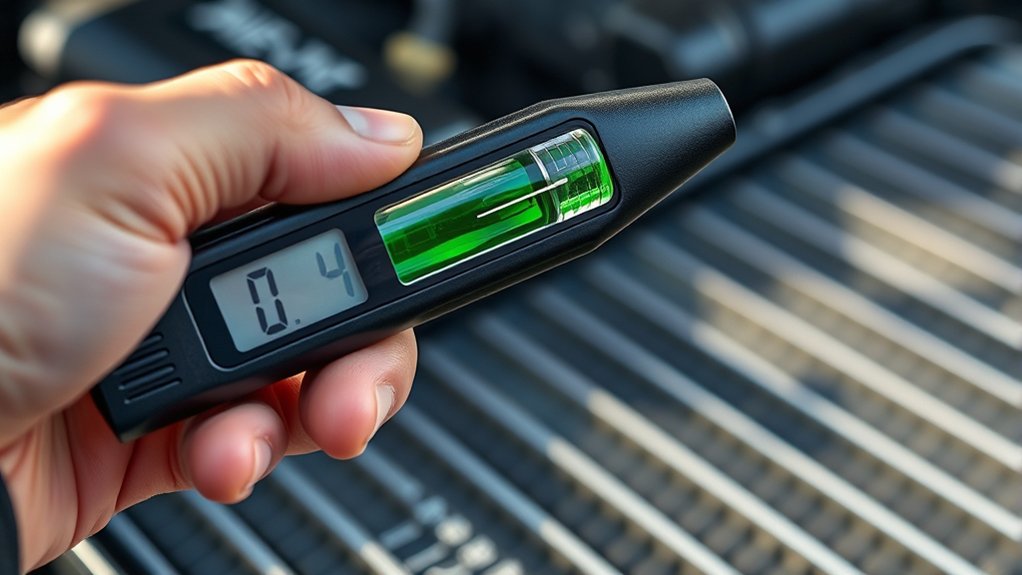
A coolant tester measures antifreeze concentration to estimate freeze and boil protection. First, let your engine cool completely, then loosen the cap slowly. Draw a clean sample from the radiator or expansion tank without introducing debris or air bubbles.
For a hydrometer, release coolant into the tester and note the highest floating ball. For a refractometer, place drops on the prism and read the boundary line.
Compare results with your vehicle’s specifications, and investigate the next steps for accurate maintenance.
Key Takeaways
- Let the engine cool completely, then slowly release cooling-system pressure and collect a clean, well-mixed coolant sample.
- Fill a hydrometer or place coolant drops on a calibrated refractometer, avoiding air bubbles and contamination.
- For a hydrometer, read the highest floating ball. For a refractometer, focus on the boundary line and record its scale position.
- Compare the reading with the manufacturer’s chart to determine antifreeze concentration and freeze- and boil-point protection.
- Repeat unusual tests, inspect contaminated coolant, and adjust or replace it according to specifications and service intervals.
What Does a Coolant Tester Measure?
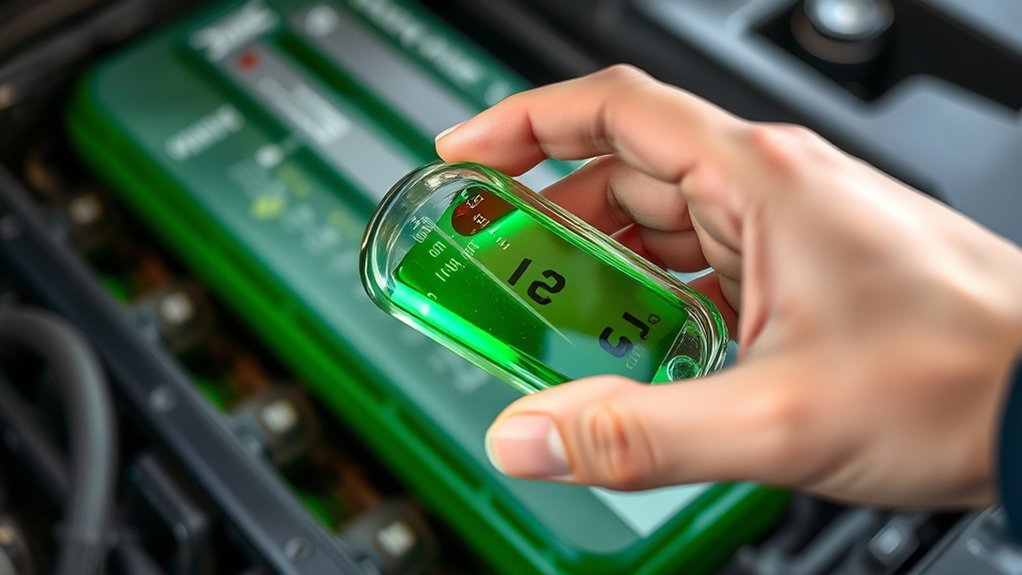
A coolant tester measures the antifreeze’s freeze-point and boil-point protection, showing whether the coolant can withstand the temperatures your engine may encounter. When you test a sample, you’re checking how its coolant composition affects protection against freezing and overheating.
The device evaluates the mixture’s density or refractive behavior, depending on its design, and converts that reading into an estimated temperature range.
Your results can reveal whether the coolant contains enough antifreeze or too much water. A low freeze-point reading may signal dilution, while an unusually high concentration can reduce heat-transfer efficiency.
Testing procedures typically require a clean, representative sample taken from the cooling system after the engine cools. You’ll place the sample in the tester, read the scale or display, and compare the result with your vehicle manufacturer’s specification.
The measurement doesn’t diagnose every cooling-system problem, but it gives you a quick indication of coolant strength and temperature protection before you investigate further.
Choose the Right Coolant Tester
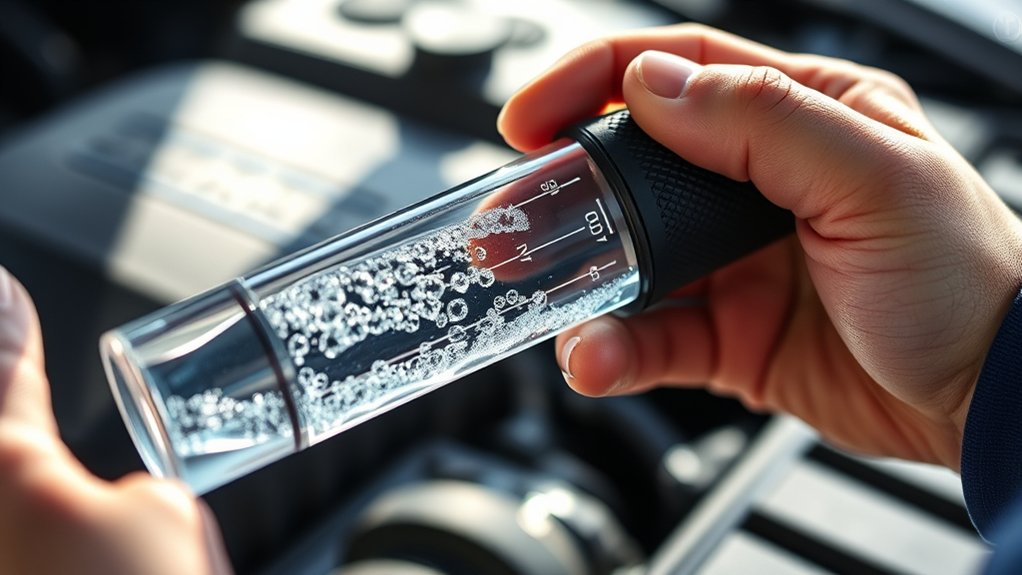
Choose a coolant tester that fits your vehicle and testing needs, such as a hydrometer or refractometer. Make sure it covers the temperatures you’ll be working in, and choose a durable, accurate model for reliable readings over time.
Tester Type
Coolant testers come in several types, and the right one depends on what you need to measure.
Choose a hydrometer when you want a simple, affordable density check. A refractometer offers greater precision and needs only a small sample.
Test strips provide quick screening for pH, corrosion inhibitors, and contamination. Digital analyzers suit workshops that require repeatable readings and records.
Match your choice to your coolant chemistry and testing procedures.
| Tester type | Best use |
|---|---|
| Hydrometer | Basic density check |
| Refractometer | Precise concentration reading |
| Test strips | Quick chemical screening |
| Digital analyzer | Detailed, repeatable analysis |
Before testing, confirm the instrument supports your coolant formulation. Follow its instructions, clean the sampling area, and use fresh samples.
Don’t mix tester types casually. Each measures different properties and may require separate interpretation.
Select the tool that answers your specific maintenance question.
Temperature Range
Check the tester’s temperature range before taking a reading. Coolant temperature affects measurement accuracy and may exceed the instrument’s safe operating limits.
Choose a model rated for the engine temperature you’ll encounter, whether you’re testing a cold system, a warm engine, or coolant after normal operation.
If you test immediately after driving, let the system cool according to the vehicle manufacturer’s instructions before opening the radiator or expansion tank.
A tester designed only for room-temperature samples may not suit hot automotive coolant. Also, consider the expected range of your coolant mixture, including antifreeze concentration and water content, when selecting the instrument.
Keep the tester within its specified operating and storage temperatures. Matching the range to your testing conditions helps you collect readings safely and avoid temperature-related handling problems.
Accuracy and Durability
A reliable coolant tester should deliver consistent readings and withstand repeated use in an automotive environment. Choose a model that matches your testing needs and handles your coolant chemistry, including conventional, hybrid, or extended-life formulations.
Clear markings, a sturdy body, and a sealed measuring chamber help you read results accurately and prevent leaks or damage.
Before each use, inspect the float, lens, hose, and seals for cracks or contamination. Follow the manufacturer’s instructions for cleaning and storage, because residue can affect measurements.
You should also verify tester calibration periodically with a known reference or approved calibration solution. If readings seem inconsistent, test the coolant again after mixing it thoroughly and checking its temperature.
A durable tester saves replacement costs, while dependable accuracy helps you identify weak antifreeze protection before freezing, overheating, or corrosion becomes a serious problem.
Let the Engine Cool Before Testing
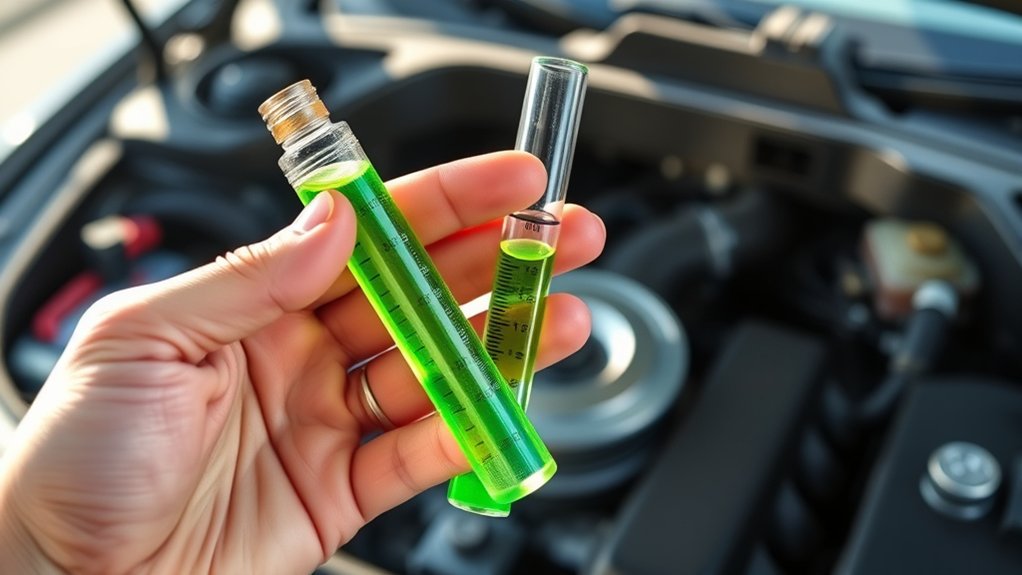
Before you test the coolant, let the engine cool completely and release its pressure naturally. Hot coolant remains under pressure, so opening the radiator cap or reservoir too soon can cause scalding sprays and serious burns.
Don’t rely only on the dashboard gauge; engine temperature can stay dangerously high after you shut the vehicle off.
Park on level ground, switch off the ignition, and keep children and pets away from the vehicle. Follow basic safety precautions by wearing gloves and eye protection.
Never place your face or hands near the cap while the system feels hot. Wait until the upper radiator hose feels cool and the engine has reached ambient temperature.
If you’re unsure, give it more time rather than guessing.
Once the system has cooled, loosen the cap slowly, stopping if you hear hissing. Let the remaining pressure escape before removing it completely.
This careful pause protects you and helps the tester provide reliable results.
Take a Clean Coolant Sample
With the engine cool and the cap removed, draw the sample from the radiator or coolant reservoir using a clean tester. Choose an accessible point that contains circulating coolant, not sediment, rust, or surface debris. If you use the reservoir, collect liquid from the main chamber rather than the overflow hose or a dry upper section.
Rinse the tester with distilled water, then let it drain completely before collecting your sample. Don’t use tap water, oil-contaminated equipment, or a container that held another fluid. Those contaminants can change the appearance and interfere with the Coolant chemical reading.
Fill the tester only to its marked level, and avoid introducing air bubbles. A representative sample should look uniform and free of foam. If the coolant appears unusually dirty, drain a small amount first, then collect fresh fluid.
Record the Engine temperature and coolant condition so you can compare later results accurately. Replace the radiator cap securely when you’ve finished sampling.
Use a Floating-Ball Coolant Tester
Once the sample is ready, squeeze the tester bulb, place its tip below the coolant surface, and release the bulb to draw in liquid. Fill the chamber enough to lift every floating ball without forcing coolant into the cap or vent.
Hold the tester upright at eye level on a stable surface, then wait briefly for the balls to settle.
Read the scale beside the highest floating ball, or count the balls that rise. Each position corresponds to a freeze-protection range, so compare your result with the coolant manufacturer’s chart. Don’t shake the tester while reading it.
- Keep the tester clean and dry between uses.
- Check for trapped air bubbles that can distort buoyancy.
- Note the coolant temperature before interpreting results.
- Rinse the chamber with distilled water after testing.
Coolant chemistry affects density, so mixed or contaminated fluid can produce an unusual reading. Follow the recommended testing frequency, especially before winter, after repairs, or when overheating suggests coolant deterioration.
Dispose of the sample safely.
Read a Coolant Refractometer
A coolant refractometer measures how light bends through a sample to estimate its freeze-protection level. To read it, clean the prism, add one or two drops of coolant, and close the cover.
Hold the instrument toward a bright light, then look through the eyepiece. Turn the focus ring until the boundary line appears sharp.
Read where that line crosses the printed scale, keeping the refractometer level.
| What you see | What you do |
|---|---|
| Clear prism | Wipe it clean |
| Blue boundary | Focus the eyepiece |
| Sharp dividing line | Align your eye |
| Scale markings | Record the reading |
| Cloudy sample | Test a fresh drop |
Compare the reading with your vehicle’s service specifications, but don’t interpret protection limits yet.
A clean, readable result helps you spot coolant imbalance before it contributes to engine overheating. Include this check in radiator maintenance, especially after topping up, flushing, or repairing a leak.
Rinse the prism with distilled water, dry it gently, and store the tool in its case.
Check Freezing and Boiling Protection Levels
Compare your refractometer reading with the coolant manufacturer’s chart to check freeze and boil protection. The chart translates the measured coolant composition into temperature limits, helping you see whether the mixture can handle local cold and hot conditions.
Read both values carefully. Freeze protection and boil protection aren’t always identical.
> Read both protection values carefully, since freeze and boil limits may differ.
- Record the displayed freeze-protection temperature.
- Note the corresponding boiling-protection temperature.
- Confirm the sample came from fully mixed coolant.
- Repeat the test if the reading looks unusual.
Engine temperature can rise rapidly when coolant boils, creating vapor pockets and reducing heat transfer.
If the chart shows weak protection, don’t assume the tester caused the result. Contamination, dilution, an incorrect coolant type, or a poorly mixed system can change the measurement.
Clean and dry the prism, test another sample, and compare the results. Keep the readings as diagnostic evidence rather than treating them as a final repair decision.
Avoid opening a hot cooling system, because pressurized coolant can cause severe burns. Once you’ve documented both protection levels, you’ll have reliable information for the next evaluation step.
Match Results to Your Vehicle’s Requirements
Next, check your owner’s manual for your vehicle’s recommended freeze point. Then, compare the tester’s boiling-point range with the required protection level. Finally, make sure the coolant type is compatible with your vehicle.
Check Recommended Freeze Point
Once you’ve read the coolant tester, check that its indicated freeze point meets your vehicle manufacturer’s recommended protection level. Find the specification in your owner’s manual or service information, then compare it with the tester’s reading.
A suitable mixture helps protect against freezing while supporting stable engine temperature during cold weather.
Use these checks to confirm the result:
- Match the reading to your climate’s lowest expected temperature.
- Verify the coolant type matches your vehicle’s specification.
- Consider whether dilution or contamination could affect accuracy.
- Recheck an unexpected result with a clean, calibrated tester.
Don’t assume a stronger mixture always provides better protection. Excessive antifreeze can reduce heat transfer and hinder cooling.
Correct concentration also helps limit coolant corrosion inside passages, the radiator, and the water pump.
If protection falls short, correct the mixture according to the manufacturer’s instructions.
Compare Boiling Point Range
Check the tester’s boiling-point reading against the range specified for your vehicle and the coolant mixture in use. A reading within that range suggests the coolant can resist vapor formation during normal and heavy-duty operation.
If it falls below the requirement, overheating protection may be reduced, especially in traffic, on steep grades, or under high loads. Don’t treat a higher reading as automatically better; compare it with your owner’s manual or service data.
| Reading | What you should do |
|---|---|
| Within range | Continue monitoring the system |
| Below range | Investigate dilution, age, or contamination |
Record the result for future comparisons, and consider testing again after correcting an apparent mixture problem.
Proper boiling-point protection supports corrosion prevention by helping maintain stable coolant performance. It also limits waste and environmental impact by reducing premature draining and replacement.
Handle and dispose of coolant responsibly.
Verify Coolant Compatibility
Match the tester’s readings and the coolant label to your vehicle manufacturer’s requirements before adding or replacing coolant. Your owner’s manual specifies the approved coolant chemistry, concentration, and performance standard.
Don’t assume color indicates compatibility. Different formulations may look alike yet contain incompatible additives. Confirm the tester’s reading falls within the recommended freeze and boiling protection ranges.
- Check the manual or manufacturer’s service bulletin.
- Match the coolant type, specification, and mix ratio.
- Avoid mixing incompatible organic, hybrid, or conventional formulas.
- Flush the system if the existing coolant’s type remains unknown.
If results don’t match, postpone the refill and identify the correct product. Using the wrong coolant can accelerate corrosion, damage seals, clog passages, or reduce heat transfer.
Choose premixed coolant when accurate dilution is difficult, and dispose of drained fluid responsibly to limit environmental impact. You’ll protect the engine and maintain dependable cooling.
Avoid Common Coolant Testing Mistakes
Avoid inaccurate readings by testing coolant only when the engine is cool, using a clean tester, and following the device’s instructions. Wear gloves and eye protection, then draw the sample from the designated reservoir rather than an overheated radiator.
Before testing, inspect the tester for cracks, residue, or trapped air that could distort results. Rinse and dry reusable parts as directed, but don’t dilute the sample with water or mix fluids from different systems.
Hold a hydrometer level and read the scale at eye height. For a refractometer, place the correct number of drops on the prism, close the cover, and calibrate it with distilled water when required.
Don’t judge protection by coolant color alone. Faded or unusual color can reflect contamination, but appearance isn’t a measurement.
Likewise, coolant smell may signal a problem, yet odor can’t replace a proper test. Record the reading immediately, and repeat it if the result seems inconsistent.
Know When to Replace the Coolant
Know when it’s time to replace your coolant by checking its color for discoloration or contamination. You can also test its freeze protection to make sure it’s still working properly. And be sure to follow your vehicle manufacturer’s recommended replacement intervals.
Check Coolant Color
Start by checking the coolant’s color against the manufacturer’s specifications, since color can indicate its type and condition. Compare the sample with the vehicle’s recommended shade, but don’t rely on appearance alone.
Coolant color varies by formula, and mixing incompatible types can damage the cooling system.
Look for these warning signs:
- Brown or rusty coolant may indicate corrosion or contamination.
- Cloudy coolant can contain sediment, oil, or other debris.
- Milky coolant may suggest unwanted fluid mixing.
- Faded color can signal an aged or diluted formula.
If the coolant looks abnormal, inspect the reservoir and radiator area for leaks or residue.
A coolant tester may also help assess the pH level, which reveals chemical deterioration that color can’t show.
Replace questionable coolant according to the manufacturer’s service interval and disposal guidelines.
Never open a hot cooling system.
Test Freeze Protection
Next, test the coolant’s freeze protection with a hydrometer or refractometer to measure its antifreeze concentration. Confirm the engine is cool, then draw a sample from the radiator or expansion tank, following the tester’s instructions.
A hydrometer floats to indicate the mixture’s freezing point, while a refractometer uses light to provide a precise reading. Compare the result with your vehicle manufacturer’s recommended range.
If protection falls below the required temperature, the mixture may freeze, expand, and damage components. An incorrect concentration can also reduce boiling protection, contributing to engine overheating during demanding driving.
Check for coolant contamination, such as oil, rust, or debris, because contamination can distort readings and signal cooling-system problems.
If the test shows weak protection or contamination, plan a coolant replacement after identifying the cause.
Follow Replacement Intervals
Once you’ve tested the coolant, check your vehicle manufacturer’s replacement interval to determine when it should be changed. Don’t rely solely on a normal freeze-protection reading; coolant chemistry can deteriorate while the mixture still appears acceptable.
Follow the service schedule, then adjust it for severe conditions, including towing, extreme temperatures, frequent short trips, or contaminated systems.
Use your test results and maintenance records to plan service:
- Replace coolant at the specified mileage or time.
- Change it sooner if testing shows corrosion, contamination, or weak additives.
- Follow the recommended coolant type; different formulas may not mix safely.
- Record the service date and set a reminder for the next interval.
Maintain a consistent testing frequency between replacements, especially before winter or summer driving.
If the coolant looks rusty, cloudy, or oily, have the system inspected promptly. своевременно
Proper replacement protects components, prevents overheating, and supports reliable engine performance.
Frequently Asked Questions
How Often Should Coolant Be Tested Throughout the Year?
Test your coolant at least twice a year, ideally before summer and winter, to support reliable vehicle maintenance. You should also perform Coolant testing whenever you notice overheating, leaks, unusual color, rust, or a sweet smell.
Follow your vehicle manufacturer’s schedule, because some modern coolants last several years while others need more frequent checks. If you drive under severe conditions, test more often to catch contamination, weak freeze protection, or improper concentration early.
Can a Coolant Tester Detect Leaks in the Cooling System?
A coolant tester won’t find every leak, but it can help you spot problems before they become a million-dollar disaster. Many testers measure antifreeze strength and reveal abnormal coolant color, which may indicate contamination or internal damage, not necessarily a leak.
To locate leaks, use a cooling-system pressure tester. Pump the system to its specified system pressure, then watch for pressure loss or visible drips around hoses, seals, the radiator, and water pump.
Are Coolant Testers Compatible With Electric and Hybrid Vehicles?
Yes, you can use many coolant testers with electric and hybrid vehicles, but check the manufacturer’s specifications first. Electric compatibility depends on the tester’s pressure range, coolant requirements, and safety guidance.
For hybrid vehicle testing, you’ll typically inspect the engine’s cooling circuit separately from battery or inverter loops. Don’t open a hot system, and use the correct adapter and coolant type.
When uncertain, follow the vehicle’s service manual or ask a qualified technician.
How Should a Coolant Tester Be Cleaned and Stored?
After testing, rinse your coolant tester under clean water until no antifreeze residue remains, then dry it completely with a soft, lint-free cloth. Don’t use harsh solvents, abrasive brushes, or excessive heat, which can damage seals and readings.
This simple coolant tester maintenance keeps the instrument reliable. For storage safety, close caps, protect the tester from freezing temperatures and direct sunlight, and place it upright in a clean, dry case away from children and chemicals.
Can Old Coolant Tester Tools Give Inaccurate Readings?
Yes, old coolant tester tools can give inaccurate readings. Over time, deposits, damaged seals, cloudy fluid chambers, or a cracked hydrometer can affect results.
You should inspect the tool before each use, rinse it thoroughly, and verify its calibration against a known reference.
Don’t rely on coolant color alone because dyes don’t reliably show freeze protection or coolant condition. Replace the tester if it leaks, sticks, or produces inconsistent readings during repeated checks.
Conclusion
Testing your coolant is a simple way to protect your engine before problems start. Once the engine cools, collect a clean sample, use the tester correctly, and compare its freezing and boiling protection with your vehicle’s requirements.
Don’t let air bubbles, contamination, or incorrect readings mislead you. If the mixture is weak, dirty, or overdue, replace it.
A few careful minutes today can help prevent costly overheating and freeze damage tomorrow. Knowing how a coolant tester works step by step makes routine maintenance easier and more reliable.