How Does a Drilled Brake Rotor Work Step-by-Step
Many drivers struggle with brake fade, overheating, or reduced stopping confidence, especially during heavy traffic, steep descents, or spirited driving. You’re not alone—understanding how a drilled brake rotor works can help you choose the right upgrade and maintain reliable braking performance.
When you press the brake pedal, you push a rod into the booster, which amplifies your force. The master cylinder turns that movement into hydraulic pressure, sending brake fluid to the caliper.
The caliper pistons press the pads against the drilled rotor, creating friction that changes your vehicle’s motion into heat. The holes help release heat, gases, water, and debris, maintaining contact and reducing fade.
Proper inspections keep the system safe, and the next sections explain wear, benefits, and applications.
Key Takeaways
- Pressing the brake pedal activates the booster and master cylinder, generating hydraulic pressure through the brake lines.
- Hydraulic pressure moves caliper pistons, forcing the brake pads against the drilled rotor’s friction surfaces.
- Pad-to-rotor friction converts vehicle motion into heat, slowing wheel rotation and reducing vehicle speed.
- Drilled holes release heat, gases, water, and debris, helping maintain consistent pad contact and reduce brake fade.
- Inspect rotors regularly for cracks, grooves, heat marks, and minimum-thickness wear, replacing them when specifications or safety require.
What Is a Drilled Brake Rotor?
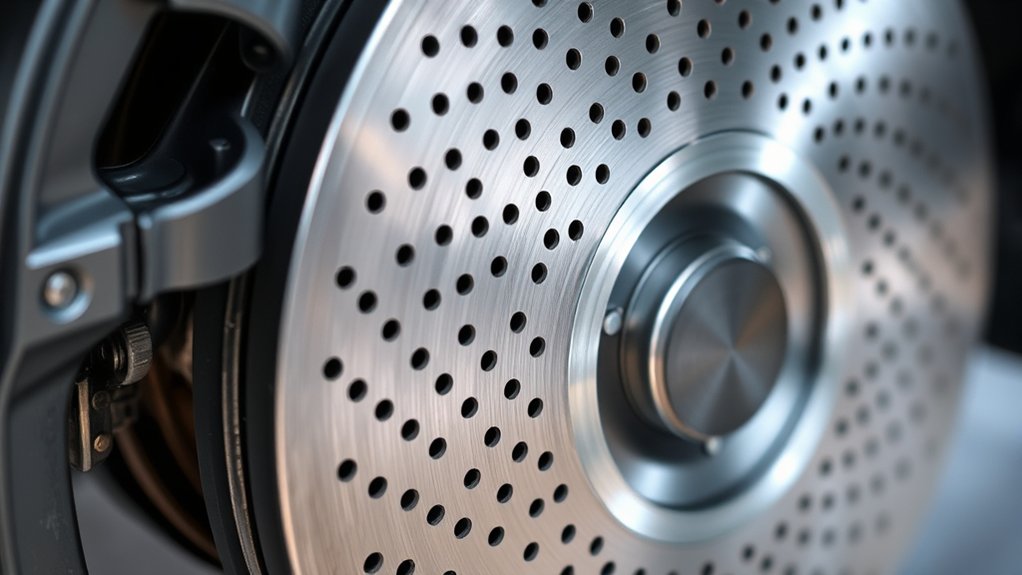
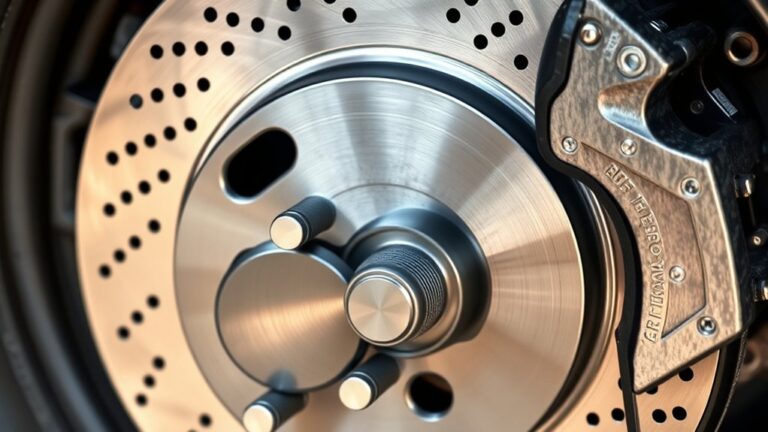
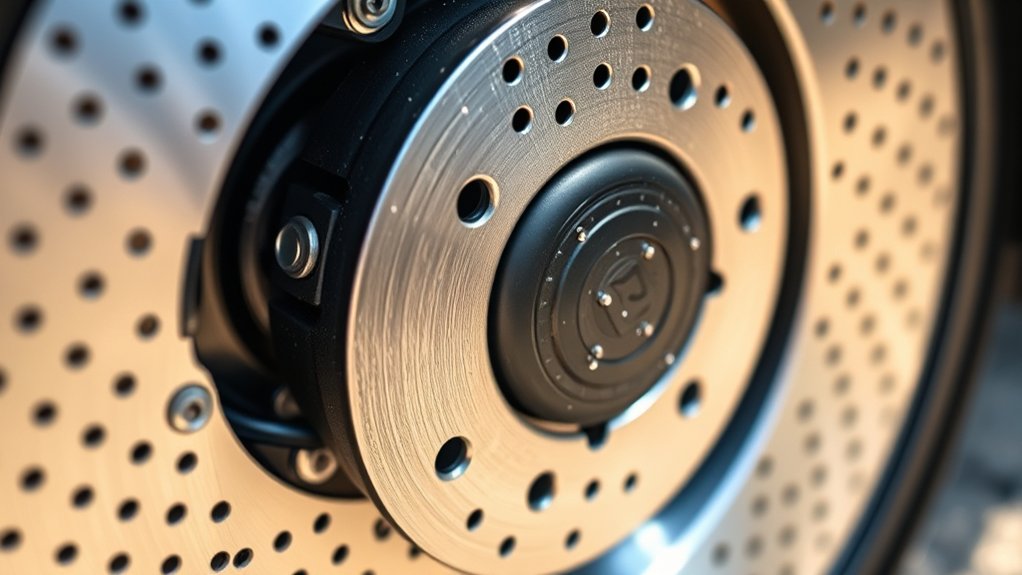
A drilled brake rotor is a disc-shaped component with precision-drilled holes through its friction surface. You’ll find it mounted beside a vehicle’s wheel, where its flat, rotating face provides the contact area for brake pads.
As the rotor turns, the holes pass through its body, creating channels that can help release heat, gases, and surface debris during repeated braking. However, the rotor’s primary identity comes from its construction, not from pedal operation.
Manufacturers typically cast or forge rotors from iron alloys, then machine the faces and drill carefully positioned holes. Material durability depends on the alloy, rotor thickness, heat treatment, and resistance to cracking around each opening.
Cast or forged iron alloys, precision machining, and carefully drilled openings give rotors their strength, balance, and durability.
Quality manufacturing processes keep the disc balanced, dimensionally accurate, and compatible with its matching pads and hub. You’ll also see different hole patterns, finishes, and ventilation designs, depending on the vehicle and intended use.
These features define the rotor before any braking action begins.
How Brake Pedal Pressure Starts Braking
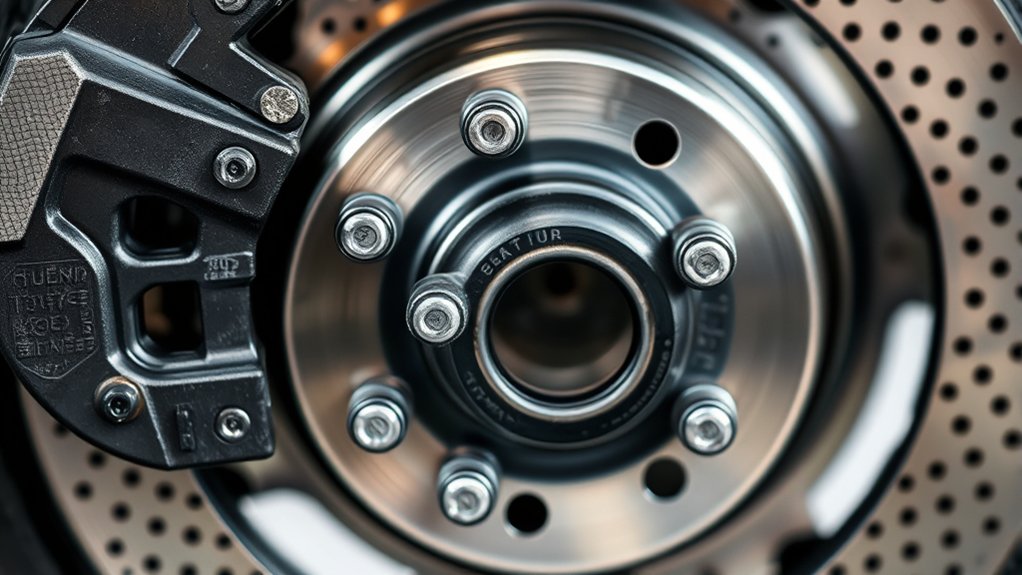
When you press the brake pedal, your force starts the braking process. The master cylinder turns that force into hydraulic pressure and sends brake fluid to each caliper. As the pressure builds, the caliper pistons push the brake pads against the drilled rotor.
Pedal Force Begins
Pressing the brake pedal starts the braking process by pushing a rod into the brake booster, which multiplies your foot’s force before transferring it to the master cylinder.
As you press farther, you create controlled mechanical movement that prepares the braking system to respond. Your pedal effort also reflects system condition, including booster assistance, pedal travel, and friction at the pad and rotor.
- A firm pedal signals efficient mechanical engagement.
- A soft pedal may indicate air or wear.
- Booster support reduces the effort you need.
- Brake fluid chemistry affects long-term component protection.
- Rotor material composition influences braking response and heat tolerance.
At this stage, your foot has initiated the sequence, but the drilled rotor hasn’t yet performed its cooling role.
The master cylinder is ready for the next step, while your pedal input determines how decisively braking begins.
Hydraulic Pressure Builds
Once the brake booster transfers your pedal force, the master cylinder converts that movement into hydraulic pressure by pushing pistons through the brake fluid. As you press harder, the master cylinder creates greater pressure inside the sealed hydraulic system.
That pressure travels through rigid lines and flexible hoses, carrying your braking command toward each wheel. Because brake fluid resists compression, it transfers your input efficiently instead of absorbing the pedal’s movement.
The system also balances pressure between circuits, helping you maintain control if one circuit develops a leak. Your vehicle’s valves and lines manage pressure changes as speed, load, and pedal effort vary.
At this stage, the pressure has built and moved through the system, ready for the wheel-end components to respond. You’re now creating the force that begins slowing the vehicle.
Caliper Pistons Engage
That hydraulic pressure reaches the caliper, forcing its pistons outward against the brake pads. You’ll see the Caliper mechanism convert fluid pressure into clamping force.
As the pistons move, they press the inner pad against the rotor, while the caliper’s sliding body draws the outer pad inward. This action creates balanced friction on both sides of the drilled rotor, slowing its rotation.
Key factors include:
- Piston seals flex slightly, then help retract the pistons.
- Pad guides maintain smooth movement during engagement.
- Brake pad alignment keeps contact even across the rotor.
- Caliper slides allow the outer pad to clamp properly.
- Rotor holes help clear gases and heat under heavy braking.
You’ll feel this clamping as pedal resistance and vehicle deceleration. Releasing the pedal reduces pressure, letting the pads separate slightly without losing immediate braking readiness.
How Brake Fluid Moves the Caliper
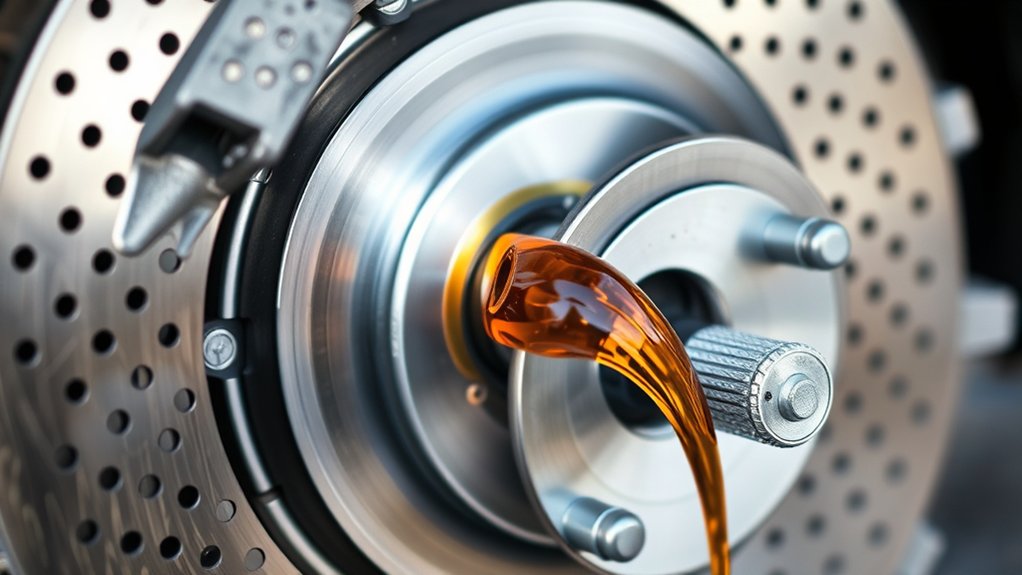
When you press the brake pedal, the master cylinder forces brake fluid through the hydraulic lines toward the caliper. This pressure travels through the sealed hydraulic system, carrying your pedal input quickly and evenly to the caliper housing.
As fluid enters the caliper, it fills the internal chamber behind the piston. Because brake fluid resists compression, pressure builds almost immediately rather than getting absorbed like air would.
The rising pressure pushes the piston outward, transferring hydraulic force through the caliper’s moving components. On a floating caliper, this movement also guides the housing across its slide pins, allowing the mechanism to align itself over the rotor.
Your pedal effort thus becomes controlled mechanical movement at the wheel. Seals keep fluid contained while permitting the piston to move smoothly, and flexible hoses accommodate suspension travel.
When you release the pedal, pressure falls, allowing the caliper mechanism to return and prepare for the next braking application.
How Brake Pads Clamp the Rotor
As hydraulic pressure pushes the caliper piston outward, the inner brake pad presses against one side of the drilled rotor. The caliper slides or flexes slightly, drawing the outer pad inward until both pads contact the rotor evenly. You control this clamping action through pedal pressure, while the caliper’s seals, guides, and hardware help maintain alignment.
Several details determine how consistently the pads meet the rotor:
- Caliper stiffness limits unwanted flex under pressure.
- Pad backing plates distribute force across the friction lining.
- Brake pad material affects compressibility and contact stability.
- Rotor surface finish helps the linings seat evenly.
- Proper pad clearance prevents dragging when you release the pedal.
The rotor’s drilled holes don’t change the basic clamping sequence. Instead, they pass through the disc while the pads grip its flat faces.
Correct installation keeps the pads parallel with those faces, preventing tapered contact and uneven loading. As components wear, piston travel and caliper movement increase, so regular inspection helps preserve dependable clamping.
How Friction Slows the Wheel
As the pads grip the drilled rotor, friction resists its rotation. This slows the wheel and converts motion into heat. The rotor’s design then helps manage and release that heat during braking.
Friction Creates Resistance
Friction between the brake pads and rotor creates resistance that opposes the wheel’s rotation. As you press the brake pedal, hydraulic pressure pushes the pads against both rotor faces. Their contact generates a controlled drag, reducing the rotor’s speed and helping your vehicle slow.
Several factors determine how effectively this resistance works:
- Pad friction material grips the rotor consistently.
- Rotor surface condition affects contact quality.
- Material composition influences bite and wear.
- Even pressure prevents uneven braking.
- Rotor durability supports repeated stops.
A drilled rotor’s holes can help clear surface debris and maintain a dependable pad-to-rotor connection. You’ll feel this resistance as the vehicle decelerates smoothly, while the wheel loses rotational momentum.
Proper installation and compatible components keep braking predictable. Inspect the rotor and pads regularly, because grooves, cracks, or contamination can reduce friction and weaken stopping performance before you notice obvious pedal changes.
Heat Converts Motion
When you press the brake pedal, the rotor’s rotating motion changes into heat through pad-to-rotor friction. Your brake pads clamp the spinning drilled rotor, converting kinetic energy into thermal energy.
As friction increases, the wheel loses speed and your vehicle slows. The rotor’s holes and surrounding vanes help move hot air away, limiting heat buildup during repeated stops.
That cooling action can reduce fade, helping your brakes deliver consistent pedal response. You may notice Brake noise if the pads vibrate, debris enters the holes, or excessive heat causes uneven contact.
Proper bedding and clean components help control these sounds. Heat management also supports Rotor durability by reducing warping, cracking, and premature wear.
When you maintain the braking system, you help the rotor absorb and release heat safely, stop after stop.
How Rotor Holes Release Heat and Gas
Drilled holes help release heat and gases formed between the brake pad and rotor during hard braking. As friction raises temperatures, the holes interrupt the rotor’s solid surface and create short pathways for hot air to escape.
Drilled holes help vent heat and gases, supporting steadier pad contact and more consistent braking during hard stops.
This airflow improves ventilation efficiency, helping the rotor shed heat more consistently during repeated stops. At the same time, gas release reduces the thin cushion that can form between the pad and rotor when the pad material overheats.
You’ll notice the benefits most during demanding driving, when steady contact and predictable friction matter.
- Holes expose more rotor surface to surrounding air.
- Escaping heat helps limit temperature buildup.
- Gas release supports firmer pad contact.
- Improved cooling helps maintain braking consistency.
- Even temperature control can reduce fade risk.
The holes don’t create cold air or eliminate heat instantly. Instead, they support continuous heat transfer while braking, allowing the rotor to recover more effectively between applications.
Their spacing and size influence airflow, structural strength, and overall thermal performance. Manufacturers balance ventilation efficiency with durability.
How Drilled Rotors Clear Debris
As you brake, the drilled holes give dust, water, and other debris a way to escape from the rotor’s surface. This helps the pads maintain more consistent contact, giving you smoother, more predictable braking performance in changing conditions.
Debris Escape Paths
Brake-rotor holes give dust, water, and gases a direct route away from the pad-to-rotor contact patch. As you brake, rotation helps carry loose material toward each opening, where it exits the friction surface instead of lingering between the pad and rotor.
These debris pathways also help moisture escape after you drive through rain or puddles. The rotor’s ventilation channels support airflow and help move heat and airborne residue through the disc.
- Holes interrupt trapped-dust buildup.
- Openings shed water during rotation.
- Gas release reduces localized contamination.
- Channel movement supports cooling airflow.
- Edge exits disperse loosened particles.
You’ll notice the benefit most during repeated stops, when heat and debris normally accumulate quickly. Properly positioned holes work with the rotor’s motion, directing contaminants outward without requiring extra mechanisms.
Keep the rotor and pads clean, and inspect openings for blockage, cracks, or uneven wear.
Improved Pad Contact
When debris clears through the rotor’s holes, the brake pad maintains more consistent contact with the friction surface. As you brake, dust, gas, water, and loose particles can otherwise form a thin barrier between the pad and rotor.
That barrier reduces friction and may create uneven stopping, noise, or vibration. Drilled passages give contaminants an exit route, helping the pad engage the rotor more directly with each application.
You’ll notice steadier braking performance, especially during repeated stops or wet driving. Improved contact also spreads pressure more evenly across the pad, which can reduce irregular wear and support predictable pedal response.
Although drilling can affect material durability if poorly engineered, quality rotors balance strength with effective ventilation. You also gain aesthetic appeal from their performance-focused, motorsport-inspired appearance.
Are Drilled Rotors Better for Daily Driving?
Drilled rotors aren’t automatically better for daily driving, because most street cars rarely generate enough heat to need their extra ventilation. You’ll often notice more trade-offs than practical benefits during routine commuting.
Their aesthetic appeal can enhance your wheels, but appearance doesn’t necessarily improve braking performance. The manufacturing process also adds complexity, which can affect price and long-term durability.
Before choosing them, consider these everyday factors:
- Solid rotors usually provide sufficient stopping power for normal traffic.
- Drilled surfaces may produce additional noise during braking.
- Holes can create stress points under repeated temperature changes.
- Replacement parts may cost more than standard rotors.
- Proper pad compatibility remains essential for consistent pedal feel.
You’ll get the best results by matching the rotor design to your vehicle, driving habits, and manufacturer specifications.
For many drivers, quality standard rotors offer dependable performance, predictable maintenance, and better value. Drilled rotors aren’t a universal upgrade; they’re simply one design option among several for street use.
When Do Drilled Brake Rotors Make Sense?
Drilled brake rotors make sense when you regularly drive in conditions that create intense heat, such as track sessions, mountain descents, or heavy towing. Their holes help release heat and gases from the friction area, supporting consistent braking during repeated, demanding stops. You’ll benefit most when your vehicle’s brake system, tires, and pads can match that performance.
They can also suit you if you want sharper pedal response and a sportier appearance. However, don’t choose them solely for an aesthetic enhancement. For ordinary commuting, solid or quality slotted rotors may provide comparable results with greater durability and lower cost.
Before buying, confirm that the rotor fits your vehicle and matches your driving needs. Review the manufacturer’s manufacturing process, drilling pattern, material quality, and heat-treatment methods. A reputable design can deliver dependable performance, while poorly produced rotors may sacrifice strength.
Consider your budget, driving environment, and braking demands, then choose the design that offers meaningful benefits rather than visual appeal alone.
What Signs Show Rotor Wear?
Regardless of which rotor design suits your driving, regular inspections help you catch wear before braking performance declines. Check the Rotor surface whenever you service the wheels. Look for these warning signs:
Regular rotor inspections reveal early wear, helping maintain safe, reliable braking before performance declines.
- Deep grooves or scoring that catch your fingernail
- Blue, purple, or dark patches from excessive heat
- Cracks spreading from drilled holes or reaching the edges
- A pronounced outer lip or uneven thickness
- Rust buildup that braking doesn’t remove
You may also feel symptoms while driving. Steering-wheel vibration during braking often signals thickness variation, while pedal pulsation can indicate an uneven rotor.
Grinding, scraping, or squealing may mean the pads have worn through and damaged the rotor. Pay attention to pulling, reduced stopping power, or repeated brake noise, too.
Many rotors include Wear indicators, such as minimum-thickness markings or ventilation slots that become difficult to see as material disappears. Compare measurements with your vehicle manufacturer’s specification.
If you notice cracks, severe scoring, or thickness below the limit, replace the rotor and inspect the pads before driving further.
Frequently Asked Questions
How Long Do Drilled Brake Rotors Typically Last?
Drilled brake rotors typically last 30,000 to 70,000 miles, but your driving habits, vehicle weight, climate, and maintenance can shorten or extend that range. You’ll get longer service from quality rotor material and smooth, even braking.
Replace rotors when they reach the manufacturer’s minimum thickness, develop cracks, warp, or cause vibration. Inspect them whenever you replace pads, and don’t sacrifice braking efficiency by delaying replacement after damage appears or braking performance declines.
Can Drilled Brake Rotors Be Resurfaced?
Yes, you can sometimes resurface drilled brake rotors, but you’ll need to inspect them carefully first. Imagine a smooth, cool disc turning beneath your wheel; machining must preserve enough thickness and avoid weakening the drilled areas.
Many manufacturers discourage resurfacing if cracks, deep grooves, heat spots, or excessive wear appear. Check minimum thickness, then confirm rotor resurfacing suits your vehicle.
Finally, verify brake pad compatibility, because unsuitable pads can quickly damage the renewed surface.
Are Drilled Brake Rotors Compatible With Any Brake Pads?
Yes, you can use many brake pads with drilled rotors, but you shouldn’t assume universal compatibility. Check your vehicle manufacturer’s specifications and the rotor manufacturer’s recommendations before choosing pads.
Brake pad compatibility depends on the rotor’s design, temperature range, and intended use. Rotor material differences also matter because cast iron, carbon-infused, and specialty rotors may require specific compounds.
You’ll get the best braking performance by matching compatible pads and rotors.
How Much Do Drilled Brake Rotors Cost to Replace?
You’ll typically pay $250–$700 to replace drilled brake rotors on one axle, including parts and labor. Your price depends on vehicle size, rotor brand, local labor rates, and whether you replace brake pads simultaneously.
Brake rotor materials, such as cast iron or carbon-ceramic composites, considerably affect cost. The installation process may add fees if technicians find seized hardware, worn calipers, or corrosion.
Always request an itemized estimate before approving the repair.
Can Drilled Brake Rotors Crack Under Extreme Driving Conditions?
Yes, drilled brake rotors can crack under extreme driving conditions, acting like glass stressed by repeated heat waves. Your rotor’s material durability and manufacturing process strongly influence its resistance.
Aggressive braking, racing, excessive heat, poor-quality cast iron, or improperly drilled holes can create stress fractures. You should inspect rotors for visible cracks, blue discoloration, or vibration, and replace damaged parts immediately.
Never continue driving if cracking appears, because braking performance can deteriorate quickly.
Conclusion
A drilled brake rotor turns pedal pressure into controlled stopping power. You press the pedal, fluid moves the caliper, pads clamp the rotor, and friction slows your wheel.
Its holes help release heat, gases, and debris, but they don’t automatically improve daily driving. Choose drilled brake rotors when your driving demands extra cooling.
Inspect them when you notice vibration, cracks, grooves, or reduced braking. Maintain your system, monitor wear, and you’ll stop more confidently every time with a drilled brake rotor.