How Does a Tire Repair Kit Work Step by Step
A flat tire can ruin your plans, especially when you’re unsure whether a quick fix will hold. You’re not alone—many drivers struggle to know what to do in an emergency. The right tire repair kit can make the process simpler, but it’s important to use it safely.
First, make sure the puncture is in the tread and the tire hasn’t been driven flat. Gather your plugs, reaming and insertion tools, pliers, air pump, gauge, and soapy water.
Remove the nail or screw, then ream the hole to clean and smooth it. Insert and center a rubber plug, trim the excess, and reinflate the tire to the recommended pressure. Check for bubbles and monitor pressure afterward.
Replace unsafe tires, and learn the key safety details before driving farther.
Key Takeaways
- Confirm the puncture is repairable; tire plugs are for small tread holes, not sidewall damage, bulges, exposed cords, or severely damaged tires.
- Park safely, activate hazard lights, apply the parking brake, wear gloves, and inspect the tire for nails, screws, or escaping air.
- Remove the puncturing object with pliers, then use the reaming tool to clean and prepare the hole.
- Thread a rubber plug through the insertion tool, push it into the puncture, withdraw the tool, and trim excess material flush.
- Reinflate to the recommended pressure, test with soapy water for bubbles, monitor pressure, and replace the tire if leaking continues.
Make Sure the Tire Can Be Repaired
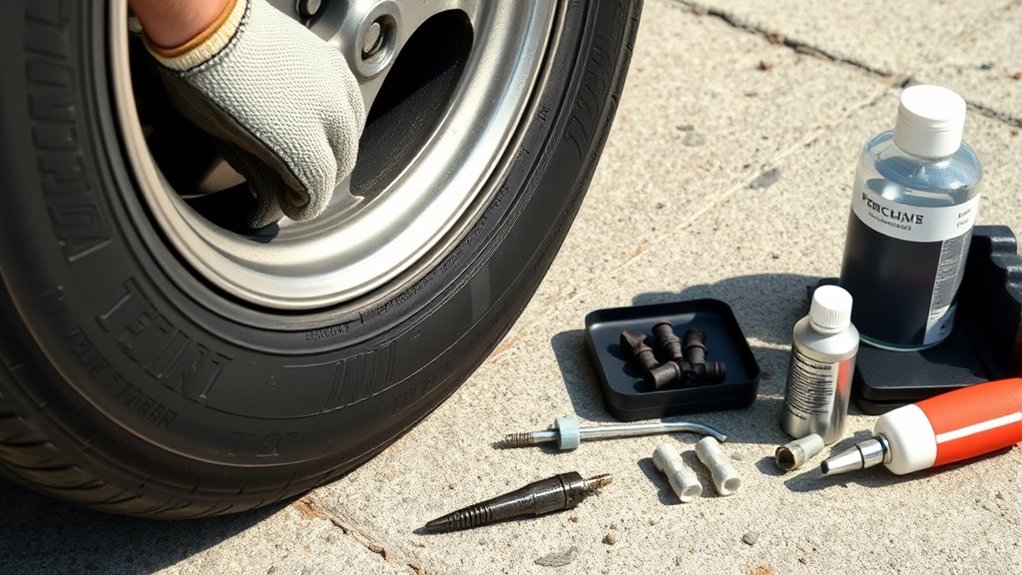
Before using a tire repair kit, confirm that the damage is repairable. Move your vehicle to a flat, stable location away from traffic, then turn on your hazard lights and apply the parking brake. Roadside safety comes first, so don’t inspect the tire while standing in an active lane or on unstable ground.
Examine the tread for the puncture’s location and size. A small hole in the central tread area may qualify for a temporary repair.
Check the puncture’s size and location; only small holes in the central tread may qualify for temporary repair.
However, don’t repair cuts in the sidewall or shoulder, as these areas flex too much and can fail suddenly. Replace the tire if you see bulges, exposed cords, separated tread, deep cuts, or extensive damage.
Also, avoid repairing a tire that has been driven while completely flat, because its internal structure may already be compromised.
As part of regular tire maintenance, check for multiple punctures and unusual wear. If you’re uncertain, seek professional inspection before continuing.
Gather Your Tire Repair Kit Tools
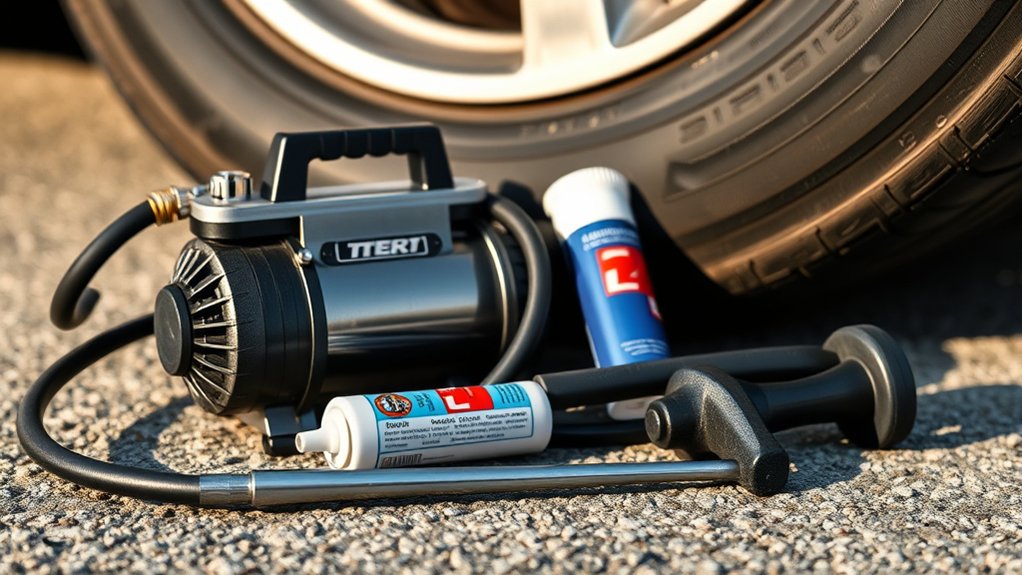
Gather your tire repair kit and check that you have all the essential tools, including the reamer, plug inserter, plugs, and pliers. Make sure everything is present and in good working condition. Before you begin, put on gloves and prepare your safety equipment.
Identify Essential Tools
To repair a punctured tire, you’ll need a tire plug kit with rubber plugs, a reaming tool, an insertion tool, and rubber cement or sealant. Choose tools designed for your tire type and the puncture’s location.
You’ll use the reaming tool to clean and enlarge the hole slightly, helping the plug bond securely. The insertion tool pushes the prepared plug into the tread, while rubber cement or sealant improves adhesion and helps prevent air loss.
Keep pliers or cutters nearby to remove embedded debris and trim excess plug material after installation. A pressure gauge lets you confirm proper inflation before driving.
Include gloves and a flashlight so you can work safely in poor conditions. These essentials support practical tire maintenance and improve road safety during emergencies.
Check Kit Contents
Start by checking that your tire repair kit contains rubber plugs, a reaming tool, an insertion tool, and rubber cement or sealant. Confirm every item is clean, usable, and stored together.
Check the plug package for dryness or damage, and replace hardened plugs. Inspect both tools for bent tips, rust, or broken handles.
Verify the sealant hasn’t expired and that its cap closes tightly. This quick inventory supports reliable tire maintenance when you need a temporary repair.
| Item | Check |
|---|---|
| Rubber plugs | Flexible and sealed |
| Reaming tool | Straight and clean |
| Insertion tool | Tip intact |
| Rubber cement | Unexpired and sealed |
Keep the kit accessible in your vehicle, so you won’t waste time searching during a roadside problem. Knowing your supplies improves roadside safety.
Don’t use damaged components. Replace them before traveling.
Prepare Safety Equipment
Before working on the tire, park on firm, level ground away from traffic and switch on your hazard lights. Put the vehicle in park or first gear, apply the parking brake, and place wheel chocks behind the opposite tires.
For road safety, wear gloves to protect your hands from sharp objects, dirt, and sealant. Keep a reflective vest and warning triangle nearby, especially at night or on a busy shoulder.
Gather the repair kit, tire gauge, pliers, reamer, insertion tool, repair plugs, lubricant, and air compressor or pump. Check each item before starting, and keep the instructions within reach.
Measure tire pressure before removing anything from the tread. If the tire is severely damaged, unstable, or losing air rapidly, don’t attempt a repair. Call roadside assistance instead.
Find the Tire Puncture

To find the puncture, first inspect the tire for visible damage, such as nails, screws, or cuts. Then listen closely for escaping air. If you suspect a particular area, apply soapy water to it and watch for bubbles that grow as air leaks out.
Inspect for Visible Damage
Once you’ve removed the tire, inspect its tread and sidewalls for obvious damage, such as nails, screws, glass, cuts, or bulges. Examine the entire surface carefully, rotating the tire as needed.
Check whether any object has pierced the tread, and mark its location with chalk before preparing the repair. Also look for separated rubber, exposed cords, uneven wear, or sidewall bubbles.
These defects can make a tire unsafe to repair, even if the puncture seems small. Check the tire’s tread depth with a gauge or tread-wear indicator, since worn tread may require replacement rather than plugging.
Review the tire pressure rating printed on the sidewall, too, and compare it with your vehicle’s recommended pressure. Don’t remove an embedded object yet; keeping it in place helps you identify the puncture accurately.
Listen for Air Leaks
How can you pinpoint the leak? Inflate the tire to its recommended tire pressure, then move to a quiet area. Turn off the engine and remove nearby distractions so you can focus.
Hold your ear close to the tread, sidewall, and valve area, but don’t touch the tire with your face. A steady hiss usually reveals escaping air.
Rotate the tire slowly and listen from several angles, because a puncture may hide beneath dirt or sit on the inner sidewall.
If you hear nothing, add a little pressure and check again, staying within the tire’s safe limit. Road hazards, such as nails, screws, or sharp stones, often cause slow leaks.
Mark the spot you hear so you can locate it easily during the repair. Don’t drive on a visibly deflated tire.
Apply Soapy Water
Mix a few drops of dish soap with water in a spray bottle, then coat the tread, sidewall, and valve stem. Inflate the tire to its recommended tire pressure if it’s safe to do so.
Watch each coated area closely for several seconds. Escaping air creates bubbles that expand or continuously reappear, revealing the puncture’s location.
Mark the spot with chalk or a marker so you can find it after wiping away the solution. Check the valve stem and its core carefully; bubbles there may indicate a loose or damaged component rather than a tread puncture.
Spray around the bead, too, where the tire meets the rim. Don’t drive on a severely damaged or rapidly leaking tire.
Once you’ve identified the leak, deflate the tire only as your repair kit’s instructions require.
Remove the Puncturing Object
Before you remove the puncturing object, make sure the tire is stable and the puncture is easy to reach. Check the Tire pressure first; if it’s dangerously low or the vehicle isn’t secure, contact Roadside assistance instead of working beside traffic.
> Confirm the tire is stable and safely accessible; seek roadside assistance if pressure is dangerously low or traffic poses a risk.
Once you’ve created a safe workspace, follow these steps:
- Put on gloves to protect your hands from sharp metal, glass, or screws.
- Use pliers from your repair kit to grip the object firmly. Pull it straight out with a controlled, steady motion.
- Keep your face and fingers away from the object’s path, since it may release air suddenly.
- Place the object in a container rather than dropping it near the vehicle, where it could cause another injury.
Watch the puncture as air escapes. Don’t drive on the tire after removal, and don’t enlarge, clean, or reshape the opening yet.
Set the tool aside and prepare for the kit’s next repair step.
Ream the Hole for the Repair Plug
Use the rasp tool to ream the puncture so the repair plug can grip the tire’s inner rubber. Insert the rasp into the hole, then push and pull it several times with firm, even strokes.
Keep the tool aligned with the tread surface rather than twisting it sideways, which could enlarge or damage the puncture unnecessarily. Reaming cleans away loose rubber, smooths the passage, and creates the rough interior surface needed for a secure repair.
Work patiently until the rasp moves through the puncture with consistent resistance. Don’t force it if you encounter unusual obstruction; check the hole for remaining debris instead.
Keep your hands clear of the sharp rasp tip, and wear gloves if available. Monitor the tire’s pressure before and after this step, since continued air loss can make the tire unstable.
If the puncture is large, located in the sidewall, or the tire won’t hold air, stop and contact roadside assistance. Don’t insert the repair plug yet; complete the hole preparation first.
Insert the Tire Repair Plug
Thread the repair plug through the insertion tool. Push it firmly into the puncture, leaving only a small portion outside the tread. Then pull out the tool, leaving the plug in place to seal the hole.
Prepare the Plug
Next, thread the sticky repair plug through the insertion tool’s eye until it sits centered, with roughly equal lengths extending on both sides. Keep your hands clean so dirt doesn’t weaken the plug’s tacky surface.
Before handling it, confirm you’ve identified the puncture and checked the tire pressure. Road hazards can leave sharp debris lodged nearby, so work carefully.
Use this quick preparation checklist:
- Peel away any packaging without stretching the plug.
- Center the plug evenly in the tool’s eye.
- Inspect it for cracks, dryness, or contamination.
- Keep the prepared tool within easy reach.
Don’t apply lubricant, fold the plug, or cut its ends. A properly centered plug should remain secure while you position the tool.
If it feels brittle or undersized, replace it with a compatible repair plug before continuing.
Insert Into Puncture
With the plug centered in the insertion tool, press its tip firmly into the puncture and push it straight into the tire until roughly two-thirds of the plug sits inside the tread.
Keep the tool aligned with the hole, and apply steady pressure rather than twisting. Stop when only the recommended ends remain outside the tread.
| Check | What to do | Why it matters |
|---|---|---|
| Alignment | Keep the tool straight | Prevents plug damage |
| Depth | Insert about two-thirds | Positions the plug correctly |
| Pressure | Use controlled force | Protects the tire |
If the plug won’t enter, don’t force it. Remove the tool and reassess the puncture’s angle.
A stubborn hole may require roadside assistance instead of further pushing. Follow your kit’s instructions, then check tire pressure before driving.
Never insert a plug into a sidewall or a severely damaged area. Replace the tire when its condition makes repair unsuitable.
Seal the Repair
Once the plug is inserted to the recommended depth, pull the repair tool straight out in one firm motion. The tool’s split tip should release the plug, leaving it anchored inside the tread. Don’t twist or tug repeatedly, because you could disturb the seal.
- Inspect the plug: Confirm it sits evenly and covers the puncture completely.
- Trim excess: Use scissors or the kit’s cutter to snip the exposed ends flush with the tread.
- Check inflation: Restore the recommended Tire pressure with a gauge and compressor.
- Test carefully: Apply soapy water around the repair and watch for bubbles.
If bubbles appear, the seal may need attention. Avoid driving far or quickly until you confirm the repair holds.
If the plug won’t seal, contact Roadside assistance or have a tire professional inspect it.
Trim the Excess Plug Material
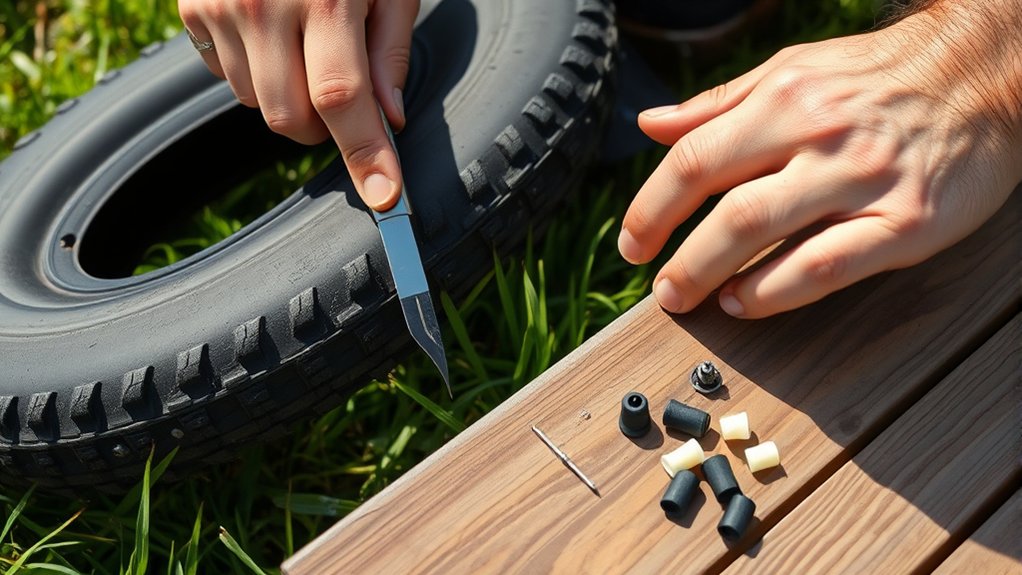
After the plug has bonded securely, use a sharp knife or the tool included in your kit to trim the excess material flush with the tire’s tread. Keep the blade pointed away from your hands, and cut with controlled strokes.
Don’t pull the plug, since tugging can disturb the seal or create a new leak. Aim for a smooth surface that won’t catch on pavement or interfere with tread contact.
| Check | What to do | Why it matters |
|---|---|---|
| Blade | Use a sharp, clean edge | Prevents ragged cuts |
| Plug | Cut it level with tread | Protects the seal |
| Surface | Inspect for raised material | Reduces snagging risk |
Run your fingers lightly around the repair, watching for sharp edges or loose strands. If the plug shifts, leaks, or won’t trim cleanly, stop and seek professional help.
This careful finish supports roadside safety and helps you evaluate tire pressure accurately later, without adding unnecessary damage. Never drive aggressively on a temporarily repaired tire.
Treat the repair as an emergency measure and arrange a permanent fix soon.
Reinflate the Tire to Recommended Pressure
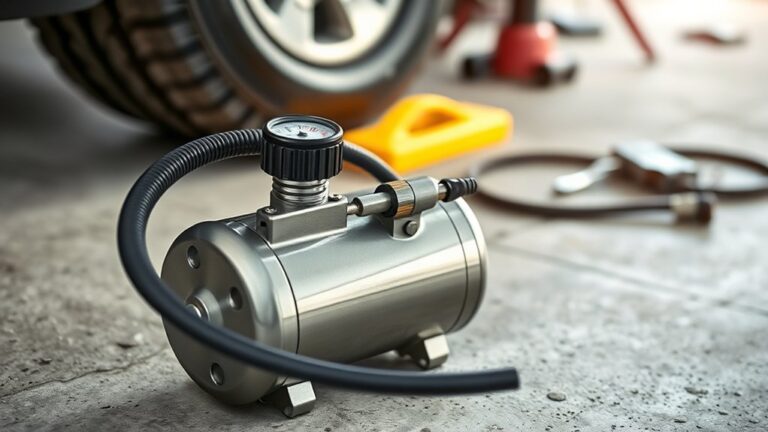
Reinflate the tire to the vehicle manufacturer’s recommended pressure, using an accurate gauge to check the reading. Find the specification on the driver’s doorjamb label or in your owner’s manual, not on the tire’s sidewall.
Your target tire pressure may differ between front and rear tires, so confirm each value before adding air.
- Remove the compressor hose cap and attach the hose firmly to the valve stem.
- Start the compressor, then watch the inflation gauge as air enters the tire.
- Add air in short bursts, pausing to check the reading so you don’t overinflate it.
- Stop at the recommended pressure, switch off the compressor, and remove the hose carefully.
If you overshoot the target, press the valve core briefly with the gauge’s release button, then measure again. Replace the valve cap securely after you finish.
Allow the tire to cool before measuring whenever possible. Heat from driving can temporarily raise tire pressure and affect your reading.
Check for Air Leaks
With the tire inflated, check for leaks around the repair and valve stem before driving. Mix a small amount of dish soap with water, then brush or spray it over the repaired area and valve.
Watch closely for growing bubbles, which indicate escaping air. If you see bubbles, release the air, dry the tire, and follow your kit’s instructions to improve the repair.
Check the valve cap and valve core for looseness, and tighten them carefully if necessary. Next, compare the Tire pressure with the vehicle manufacturer’s recommended setting using an accurate gauge.
A steady reading confirms that the tire is holding air. Wait several minutes and check again, since a slow leak might not create obvious bubbles immediately.
Once the area stays dry and the pressure remains stable, wipe away the soapy water and reinstall the valve cap. Confirming a secure repair supports Road safety and helps you drive with confidence.
Recheck pressure after your first short trip.
Replace the Tire When Damage Is Unsafe
Replace the tire instead of repairing it if you find a sidewall puncture, a cut larger than your kit allows, exposed cords, bulges, or damage near the shoulder. These areas carry heavy stress, so a plug may fail suddenly and cause a blowout.
Don’t drive on a tire that loses air rapidly, shows internal damage, or has a damaged valve or bead. Use this quick safety check:
- Move your vehicle away from traffic, if possible, and switch on the hazard lights.
- Check the spare, jack, and tools before starting a Tire replacement.
- If you can’t change it safely, call an Emergency roadside service provider.
- Have a tire professional inspect the wheel and install a correctly sized replacement.
Never use a temporary plug as a permanent fix for unsafe damage. After installation, confirm proper inflation and tighten the lug nuts to the manufacturer’s specification.
Replace the tire immediately when its condition makes continued driving uncertain.
Frequently Asked Questions
Can Tire Repair Kits Fix Sidewall Damage or Only Tread Punctures?
Tire repair kits generally fix tread punctures only, not sidewall damage. You can safely use plugs or sealant for small holes in the tread, but sidewalls flex too much for a dependable repair.
These sidewall limitations create serious safety risks, including sudden air loss or blowouts. Don’t drive on a tire with cuts, bulges, or punctures in its sidewall.
Replace it instead, because repair durability and structural safety matter more than convenience.
How Long Can You Safely Drive After Using a Tire Repair Plug?
You should drive only as far as necessary to reach a tire professional after using a repair plug, ideally no more than 50–100 miles and at moderate speed. A plug offers temporary protection, not guaranteed repair longevity.
Check tire inflation immediately and before every trip. Stop if pressure drops, the tire vibrates, or handling changes.
Don’t drive on a plug in sidewall damage, large punctures, or a tire showing internal damage.
Are Tire Repair Kits Suitable for Run-Flat Tires?
Usually, tire repair kits aren’t suitable for run-flat tires. Run-flat compatibility depends on your vehicle, the tire manufacturer, and the puncture’s location.
A plug may provide only temporary relief, but it won’t restore the tire’s reinforced sidewall or guarantee safe performance after pressure loss.
Check your owner’s manual and contact a qualified tire professional before driving. If you’ve driven while deflated, replace or have the tire professionally inspected, even after reinflating it.
Can Tire Plugs Be Used as Permanent Repairs?
Tire plugs shouldn’t serve as permanent repairs in most cases. You can use one temporarily to reach a tire professional, but a technician should inspect the damage and install an inside patch or plug-patch.
Tire patching offers a more reliable, lasting fix when the puncture sits in the tread and remains within repairable limits. Don’t repair sidewall damage.
Also, check valve sealing separately, because a leaking valve needs replacement rather than plugging.
What Safety Precautions Should You Take Before Repairing a Tire?
Think of your tire as a guarded fortress: before entering, you secure the gates. Park on level ground, switch off the engine, engage the parking brake, and use wheel chocks.
Wear gloves and eye protection, then inspect for sidewall damage or embedded objects. Check tire pressure and let air escape cautiously if needed.
Keep your body away from the tire’s path. For repair longevity, follow the kit’s instructions and seek professional inspection.
Conclusion
A tire repair kit can get you moving again, but it isn’t a permanent solution for every puncture. In the United States, roughly 220 million flat tires occur each year, so knowing how a tire repair kit works can save time and frustration.
After you plug a repairable tread puncture, inflate the tire, and check for leaks, drive cautiously to a tire shop for professional inspection. Replace the tire immediately if damage affects the sidewall, shoulder, or internal structure.