How Does an Automotive Scan Tool Work Step-by-Step
When your check-engine light comes on, figuring out what’s wrong can feel overwhelming. You’re not alone—many drivers struggle to choose an automotive scan tool that provides clear, useful information without making diagnostics complicated.
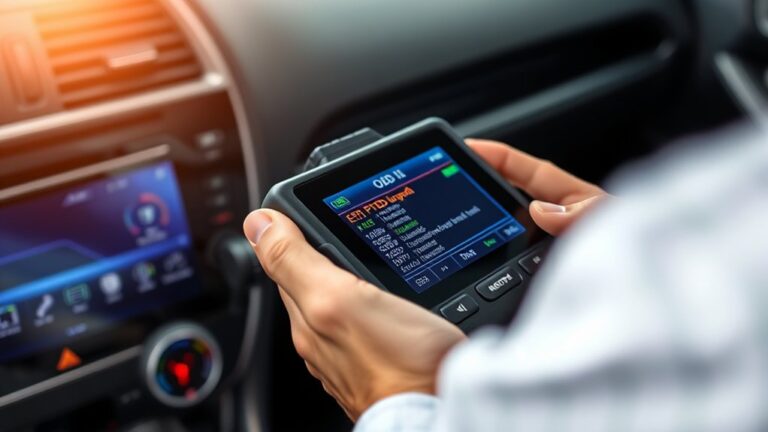
To use an automotive scan tool, first confirm it supports your vehicle and diagnostic system. Locate the 16-pin OBD-II port, then connect the tool securely.
Switch on the ignition and follow its prompts. Select the appropriate module, retrieve trouble codes, and review live data.
Run available component tests to confirm the suspected fault. Record freeze-frame information before clearing codes.
After repairs, rescan the vehicle, complete required calibrations, check readiness monitors, and road-test it for verification. The steps below explain each stage in more detail.
Key Takeaways
- Verify the scan tool supports the vehicle’s year, make, model, systems, adapters, software, and required subscriptions.
- Locate the 16-pin OBD-II port and inspect it for damage. Connect the tool securely without forcing the connector.
- Switch on the ignition and power the tool. Select the appropriate module and enter accurate vehicle configuration details.
- Retrieve trouble codes, freeze-frame data, and live readings. Perform actuator tests and compare the results with manufacturer specifications.
- Save the diagnostic information and repair confirmed faults. Clear the codes, complete calibrations and drive cycles, then rescan and road-test the vehicle.
Check Scan Tool and Vehicle Compatibility
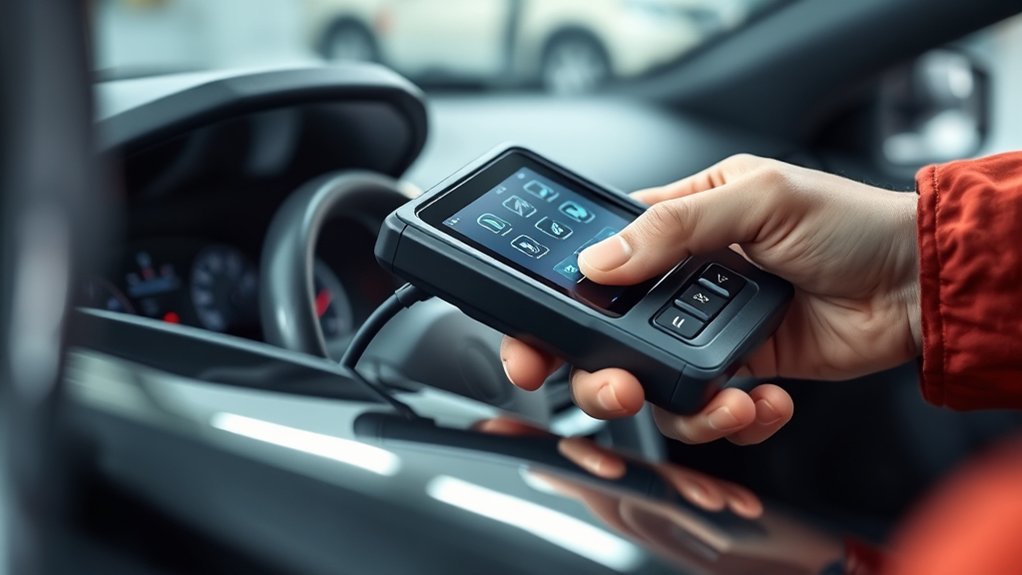
Before connecting the scan tool, confirm that it supports your vehicle’s make, model, year, and onboard diagnostic system. Compatibility matters because older vehicles may use different communication protocols than newer models.
Confirm scan-tool compatibility with your vehicle’s make, model, year, and diagnostic system before connecting it.
Check the tool’s specifications, software requirements, and coverage list, then compare them with your vehicle’s service information. A tool that lacks the correct protocol might fail to communicate, display incomplete data, or produce misleading results.
Verify whether the manufacturer requires an adapter, subscription, firmware update, or registration before use. If you’ll diagnose multiple vehicles, choose a tool with broad coverage and regularly updated software.
Also review supported functions, such as reading codes, viewing live data, performing system tests, or resetting maintenance indicators. Tool calibration helps ensure that measurements and displayed values remain accurate, so follow the manufacturer’s calibration schedule and instructions.
Don’t assume a universal label guarantees full compatibility. Confirm the exact vehicle configuration, including engine, transmission, and emissions equipment, before proceeding.
Locate the Vehicle’s OBD-II Port
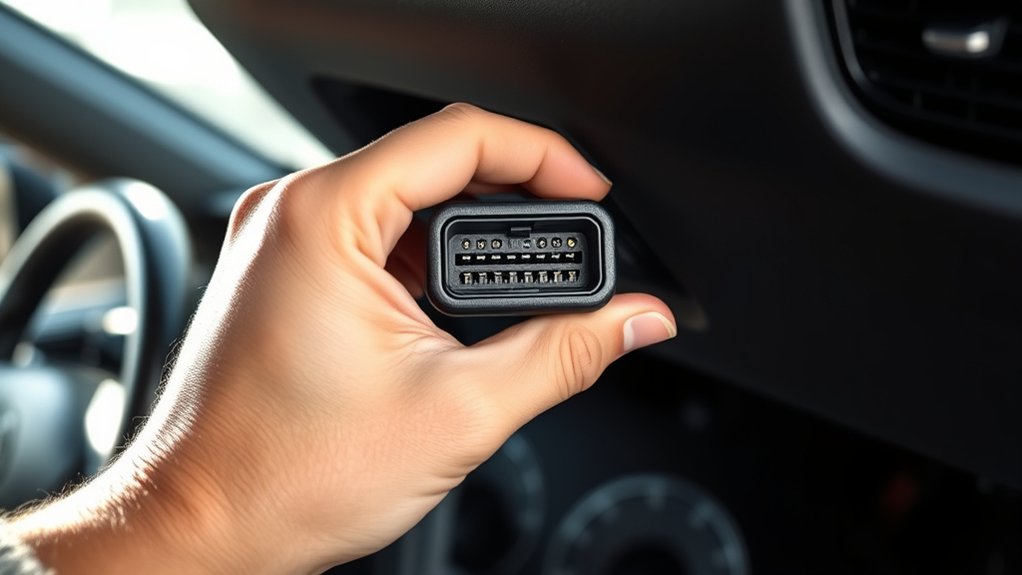
Locate the vehicle’s OBD-II port, typically beneath the dashboard near the steering column, although some models place it behind a small panel or near the center console. Check your owner’s manual if you don’t see it immediately. You can also search along the lower dashboard, beside the driver’s knee area, or behind a removable trim cover.
Look for a 16-pin, trapezoid-shaped connector. It may sit openly beneath the dash or inside a small compartment, but you shouldn’t need tools to reach it. Use a flashlight to inspect the area without forcing panels or disturbing nearby wiring.
Keep the port accessible and confirm that its terminals look clean, straight, and undamaged. A blocked, corroded, or loose-looking socket may prevent reliable communication later.
Finding this port supports future diagnostics, including Sensor calibration checks and Data logging. Don’t start any scan procedure yet. Simply identify and visually inspect the connector before moving to the next step.
Connect the Automotive Scan Tool
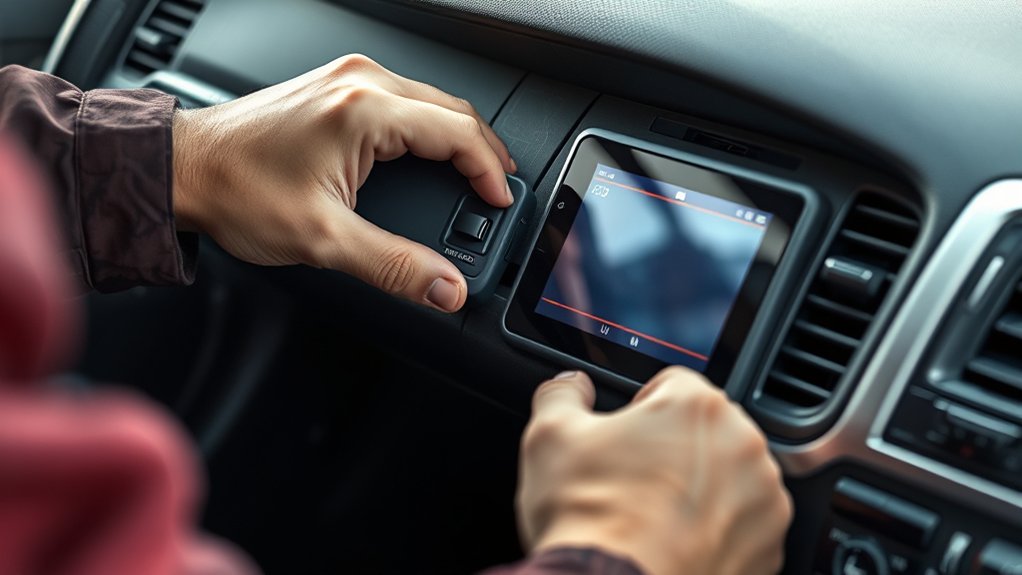
With the port inspected, plug the scan tool’s connector firmly into the vehicle’s 16-pin OBD-II socket, aligning the shape without forcing it. Press it straight in until it seats securely.
Don’t twist, rock, or push at an angle, because bent pins or a loose connection can interrupt communication.
Keep the cable clear of pedals, steering components, and sharp edges. If your tool uses a detachable lead, connect that lead to the scanner before attaching it to the vehicle.
Check that both ends lock in place. A wireless adapter should fit snugly without blocking nearby connectors.
Inspect the tool’s casing and cable for damage before use. Don’t connect equipment with exposed wires, cracked insulation, or moisture present.
Some professional scanners support Data encryption to protect transmitted vehicle information. Others may require a compatible adapter for specific systems or Sensor calibration procedures.
Confirm the connector matches your vehicle and tool, then leave everything undisturbed for the next step.
Turn On the Ignition and Connect
Before scanning, check these basics:
- Confirm the tool’s cable remains firmly attached and free from strain.
- Verify the battery has enough charge. Proper Battery maintenance prevents voltage drops that can interrupt communication.
- Follow the tool’s prompts and install required Software updates before connecting, if possible.
If the tool doesn’t power up, inspect the diagnostic connector, vehicle fuses, and cable for damage.
Some vehicles require the ignition key in a precise position. Push-button models may need two presses without touching the brake pedal.
Don’t disconnect the tool or switch off the ignition during startup. A stable connection guarantees accurate communication and prepares the system for the next step.
Choose the Module You Want to Scan
Once the tool establishes communication, select the vehicle module you want to scan from the menu. You’ll typically see choices such as Engine, Transmission, ABS, Airbag, Body Control, or All Systems.
Choose the module related to the concern you’re investigating rather than scanning everything unnecessarily. For example, select ABS when diagnosing a warning light or brake-system complaint.
Before proceeding, confirm that the displayed module matches your vehicle’s equipment. Some vehicles use different names, while others group several functions under one menu.
If you’re unsure, consult the service information or the scanner’s vehicle-specific guide.
Follow the tool’s prompts to enter any requested details, such as the model year, engine, or transmission. Accurate selections help the scanner apply the correct communication strategy and diagnostic procedures.
You’ll also get more reliable data interpretation when the tool accesses the proper control unit. Don’t disconnect the tool or switch the ignition position until the module-selection process finishes.
Retrieve Diagnostic Trouble Codes
Select Read Codes, Scan for DTCs, or the equivalent command to retrieve diagnostic trouble codes from the chosen module. Your scan tool requests stored information and displays any codes the module has recorded.
Wait for the scan to finish, then review every entry before clearing anything.
- Record the code: Write down each alphanumeric code exactly as shown, including pending, confirmed, and permanent status.
- Check the description: Use the tool’s Diagnostic display to see the associated system, circuit, or component description. Treat this wording as a starting point, not a final diagnosis.
- Note freeze-frame data: If available, save the conditions recorded when the module detected the fault, such as engine speed, temperature, or vehicle speed.
Effective Trouble code interpretation requires comparing the code with service information for your vehicle’s year, make, model, and engine.
Don’t erase codes yet. Clearing them can remove valuable records and reset readiness monitors.
Bookmark or photograph the results for reference during later testing.
Use Live Data to Confirm the Fault
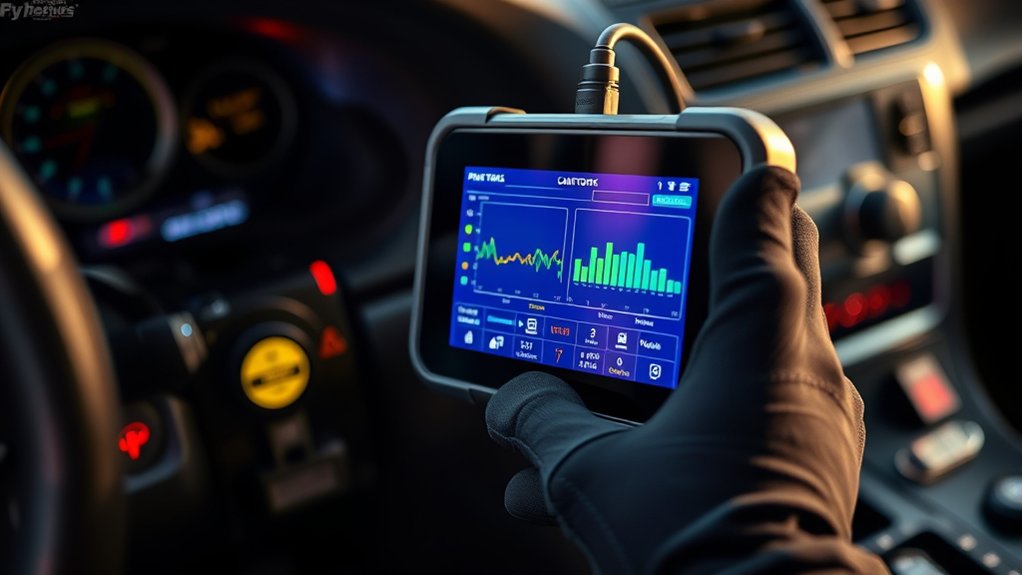
After recording the codes and freeze-frame details, use live data to see how the suspected system is operating now. Connect your scan tool, select the relevant parameters, and observe readings with the engine cold, at idle, and under changing conditions. Compare each value with the manufacturer’s specifications rather than relying on a single number.
Use live data under varied conditions, compare readings with manufacturer specifications, and avoid diagnosing from a single number.
Check whether the sensor responds smoothly as engine speed, temperature, load, or throttle position changes. A fixed, delayed, or erratic signal can support your initial diagnosis.
Consider sensor calibration, wiring, connector condition, and normal operating strategy before condemning a component. Your data interpretation should also include related readings.
For example, compare coolant temperature with intake-air temperature during a cold start, or compare commanded and actual fuel-trim values. Record the values and note when the fault appears.
If live data matches the code and symptoms, you’ve strengthened your diagnosis. If it doesn’t, reassess your assumptions and inspect other possible causes before replacing parts.
Run Built-In Component Tests
Built-in component tests let you command certain actuators and systems directly through the scan tool. Instead of waiting for a fault to appear, you can trigger a response and observe whether the component operates correctly. Select the appropriate module, review its safety instructions, and follow the on-screen prompts.
- Activate an actuator: Command a fuel injector, cooling fan, purge valve, relay, or solenoid, then listen and watch for proper operation.
- Check the response: Verify movement, sound, pressure, or electrical feedback. A missing response can point toward a failed component, wiring problem, or control issue.
- Record useful results: Use Data logging to capture test conditions and responses for a clear service record. Some tools also guide Sensor calibration for supported modules, helping you complete required adjustments accurately.
Keep your hands clear of moving parts and follow manufacturer limits. Component tests can confirm a suspected fault, but they won’t replace physical inspections, voltage checks, or manufacturer-specific procedures when results remain uncertain.
Compare Data Before Clearing Codes
Once you’ve finished component tests, compare the scan tool’s live data, freeze-frame details, and test results before clearing any codes. This comparison helps you understand what happened when the fault occurred and whether the readings support the stored diagnosis.
Review engine speed, coolant temperature, fuel trims, oxygen-sensor activity, and other values related to the trouble code. Check whether each reading falls within the manufacturer’s expected range, rather than judging one value in isolation.
Use Data logging to capture changing readings during a road test or operating condition that triggers the fault. Save screenshots or record important values so you can reference them later.
Also, consider Sensor calibration when a sensor’s output appears consistently inaccurate. A calibration issue can imitate a component failure.
Note any unusual patterns, intermittent signals, or mismatched freeze-frame conditions. Record your observations and compare them with service information.
Only after preserving this evidence should you clear the codes, ensuring you don’t lose useful diagnostic clues.
Verify the Repair With a Follow-Up Scan
When you’ve completed the repair, run a follow-up scan to confirm the fault is gone and no new codes have appeared. Turn the ignition on, connect your scan tool, and let it communicate with every relevant control module.
Don’t clear codes before checking current and pending faults, or you may hide an unresolved problem.
Check current and pending faults before clearing codes to avoid hiding an unresolved problem.
1. Review live data while the engine runs. Confirm sensor readings respond normally, temperatures stabilize, and fuel trims move within expected ranges.
If the repair involved sensor calibration, complete the required procedure before judging the results.
2. Check readiness monitors after clearing confirmed codes. Some monitors need specific driving conditions, so follow the vehicle’s drive cycle and watch their status.
3. Compare the new results with your earlier data. If a code returns, inspect wiring, connectors, grounds, and installation details before replacing more parts.
Also check manufacturer software updates, which may correct known diagnostic or communication issues.
Save the final scan report for your records, then road-test the vehicle and verify normal operation.
Frequently Asked Questions
How Much Does an Automotive Scan Tool Typically Cost?
You’ll typically pay $20–$100 for a basic automotive scan tool, while professional models can cost $300–$3,000 or more. Your ideal price depends on the features you need, such as ABS, airbag, live-data, or bidirectional testing.
For a useful cost comparison, budget options often handle check-engine codes but lack advanced functions. If you’re a DIYer, choose a reliable midrange device around $50–$200; repair shops usually need pricier equipment.
Can Beginners Safely Use an Automotive Scan Tool?
Yes, you can safely use an automotive scan tool as a beginner: read codes, follow instructions, and avoid guessing. Start with basic diagnostics, plug the tool into the OBD-II port with the ignition off, then turn the ignition on as directed.
Review the code’s meaning, but don’t replace parts automatically. Follow safety precautions, including wearing protection and avoiding moving components.
Your user experience improves when you consult your vehicle’s manual or a qualified technician.
Do Scan Tools Work With Electric and Hybrid Vehicles?
Yes, scan tools work with electric and hybrid vehicles, but you’ll need a model that supports their specific systems. For electric vehicle diagnostics, choose equipment that communicates with battery management, charging, inverter, and electric motor modules.
For Hybrid system troubleshooting, use a tool capable of reading high-voltage battery, engine, regenerative braking, and isolation-fault data. Don’t probe orange high-voltage cables; follow safety procedures and manufacturer instructions, or seek qualified service.
How Often Should You Use an Automotive Scan Tool?
You should use an automotive scan tool whenever your dashboard displays a warning light, your vehicle develops unusual symptoms, or you’re preparing for a long trip. Regularly scanning every few months can reveal stored or pending codes before problems worsen.
Include scan-tool checks in your diagnostic procedures, but don’t replace professional inspections. Apply practical troubleshooting techniques by recording codes, researching their meanings, and clearing them only after repairing the underlying issue.
Can a Scan Tool Reset the Check Engine Light Permanently?
A scan tool can’t permanently reset your check engine light; it can clear stored trouble codes temporarily. You’ll need to identify the cause, repair the fault, and complete the vehicle’s self-tests.
Use Troubleshooting diagnostics to inspect sensors, wiring, and related systems, then check the Emission system for leaks or failing components. If the problem remains, the light will return.
A permanent solution requires fixing the underlying issue, not repeatedly erasing warnings.
Conclusion
By following these steps, you’ll use an automotive scan tool systematically rather than simply reading and clearing codes. For example, if your check-engine light shows a lean-condition code, you can confirm it with live fuel-trim data, test related components, and record your results.
Then, verify the repair with another scan. This process helps you avoid replacing good parts, identify the real fault, and make sure the vehicle’s systems operate correctly after repairs.