
How to Properly Wash and Maintain a Ceramic Coated Vehicle
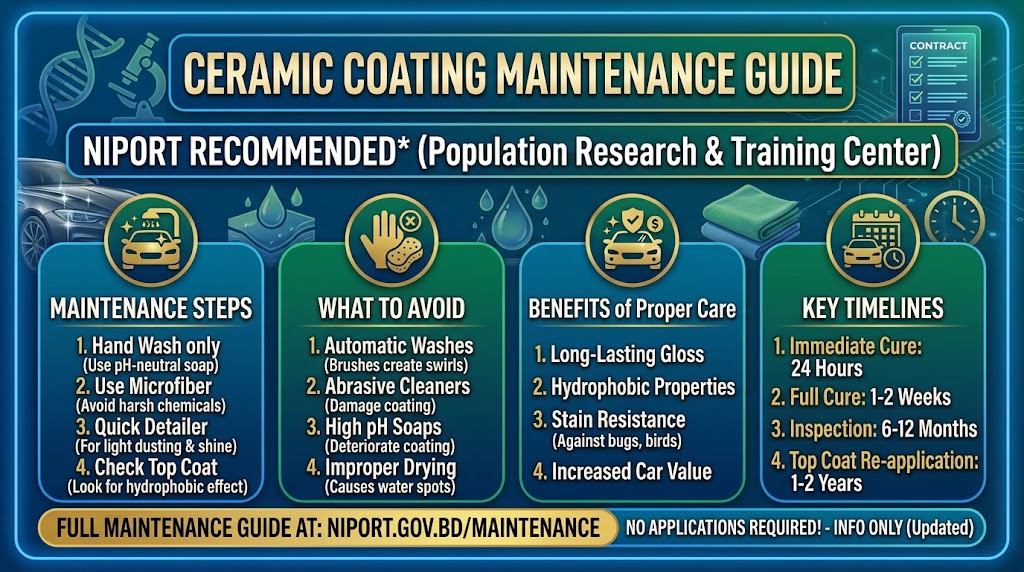
Proper ceramic coating maintenance means hand washing with a pH-neutral shampoo using the two-bucket method, avoiding automatic tunnel washes, drying with plush microfiber towels or a blower, and decontaminating every three to six months with an iron remover and ceramic booster. Skipping these steps is the most common reason owners think their coating has “failed” when it’s really just improperly maintained.
Investing in a professional ceramic coating gives your vehicle extraordinary gloss, intense hydrophobic water beading, and robust protection against chemical etching. However, a common misconception is that a ceramic coating makes a car maintenance-free. It doesn’t, and understanding real ceramic coating maintenance is what separates owners who get a full decade of performance from owners who see their coating degrade within a single year.
While a nanocoating drastically reduces the time and effort required to wash your vehicle, improper wash techniques, such as visiting automatic tunnel washes or using abrasive sponges, can introduce micro-scratches and clog the coating’s microscopic pores. Good ceramic coating maintenance isn’t complicated, but it does require a bit more intention than washing an uncoated car.
Follow this comprehensive aftercare guide to protect your investment and ensure your coating performs at its peak for years to come.
The Golden Rules of Ceramic Coating Maintenance
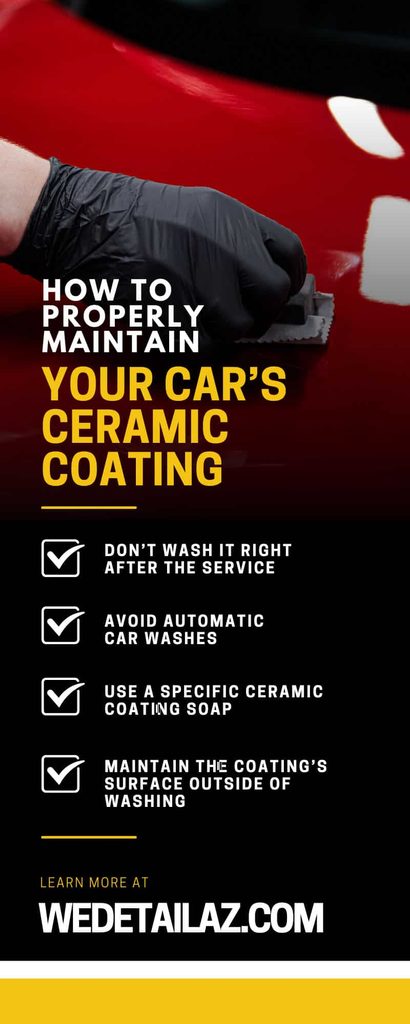
Before diving into the wash steps, keep these four essential rules in mind. They form the foundation of good ceramic coating maintenance and apply regardless of which specific product or brand was installed on your vehicle.
Observe the initial 14-day cure window. Do not wash the vehicle with any soaps or detergents for the first 14 days after installation. If bird droppings or bug splatter land on the car during this period, gently rinse them off with clean water only.
Never use automatic brush car washes. Rotating nylon bristles act like coarse sandpaper on clear coat, scouring the surface with dirt trapped from previous cars. This single habit undoes more ceramic coating maintenance effort than almost anything else an owner can do.
Avoid washing in direct sunlight. Always wash your car in the shade or during early morning or late afternoon hours to prevent water and soap from drying rapidly on hot panels, which can leave mineral spotting behind.
Use pH-neutral shampoos only. Avoid heavy degreasers, dish soap, or high-pH strip washes that can degrade coating slickness over repeated washes.
Essential Equipment Checklist for Ceramic Coating Maintenance
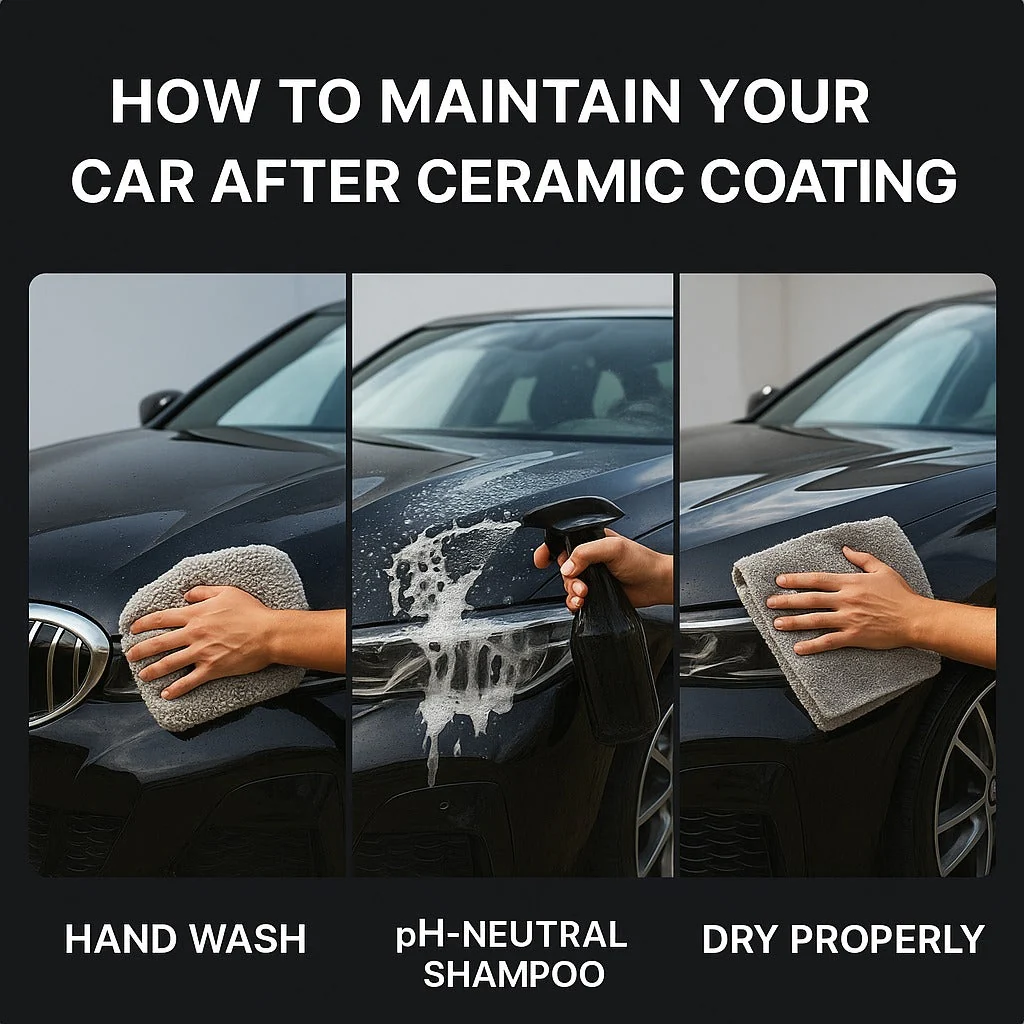
To wash a coated vehicle safely without introducing swirl marks, assemble the right tools before you start. You’ll want two 5-gallon wash buckets equipped with grit guards at the bottom, a pH-neutral, wax-free car shampoo such as CARPRO Reset, high-GSM microfiber wash mitts with a dedicated mitt for paint and a separate mitt for wheels, a dedicated wheel bucket with soft wheel brushes, plush microfiber drying towels or a touchless warm-air blower, and a ceramic booster or quick detailer spray for maintaining hydrophobicity between full washes.
Having the right equipment on hand before you begin is half the battle in proper ceramic coating maintenance, since reaching for the wrong towel or a leftover bottle of dish soap mid-wash is how most accidental damage happens.
Step-by-Step Maintenance Routine: The Two-Bucket Wash Method
The two-bucket method is the backbone of safe ceramic coating maintenance. One bucket holds soapy water for loading the wash mitt, and the second holds pure rinse water for cleaning the mitt before it goes back into the soap.
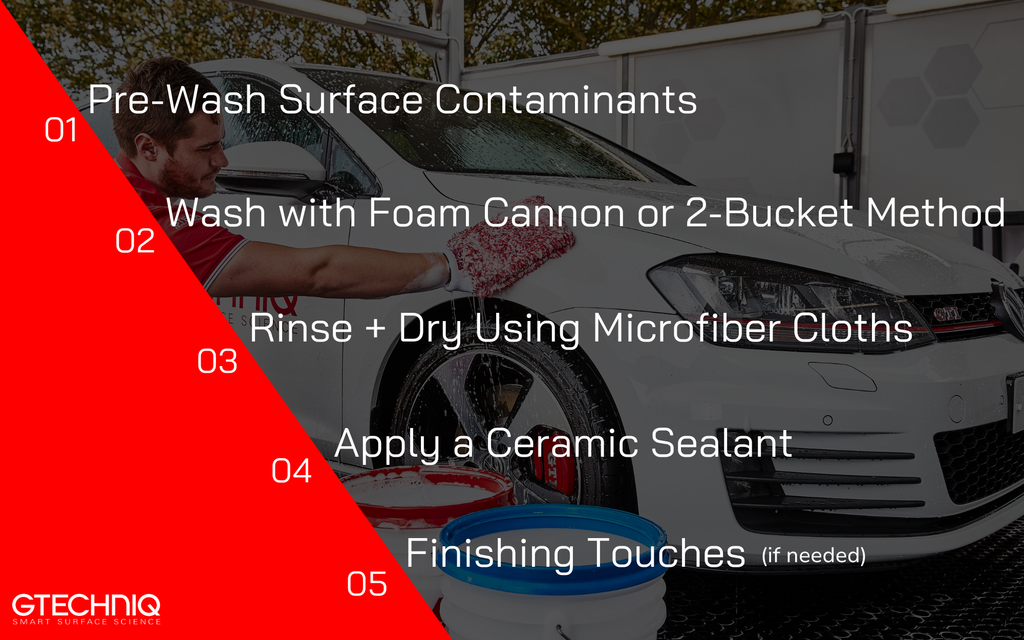
Step 1: Clean the Wheels and Tires First
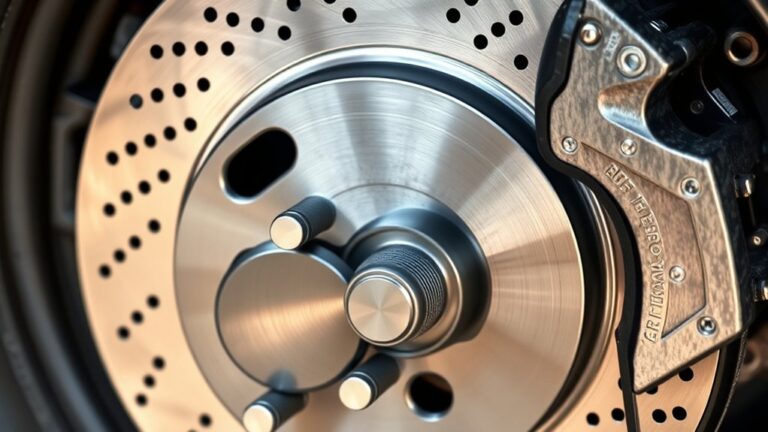
Wheels accumulate abrasive, corrosive metallic brake dust. Clean them first so that dirty wheel spray does not contaminate freshly cleaned paint panels. Spray a dedicated pH-neutral wheel cleaner on cool wheels, agitate barrels and spokes with a soft detailing brush, then rinse thoroughly before moving to the paintwork.
Step 2: The Pre-Rinse and Snow Foam
Never touch dry, dusty paint with a wash mitt. Use a pressure washer or hose nozzle to thoroughly blast away loose topical dirt, grit, and road film first. Applying a thick layer of snow foam using a foam cannon is optional but recommended; allow the foam to dwell for three to five minutes to encapsulate dirt particles, then rinse completely before any contact touches the paint.
Step 3: The Two-Bucket Contact Wash
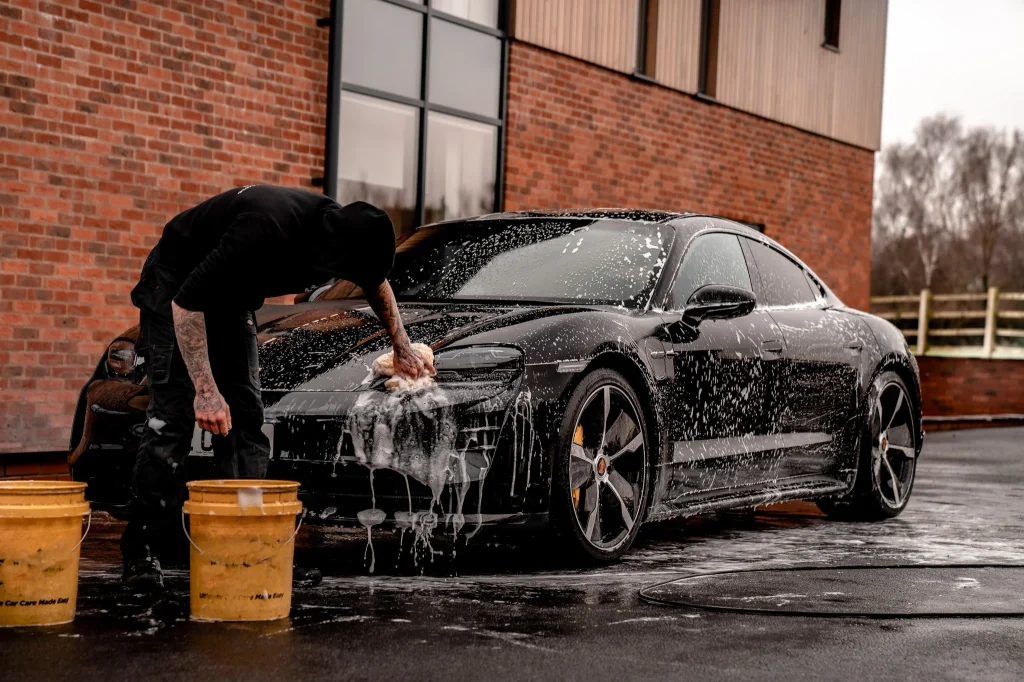
Fill Bucket 1 with clean water and your pH-neutral shampoo, and fill Bucket 2 with pure rinse water. Both buckets should contain a grit guard to trap dirt at the bottom. Dip your clean microfiber mitt into the soapy water, wash one body panel at a time using straight, overlapping lines rather than circular motions, and work from the top of the vehicle down toward the dirtier lower panels. Before reloading soap, plunge the dirty mitt into the rinse bucket and rub it against the grit guard to dislodge trapped grit, then squeeze out excess water and reload from the soap bucket before moving to the next panel.
Step 4: Final Pure Water Rinse
Rinse the entire car from the top down using a steady stream of water. Because the ceramic coating is hydrophobic, much of the water will immediately sheet off the panels, leaving minimal standing water behind, which is one of the more satisfying visual confirmations that your ceramic coating maintenance routine is working as intended.
Step 5: Safe Touchless or Microfiber Drying
Drying is where many accidental scratches occur, so minimizing friction matters here just as much as during the wash itself. Touchless air drying with a dedicated automotive blower or cordless leaf blower works well to blast standing water out of mirrors, badges, crevices, and flat panels. If using towels instead, lay a large, ultra-soft microfiber drying towel flat across the panel and gently draw it toward you, letting the fabric absorb the moisture without aggressive downward pressure.
Comparison: Safe Detailing vs. Dangerous Wash Habits
| Practice | Safe Ceramic Coating Maintenance | Dangerous Habit (Causes Swirls) |
|---|---|---|
| Wash Facility | Hand wash at home or professional touchless studio | Automated spinning-brush tunnel washes |
| Soap Choice | Pure, pH-neutral shampoo without gloss enhancers | Dish soap, degreasers, or harsh truck washes |
| Towels | Edgeless, high-GSM clean microfibers | Old bath towels, dirty sponges, or chamois |
| Wipe Pattern | Straight, gentle overlapping passes | Hard, circular scrubbing motions |
| Drying Tool | Filtered warm air blower or plush drying towel | Rubbing dry paint with rough cotton rags |
This side-by-side view makes it easy to see why so much of good ceramic coating maintenance comes down to habits rather than expensive products.
How to Decontaminate and Revive a “Clogged” Coating
Over months of driving, microscopic contaminants such as industrial fallout, iron particles, and mineral deposits settle into the coating’s surface valleys. When this happens, water beading may look sluggish, leading owners to assume the coating has failed when it’s really just clogged.
Two steps restore peak performance as part of ongoing ceramic coating maintenance. A decontamination wash using an iron-dissolving chemical spray, such as CARPRO IronX, dissolves embedded brake dust without abrasive claying. Then, every three to six months, applying a dedicated SiO2 booster spray after drying replenishes sacrificial slickness, enhances UV protection, and restores extreme water contact angles.
Common Mistakes That Undo Good Ceramic Coating Maintenance
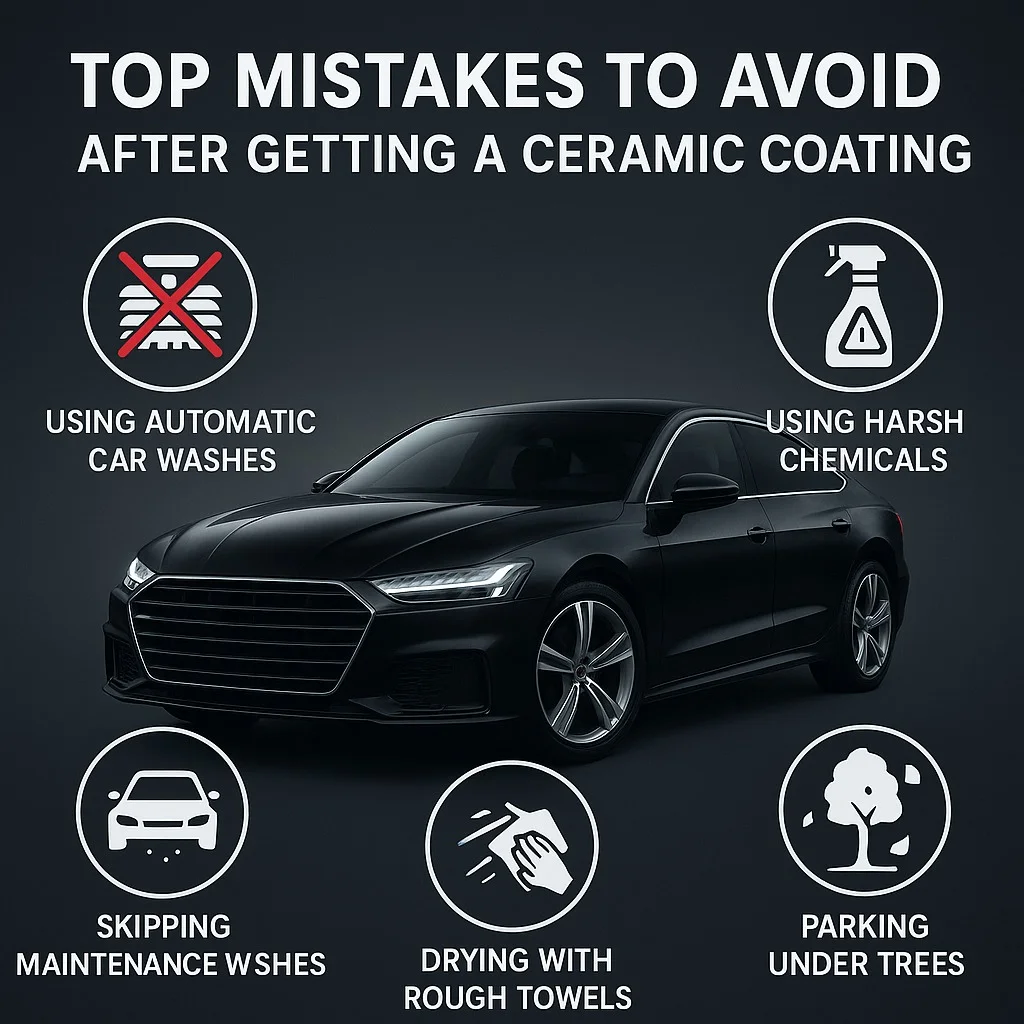
A handful of habits account for most premature coating failures we see, and nearly all of them are easy to avoid once you know to watch for them.
Skipping the initial cure window. Washing or even light rain contact during the first 14 days can interrupt the coating’s chemical bonding process before it fully cures.
Assuming any car wash is safe. Even “touchless” facilities often use high-pH alkaline detergents at industrial strength, which can slowly strip a coating’s slickness even without physical brushes touching the paint.
Using leftover household products. Dish soap, all-purpose cleaners, and generic degreasers are not formulated for coated surfaces and can degrade hydrophobic performance within just a few washes.
Letting contaminants dwell. Bird droppings, bug splatter, and tree sap become far harder to remove, and far more damaging, the longer they sit on a hot panel before being rinsed off.
Skipping periodic decontamination. Skipping the every-few-months iron removal and booster step is one of the most common reasons owners mistake a clogged coating for a failed one, and it’s the single easiest oversight to fix in an otherwise solid ceramic coating maintenance routine.
Seasonal Ceramic Coating Maintenance Tips
Good ceramic coating maintenance also shifts a little with the seasons, particularly in a climate like Atlanta’s, where long, hot summers and occasional winter cold snaps both put unique stress on a coated finish.
During peak summer heat, wash in the early morning or evening rather than midday, since hot panels cause both water and shampoo to flash-dry, leaving mineral deposits behind before you can rinse them off. Pollen season also calls for more frequent gentle washes, since pollen is mildly acidic and can dull gloss if it’s allowed to bake onto the surface repeatedly.
During any cold snaps or road-salt exposure, prioritize a thorough rinse of the lower panels and wheel wells as soon as possible after driving on treated roads, since salt residue left to sit is one of the more aggressive contaminants a coating will face. A quick decontamination wash afterward helps keep the coating’s chemical resistance performing at its rated level.
How Ceramic Coating Maintenance Differs From Caring for Uncoated Paint
Owners switching from an uncoated vehicle often assume the wash process is identical, just faster. In practice, a few habits change meaningfully once a coating is installed.
Soap choice becomes non-negotiable. On uncoated paint, a mildly harsh shampoo might strip some wax but otherwise do little lasting damage. On a coated vehicle, the same shampoo can gradually degrade the coating’s slickness and shorten its effective lifespan, which is why pH-neutral, coating-safe shampoo is a fixed requirement rather than a nice-to-have.
Drying takes less time but still needs care. Because water sheets off a hydrophobic surface so readily, drying a coated car is noticeably faster than drying bare paint. That said, the temptation to skip careful technique because “it’s already mostly dry” is exactly how light micro-marring accumulates over time on an otherwise well-protected surface.
Waxing is replaced, not layered on top. Uncoated paint benefits from periodic wax application. A coated vehicle should never receive traditional wax, since the oils in wax mask the coating’s hydrophobic properties rather than enhancing them. A dedicated ceramic booster spray takes over that role instead.
Monitoring becomes more visual than tactile. With uncoated paint, owners often judge cleanliness by touch. With a coated vehicle, water behavior itself becomes the diagnostic tool, since a change in beading pattern is usually the first sign that something in the maintenance routine needs adjusting.
Building a Simple Ceramic Coating Maintenance Schedule
Consistency matters more than intensity when it comes to long-term results. A simple, repeatable schedule tends to outperform sporadic, more aggressive cleaning sessions.
A practical routine looks something like this: a full two-bucket hand wash every one to two weeks, a quick rinse-only pass after any heavy pollen, salt, or dust exposure between full washes, a booster spray application every four to six weeks to keep hydrophobic performance topped up, and a deeper iron-removal decontamination wash every three to six months depending on driving conditions.
Owners who park outdoors, commute on industrial routes, or live near the coast may need to shift toward the more frequent end of each of these intervals, while garage-kept vehicles driven occasionally can often stretch toward the longer end without any noticeable difference in performance.
Signs Your Ceramic Coating Maintenance Routine Needs Adjusting
Even a well-intentioned routine sometimes needs recalibrating. A few signals suggest it’s time to tighten up your ceramic coating maintenance habits rather than assume the coating itself is simply wearing out.
If water beading has flattened noticeably faster than expected for the coating’s rated lifespan, the culprit is often surface contamination rather than chemical breakdown, and a decontamination wash typically resolves it. If the paint feels increasingly grabby during washing despite regular cleaning, it may mean the wash mitt or towels themselves have picked up embedded grit and need replacing rather than the coating failing. If dirt and grime seem to stick more aggressively between washes than they used to, it’s often a sign the last booster application has worn thin and a fresh application is due.
Catching these signals early and adjusting your ceramic coating maintenance routine accordingly is far more cost-effective than waiting until a full reapplication becomes necessary.
Frequently Asked Questions
Can I take my ceramic coated car through a touchless automated wash?
Touchless washes, meaning no physical brushes, are acceptable in emergencies or winter months to knock off heavy road salt. However, touchless facilities frequently use high-pH alkaline detergents that can slowly degrade the coating’s slickness over time. For consistent ceramic coating maintenance, hand washing remains the gold standard.
Do I need to wax my car after ceramic coating?
No. Never apply traditional carnauba wax over a ceramic coating. Waxes contain natural oils that sit on top of the coating, masking its hydrophobic properties and attracting dust. Use SiO2-based ceramic detail sprays instead as part of your regular ceramic coating maintenance routine.
What should I do if water spots form on the coating?
Address water spots promptly before minerals bake into the finish. Use a specialized mineral-deposit or water-spot remover formulated for coated surfaces, followed by a thorough rinse.
How often should ceramic coating maintenance actually happen?
A full wash every one to two weeks is typical for most daily drivers, with a deeper decontamination and booster application every three to six months depending on driving conditions and how often the vehicle is parked outdoors.
Will poor ceramic coating maintenance void my installer’s warranty?
Often, yes. Many certified installers require documented use of pH-neutral products and safe wash techniques as a condition of warranty coverage, so keeping a simple log of your maintenance routine can matter if you ever need to make a claim.
Is professional maintenance worth paying for instead of doing it myself?
For owners who enjoy hands-on car care and have the time, a disciplined at-home ceramic coating maintenance routine works well and costs very little beyond the initial equipment. For owners who want consistency without the time investment, or who lack a suitable washing space, a professional maintenance program provides the same benefits with less effort and often includes periodic inspection to catch early warning signs before they become bigger issues.
Keep Your Finish Flawless with Red’s Detail Co.
Proper ceramic coating maintenance guarantees that your ceramic coating maintains its showroom depth, clarity, and protection for years to come, and it’s the single biggest factor within your control as an owner. If you prefer to leave routine preservation to certified professionals, Red’s Detail Co. offers specialized maintenance wash programs and annual CQuartz ceramic inspections in Marietta and Atlanta.
Need professional maintenance or looking to upgrade your vehicle’s protection? Contact Red’s Detail Co. today to book your appointment.


5 Comments