How Does an Automotive Test Light Work?
When your car’s electrical system acts up, finding the cause can feel frustrating and time-consuming. You’re not alone—many people struggle to tell whether the problem is a blown fuse, weak battery, bad ground, or damaged wire. The best automotive test light can make these checks faster and easier.
An automotive test light uses a bulb or LED to show whether electrical voltage reaches its probe. Clip it to a clean ground, then touch the probe to a fuse, wire, or terminal.
A bright light usually indicates power, while no light may signal a blown fuse, broken wire, weak battery, or poor connection. You can also connect it to positive power to test a ground.
Use it carefully, and you’ll find more ways to diagnose circuits below.
Key Takeaways
- An automotive test light contains a bulb or LED that illuminates when voltage reaches its probe through a complete circuit.
- Attach the clip to a known ground, then touch the probe to a powered terminal or wire.
- A bright light usually indicates voltage, while no light may indicate an open circuit, blown fuse, or discharged battery.
- To test ground, connect the probe to battery positive and clip to the suspected ground; illumination indicates a usable ground path.
- Test lights provide quick power checks, while multimeters offer more precise voltage, resistance, and current measurements.
What Is an Automotive Test Light?
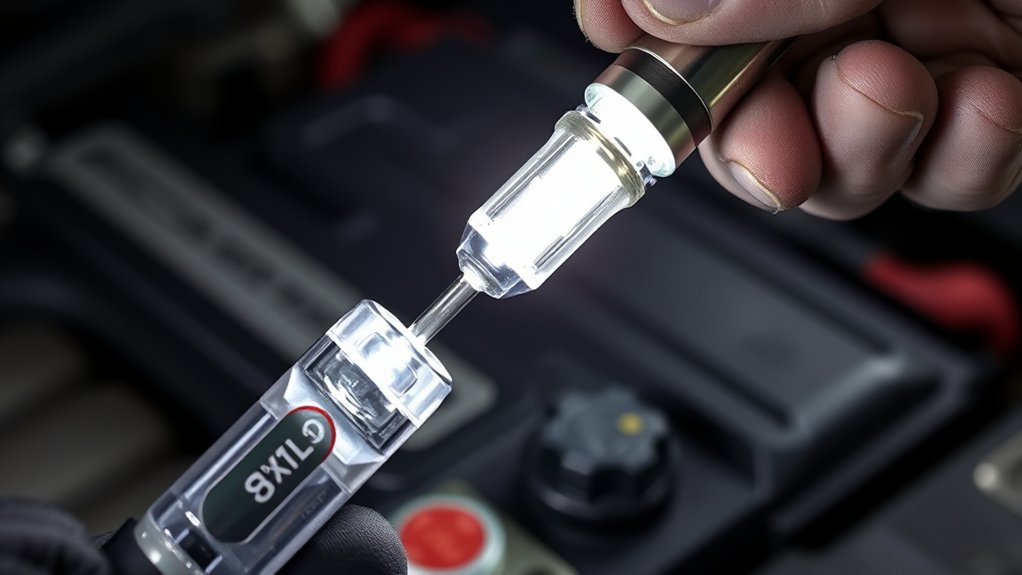
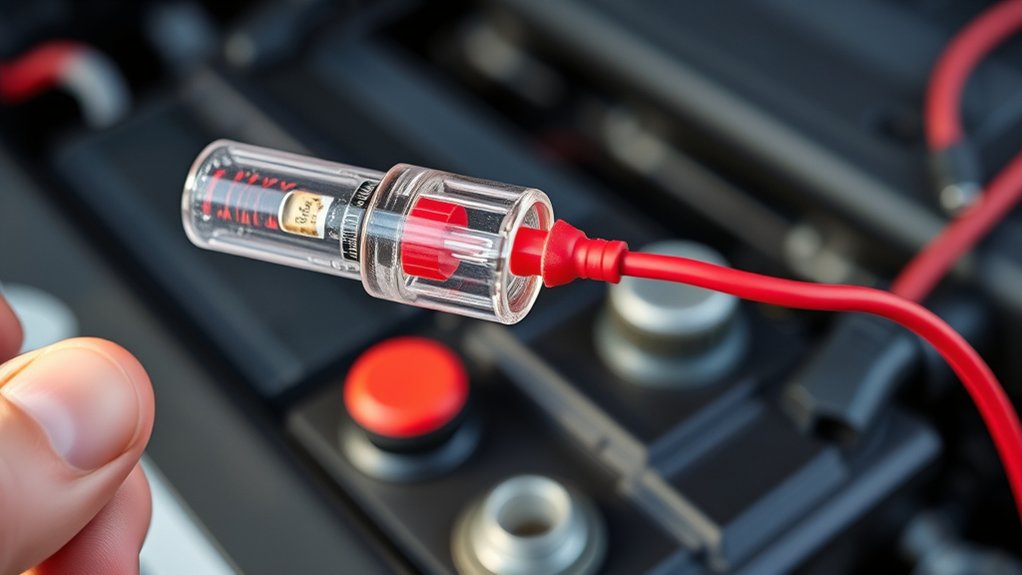
An automotive test light is a simple diagnostic tool that helps you check whether electrical power is reaching a circuit. You’ll recognize it as a compact handle with a sharp probe, an internal indicator, and a connecting lead. When you use it correctly, the indicator alerts you to electrical presence without requiring an expensive meter.
An automotive test light quickly reveals whether electrical power reaches a circuit, offering a simple alternative to using an expensive meter.
You can choose several designs for different automotive lighting tasks. Basic models suit common checks, while specialized versions include digital displays, polarity indicators, or extended leads. Select a tool with insulation and a durable probe so you can work safely around vehicle wiring.
Test light history reaches back to the early days of automotive service, when technicians needed a quick alternative to complicated instruments. Its straightforward design made it popular in garages and workshops.
Today, you can still keep one in your vehicle because it’s affordable, portable, and useful for identifying electrical issues during routine maintenance or roadside troubleshooting.
How Does an Automotive Test Light Work?
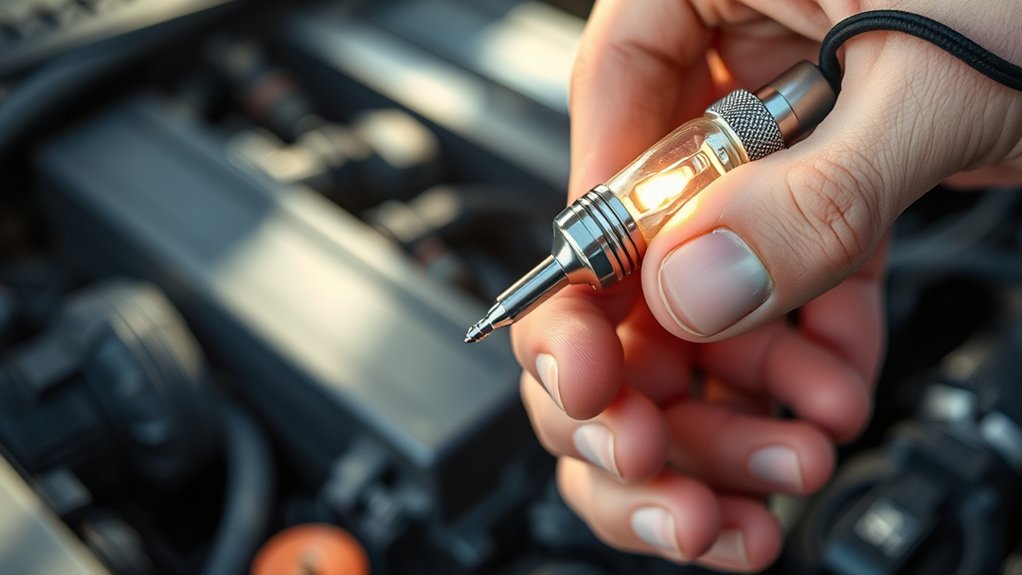
Connect the test light to the circuit you want to check. Touch the probe to a terminal or wire to see whether voltage is present, and use it to find a reliable ground. It’s a quick way to locate power, breaks, and connection problems.
Electrical Circuit Detection
When you touch an automotive test light’s probe to a circuit, its internal bulb or LED illuminates when voltage reaches the tip and current flows through the tool to its ground clip. This immediate response helps you detect whether electricity reaches a connector, wire, fuse, or switch.
You can trace a circuit by probing points along its path and watching where the light disappears. A bright glow usually indicates a powered point, while no glow suggests an open circuit, a disconnected component, or a blown fuse.
During battery maintenance, you can identify circuits that remain active when they shouldn’t. For alternator testing, the light can help you locate charging-circuit connections and interruptions.
Use the tool as a quick circuit map, not as a precise voltage measurement device.
Voltage And Ground Testing
Beyond locating power, an automotive test light helps you check voltage presence and verify a ground connection. Connect its clip to a known ground, then touch the probe to a circuit terminal.
A bright light usually indicates voltage, while no light suggests an open fuse, broken wire, or discharged battery.
To test ground, connect the probe to battery positive and touch the suspected ground point. The light should illuminate; a dim or dark result may reveal resistance, Battery corrosion, or a loose connection.
Clean the terminal and retest before replacing parts. During Alternator testing, touch the probe to the output terminal with the engine running, following safety precautions.
Compare the result with battery voltage and your vehicle’s specifications. Never probe moving belts, fans, or sensitive computer connectors.
How to Connect the Test Light
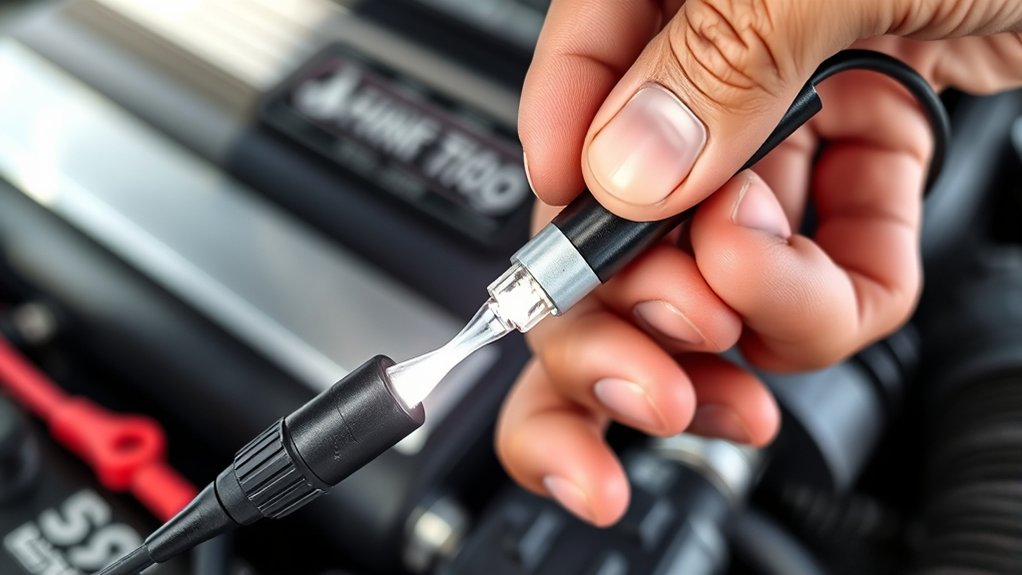
Connect the test light’s clip to a clean metal ground, such as the vehicle’s battery negative terminal or an unpainted engine bracket, then touch the probe to the circuit or terminal you want to test. Before connecting, inspect the battery terminals and ground points.
Battery corrosion can block contact and produce misleading results, so choose a clean, solid surface. If necessary, lightly clean the connection point and let it dry.
To check power at the Ignition switch, back-probe the appropriate wire or touch the probe to its exposed terminal while keeping the clip firmly grounded. Turn the key through each position and observe when the test light illuminates.
For a fuse, touch both exposed test points without removing it. When testing a connector, use the probe carefully at the rear of the terminal so you don’t spread or damage its contacts.
Keep the test light’s lead positioned where it won’t pull on the connection as you work.
Use a Test Light Safely
Wear safety glasses and gloves before using an automotive test light. Keep the probe and clip from touching unintended terminals to avoid a short circuit. Also, inspect the tool and its wiring first so you can test safely.
Wear Protective Gear
Protect your eyes and hands before using a test light, especially when working near batteries, moving parts, or exposed wiring. Wear safety glasses to shield your eyes from sparks, battery residue, and falling debris. Choose insulated gloves that fit securely and let you handle the probe with control.
Protective gear helps reduce injuries while you inspect circuits or test connections.
Wear closed-toe, nonconductive shoes and avoid loose clothing, jewelry, or dangling accessories that could catch on components. Keep long hair tied back, and remove watches or metal bracelets before you begin.
Safety precautions also include working in a well-ventilated area and keeping your workspace dry. Check your gear for damage, and replace worn gloves or cracked glasses.
You’ll work more confidently when your clothing and equipment provide reliable protection.
Avoid Short Circuits
To avoid short circuits, keep the test light’s probe and clip from touching each other or unrelated metal surfaces. Connect the clip to a clean ground point, then touch only the circuit terminal you’re testing.
Don’t let the probe slip across adjacent terminals, exposed connectors, or painted body panels that could cause confusion. Turn off the ignition before connecting or removing the clip, and disconnect the battery when manufacturer instructions require it.
Good Battery maintenance helps prevent unexpected sparks caused by weak, damaged, or leaking batteries. If you accidentally create a short, remove the probe immediately and inspect the circuit.
Don’t bypass a blown fuse. During Fuse replacement, install the correct amperage and investigate the cause before testing again.
Keep the test light’s cord clear of belts, fans, and hot components.
How to Read Test Light Results
Reading a test light starts with watching whether the probe illuminates and how brightly it shines. A bright light usually indicates a strong electrical connection, while a dim glow can suggest resistance, corrosion, a weak ground, or low voltage.
No light may mean the circuit lacks power, the ground connection isn’t complete, or the bulb and wiring need inspection. Before interpreting results, confirm that your test light works on a known, functioning circuit and that you’ve connected its clip correctly.
Compare readings at related points rather than judging one result alone. In battery maintenance, a consistent bright indication helps you recognize healthy connections, while changing brightness can reveal loose or corroded terminals.
During engine diagnostics, note whether the light responds as the circuit operates. An intermittent glow may point to a damaged wire, failing switch, or poor connector.
Don’t assume brightness measures exact voltage. Use a multimeter when you need precise values, and record your observations before making repairs.
How to Test for Electrical Power
When you need to test for electrical power, connect the test light’s clip to a reliable ground, then touch the probe to the circuit’s power terminal. If the light illuminates brightly, voltage reaches that point.
A dim glow may indicate reduced voltage, excessive resistance, or a weak source, while no light suggests an open circuit, blown fuse, disconnected wire, or absent power.
For accurate Automotive diagnostics, switch the ignition to the position required by the circuit. Test before and after fuses, across switches, and at connector terminals to locate where power stops.
Touch only the probe tip to the intended contact, and avoid bridging adjacent terminals.
Follow Electrical safety practices throughout the test. Keep the probe and clip away from moving parts, hot surfaces, and exposed battery terminals that could cause a short.
Don’t pierce insulation unnecessarily, and confirm the test light’s voltage rating matches the vehicle. Compare your result with the wiring diagram before replacing parts.
How to Check Vehicle Ground Connections
To check your vehicle’s ground connections, start by inspecting the ground cables for corrosion, looseness, or damage. Next, use an automotive test light or multimeter to measure the voltage drop while the circuit is operating. This will help you identify weak connections that may be causing electrical problems.
Inspect Ground Cables
Inspect the vehicle’s ground cables for loose, corroded, frayed, or broken connections before testing other circuits.
You’ll find the main ground wire between the battery’s negative terminal and the engine or body. Follow smaller straps to the frame, dashboard, and lighting components.
Clean oxidation with a wire brush, then tighten loose bolts securely. Replace cables with damaged insulation, broken strands, or overheated terminals.
Proper electrical grounding gives current a dependable return path and helps your test light produce useful results.
| Check | What to look for |
|---|---|
| Battery ground | Tight, clean terminal |
| Engine strap | Secure, unbroken braid |
| Body connection | Bare, rust-free metal |
Turn off the ignition before handling connections. Don’t rely on paint, grease, or rust as a contact surface.
After repairs, recheck each attachment visually and confirm the cable can’t move by hand. Keep tools from bridging battery terminals to prevent sparks or damage.
Test Voltage Drop
Voltage-drop testing shows whether a ground connection can carry current without excessive resistance. Set your multimeter to DC volts, then connect the black probe to the battery’s negative post and the red probe to the component’s ground point.
Turn on the circuit or crank the engine so current flows. A healthy connection usually shows less than 0.2 volts. A higher reading indicates corrosion, looseness, a damaged cable, or insufficient battery capacity affecting the test.
Move the red probe along the ground path to locate the voltage increase. Consult wiring diagrams to identify each ground point and the expected circuit path.
Clean contact surfaces, tighten fasteners, or replace faulty cables, then repeat the test. Don’t rely on continuity alone; a connection can pass a continuity check yet fail under load.
How to Test Fuses and Wires
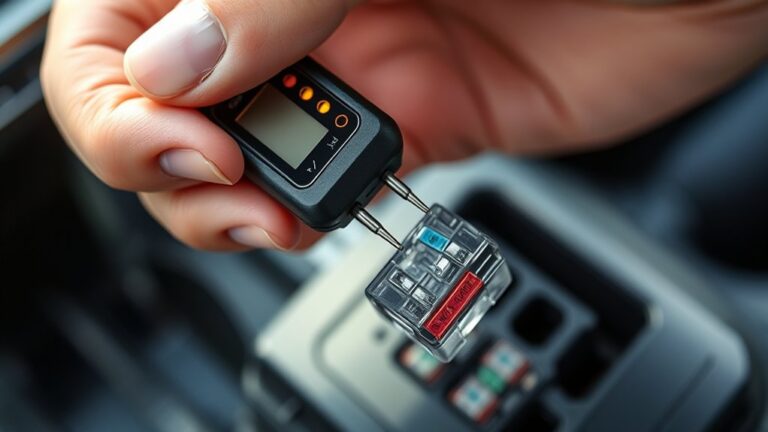
Testing fuses and wires with an automotive test light helps you quickly find open circuits, blown fuses, and poor connections. Connect the test light’s clip to a clean ground, then touch the probe to both small metal test points on top of each fuse. A good fuse illuminates the light at both points; a blown fuse lights it on only one side or neither side.
Replace a blown fuse with one matching the original rating, and investigate recurring failures.
To check a wire, pierce its insulation carefully or touch an exposed terminal while the circuit operates. A bright light indicates power at that location. Move along the circuit, checking connectors, grounds, and switches until the light disappears.
That change helps you locate a break or loose connection. Turn power off before repairing wiring, and seal any puncture afterward. These checks support battery maintenance and alternator testing by confirming dependable power paths.
Test Light vs. Multimeter
A test light gives you a quick yes-or-no indication of power, while a multimeter measures voltage, resistance, and current precisely. You can use the light to confirm that a fuse or wire carries electricity, making it useful for fast Automotive diagnostics. Choose a multimeter when you need exact readings, voltage drops, resistance values, or continuity checks.
| Tool | Best use |
|---|---|
| Test light | Fast power checks |
| Multimeter | Precise electrical measurements |
A test light usually works faster and requires less interpretation. However, it can’t tell you whether voltage falls under load or identify a small difference between circuits.
Your multimeter provides numerical data, helping you compare readings with vehicle specifications. Use the correct setting and range before testing, and connect the leads properly.
Test light calibration matters too: verify the bulb or LED operates correctly and confirm the ground clip makes a solid connection.
Select the tool that matches your question, and you’ll diagnose circuits more efficiently. Keep both tools available for complementary results during routine service and complex electrical troubleshooting.
How to Fix Misleading Test Results
When a test light gives a misleading result, check the ground connection, probe placement, and bulb or LED before replacing parts. Clip the ground lead directly to a clean, unpainted metal surface, preferably near the circuit you’re testing.
Battery corrosion can insulate terminals and create weak or intermittent readings, so clean the posts and verify voltage with a multimeter. Pierce insulation carefully or touch the probe to the correct terminal; poor contact can mimic a dead circuit.
Corroded terminals and poor probe contact can create false readings, so clean connections and verify voltage carefully.
Confirm that you’re testing the proper wire, fuse, and switch position, then compare results with the ignition off and on. If you’re checking ignition timing equipment, remember that a test light shows electrical pulses, not timing accuracy. Use a timing light for that job.
Test the light on a known powered circuit before and after diagnosis. Finally, wiggle connectors and harnesses while watching the lamp. Flickering indicates a loose connection, damaged wire, or failing ground that needs repair.
Frequently Asked Questions
Can an Automotive Test Light Drain My Car Battery?
No, an automotive test light won’t normally drain your car battery. It draws only a tiny amount of current, usually through its bulb or LED, while you probe a circuit.
However, you can create battery drain if you leave the test light connected for hours, short a circuit, or switch the ignition on repeatedly.
To protect electrical stability, disconnect it after testing and avoid probing sensitive electronic modules unless you follow the manufacturer’s instructions.
How Do I Choose the Right Test Light for My Vehicle?
Choose a test light that matches your vehicle’s electrical system, usually 12 volts, and select an LED model for safer, clearer readings.
For sensitive electronics, choose a computer-safe, high-impedance tester that won’t draw excessive current.
Pick a model with sharp probes, insulated handles, and a long cable. You’ll use it for voltage testing and circuit continuity, so confirm it supports both functions.
Always follow your vehicle manufacturer’s safety recommendations.
Can Test Lights Detect Intermittent Electrical Problems?
“Where there’s smoke, there’s fire”: yes, a test light can help you detect intermittent electrical problems, but it may not catch brief faults. Use troubleshooting techniques, such as flexing wires, wiggling connectors, and monitoring the light while operating switches.
Apply electrical circuit analysis to check power, ground, and voltage drop under load. You’ll improve your chances by using a multimeter, recording symptoms, and inspecting corroded terminals or loose connections carefully.
What Maintenance Does an Automotive Test Light Require?
You’ll need little maintenance for an automotive test light. Inspect its probe, wire, insulation, and alligator clip before each use, and replace any cracked or loose parts.
Practice battery safety by keeping connections clean, avoiding short circuits, and removing the tool after testing. Check test light calibration periodically against a known-good circuit. Replace the bulb or batteries if readings seem weak or inconsistent.
Store it dry, coiled, and protected from heat.
Are LED and Incandescent Test Lights Used Differently?
Yes, you’ll use LED and incandescent test lights somewhat differently. Imagine an LED lasting roughly 25 times longer than a conventional bulb; that’s LED durability in action.
LEDs draw less current, making them safer for sensitive computer-controlled circuits, but their bright, focused glow can mislead you when testing weak grounds.
Incandescent brightness demands more current and clearly reveals voltage drops, though you should avoid using it on delicate electronic circuits.
Conclusion
An automotive test light gives you fast answers without expensive equipment. You connect its clip to ground or power, touch the probe to a circuit, and read the lamp’s response.
Don’t assume a dark light always means a bad component. Poor grounding, blown fuses, or voltage drop can mislead you.
Test methodically, follow safety precautions, and confirm uncertain results with a multimeter. With practice, you’ll understand how an automotive test light works and diagnose common electrical faults confidently and efficiently.