
How Does an Alternator Tester Work Step by Step
A weak battery, dim headlights, or trouble starting your car can leave you wondering whether the alternator is failing. You’re not alone; many drivers struggle to diagnose charging problems. The right alternator tester can make the process faster and easier.
An alternator tester works by checking your vehicle’s charging system step by step. First, choose a tester that measures voltage, current, or ripple.
Turn off the engine, connect the red lead to positive and the black lead to negative or ground, then record battery voltage, typically about 12.6 volts.
Start the engine and check for 13.8–14.7 volts at idle. Turn on electrical loads and watch for stable output.
Compare results with specifications to identify faults and determine repairs.
Key Takeaways
- Connect the tester’s red lead to battery positive and black lead to negative or a clean chassis ground.
- Measure resting battery voltage with the engine off; a healthy battery typically reads about 12.6 volts.
- Start the engine and measure charging voltage at idle, normally around 13.8–14.7 volts.
- Turn on headlights, blower, defroster, and other accessories to test voltage stability under electrical load.
- Compare voltage, current, and ripple readings with manufacturer specifications to identify charging, regulator, diode, belt, or wiring faults.
How Does an Alternator Tester Work?
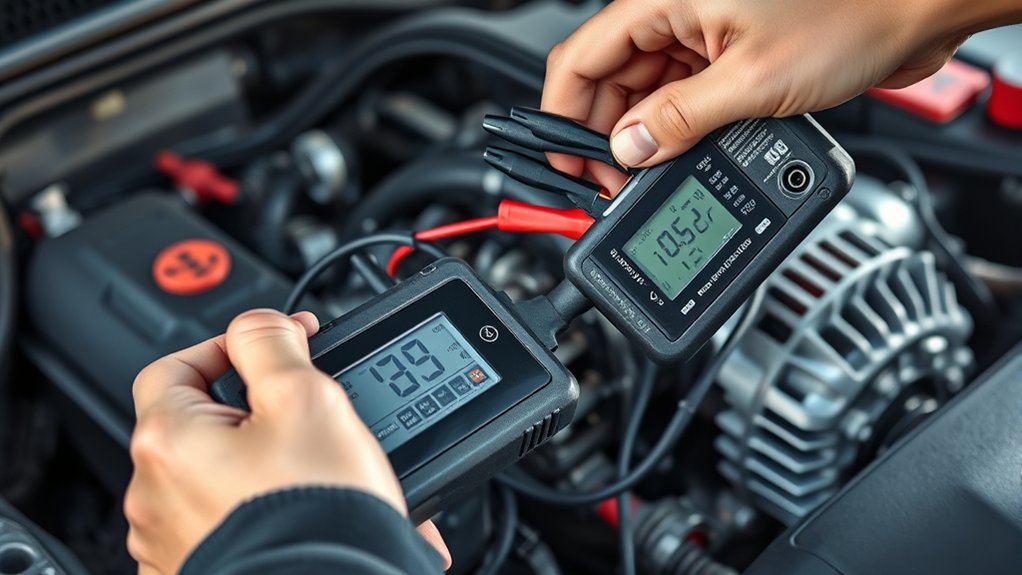
An alternator tester measures the electrical output of your vehicle’s alternator to determine whether it’s charging the battery properly. You connect the tester to the battery terminals or charging circuit, then start the engine.
The device reads voltage and, on some models, current or ripple. At idle, you’ll see whether the alternator produces a steady charge.
When you switch on headlights, climate controls, or other electrical loads, the tester shows how well output responds.
Your reading reflects both battery chemistry and alternator design. A battery’s state of charge, age, and internal resistance influence displayed voltage, while the alternator’s regulator controls its charging level.
A healthy system typically maintains voltage within the vehicle manufacturer’s specified range and limits excessive fluctuation.
If the reading stays low, rises too high, or changes sharply, you may have a weak alternator, damaged wiring, a slipping belt, or a failing battery.
Compare results with your vehicle’s service specifications before drawing conclusions. This process helps you identify charging problems early and protect the battery from avoidable damage.
Choose the Right Alternator Tester
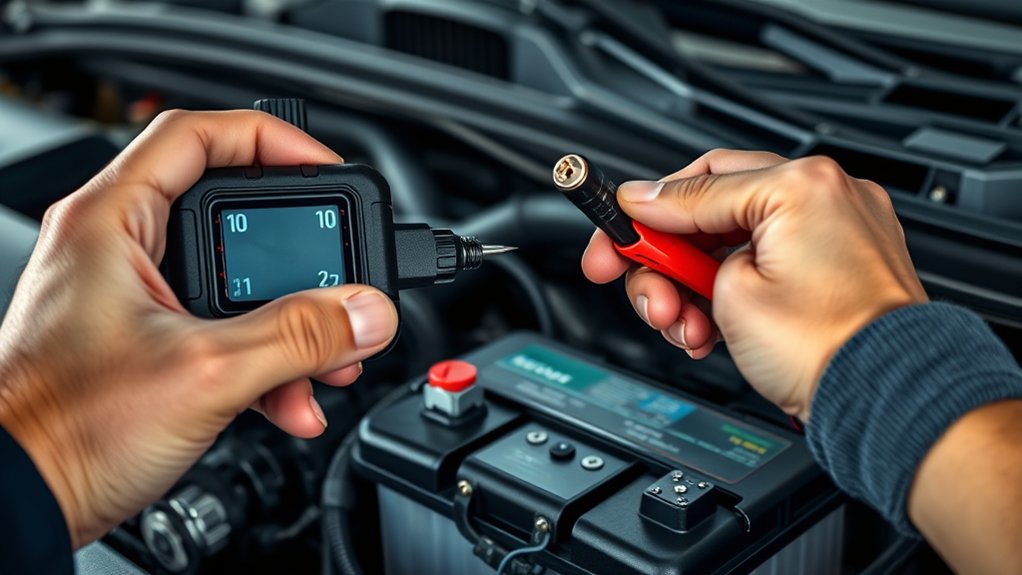
Choosing the right alternator tester depends on the readings you need and how often you’ll use it. For basic checks, choose a compact tester that displays battery voltage, charging voltage, and warning lights clearly.
If you want deeper diagnostics, select a digital multimeter with alternator-specific functions, such as ripple testing, diode checks, and load measurements. A clamp meter can help you measure current without disconnecting cables.
A professional analyzer may provide charging-system reports and fault codes. Consider one if you need detailed diagnostics or work on vehicles frequently.
Check the tester’s measurement range, accuracy, display readability, and lead quality before buying. Look for durable construction and clearly labeled controls if you’ll use it frequently.
Auto-ranging functions can simplify testing, but manual ranges may suit experienced users who need precise control. Choose a model compatible with your vehicle types and electrical systems.
Reliable equipment supports better Battery maintenance and promotes Electrical safety by helping you identify abnormal voltage or current before it causes damage.
Prepare the Vehicle and Testing Area
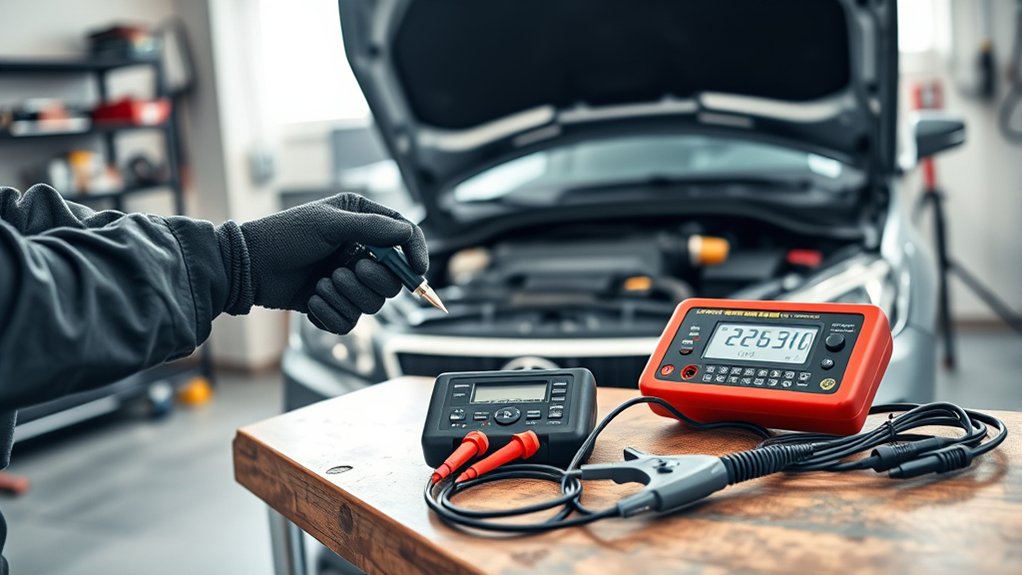
Before testing, park the vehicle on a level surface, switch off the ignition, and engage the parking brake. Let the engine cool if you’ve driven recently, because hot components can cause burns and affect readings. Open the hood and secure it with the support rod or lift mechanism.
Park safely, switch off the ignition, engage the parking brake, and let the engine cool before opening and securing the hood.
Remove loose clothing, jewelry, and anything that could catch on moving parts. Keep children, pets, and unnecessary tools away from the work area.
Inspect the battery and alternator visually for cracked housings, leaking fluid, damaged insulation, or loose hardware. Don’t proceed until you’ve addressed any obvious hazards.
Clean dirt from the surrounding area so you can work without contaminating components. Verify the battery terminals are accessible, but don’t disturb their connections yet.
Good vehicle maintenance habits reduce risks when you examine electrical systems. Turn off accessories such as lights, climate controls, audio equipment, and chargers.
Keep a flashlight, safety glasses, gloves, and the tester’s instructions nearby for an orderly inspection.
Connect the Alternator Tester Safely
With the engine off, identify the tester’s positive and negative leads and match them to the battery terminals. Don’t connect the positive lead to ground, or you could damage the tester or the vehicle’s electrical system.
Attach the red clamp to the positive terminal, then secure the black clamp to the negative terminal or an approved chassis ground, according to the tester’s instructions. Make sure both clamps grip clean, tight surfaces and can’t touch each other or moving components.
Keep the tester’s cables away from belts, fans, pulleys, and hot exhaust parts. Inspect the leads for cracked insulation, loose connections, or exposed wire before you proceed.
If your tester uses a plug-in sensor or inductive clamp, position it around the specified cable without forcing or pinching it. Never bypass a fuse or use damaged equipment.
Follow the manufacturer’s polarity and connection sequence carefully. Safe connections support accurate alternator maintenance and protect every electrical system component.
Check Battery Voltage With the Engine Off
Before testing, set your multimeter to DC voltage and make sure the probes are connected correctly. With the engine off, touch the probes to the battery terminals to measure the resting voltage. This gives you a baseline to compare against when evaluating the alternator’s performance.
Prepare the Multimeter
Set your multimeter to DC voltage, typically the 20-volt range, then connect the red probe to the battery’s positive terminal and the black probe to the negative terminal with the engine off. Make sure the selector points to DC volts, not AC volts, resistance, or current.
Inspect the leads for damage, and insert the black lead into COM and the red lead into the voltage socket. Keep the probes steady and prevent their metal tips from touching each other or creating a short circuit.
Before testing, switch off lights, accessories, and the ignition. This preparation supports accurate battery maintenance and helps you assess the electrical system before checking voltage regulation.
Handle the meter carefully, follow its safety markings, and confirm you’ve selected the proper range for the battery.
Measure Resting Voltage
Turn the engine off and let the vehicle sit for several minutes, then touch the red probe to the battery’s positive terminal and the black probe to its negative terminal. Set your multimeter to DC volts and read the display.
A healthy, fully charged battery usually measures about 12.6 volts. Readings near 12.4 volts indicate partial charge, while anything below 12.2 volts suggests a weak or discharged battery.
Recharge the battery and repeat the test before evaluating the alternator. A low resting voltage can distort charging results and make a good alternator seem faulty.
Record your measurement for future comparison. Regular battery maintenance helps you identify problems early, prevents unnecessary strain on the charging system, and may support a longer alternator lifespan.
Don’t start the engine until you’ve documented this baseline reading.
Read Alternator Tester Voltage at Idle
To read alternator tester voltage at idle, start the engine and let it settle at its normal idle speed, then check the tester’s display. Confirm that you’ve connected the leads correctly and selected the DC voltage setting before recording the number.
A healthy charging system commonly shows about 13.8 to 14.7 volts, though your vehicle’s specifications may differ. Compare the reading with the resting voltage you measured earlier.
A clear increase indicates that the alternator is charging the battery. Watch the display for several seconds rather than relying on one instant reading.
Voltage stability matters because steady output suggests consistent regulation. Noticeable fluctuations may point to a weak alternator, loose connection, worn belt, or regulator problem.
Don’t judge alternator efficiency from voltage alone. Use the reading as an initial check.
If the result stays near battery voltage, switch off the engine and inspect the connections before testing further. Record your result for comparison.
Test the Alternator With Electrical Loads
With the engine idling, switch on the headlights, blower motor, rear defroster, and other major electrical accessories, then watch the alternator tester’s voltage reading. These devices create a realistic demand, allowing you to see how the Charging system responds while producing current.
Keep the accessories running for several seconds, and observe whether the reading remains steady or changes noticeably as the alternator supplies power. You can add loads one at a time if you need to identify how each accessory affects the system.
Avoid revving the engine during this step, because consistent engine speed helps you evaluate the alternator under a controlled load. Listen for belt squeal, unusual alternator noise, or engine strain, and stop if you notice a burning smell.
A healthy response supports reliable operation, reduces unnecessary battery discharge, and promotes Battery longevity. Record the tester’s load reading for later reference, without drawing inferences yet.
Compare Readings With Normal Ranges
Compare the tester’s voltage and load readings with your vehicle manufacturer’s specifications, since normal ranges vary by vehicle and alternator design. Check the service manual for charging voltage, rated output, and test conditions.
Record results at idle and under the same electrical load specified by the manufacturer.
| Reading | Typical reference | Check |
|---|---|---|
| Resting voltage | About 12.6 V | Engine off |
| Charging voltage | About 13.8–14.7 V | Engine running |
| Output current | Near rated value | Load applied |
| Ripple voltage | Low and steady | Tester display |
Use these figures only as general guidance. Temperature, battery condition, and smart charging controls can change results.
A weak battery may influence the reading, so confirm battery maintenance is current before comparing data. Also note whether the tester measures available output or total alternator capacity.
Keep the charging system specifications beside you. Write down each result, engine speed, temperature, and accessory load for an accurate comparison.
Don’t judge performance from one number alone. Evaluate every reading under matching conditions.
Match Test Results to Charging Faults
Match each test result to the fault it most strongly indicates rather than treating one abnormal reading as a diagnosis. If voltage stays low with the engine running, suspect inadequate alternator output, a slipping belt, poor wiring, or weak ground.
If voltage rises excessively, suspect a faulty voltage regulator or a sensing-circuit problem. Excessive AC ripple commonly points to a damaged rectifier diode, while unstable readings can indicate loose connections or intermittent brush contact.
Use the tester’s current, voltage, and ripple results together. A healthy voltage with low charging current may reflect a fully charged battery, not an alternator fault.
A discharged battery can draw heavily, so compare results after allowing the system to stabilize. Consider Battery chemistry because AGM, gel, and flooded batteries may use different charging targets.
Also account for Alternator design. Smart charging systems can intentionally vary voltage based on temperature, load, and control signals.
These patterns help you identify the likely fault category without confusing normal operating behavior with failure.
Decide Whether the Alternator Needs Repair
Once you interpret the test results, you can identify problems such as low output, unstable voltage, or excessive ripple. From there, you can decide whether the alternator needs a specific repair or should be replaced. It’s also a good idea to consider the vehicle’s age and overall condition, along with the repair cost.
Interpret Test Results
Interpret the tester’s voltage and current readings together rather than relying on a single number. Compare the results with your vehicle’s specified charging range, both at idle and under load.
A stable voltage within that range, paired with adequate current, usually means the alternator is charging properly. If readings fall below specifications, repeat the test after checking connections and charge level, because battery maintenance can affect results.
If the output remains weak, you’ll have enough evidence to schedule professional service.
Use this quick guide:
- Normal voltage and current: Continue routine monitoring.
- Low voltage with low current: Plan an alternator evaluation.
- Unstable readings: Retest before making a decision.
Record each result, including engine speed and electrical load. Accurate notes support electrical troubleshooting and help you explain the symptoms clearly.
Don’t condemn the alternator based on one reading or a discharged battery alone.
Identify Alternator Faults
After you’ve compared the readings with the vehicle’s specifications, look for patterns that point to a specific alternator fault. A low charging voltage may indicate worn brushes, damaged diodes, a loose belt, poor wiring, or weak connections.
Excessive voltage can suggest a faulty voltage regulator, which may overcharge the battery and damage electrical components. If output drops sharply under load, suspect failing windings, slipping belt tension, or inadequate current capacity.
Unusual AC ripple often points to a damaged rectifier diode. Before blaming the alternator, inspect terminals, cables, grounds, and fuses, then consider Battery health, since a failing battery can distort test results.
Use these findings to determine whether the alternator shows a genuine fault. Regular Alternator maintenance helps you spot developing problems before they leave you stranded.
Choose Repair Or Replacement
Choose repair or replacement based on the fault’s cause, severity, and the alternator’s overall condition. Use Diagnostic tools to confirm charging voltage, ripple, current output, and regulator performance before deciding.
Follow Electrical safety procedures: switch off the engine, disconnect the battery, and wear eye protection.
- Repair worn brushes, a loose belt, damaged wiring, or corroded terminals when the housing and windings remain sound.
- Rebuild the unit if bearings, slip rings, or the voltage regulator fail but replacement parts cost less than a new alternator.
- Replace it when windings short, the case cracks, internal damage spreads, or rebuilding approaches the price of a reliable replacement.
Compare labor, warranty coverage, part quality, and vehicle age. After installation, retest output under load and verify that the battery charges consistently.
Don’t reinstall an alternator that still shows unstable readings.
Frequently Asked Questions
Can an Alternator Tester Diagnose Intermittent Charging Problems?
Yes, an alternator tester can help diagnose intermittent charging problems, but it may not catch them during a brief test. You’ll get a clearer picture by testing repeatedly with the engine cold, warm, idling, and under electrical load.
Check Alternator performance while monitoring voltage fluctuations, belt condition, wiring, and connections. Confirm Battery compatibility with the tester’s settings.
If symptoms persist, use a multimeter or professional diagnostic tool to capture irregular charging events.
How Often Should an Alternator Be Tested?
You should test your alternator at least once a year, letting it serve as your vehicle’s heartbeat check. Test it sooner if you notice dim lights, slow starting, warning lights, unusual noises, or electrical accessories acting erratically.
Check it after replacing the battery, completing major electrical repairs, or experiencing repeated starting problems. Your testing schedule should also reflect battery health, driving conditions, and charging cycles, especially with frequent short trips or heavy accessory use.
Are Digital Alternator Testers More Accurate Than Analog Models?
Yes, digital alternator testers generally provide more accurate, consistent readings than analog models. You’ll see precise voltage and current values, easier interpretation, and fewer errors from parallax or needle movement.
However, accuracy still depends on calibration, battery health, probe connections, and test conditions. Digital tools can evaluate voltage regulation and detect fluctuations more clearly, while quality analog testers remain useful for basic checks.
Choose a calibrated tester that matches your vehicle’s specifications.
Can a Weak Battery Damage an Alternator Tester?
Yes, a weak battery can damage an alternator tester, especially if voltage drops force the instrument to draw unstable current. Imagine connecting a nearly dead battery and watching the tester’s display flicker before its protection circuit fails.
Check Battery health first, and don’t test below the manufacturer’s minimum voltage. Inspect leads, use a charged battery, and verify Tester calibration regularly.
A weak battery may also produce misleading readings, even without causing permanent damage.
What Maintenance Does an Alternator Tester Require?
Maintain your alternator tester by inspecting its leads, clamps, display, and housing before each use. Clean battery corrosion from clamps with a suitable electrical-contact cleaner, then dry everything thoroughly.
Check cables for cracks, loose connections, or exposed wire, and replace damaged parts promptly. Store the tester in a dry, dust-free case.
Verify accuracy periodically against a known-good meter, especially after voltage fluctuations, drops, or prolonged storage. Follow the manufacturer’s calibration schedule and instructions.
Conclusion
By now, you can test an alternator without treating your dashboard like a crystal ball. Choose the right tester, connect it safely, check the battery, add electrical loads, and compare the readings with normal ranges.
If the results point to weak output, excessive ripple, or poor regulation, you’ve found more than a suspicious warning light—you’ve found evidence. Decide whether repair or replacement makes sense.
With a proper alternator tester, your car’s charging system has finally confessed.