How Does a Car Battery Charger Work Step by Step
A dead or weak car battery can leave you stranded when you least expect it, and choosing the right charger can feel confusing. You’re not alone—many drivers struggle to understand how a car battery charger works or which features they really need.
A car battery charger converts household AC power into controlled DC power through a transformer, rectifier, and control circuits. First, you inspect the battery, confirm its voltage and condition, and choose a compatible charger.
You connect the red clamp to positive and the black clamp to negative or ground, then set the correct voltage and current. The charger moves through bulk, absorption, and float stages while regulating output.
When charging finishes, unplug it and remove the clamps safely. Continue for more guidance on setup and troubleshooting.
Key Takeaways
- The charger converts household AC electricity into controlled DC power suitable for safely charging the car battery.
- Confirm the battery’s voltage, type, condition, and capacity. Then select the matching charger setting and charging current.
- With the charger unplugged, connect red to positive and black to negative or a suitable vehicle ground.
- Plug in the charger. It regulates bulk, absorption, and float stages while monitoring voltage, current, and temperature.
- When charging finishes, verify the battery reaches about 12.6–12.8 volts after resting. Then unplug and disconnect safely.
Learn How a Car Battery Charger Works
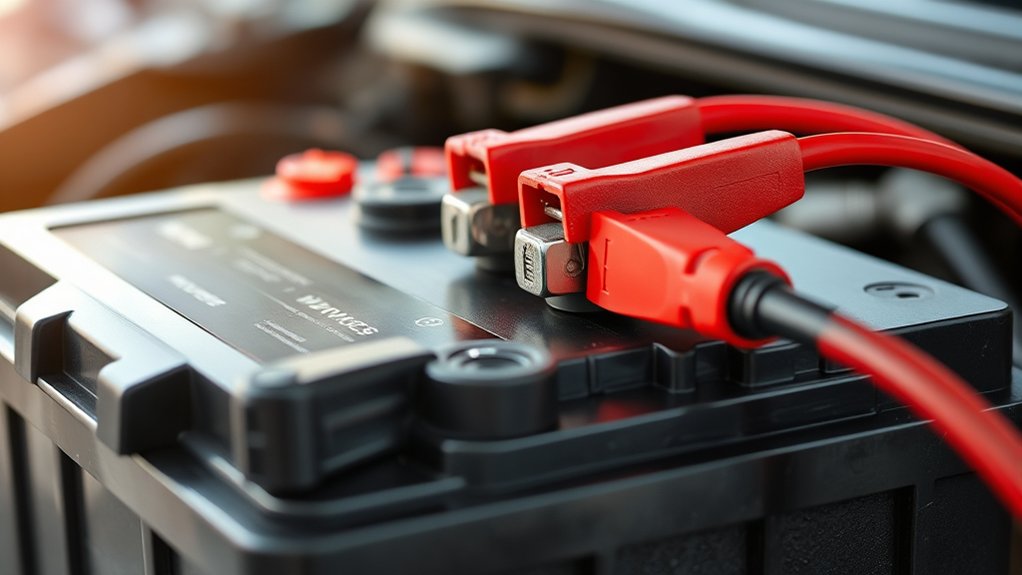
A car battery charger converts household AC power into controlled DC power that restores energy to your vehicle’s battery. When you plug it in, an internal transformer adjusts the outlet’s high voltage to a safer level. A rectifier then changes alternating current into direct current, while control circuits regulate voltage and amperage.
You connect the charger’s positive and negative clamps to the battery terminals, allowing current to move through the battery’s plates. This flow reverses the chemical reaction that occurs during discharge, rebuilding stored electrical energy. Smart chargers monitor charging progress and reduce or stop current when the battery reaches capacity, helping prevent overheating and damage.
You’ll find several charger types, including trickle, standard, and automatic models. If electricity isn’t available, an Alternative power source, such as a solar panel, can operate some chargers. When a battery reaches the end of its service life, Battery recycling helps recover valuable materials and reduces environmental waste for everyone.
Check the Battery Before Charging
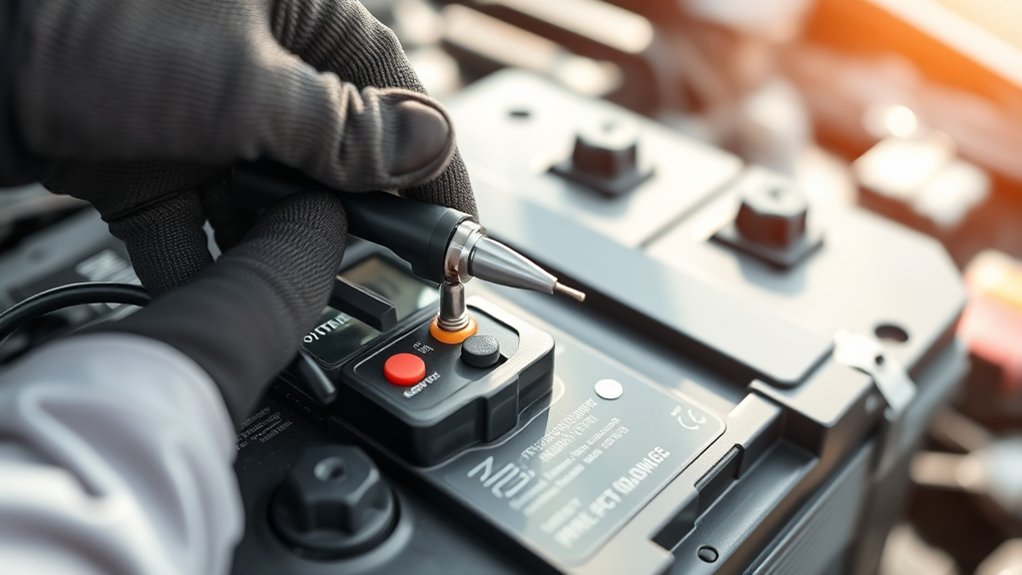
Before you charge the battery, inspect it for cracks, leaks, corrosion, or any other signs of damage. Next, use a multimeter to check its voltage and confirm that the battery is in good condition. If you notice serious damage or get an unusually low reading, don’t charge it.
Inspect Battery Condition
Inspect the battery before connecting the charger to make sure it’s safe to charge. Park your car in a well-ventilated area, switch off the ignition, and wear gloves and eye protection. Look for cracks, bulges, leaks, or a damaged case.
Don’t charge a battery with severe physical damage. Replace it or ask a qualified technician for help.
Check the terminals for battery corrosion, which may appear as white, blue, or green buildup. Clean light corrosion with a battery brush and an appropriate cleaner, keeping debris away from your eyes and skin.
Make sure the cables and clamps aren’t frayed, loose, or melted. If your battery has removable caps, inspect the acid levels and add only distilled water when necessary.
Never overfill the cells, and avoid open flames or sparks nearby.
Check Voltage Levels
Check the battery’s voltage with a digital multimeter before connecting the charger. Set the meter to DC volts, place the red probe on the positive terminal, and touch the black probe to the negative terminal.
A healthy, rested 12-volt battery usually reads about 12.6 volts. Use these readings as a guide:
- 12.4–12.6 volts: The battery has a reasonable charge.
- 12.0–12.3 volts: The battery is partially discharged.
- Below 12.0 volts: The battery may be deeply discharged or damaged.
Don’t rely on voltage regulation alone; the charger might display a different value while charging. Let the battery rest for several hours after driving for a more accurate test.
Battery calibration matters, so check your multimeter against a known source if the reading seems unusual. If voltage stays low after charging, have the battery tested before continuing.
Choose the Right Car Battery Charger
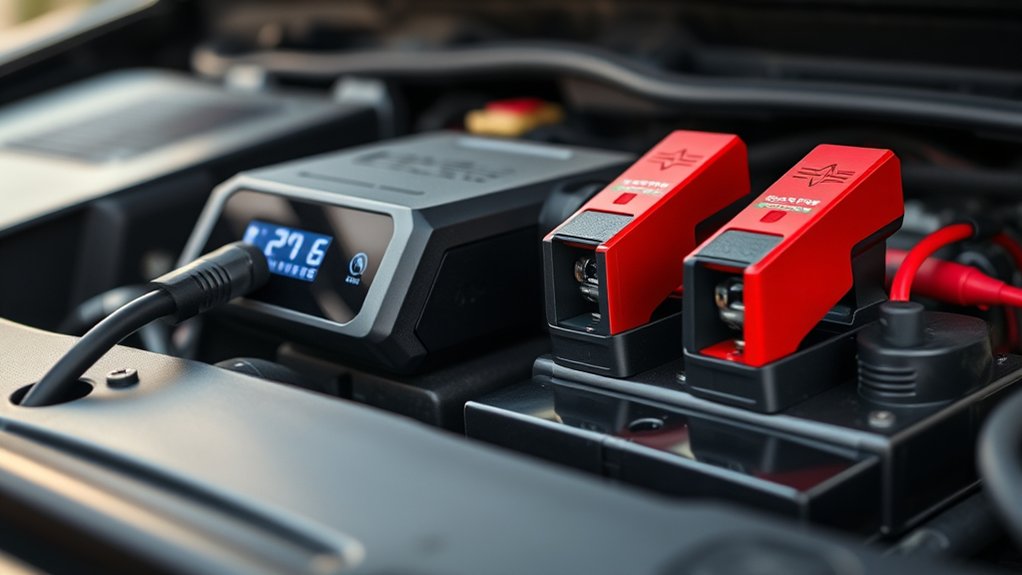
Choose a charger that matches your battery’s type and voltage. Next, compare different charger types to find the features that fit your needs. Finally, make sure the charger’s capacity matches your battery so it charges safely and effectively.
Check Battery Compatibility
Before connecting a charger, match it to your car battery’s voltage, type, and capacity. Check the label or owner’s manual to confirm these details before you begin.
Choosing a compatible charger helps prevent overheating, charging errors, and battery damage.
- Voltage: Most cars use 12-volt batteries, but verify yours before plugging in.
- Battery chemistry: Identify whether your battery is lead-acid, AGM, gel, or lithium, since each requires suitable charging settings.
- Power capacity: Check the battery’s amp-hour rating and choose a charger that can handle it safely.
Inspect the battery for cracks, leaks, swelling, or corrosion. Don’t charge a damaged battery; replace it or seek professional advice.
Also, confirm the charger’s connectors can reach the terminals securely. Once everything matches, you’ll be ready to connect the charger safely and continue the charging process.
Compare Charger Types
The right charger depends on your battery type, charging needs, and how much control you want over the process. A manual charger offers direct control, but you must monitor charging and disconnect it yourself.
An automatic charger adjusts its operation as the battery fills, making it safer and more convenient for routine use. A trickle charger supplies a small, steady current, while a battery maintainer turns on and off to preserve charge during storage.
Smart chargers can diagnose battery condition, select suitable settings, and stop charging when necessary. Compare Charger efficiency to avoid wasting energy and creating excess heat.
Also check Port compatibility, including plug style, outlet requirements, and vehicle connections. Choose the type that fits your habits, storage plans, and desired level of supervision.
Match Charging Capacity
Charging capacity should match your battery’s size and your charging goals. Check the battery capacity, measured in amp-hours (Ah), before choosing a charger.
A charger with too little output may take too long, while excessive output can overheat or damage a battery, especially if it lacks smart controls. Use these guidelines:
- Choose a charger rated around 10% of your battery’s Ah capacity for routine charging.
- Select a higher-output model only when the manufacturer permits faster charging.
- Pick a smart charger that adjusts current automatically as charging progresses.
For example, a 60-Ah battery typically suits a charger delivering about 6 amps. Confirm the charger supports your battery type, such as lead-acid, AGM, or gel.
Matching output improves Charging efficiency, extends battery life, and reduces energy waste. You’ll also avoid unnecessary strain on the charger and battery during each charging cycle.
Connect the Charger Safely
Park the car on a level surface, switch off the ignition, and keep the charger unplugged while you connect it. Open the hood and locate the battery.
Remove jewelry, wear eye protection, and check for cracks, leaks, or a swollen casing. Don’t charge a damaged battery; ask a technician for help.
| Step | Action | Why |
|---|---|---|
| 1 | Connect red clamp to positive (+) | Prevents reversed polarity |
| 2 | Connect black clamp to a clean, unpainted engine ground | Keeps sparks away from the battery |
| 3 | Inspect both clamps | Confirms firm, dry contact |
Keep the clamps from touching each other or moving engine parts.
If your vehicle’s manual specifies a remote ground point, use it instead of the negative terminal.
Battery safety also means ventilating the area and keeping flames, cigarettes, and sparks away.
Follow charging etiquette: tell others the charger is connected, keep cables untangled, and never leave an unfamiliar setup unattended.
Double-check every connection before plugging the charger into the outlet.
Set Voltage and Charging Current
Set the charger to match your battery’s voltage—typically 12 volts for most cars. Then adjust the charging current based on the battery’s capacity and the charger’s instructions. This helps ensure the battery charges safely and efficiently.
Set the Correct Voltage
Before connecting the charger, check your vehicle’s battery and charger ratings so you can select the correct voltage—typically 12 volts for most cars—and an appropriate charging current. Match the charger’s voltage setting to the battery label; using the wrong setting can damage components or prevent proper charging.
- Choose 12 volts for standard automotive batteries.
- Select 6 volts only when the battery specifically requires it.
- Confirm the setting before attaching the clamps.
Correct voltage supports charging efficiency and helps protect battery lifespan.
If your charger has an automatic voltage-detection feature, verify its reading instead of assuming it’s accurate.
For a manual charger, turn the selector to the required voltage while the unit remains unplugged.
Don’t connect a 24-volt setting to a regular car battery. Check the owner’s manual when the battery type or rating isn’t clear.
After confirming voltage, you can safely proceed to the next charging step.
Adjust Charging Current
Once the voltage matches the battery, adjust the charger’s current to control how quickly it delivers power. Check your battery’s recommended charging rate, usually listed in amp-hours or the owner’s manual.
Choose a lower setting for safer, slower charging and a higher setting when you need faster results and the battery supports it.
Use the charger’s current adjustment control to select the appropriate amperage. Don’t exceed the battery manufacturer’s limit, because excessive current can create heat, damage the plates, or shorten battery life.
Monitor the battery and charger during operation, especially during fast charging. Good voltage regulation keeps output stable as the battery’s resistance changes.
If the charger offers automatic control, let it reduce current as the battery approaches full charge. Stop charging if you notice swelling, leaking, unusual heat, or a strong odor.
Check That Charging Has Started
When you connect the charger and switch it on, check that its indicator shows an active charge rather than a fault or standby mode. Confirm that the clamps remain firmly attached and that the charger’s display or light responds within a few seconds.
If nothing changes, switch the charger off, disconnect it, and inspect the polarity, terminal contact, power outlet, and selected current.
Watch for these signs:
- A charging light, rising percentage, or current reading appears.
- The battery and charger stay reasonably cool and quiet.
- No warning light, burning smell, sparking, or unusual noise occurs.
Don’t assume charging has started just because the charger is plugged in. Some models require you to press a start button or select the battery type first.
Keep the cables away from moving parts, and don’t disturb the connections while current flows. Correctly confirming operation supports Charging safety and helps protect Battery lifespan.
If the charger reports a fault, stop immediately and resolve the cause before reconnecting.
Learn the Four Charging Stages
A smart charger typically moves through four stages: bulk, absorption, float, and maintenance. During bulk charging, you’ll receive most of the battery’s stored energy quickly as the charger supplies a strong, steady current. The battery voltage rises while its charge level climbs.
Bulk charging delivers energy quickly, raising battery voltage and charge level with a strong, steady current.
Next, absorption charging begins. The charger holds the voltage near a set limit and gradually reduces current as the battery approaches full capacity. This slower step helps complete the charge without excessive stress.
During float charging, the charger lowers its output to maintain the battery at full charge. You can leave the battery connected during this stage, provided you follow the charger’s instructions.
Finally, maintenance charging provides occasional, gentle pulses or brief charging periods to offset natural discharge. This stage keeps the battery ready between uses.
Understanding each stage helps you recognize normal operation and supports charging safety. Following the sequence also protects battery lifespan by reducing overcharging, heat buildup, and unnecessary wear.
See How Smart Chargers Regulate Charging
Smart chargers regulate charging by monitoring battery voltage, current, and, in some models, temperature. This smart regulation lets the charger adjust its output instead of delivering the same power continuously.
As your battery’s condition changes, the charger can reduce current, pause briefly, or switch charging behavior to limit stress and heat.
You’ll typically see the charger respond in these ways:
- It increases current when the battery can safely accept more energy.
- It reduces output as voltage rises or temperature approaches a limit.
- It pauses or resumes charging when readings move outside safe ranges.
These adjustments help prevent overcharging, excessive heating, and unnecessary electrolyte loss. They also make charging more efficient when you leave the battery connected for longer periods.
Because the charger reacts to real-time conditions, you won’t need to guess which setting suits your battery. Smart regulation supports a longer battery lifespan by protecting the battery from avoidable strain.
Always select a charger designed for your battery type and follow its safety instructions.
Confirm the Battery Is Fully Charged
Once the charger shifts to maintenance mode or signals completion, confirm that the battery has reached a full charge. Check the charger’s display, indicator light, or manual for the completion message rather than relying on elapsed time alone.
If your charger reports voltage, a fully charged 12-volt lead-acid battery typically measures about 12.6 to 12.8 volts after resting without a load. A reading near 12.4 volts suggests partial charge, while a much lower reading may indicate a problem or a worn battery.
For the most accurate check, let the battery rest for several hours, then measure across the terminals with a multimeter. You can also use a battery tester designed for your battery type.
Wear eye protection, keep sparks away, and work in a ventilated area to support Charging safety. Recording the result helps with Battery maintenance, because you’ll notice declining capacity or unusual charging behavior early.
Don’t judge charge solely by a surface reading immediately after charging.
Disconnect the Charger and Troubleshoot Problems
When the charger indicates completion or enters maintenance mode, switch it off, unplug it from the outlet, and then remove the clamps, starting with the negative clamp. Keep sparks away from the battery, and inspect the terminals for heat, corrosion, or damage. This habit supports Battery safety and prevents accidental short circuits.
If charging stops unexpectedly, check these points:
- Confirm the outlet supplies power and the charger’s settings match the battery’s voltage and type.
- Ensure each clamp grips clean metal firmly, without reversed polarity or loose connections.
- Stop immediately if you notice swelling, leaking electrolyte, burning odors, excessive heat, or unusual noises.
Don’t keep charging a damaged battery. Have a qualified technician test it instead. If the charger displays an error, consult its manual before reconnecting anything.
Clean and dry the charger, coil its cable loosely, and store it in a cool, dry place. Regular Charger maintenance helps protect the unit and keeps future charging cycles reliable. Never bypass safety features or leave a fault unresolved.
Frequently Asked Questions
Can a Car Battery Charger Be Used to Charge Other Types of Batteries?
Sometimes, you can use a car battery charger for other batteries, but only when the battery chemistry and charging compatibility match. As you reach for the charger, imagine two keys meeting in a lock: voltage and chemistry must align.
Lead-acid chargers generally suit similar lead-acid batteries, not lithium-ion, NiMH, or alkaline cells. Check the battery’s voltage, capacity, and charging instructions first. Otherwise, you could cause overheating, damage, or fire.
How Long Can a Car Battery Remain Connected to a Charger?
You can leave a car battery connected to a charger for several hours or overnight, depending on the charger type and battery condition. A smart charger automatically reduces or stops current when charging finishes, making longer connection times safer.
A manual charger requires monitoring because overcharging can damage the battery. Battery capacity affects charging duration: larger batteries take longer.
Always follow the manufacturer’s instructions and disconnect the charger when the battery reaches full charge.
Can Charging a Car Battery Indoors Create Safety Risks?
Yes, charging a car battery indoors can create safety risks. During charging, your battery may release flammable hydrogen gas, especially if it’s damaged, overcharged, or poorly ventilated.
For indoor safety, keep the battery away from flames, sparks, cigarettes, and heat sources. Ensure strong ventilation by opening doors or windows, and follow your charger’s instructions.
Don’t charge a damaged battery, and never leave the setup unattended. A garage with airflow is safer than a living area.
What Maintenance Helps Extend a Car Battery’s Lifespan?
You can give your car battery a longer lease on life by keeping its terminals clean, connections tight, and case dry. Check battery health regularly for swelling, leaks, or corrosion, and secure the battery against vibration.
Maintain proper fluid levels if it isn’t sealed. Adjust charging frequency when your vehicle sits unused, using a smart maintainer. Avoid repeated deep discharges, and test voltage before winter to catch weakening early and replace it safely.
When Should a Car Battery Be Replaced Instead of Recharged?
Replace your car battery instead of recharging it when it won’t hold a charge, starts the engine slowly, or repeatedly needs boosting. You should also replace it if testing shows low capacity, physical swelling, cracks, leaks, or severe Battery corrosion.
A battery typically lasts three to five years, though climate and driving habits affect its life. Follow Charging safety practices: wear protection, disconnect power first, and recycle the old battery properly.
Conclusion
By understanding how a car battery charger works step by step, you’ll charge more safely, protect battery life, and recognize problems early. Check the battery, choose a compatible charger, connect it correctly, and let the charging stages do their job.
Smart chargers make this easier by adjusting current as the battery fills. A fully charged 12-volt battery typically reads about 12.6 volts at rest, so verify the result before driving.
Then disconnect carefully and troubleshoot anything unusual.