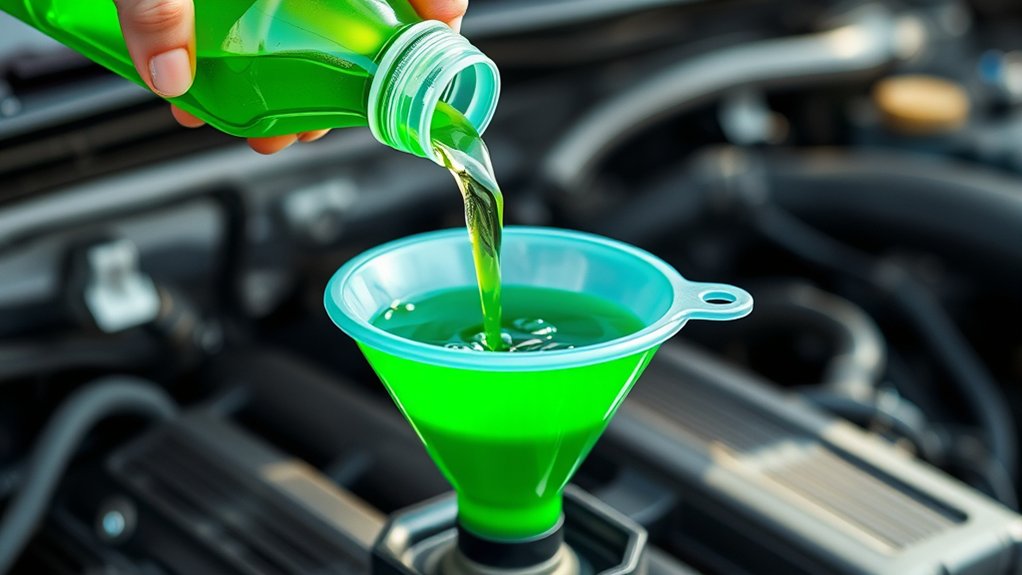
How Does a Coolant Funnel Work Step by Step
Bleeding air from a cooling system can be frustrating, especially when you’re unsure whether the coolant is circulating properly. You’re not alone—many people struggle with spills, trapped air, and inaccurate coolant levels. Learning how a coolant funnel works can make the process cleaner, easier, and more reliable.
A coolant funnel attaches securely to your radiator or expansion-tank filler neck, giving you a raised reservoir for controlled filling. With the engine cold, you pour in the correct coolant, start the engine, and set the heater to high.
As the thermostat opens, trapped air escapes as bubbles while coolant circulates and the level drops. Add coolant until bubbling stops and the level stabilizes.
Let everything cool, remove the funnel, and verify the radiator and reservoir levels. The steps below explain each stage.
Key Takeaways
- Let the engine cool, park level, remove debris, and select the correct funnel adapter for the radiator or expansion tank.
- Secure the adapter and funnel tightly, then slowly add the manufacturer-recommended coolant while allowing trapped air to escape.
- Start the engine, set the heater to maximum, and let the thermostat open so coolant circulates through the system.
- Monitor bubbles, coolant level, hose temperature, heater output, and leaks. Add coolant until bubbling stops and the level stabilizes.
- Shut off and cool the engine, remove the funnel carefully, then verify radiator and reservoir levels and inspect for leaks.
What Does a Coolant Funnel Do?
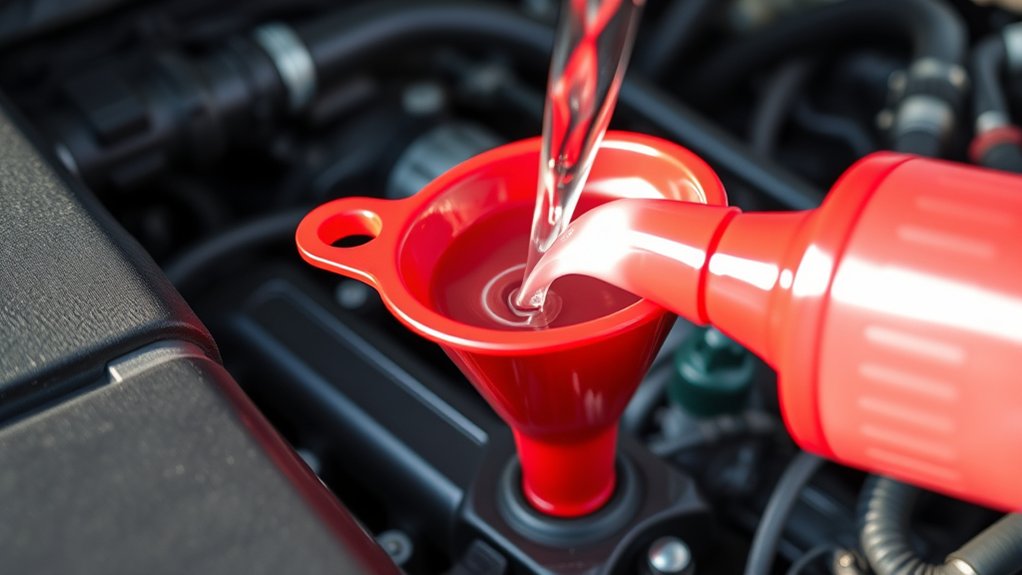
A coolant funnel lets you add coolant to your vehicle’s radiator or expansion tank while minimizing spills and trapped air. You attach its adapter to the filler neck, then pour coolant through the funnel’s tall reservoir.
A coolant funnel makes filling your radiator cleaner while helping prevent trapped air in the cooling system.
As the fluid level rises, the funnel gives air a controlled path to escape instead of leaving pockets inside the cooling system.
You can also use the funnel to monitor the fill level. Its markings help you estimate coolant capacity, while the raised reservoir provides room for fluid expansion during filling.
When bubbles stop appearing and the level remains steady, you’ll have a clearer indication that coolant has reached the passages that need it.
Prepare the Cooling System Safely
Before you open the cooling system, let the engine cool completely and park the vehicle on level ground. Turn off the ignition, remove the key, and set the parking brake.
Never loosen a radiator or expansion-tank cap while the engine remains hot; pressurized coolant can spray out and cause severe burns.
Put on gloves and eye protection, then read your vehicle’s service instructions to locate the correct fill point.
Inspect the radiator, hoses, reservoir, and clamps for cracks, swelling, or leaks. If you find damage, repair it before adding coolant.
Wipe dirt from around the cap so debris won’t enter the system. Keep children, pets, cigarettes, and open flames away from the work area.
Check the coolant level only after the engine has cooled. Note the existing coolant condition and confirm you’ll use the manufacturer-recommended type.
Good Coolant safety protects you, while careful System maintenance helps prevent air pockets, overheating, and expensive engine damage during filling.
Get the Coolant Funnel Supplies Ready
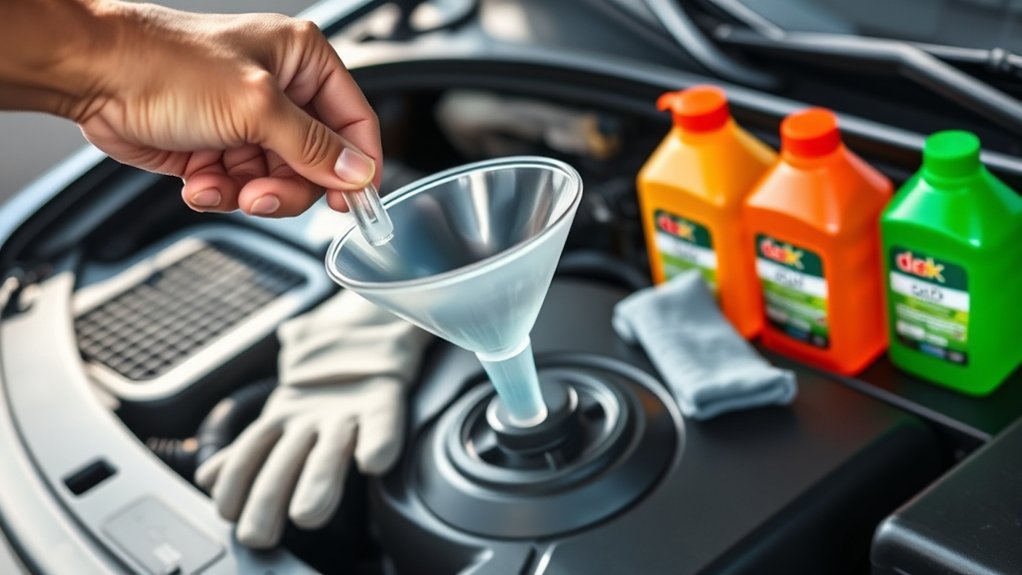
Gather the funnel kit, the correct coolant, a clean drain pan, shop towels, and a flashlight. Check your vehicle’s manual to confirm the coolant type and required amount.
Don’t mix formulas unless the manufacturer specifically allows it. Keep gloves and safety glasses nearby, because coolant can irritate your skin and eyes.
Set every item within reach before you begin, but keep coolant containers sealed until needed.
Inspect the funnel, extension tube, caps, and seals for cracks, residue, or damage. Clean reusable parts with water, then dry them thoroughly.
This simple funnel maintenance prevents dirt from entering the cooling system. Place the drain pan beneath the work area to catch spills.
Use shop towels to wipe the filler neck and nearby surfaces. Verify your flashlight works so you can spot leaks, debris, or low fluid levels.
For coolant safety, keep pets and children away, and never leave an open container unattended. Don’t start until the engine has cooled completely.
Choose the Right Funnel Adapter
Match the funnel adapter to your vehicle’s radiator or expansion-tank filler neck, using the adapter that fits snugly without forcing it. Check your vehicle’s service manual or the funnel kit guide for the correct neck style.
Adapter compatibility matters because filler openings vary in diameter, shape, and locking design. Choosing correctly helps create a stable path for coolant and reduces spills during filling.
Inspect the available adapters before installation:
- Compare each adapter’s diameter with the filler neck.
- Look for matching threads, tabs, or bayonet-style locks.
- Choose a heat-resistant seal suited to automotive fluids.
- Confirm the funnel material won’t react with coolant.
Avoid selecting an adapter merely because it looks close in size. A mismatched piece can leak, wobble, or prevent proper air release.
Don’t modify an adapter to make it fit. Use the recommended replacement instead.
If your vehicle uses a pressurized expansion tank, select the adapter designed for that tank rather than a radiator-style neck.
Keep the chosen adapter clean and free from cracks before proceeding.
Fit the Coolant Funnel Securely
Choose the correct adapter to match your radiator opening. Press it firmly into place, then secure the funnel tightly to prevent leaks. With a stable fit, you can add coolant cleanly and safely.
Choose the Correct Adapter
Select the adapter that matches your radiator or expansion-tank neck, then press it firmly into place so the gasket forms a tight seal. Check the opening’s diameter, shape, and threading before you begin.
The correct adapter should sit evenly without rocking, slipping, or leaving visible gaps. Confirm coolant compatibility by choosing materials and seals rated for your vehicle’s antifreeze and operating temperature.
Adapter versatility helps when one funnel serves several vehicles, but don’t force a near match.
- Compare the adapter with the filler neck.
- Inspect the gasket for cracks or distortion.
- Match the adapter’s markings to your vehicle.
- Keep alternate adapters nearby for comparison.
After selecting the best fit, look through the funnel kit’s instructions and identify the matching collar or insert.
You’re ready to proceed once the adapter aligns naturally and remains seated under light hand pressure.
Secure the Funnel Tightly
With the correct adapter in place, press the funnel firmly into the filler neck and tighten its locking collar or clips. Confirm the seal sits evenly, without gaps or tilting.
A secure connection prevents coolant from spilling onto engine components and keeps air from entering the cooling system during filling.
Check the funnel’s stability by gently moving it side to side. If it shifts, release it, reposition the adapter, and tighten the fastener again.
Don’t force the collar, because excessive pressure can damage the filler neck or adapter.
Inspect the funnel material for cracks, warping, or chemical damage before use. A clean, intact funnel reduces coolant contamination and supports accurate filling.
Keep the funnel upright throughout the process, and replace any worn sealing ring before continuing with coolant service.
Add the Correct Coolant Slowly
Once the funnel is secure, add the manufacturer-recommended coolant slowly to prevent air pockets and splashing. Check your owner’s manual or the coolant label before pouring, because the wrong formula can damage seals, metals, or temperature regulation.
If the product requires dilution, complete coolant mixing with distilled water in the correct ratio before adding it. Don’t guess the proportion or combine incompatible types.
Pour in a steady, narrow stream, pausing occasionally to let the level settle inside the funnel. Keep the container close to the opening so you won’t spill coolant across painted surfaces or nearby components.
Watch for the following:
- The coolant should look clean and consistent.
- The funnel level should rise gradually.
- Small bubbles may escape as trapped air moves.
- Stop below the funnel’s upper rim.
Wipe away drips immediately, and keep coolant away from pets and children. Continue only until the system reaches the specified fill level.
Don’t overfill the funnel or reservoir. Replace the cap securely afterward.
Start the Engine and Turn on the Heater
Start the engine and let it warm up gradually. Then, turn the heater on and set it to high so coolant can flow through the heater core. This helps release any trapped air, while the funnel makes it easy to see if the coolant level drops.
Warm the Engine
After you’ve secured the funnel in the radiator or expansion tank, start the engine and turn the heater to its highest setting. Let the engine idle so it can gradually reach normal operating temperature. Keep the vehicle on level ground, and never leave it unattended while it warms.
Watch the coolant in the funnel as the system begins circulating:
- Small bubbles may rise as trapped air escapes.
- The coolant level may drop as passages fill.
- The upper hose will gradually feel warmer.
- The temperature gauge should move toward its normal range.
Don’t rev the engine or remove the funnel while it’s hot. This controlled warm-up supports effective Cooling system maintenance and helps confirm proper Engine temperature regulation.
If the gauge climbs unusually high, shut the engine off and allow it to cool before investigating.
Activate the Heater
With the funnel secured, turn the heater to its highest temperature and start the engine. Let it idle while you watch the coolant level inside the funnel.
As the engine warms, the thermostat should open, allowing coolant to circulate through the radiator and heater core. You’ll notice the level may drop as trapped air escapes.
Add the recommended coolant when necessary, keeping the funnel from running dry. Feel the air from the vents; it should gradually become warm, confirming coolant flow through the heater core.
Inspect the funnel, hoses, and connections for bubbling or seepage that could indicate a Coolant leak. If the temperature gauge rises unusually high, shut the engine off immediately to prevent engine overheating.
Never remove the funnel while the engine remains hot, pressurized, or running.
Bleed Air From the Cooling System
Once the engine is cool, attach the coolant funnel to the radiator or expansion tank and fill it with the recommended coolant. Start the engine, set the heater to high, and let it idle.
Begin with a cool engine, attach the coolant funnel, add the recommended coolant, and run the heater on high.
As the coolant warms, trapped air will rise through the funnel instead of staying in passages.
Watch for bubbling, which shows air leaving the system. Keep the level steady by adding the correct coolant mixture as needed.
Don’t rev the engine aggressively. Gentle increases in speed can help circulate coolant safely.
- Bubbles rise from deep passages.
- The level may drop suddenly.
- The heater should blow consistently warm air.
- The upper hose gradually becomes firm.
Monitor the temperature gauge throughout the process. Stable temperature regulation indicates that coolant is circulating properly.
Repeated bubbling, overheating, or a cold heater may signal a leak or blockage. Continue running the engine until bubbling stops and the level remains steady.
Follow your vehicle manufacturer’s instructions for the precise bleeding procedure. Some systems require a designated bleed screw or a specific engine speed.
Remove the Funnel Without Spills
When bubbling has stopped and the coolant level stays steady, turn off the engine and let it cool before removing the funnel. A hot system can spray coolant and cause severe burns, so don’t rush this step.
Place a thick cloth around the funnel’s base to catch drips. If the funnel has a shutoff valve, close it before you loosen the adapter.
Otherwise, pinch or plug the opening with the supplied stopper, keeping the funnel upright. Twist the funnel gently to break its seal, then lift it straight up without tipping it.
Pour any remaining coolant into a clean, labeled container for proper reuse or disposal.
Wipe the filler neck and nearby surfaces with the cloth. Inspect the funnel and adapter for cracks, residue, or a poor seal before storing them.
Check the Funnel material’s care instructions, since some plastics can warp from heat or harsh cleaners. Also, note the Coolant color on the cloth; unusual discoloration may signal contamination requiring further attention.
Verify the Radiator and Reservoir Levels
Check the radiator and reservoir levels only after the engine has cooled completely. Slowly remove the radiator cap using a thick cloth and look inside.
The coolant should reach the filler neck. If it’s low, add the correct premixed coolant until it reaches the specified level.
Don’t open a hot system because pressurized fluid can cause severe burns.
Complete a careful radiator inspection, then check the reservoir. Compare the fluid against the “FULL COLD” mark, not the hot-level indicator.
Wipe away spills and examine the tank, hoses, and cap for cracks or dampness.
- Confirm coolant reaches the radiator neck.
- Match the reservoir level to “FULL COLD.”
- Inspect for leaks around connections.
- Replace caps securely before running the engine.
If either level drops again after driving, stop and investigate. A recurring loss may indicate a leak, trapped air, or another cooling-system problem.
Never substitute plain water unless an emergency requires it. Use the manufacturer-approved coolant mixture for reliable protection.
Frequently Asked Questions
How Often Should a Coolant Funnel Be Cleaned and Stored?
Clean your coolant funnel after every use, especially if coolant, oil, dirt, or debris remains inside. Your Maintenance schedule should include a thorough inspection and cleaning before storage, plus occasional checks during long periods of disuse.
Use Cleaning methods such as rinsing with warm water, washing with mild soap, and air-drying completely. Don’t store the funnel while damp. Keep it upright in a clean, dry area away from sunlight and chemicals.
Can a Coolant Funnel Be Used With Diesel Engines?
Yes, you can use a coolant funnel with diesel engines, provided you choose a model designed for your engine’s filler neck and coolant system. Check engine compatibility before use, because some diesel systems require specialized adapters or pressurized filling procedures.
Confirm material durability as well; diesel coolant can reach high temperatures, so select heat-resistant, chemical-resistant components. Clean the funnel after each use, then store it covered to prevent contamination and debris.
What Should You Do if Coolant Spills Onto the Engine?
If coolant spills onto the engine, shut it off and let it cool completely before touching anything. Wipe up the liquid with absorbent towels, then rinse residue lightly with water if safe and dry the area thoroughly.
Practice careful engine cleaning to prevent corrosion, electrical problems, and slippery surfaces. Check hoses, caps, and connections for leaks.
For spill prevention, use a coolant funnel, work slowly, and keep pets away from the area.
Are Universal Coolant Funnels Compatible With Every Radiator Neck?
Not always: universal funnels fit many radiator necks, but radiator compatibility varies by vehicle. Check the funnel’s adapter sizes against your radiator opening before buying.
A snug seal prevents leaks, trapped air, and messy spills. Consider funnel material, too; durable, heat-resistant plastic handles normal coolant temperatures safely.
Some kits include multiple adapters for unusual neck designs. If your radiator lacks a removable cap or uses a specialized reservoir, you may need a vehicle-specific funnel instead.
How Long Does a Quality Coolant Funnel Typically Last?
A quality coolant funnel typically lasts five to ten years when you clean and store it properly. Its lifespan depends on the plastic’s quality, chemical exposure, heat, and how often you use it.
Funnel durability improves when you avoid overtightening adapters, dropping components, or leaving coolant residue inside. Replace yours if you notice cracks, warping, brittleness, leaks, or loose fittings, since damaged parts can introduce air during refilling.
Conclusion
Using a coolant funnel turns a messy refill into a controlled, visible process. You’ll fit the right adapter, fill the funnel, warm the engine, and let trapped air rise like bubbles escaping a submerged bell.
Once the heater blows warm air and bubbling stops, you’ll remove the funnel carefully, check the radiator and reservoir, and secure the caps. With these steps, you’ll help your cooling system run smoothly and keep overheating worries at bay on every journey.