How Does a Radiator Flush Kit Work?
A clogged or neglected cooling system can leave your engine running hot, and many drivers struggle to know where to start. You’re not alone—choosing the right tool and flushing the system properly can feel complicated.
This guide explains how a radiator flush kit works and what to look for when comparing your options. You’ll also learn when professional help makes sense.
A radiator flush kit lets you connect a garden hose or water source to your vehicle’s cooling system. After the engine cools, you attach the adapter, drain the old coolant, and circulate clean water or a flushing solution through the radiator and engine passages.
The flow loosens rust, scale, sludge, and other deposits, carrying them into a container. You then drain, refill with the correct coolant, and remove trapped air.
You’ll also learn when professional help makes sense.
Key Takeaways
- A radiator flush kit connects to the radiator or heater hose, providing secure water and drainage connections.
- Fresh water or cleaning solution circulates through the cooling system, loosening rust, scale, sludge, and other deposits.
- Contaminated coolant and loosened debris exit through a discharge hose into a suitable collection container.
- After flushing, the system is drained, refilled with compatible coolant, and bled to remove trapped air.
- Flushing restores coolant flow and heat transfer, helping reduce restrictions, overheating risks, and cooling-system inefficiency.
What Is a Radiator Flush Kit?
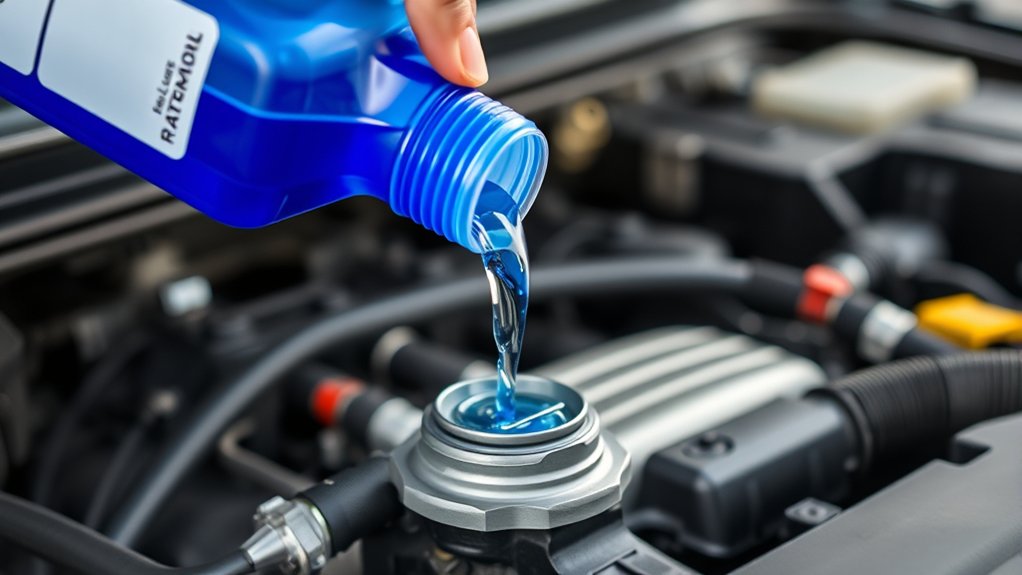
A radiator flush kit is a set of tools and adapters that helps you remove old coolant, dirt, rust, and other buildup from a vehicle’s cooling system. You can use this equipment as part of routine radiator maintenance, especially when your coolant looks cloudy, rusty, or contaminated.
Most kits include a flushing adapter, hose connections, drain fittings, and sometimes cleaning solutions or replacement caps. The adapter helps you connect a garden hose or other water source to the cooling system without creating a messy setup.
By choosing fittings that match your radiator, you can work more safely and reduce spills around the engine bay. Regular cleaning helps preserve coolant flow and supports reliable temperature control.
If you ignore neglected coolant, restricted passages may contribute to engine overheating and expensive repairs. Check your vehicle’s manual for recommended service intervals, compatible coolant, and safety precautions before you select or use a kit.
How Does a Radiator Flush Kit Work?
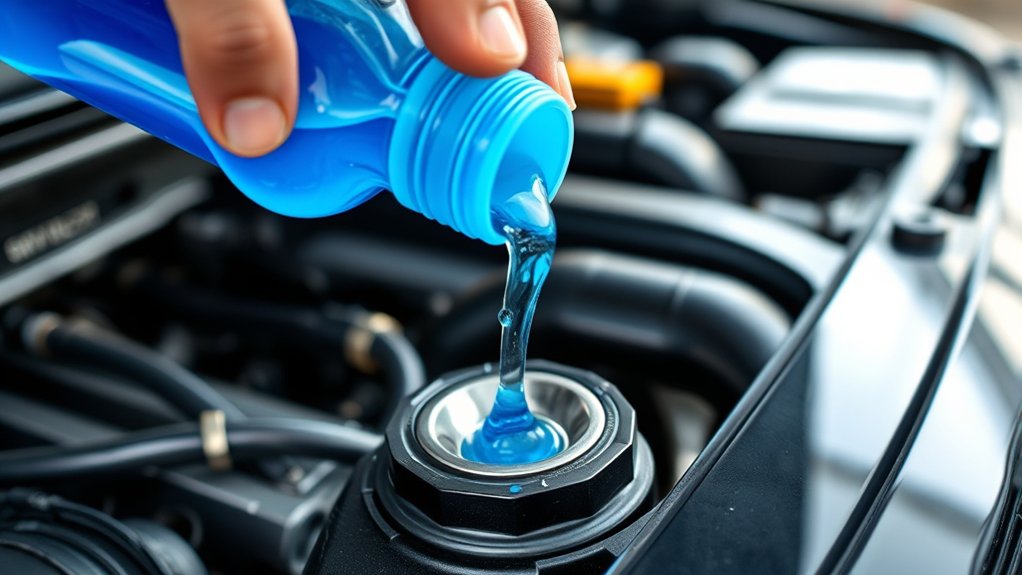
A radiator flush kit circulates a cleaning solution through your vehicle’s cooling system to loosen buildup, rust, and grime. As the system flushes, the contaminated coolant and debris flow out.
This helps restore proper coolant circulation and allows your engine to maintain the right operating temperature.
Flushes Contaminants Away
Once the cleaner circulates through the cooling system, it loosens rust, scale, sludge, and other contaminants clinging to the radiator and engine passages. As you open the drain valve, the spent coolant carries this debris out of the system.
A flush kit helps direct the dirty fluid into a suitable container, reducing mess and keeping harmful coolant away from soil and drains. You’ll often see discolored liquid, flakes, or sediment leave the radiator, showing why periodic service matters.
Removing these deposits restores cleaner internal surfaces and helps prevent restricted coolant flow, hot spots, and overheating. Include this step in your radiator maintenance schedule, especially if the coolant looks rusty or the engine runs hotter than usual.
Cleaner passages support reliable performance and contribute to engine longevity. Always dispose of used coolant according to local regulations.
Circulates Cleaning Solution
When you add the cleaning solution and run the engine, the water pump circulates it through the radiator, hoses, engine block, and heater core. As the mixture travels, it reaches narrow passages and loosens remaining scale, oil, and residue.
Follow the kit’s dilution instructions and keep the engine at the recommended operating temperature. Check the label for coolant compatibility, since some formulas may react with particular antifreeze types or seals.
You should also confirm that the cleaner suits your radiator material, whether aluminum, copper, or plastic components are present.
| Check first | Why it matters |
|---|---|
| Coolant compatibility | Prevents chemical reactions |
| Radiator material | Protects metal and seals |
Never open the cap while the system is hot. Let the solution circulate for the specified time, then drain it according to the product directions.
Restores Cooling Efficiency
After you drain the cleaning solution and refill the system with the correct coolant mixture, improved coolant flow helps your radiator transfer heat more effectively. The flush removes scale, rust, sludge, and other deposits that restrict passages and coat internal surfaces.
With those obstructions gone, coolant can circulate through the radiator and engine at the intended rate, carrying heat away from combustion components. You’ll notice more stable temperature readings, fewer overheating risks, and better performance during traffic or demanding drives.
A clean radiator also helps the thermostat, water pump, and cooling fan work within normal conditions, reducing unnecessary strain. Include this service in your Radiator maintenance schedule, especially if the coolant looks dirty or your temperature gauge runs high.
Consistent Engine cooling protects your vehicle’s reliability and extends component life.
What Comes in a Flush Kit?
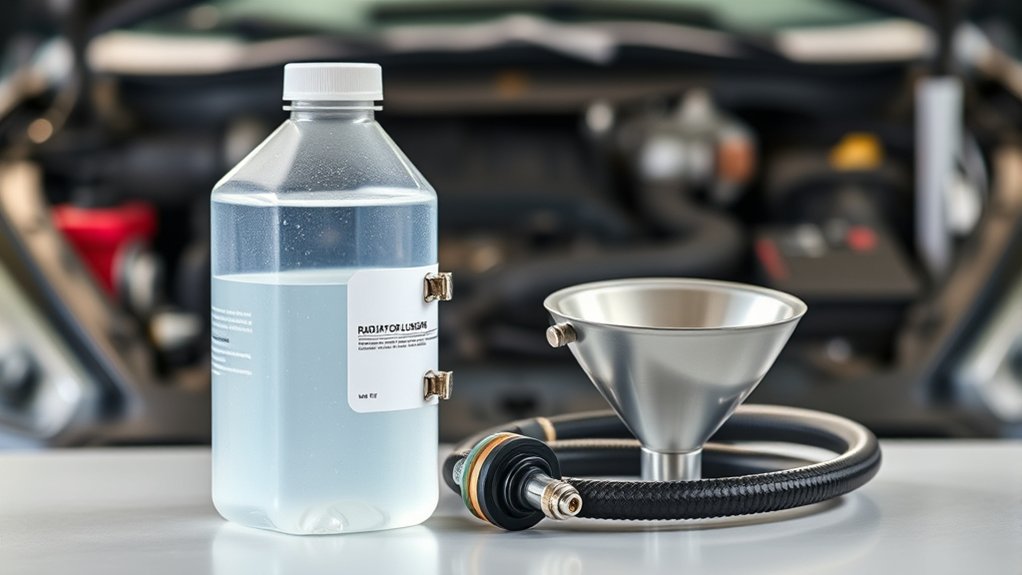
A radiator flush kit typically includes a flushing hose, adapters, a cleaning solution, and instructions to help you connect the equipment and remove built-up coolant, rust, and debris. You’ll usually find a universal adapter that fits the radiator neck or hose opening, along with clamps that secure the connection and prevent leaks.
Some kits include a funnel, drain tube, or splash shield to direct used fluid into a container safely. The cleaner breaks down deposits, while fresh water rinses them from the cooling passages.
Follow the instructions to identify each component and connect it correctly to your vehicle. Depending on the kit, you might also receive replacement caps, gloves, or a test strip for checking coolant condition.
Follow kit instructions carefully, as included accessories may vary and help ensure proper connection, protection, and coolant condition testing.
These tools support practical radiator maintenance by helping you clean the system without removing the radiator. A clear flow path improves engine cooling and helps your coolant circulate through the engine, radiator, and heater core efficiently.
When Should You Flush the Radiator?
Flush the radiator when the coolant looks rusty, cloudy, or contaminated, or when the engine starts running hotter than usual. These signs can indicate corrosion, sediment, or restricted coolant flow. You should also consider a flush if you notice visible particles in the reservoir, an unusual coolant smell, or repeated overheating.
Follow your vehicle manufacturer’s service schedule, since coolant intervals vary by model and coolant type. Many vehicles need a flush every 30,000 to 60,000 miles, while newer formulas may last longer. Check your owner’s manual instead of relying on mileage alone.
A flush may also make sense after a cooling-system repair, especially if contaminants entered the system or you mixed incompatible coolant types. Regular radiator maintenance helps protect the water pump, hoses, thermostat, and engine from excessive wear.
Don’t ignore temperature warnings, leaks, or persistent overheating. Have a technician diagnose the cooling system before damage occurs. Prompt service keeps your vehicle reliable and prevents expensive repairs.
How Do You Prepare for a Flush?
Once you’ve decided a radiator flush is needed, prepare the vehicle and work area before opening the cooling system. Park on level ground, engage the parking brake, and let the engine cool completely.
Never remove a radiator cap while pressure or high Engine temperature remains. Wait until the upper hose feels cool.
Wait for the engine to cool completely before removing the radiator cap to avoid dangerous pressure and hot coolant.
Gather everything before starting:
- Check your owner’s manual for coolant type, capacity, and safety instructions.
- Collect gloves, safety glasses, a drain pan, rags, fresh coolant, distilled water, and the required tools.
- Keep children and pets away, and ensure strong ventilation if you’re working in a garage.
- Confirm you have a suitable container for old coolant and arrange proper recycling or disposal.
Inspect the radiator, hoses, clamps, reservoir, and nearby components for leaks or damage. Address serious problems first, since flushing won’t repair failed parts.
Protect painted surfaces from spills, and clear enough space to work comfortably. Careful preparation makes this Vehicle maintenance task safer and more efficient.
How Do You Use a Radiator Flush Kit?
With the engine fully cool, connect the radiator flush kit according to its instructions, usually by attaching the adapter to the radiator or heater hose. Secure every connection so water won’t escape when you open the valve.
Remove the radiator cap only as directed by the kit’s instructions, then connect a garden hose to the kit’s inlet.
Turn on the water gradually. As fresh water enters the cooling system, old coolant and loosened deposits flow through the discharge hose into a suitable container.
Watch the outlet until the liquid runs clear. Some kits let you switch between flushing and draining, so follow the included diagram to use each setting correctly.
When the flow looks clean, shut off the water and disconnect the kit as instructed. Reinstall the hose or fitting securely.
This process supports radiator maintenance by clearing buildup that can restrict engine cooling and reduce heat-transfer efficiency. Keep the kit’s components clean and ready for future service.
How Can You Flush It Safely?
Before you begin, let the engine cool completely and park the vehicle on level ground. Put on gloves and safety glasses, then keep children and pets away from the work area.
Never remove a radiator cap while the engine is hot. Escaping coolant can cause severe burns.
Place a drain pan beneath the radiator and confirm it can hold the old coolant. Follow your flush kit’s instructions, connecting hoses securely so pressure won’t spray fluid unexpectedly.
Work in a ventilated area, and avoid smoking or open flames.
Use these safety steps:
- Inspect hoses, clamps, and the radiator for cracks before flushing.
- Open the drain valve slowly, directing coolant into the pan.
- Keep flushed liquid off your skin, driveway, and storm drains.
- Seal used coolant in a labeled container for approved recycling.
Stop immediately if you notice leaks, unusual pressure, or damaged parts. Careful handling supports effective radiator maintenance and protects you, your vehicle, and the environment.
Don’t mix cleaning chemicals unless the kit specifically permits it.
How Do You Refill and Bleed the System?
After the system has drained and been rinsed, close the drain valve and refill the radiator with the manufacturer-recommended coolant mixture. Pour it slowly into the radiator or expansion tank to reduce trapped air. Stop when the level reaches the indicated mark.
Start the engine and set the heater to its highest temperature. Let the engine idle with the radiator cap off, if your vehicle’s instructions permit, and watch for bubbles. As air escapes, the coolant level may drop, so add more mixture as needed. Don’t remove a cap from a hot, pressurized system.
Once bubbling stops and the engine reaches operating temperature, install the cap securely. Check for leaks around hoses, clamps, and the drain valve.
After the engine cools completely, recheck the reservoir and top it up to the correct mark. Proper bleeding supports effective radiator maintenance, while following your vehicle’s guidance prevents problems associated with incompatible coolant types. Dispose of old coolant responsibly.
Which Coolant Should You Add?
Choose a coolant that matches your vehicle manufacturer’s specification, not simply one with a familiar color. Check your owner’s manual or the label on the reservoir to identify the required technology, concentration, and approval.
Coolant compatibility matters because mixing incompatible formulas can create deposits, weaken corrosion protection, or damage seals.
Before filling, confirm these details:
- Use the specified coolant type, such as IAT, OAT, or HOAT.
- Match the recommended premix ratio, commonly 50/50 with distilled water.
- Consider radiator material, including aluminum, copper, or brass, when checking corrosion protection.
- Avoid universal coolant unless its label specifically lists your vehicle.
If you’re using concentrated coolant, mix it accurately rather than guessing. Distilled or deionized water helps limit mineral buildup, while tap water may leave deposits.
Never add coolant to a hot engine, and don’t rely on color to identify chemistry. After flushing, fill only to the manufacturer’s mark and keep the container sealed, since moisture and contamination can reduce coolant performance over time.
When Should a Professional Handle the Flush?
A professional should handle the flush when the cooling system shows severe contamination, recurring overheating, or signs of internal damage. You’ll also need expert help if the coolant looks oily, contains metal particles, or mixes with transmission fluid.
These symptoms can indicate a failed head gasket, cracked radiator, or restricted passages that a basic kit won’t resolve.
| Situation | Recommended action |
|---|---|
| Mildly dirty coolant | Follow the kit instructions carefully |
| Persistent overheating | Schedule professional diagnosis |
| Oil, debris, or leaks | Stop driving and seek service |
Choose professional service when you can’t safely raise the vehicle, access drain plugs, or dispose of coolant properly. A technician can pressure-test the system, identify the underlying fault, and refill it with the correct mixture.
Although DIY maintenance may cost less initially, include tool purchases, cleanup, and potential damage in your cost comparison.
If the engine overheats during or after flushing, don’t continue driving. Shut it off and arrange towing.
Prompt service protects the engine and prevents a simple flush from becoming a major repair.
Frequently Asked Questions
Can a Radiator Flush Kit Remove Rust and Scale From the Cooling System?
Yes, a radiator flush kit can remove some rust and scale from your cooling system, especially when deposits remain loose or moderately built up. You’ll connect the kit, circulate an approved flushing solution, and drain contaminated coolant.
For effective rust removal and scale cleaning, follow the product directions and flush repeatedly with clean water. However, severe corrosion, blocked passages, or damaged components may require professional cleaning or replacement rather than a basic flush kit.
Are Radiator Flush Kits Compatible With Aluminum Radiators and Plastic Components?
Yes, most radiator flush kits work safely with aluminum radiators and plastic components, but you must check the label first. Material compatibility matters because harsh acids or caustic cleaners can attack aluminum, seals, hoses, and plastic tanks, causing catastrophic damage.
Choose a product specifically marked safe for mixed-metal cooling systems. Chemical effectiveness also matters, so follow the dilution, temperature, and contact-time instructions. Rinse thoroughly and refill with the correct coolant afterward.
How Much Does a Radiator Flush Kit Typically Cost?
You’ll typically pay $10–$30 for a basic radiator flush kit, while premium versions cost $30–$60. Your cost comparison should include kit components, such as adapters, hoses, a flushing nozzle, and cleaning chemicals.
You may spend more for heavy-duty fittings or reusable parts. Check whether your vehicle needs special adapters before buying.
You’ll also need coolant, distilled water, and disposal supplies, which can raise the total project cost modestly.
Can Flushing the Radiator Reveal Existing Leaks or Damaged Hoses?
Yes, flushing your radiator can reveal existing leaks or damaged hoses. As coolant drains and fresh water circulates, you may notice dripping, wet spots, or coolant residue around connections. Increased pressure during the process can also expose weak areas that haven’t leaked visibly.
Include leak detection by checking the radiator, drain plug, clamps, and engine seams. Perform a careful hose inspection for cracks, swelling, softness, or bulges, and replace questionable components promptly to prevent overheating.
How Should You Dispose of Used Coolant After Flushing the Radiator?
For coolant disposal, collect the used fluid in a sealed, labeled container immediately after flushing. Don’t pour it onto soil, down drains, or into storm sewers; ethylene glycol can poison people, pets, and wildlife.
Coincidentally, the same bright color that helps you spot a leak can attract animals. Check local hazardous-waste rules, then deliver the coolant to an auto-parts store, service center, or recycling facility that accepts antifreeze.
Wear gloves and prevent spills for environmental safety.
Conclusion
A radiator flush kit helps you remove old coolant, rust, and debris so your cooling system can work efficiently. After preparing the engine, connect the kit, circulate clean water or flush solution, drain it safely, and refill with the correct coolant.
Bleed trapped air before driving, then check for leaks and overheating. If access is difficult or contamination is severe, let a professional handle it.
With proper care, a radiator flush kit can help your engine run cooler than an arctic breeze.