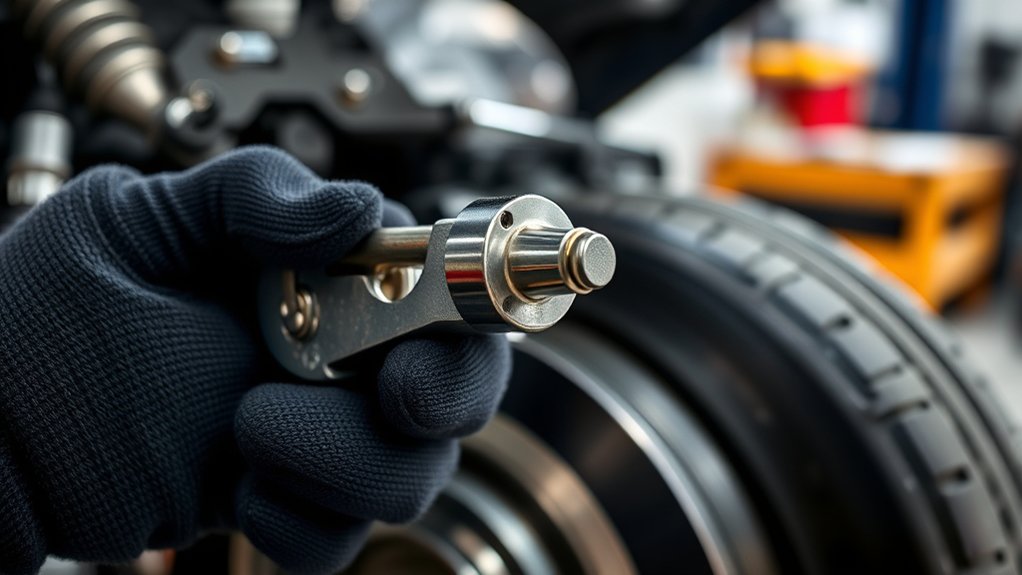
How Does a Brake Line Tool Work Step by Step
Struggling to make clean, leak-free flares when replacing brake lines? You’re not alone—many DIYers find it difficult to cut, bend, and flare tubing correctly the first time. The right brake line tool can make the process more manageable and help you work with greater confidence.
A brake line tool clamps tubing securely, then presses a forming cone into the cut end to create a leak-resistant flare. First, you choose the correct tool and flare type, then remove the old line and cut the replacement squarely.
After deburring, you bend the tubing without kinks, position it at the proper height, and tighten the clamp. Form the flare evenly, install the fitting, bleed the system, and check for leaks and pedal firmness.
The following steps provide helpful details.
Key Takeaways
- Identify the vehicle’s tubing diameter, fitting, and required flare type before selecting the correct brake line tool and dies.
- Cut the tubing squarely, slide the fitting onto it, then deburr and clean the tube end.
- Clamp the tube at the specified height, ensuring it is straight, secure, and properly aligned.
- Press the flaring cone steadily into the tube to form a smooth, centered flare without cracks or distortion.
- Inspect the flare, hand-thread the fitting, tighten it to specification, and bleed the brake system while checking for leaks.
Choose the Correct Brake Line Tool
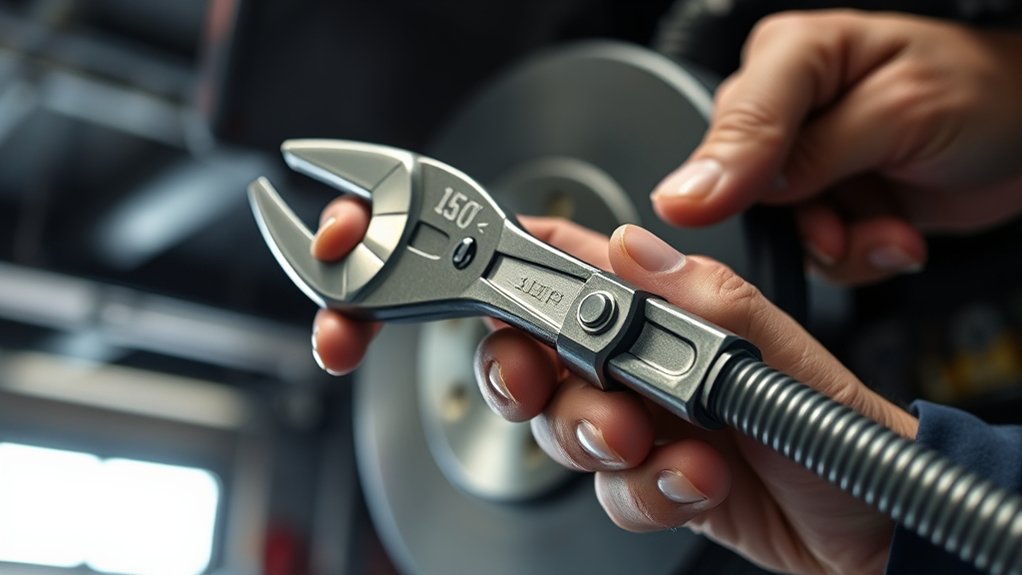
Before starting, choose a brake line tool that matches the line’s size and the repair you’re performing. Check the vehicle’s service manual to confirm the tubing diameter and recommended tool type. A handheld flaring tool suits many small repairs, while a bench-mounted model offers greater stability when you work with several lines.
Choose a brake line tool that matches the tubing size and repair, using a bench-mounted model for added stability when needed.
Select a tool with correctly sized dies, a firm clamp, and smooth threads. Inspect the jaws before use; worn or uneven surfaces can crush the tubing and create leaks. Keep a tubing cutter, deburring tool, and suitable wrench nearby, but don’t substitute pliers for proper equipment.
Clean spilled Brake fluid immediately because it can damage painted surfaces. Protect your eyes and wear gloves while handling old lines. You won’t need to assess Wheel alignment at this stage, but you should note the line’s routing and mounting points before removal.
Choosing compatible equipment now helps you work safely and produce a dependable connection.
Identify the Required Flare Type
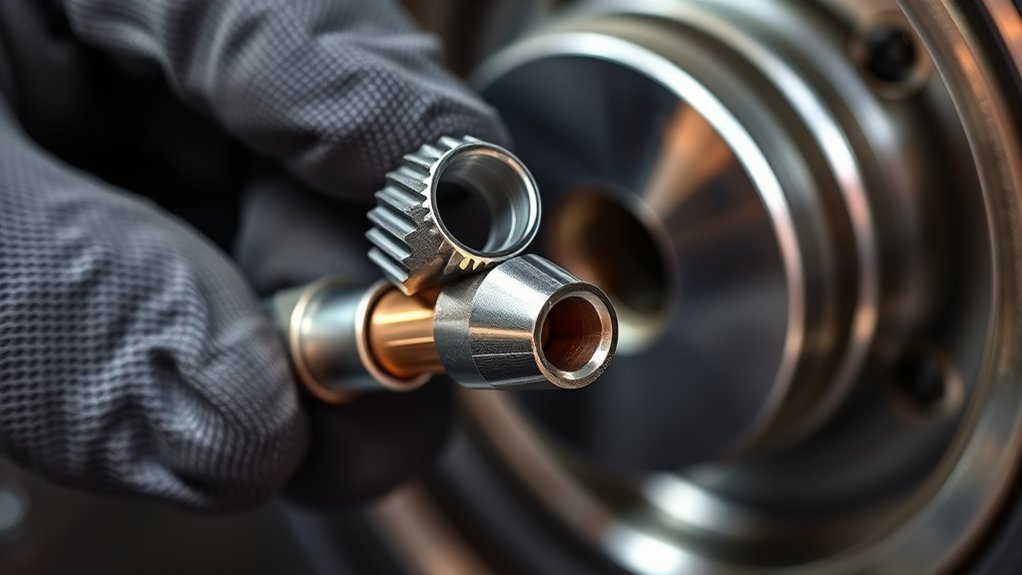
First, check your vehicle’s specifications to determine which flare type you need. Then, compare the available flare profiles and confirm that the one you choose matches your fittings.
Check Vehicle Specifications
Check your vehicle’s service manual or manufacturer specifications to identify the required brake-line flare type, such as a double, bubble, or inverted flare. You’ll also find the correct tubing material, diameter, fitting standards, and torque requirements.
Confirm these details for your exact year, make, model, and brake system, because specifications can vary between front and rear circuits or production versions. Review any notes about ABS, proportioning valves, and replacement lines before you begin.
Vehicle safety depends on creating connections that meet the manufacturer’s design and pressure requirements. Don’t assume all systems use the same brake fluid types or compatible components; verify the specified fluid separately and keep it uncontaminated.
Gather the manual’s information before selecting a brake-line tool, tubing, or fittings. This preparation helps you avoid incorrect parts and unsafe repairs.
Compare Flare Profiles
With the specifications in hand, compare the flare profiles before forming the tubing. First, identify whether your vehicle requires a single, double, or bubble flare.
A single flare folds the tube wall once and suits limited applications, while a double flare rolls the edge inward for greater strength and sealing reliability. A bubble flare has a rounded lip and appears on many modern hydraulic systems.
Examine the original line or service information to recognize the correct shape, angle, and folding pattern. Don’t choose a profile based solely on appearance, because each design requires a specific die, adapter, and forming sequence.
Accurate comparison also supports clean brake line aesthetics, because properly shaped ends look uniform and professional. Mark the required flare type before you cut, deburr, and prepare the tubing.
Confirm Fitting Compatibility
Before cutting or flaring the tube, confirm that the fitting matches the required flare type, thread size, and seat. Check your vehicle’s service manual or the replacement part specifications to identify whether you need a single, double, or bubble flare.
Don’t assume similar-looking fittings interchange; an incorrect profile can leak or fail under pressure. Inspect the fitting’s threads, opening, and sealing surface for damage, corrosion, or mismatched dimensions.
Slide the fitting onto the tube before flaring, with its threaded end facing outward. This simple step prevents rework.
Verify fitting compatibility by comparing the fitting with the original and matching the tubing diameter precisely. Also review your tool’s instructions and confirm proper tool calibration.
A correctly adjusted clamp and cone will produce a flare that seats evenly without cracking, distortion, or excessive force.
Protect Yourself and Gather Supplies
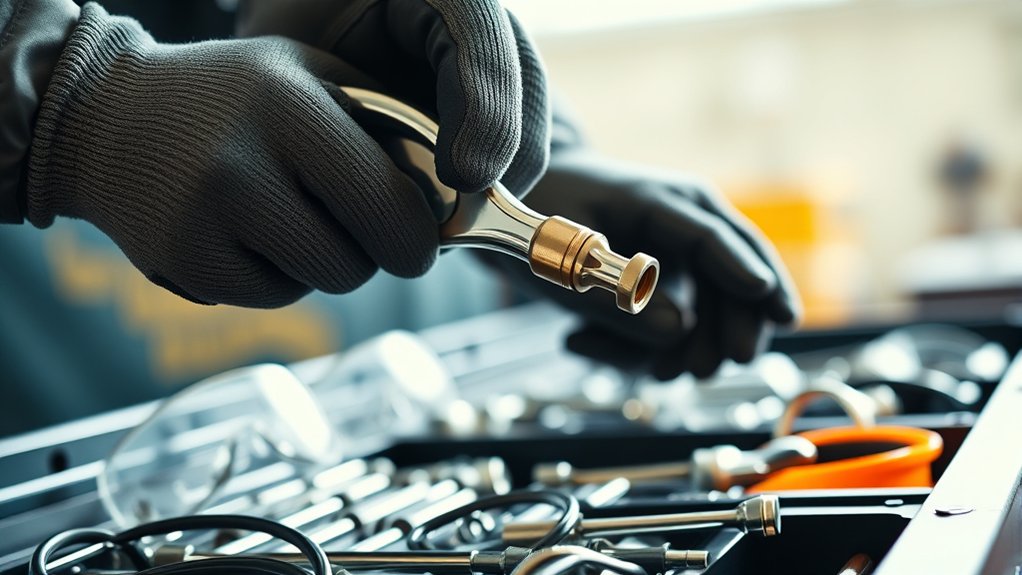
Before you use a brake line tool, put on safety glasses, gloves, and protective clothing. You’ll also need the right tubing cutter, wrench, flare tool, and replacement fittings.
Set up your workspace on a stable surface with good lighting. This will help you work safely and make accurate repairs.
Wear Protective Gear
Protect your eyes with safety glasses, your hands with cut-resistant gloves, and your skin with long sleeves before handling brake lines or using a brake line tool. Brake fluid can irritate skin and damage eyes, so don’t rely on ordinary clothing.
Wear closed-toe, slip-resistant shoes, and keep your sleeves secured away from moving parts. These safety precautions reduce exposure to sharp metal edges, spilled fluid, and unexpected drips.
Choose protective equipment that fits properly and remains comfortable while you work.
| Gear | Purpose |
|---|---|
| Safety glasses | Shield your eyes from fluid |
| Cut-resistant gloves | Protect hands from edges |
| Long sleeves | Cover exposed skin |
Check each item for tears, cracks, or contamination before starting. Replace damaged gear immediately, and wash your hands thoroughly after contact with brake fluid.
Keep children and pets away from the work area while you handle components.
Prepare Essential Tools
Gather a flare nut wrench, line cutter, tubing bender, deburring tool, correct flare tool, replacement brake line, brake fluid, a drain pan, and clean shop towels. Check each item before you begin, and confirm that the replacement line matches your vehicle’s specifications.
Choose a flare tool designed for the line material and fitting style, since an incorrect tool can create a weak, leaking connection. Keep a small container nearby for removed fittings, and have the vehicle’s service information available for torque values and bleeding instructions.
Inspect your tools for damage, clean the cutting and flaring surfaces, and replace anything worn. During Vehicle maintenance, use fresh Brake fluid from a sealed container to avoid contamination.
Organize your supplies within easy reach, but don’t start removing the old line yet.
Secure Your Workspace
Park the vehicle on a level, stable surface, engage the parking brake, and support it with properly rated jack stands if you need to raise it. Never rely on a jack alone. Chock the wheels that remain on the ground, switch off the engine, and let hot components cool before you begin.
Wear safety glasses and chemical-resistant gloves to protect your eyes and skin from brake fluid. Keep absorbent towels, a drain pan, and the correct replacement line within reach.
Brake fluid damages paint, so cover nearby surfaces and clean spills immediately.
Good workspace safety also means maintaining bright lighting and clear footing. Inspect your flare wrench, tubing cutter, and brake line tool before use.
Clean, dry tools improve grip and support tool maintenance. Keep children, pets, and ignition sources away from your work area.
Remove and Inspect the Old Brake Line
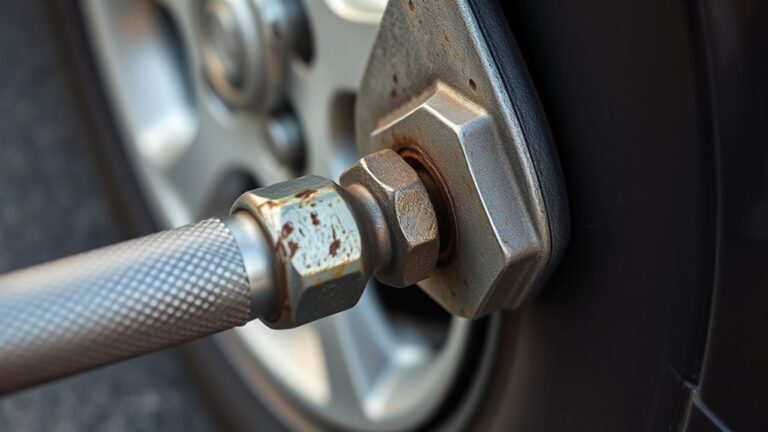
Once the vehicle is secure and the brake system has cooled, use your brake line tool to loosen the fitting at the connection point. Keep the Parking brake engaged, and place a suitable container beneath the line to catch Brake fluid.
Safely loosen the cooled brake line fitting with the proper tool, keeping the parking brake engaged and a container ready for fluid.
Turn the fitting slowly to avoid rounding its edges. If it resists, apply penetrating oil and wait briefly rather than forcing it.
Disconnect the line from its clips or brackets, then remove the second fitting at the opposite end. Cap or plug the open ports promptly to limit contamination and fluid loss.
Don’t let the line hang against nearby components, where it could cause damage. Wipe away residue with a clean, lint-free cloth.
Examine the removed line for rust, cracks, kinks, flattened sections, and damaged threads. Check each fitting and flare for corrosion or distortion.
If you find severe deterioration, plan to replace any compromised connection hardware. Dispose of spilled fluid according to local regulations.
Measure and Cut the New Brake Line
Measure the new brake line against the old one or follow the vehicle’s routing to determine the correct length. Clearly mark where to cut, then use a brake-line cutter to make a clean, square cut.
Determine Line Length
Accurate line length starts with routing the new tubing along the original path, including every bend and connection point. Use the removed line as a reference, but don’t assume it’s perfectly shaped; corrosion or previous repairs may have altered it.
Follow the vehicle’s contours, allowing enough tubing to reach each fitting without pulling, kinking, or forcing a connection. During material selection, choose tubing that matches the vehicle’s specifications and remains compatible with your fittings.
Account for flare type, diameter, and routing clips before you finalize the overall length. Straighten the replacement tubing carefully, then compare it with the original and your measured route.
Include modest extra length for forming bends and seating fittings, but avoid excessive slack. Good storage considerations also matter: keep tubing clean, dry, and protected from crushing before installation.
Mark Cutting Point
With the route confirmed, mark the cutting point on the new brake line using the required length and a tubing cutter’s alignment guide. Measure from the line’s end, account for any needed flare allowance, and verify the measurement against the old line or your repair plan.
Use a fine-tip marker to create a clear, narrow reference line around the tubing. Don’t rely on a broad mark that could obscure the exact location.
Hold the line straight while checking the measurement, and confirm that the mark sits beyond bends, corrosion, or damaged sections.
Wear gloves and eye protection as part of marking safety, and keep the tubing supported to prevent movement. Careful marking improves cutting precision and helps you preserve enough material for the next fitting step.
Cut Cleanly
Once you’ve marked the cutting point, use a tubing cutter to make a clean, square cut on the new brake line. Position the cutter over your mark, then tighten its knob until the wheel grips the tubing without crushing it.
Rotate the tool around the line several times, tightening the knob slightly after each pass. Stop when the cutter separates the piece.
Don’t use a hacksaw, which can leave an uneven edge and metal particles inside the line. Inspect the cut end, and remove any burrs with a deburring tool or fine file.
Keep the opening clean so debris won’t contaminate the Brake fluid. Confirm the replacement line matches the original length and routing.
Accurate cutting supports proper fitting and helps preserve safe braking and Wheel alignment.
Deburr and Clean the Line End
After cutting the brake line, inspect the end for burrs, crushed edges, or metal shavings. Hold the tube under bright light and rotate it slowly so you can spot damage around the entire circumference. Even a small ridge can prevent the fitting from seating correctly, so don’t skip this inspection.
Inspect the cut end carefully for burrs, crushed edges, or shavings that could prevent proper fitting seating.
Use a brake-line deburring tool, reamer, or fine file to remove sharp material from the inside and outside edges. Work gently and keep the tube round; excessive force can distort the opening.
Wipe the end with a clean, lint-free cloth, then use approved brake cleaner to remove dust, oil, and loose particles. Let the cleaner evaporate completely before continuing.
This surface preparation gives the fitting a clean contact area and helps prevent contamination from entering the hydraulic system. Check the tool for worn blades after use, and replace or clean it as needed.
Good tool maintenance keeps future cuts smooth and deburring consistent. Don’t touch the prepared end with dirty hands.
Bend the Line Without Creating Kinks
With the line end clean and smooth, begin shaping the tubing with a brake-line bending tool rather than your hands. Choose a former that matches the tube’s diameter, then place the tubing in its groove.
Align your planned bend with the tool’s reference mark before applying pressure. Pull the handle slowly and steadily, keeping the tube seated as it curves around the former.
Don’t force a sharp angle in one movement; make gradual bends to prevent flattening or kinking. If the tube resists, stop and reposition it instead of twisting it by hand.
Maintain a smooth radius large enough to preserve the passage for Brake fluid. Check the finished curve from several angles, looking for dents, ripples, or a collapsed section.
A clean bend helps the system withstand pedal pressure without restricting flow. Compare the shaped line with the vehicle’s routing, leaving enough clearance from moving parts, heat sources, and sharp edges.
Set Up the Brake Line Tool
Before bending the tubing, secure the brake-line tool on a stable surface and select the former that matches the tube’s diameter. Check that the clamp, guide, and handle move smoothly.
Wipe away dirt or moisture, then position the tool where you can apply steady pressure without twisting the line.
| Setup check | What you need | Why it matters |
|---|---|---|
| Former size | Correct tube diameter | Prevents distortion |
| Clamp | Firm, even grip | Holds alignment |
| Surface | Stable, level support | Improves control |
| Lighting | Clear view | Reveals damage |
Confirm the tubing matches your vehicle’s specification and that the tool suits its material. Keep brake fluid away from the work area because contamination can damage painted surfaces and compromise later service.
Wear eye protection and gloves, especially when handling old lines. Review the tool’s markings before tightening anything, and leave enough tubing exposed for controlled movement.
A properly prepared setup helps preserve alignment, supports consistent pedal feel, and reduces the risk of unnecessary rework. Don’t rush this check.
Make a Clean Brake Line Flare
A clean brake line flare starts with a square, burr-free tube end seated fully in the tool’s clamp. Tighten the clamp enough to prevent slipping, but don’t crush the tubing.
Set the tube height according to your tool’s instructions, then place the correct flaring cone over the opening.
- Center the cone before applying force.
- Turn the handle steadily, not abruptly.
- Inspect the finished flare under bright light.
Apply even pressure as you form the first step or bubble, depending on the fitting design. A properly shaped flare should look symmetrical, smooth, and firmly attached, with no splits, wrinkles, or thin edges.
Remove the tube and compare its dimensions with the fitting before proceeding. Keep the sealing surfaces clean; dirt can let brake fluid escape when hydraulic pressure rises.
If the flare looks uneven, cut it off, deburr the tube again, and remake it rather than trying to repair the defect. Don’t reuse a damaged section, and avoid over-tightening the tool, which can distort the line.
Install, Bleed, and Pressure-Test the Repair
Once the flare is complete, install the brake line by hand-threading each fitting to avoid cross-threading, then tighten it to the vehicle manufacturer’s specification. Route the line away from moving parts, hot exhaust components, and sharp edges.
Secure it with the original clips, and check that it doesn’t flex or rub.
Next, fill the master-cylinder reservoir with the correct brake fluid. Starting with the wheel farthest from the master cylinder, attach clear tubing to the bleeder screw and place the other end in a container.
Have an assistant press the pedal slowly while you open and close the screw. Repeat until no air bubbles appear, maintaining the fluid level throughout. Follow the manufacturer’s bleeding sequence.
Finally, inspect every connection for leaks. Apply firm pedal pressure for several seconds and watch the fittings.
Hydraulic pressure should remain steady, while proper fluid flow should produce a firm pedal. If it sinks or feels spongy, bleed the system again and recheck the repair.
Frequently Asked Questions
Can Brake Line Tools Be Used on Both Steel and Copper-Nickel Tubing?
Yes, you can use many brake line tools on both steel and copper-nickel tubing, but you’ll need to confirm each tool’s specifications first. Material compatibility matters because steel requires more clamping and flaring force, while copper-nickel bends and flares more easily.
Tool versatility improves when a flaring tool supports common tubing sizes and double- or bubble-flare styles. You’ll get cleaner results by matching the correct dies, adapters, and technique to your tubing.
How Often Should a Brake Line Tool Be Cleaned or Lubricated?
Treat your brake line tool like a trusted workhorse: clean it after every use, then inspect it before storage. Wipe away metal shavings, dirt, and moisture with a lint-free cloth.
Don’t let brake fluid contamination linger, because it can damage finishes and affect future fittings. Apply a light coat of manufacturer-approved lubricant to hinges or threads every few uses, avoiding clamping surfaces.
Follow your Tool maintenance schedule and lubricate immediately if movement feels stiff.
What Causes Brake Line Flares to Crack After Installation?
Your brake line flares can crack after installation when you overtighten fittings, create an uneven flare, or bend the tubing too sharply near the connection. Contamination, scratches, and repeated vibration can also start small fractures.
Check the brake line material because some tubing hardens or splits more easily. Confirm flaring tool compatibility, then inspect the dies and cones for wear.
Tighten fittings to the manufacturer’s specification, and replace any damaged flare instead of reusing it.
Can Beginners Safely Repair Brake Lines Without Professional Assistance?
You can repair brake lines yourself, but safety must steer every decision. Picture your car’s braking system as a lifeline; one weak connection can have serious consequences.
Your skill level matters: beginners should tackle only simple, well-documented repairs with proper tools, secure jack stands, and new fittings.
Follow DIY safety practices, inspect every flare, and bleed the system carefully. If you find corrosion, uncertainty, or a soft pedal, stop and seek professional assistance immediately.
What Should You Do if the Brake Pedal Remains Soft Afterward?
If your brake pedal remains soft afterward, stop driving and repeat brake fluid bleeding to remove trapped air. Check the reservoir level, bleed each wheel in the manufacturer’s specified order, and watch for bubbles.
Perform a careful brake line inspection for leaks, loose fittings, damaged hoses, or wet areas. If the pedal still feels spongy, don’t risk driving; have a qualified technician diagnose the master cylinder, calipers, and entire braking system promptly.
Conclusion
By following these steps, you’ll turn a brake line tool from a confusing clamp into a precise repair aid. Choose the right flare, protect yourself, cut carefully, and bend the line smoothly.
When you tighten the tool and form that clean flare, you might notice the same satisfying fit you felt when assembling a stubborn puzzle. Finish by bleeding and pressure-testing the system.
If the pedal feels firm and dry, you’ve used the brake line tool to make a safe, dependable repair.