How Does a Tire Patch Kit Work Step-by-Step
A flat tire can ruin your plans, especially when you’re unsure whether a puncture can be fixed safely. You’re not alone—many drivers struggle to understand how a tire patch kit works or where to begin.
A tire patch kit seals a small tread puncture from the inside. First, confirm the damage is repairable, gather your tools, and safely remove the wheel.
Find and mark the leak, remove the tire, then clean and roughen the area. Apply cement and center the patch firmly over the hole.
Reinstall the tire, inflate it to the recommended pressure, and check for bubbles with soapy water. Replace the tire if damage is severe; the steps below explain each stage.
Key Takeaways
- Inspect the tire, locate the tread puncture with soapy water, and confirm it is repairable rather than sidewall or shoulder damage.
- Remove the object, clean and dry the area, then roughen the rubber around the puncture with the kit’s rasp.
- Apply cement if required, center the patch over the hole, and press outward to eliminate air pockets and wrinkles.
- Allow the patch to cure fully, then inflate the tire to the vehicle manufacturer’s recommended cold pressure.
- Test the repair with soapy water, reinstall and torque the wheel correctly, and monitor pressure for several days.
Make Sure the Tire Can Be Repaired
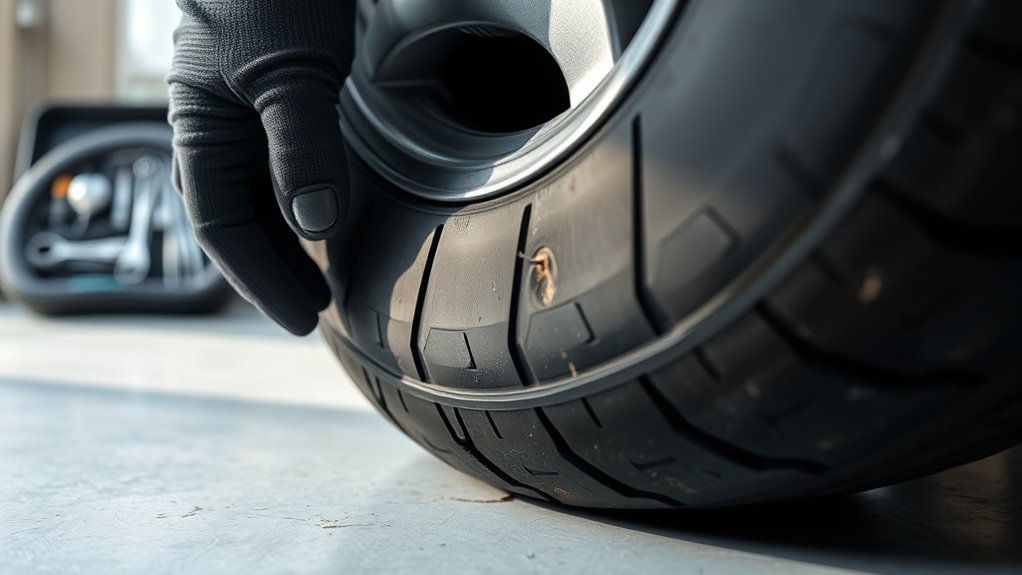
Before using a tire patch kit, make sure the damage is repairable. Park safely, engage the brake, and inspect the tire closely.
Road hazards usually cause punctures in the tread, and those small holes may qualify for repair. Don’t patch damage in the sidewall or shoulder because these areas flex too much and can fail without warning.
> Repair small tread punctures when appropriate, but never patch sidewall or shoulder damage, where flexing can cause sudden failure.
Also, avoid repairing long cuts, gashes, exposed cords, bulges, or punctures larger than the kit’s recommended limit.
Check the tire pressure before judging the damage. A severely deflated tire may have suffered internal damage from driving on it, even if the puncture looks minor.
Look for uneven wear, cracking, or other signs that the tire needs replacement instead. If you can’t locate the leak or determine its extent, ask a tire professional to inspect it.
Never rely on a patch to restore a tire that’s worn, structurally damaged, or unsafe for continued road use.
Gather Your Tire Patch Kit Tools
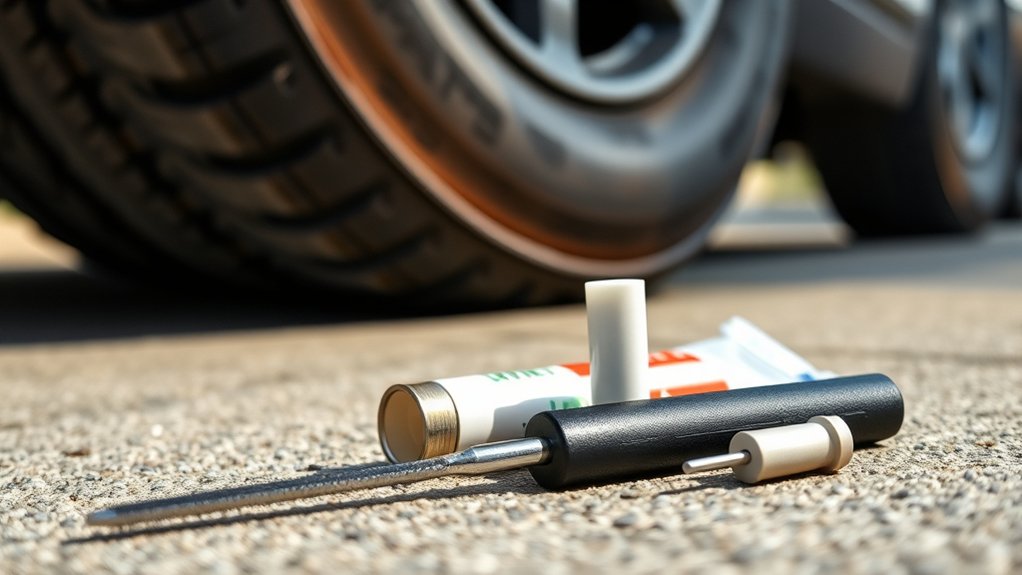
Once you’ve confirmed the puncture is repairable, gather the tools you’ll need. Choose a tire patch kit that includes a patch, rubber cement or vulcanizing adhesive, a rasp, and an insertion tool if the kit uses plugs.
You’ll also need pliers, a valve-core tool if applicable, gloves, and a clean cloth. Keep an air compressor or portable inflator nearby so you can restore Tire pressure after completing the repair.
A pressure gauge helps you check the result accurately rather than relying on appearance. Prepare a stable work area, adequate lighting, and a container for small parts.
If you’re working beside a road, add reflective triangles or a warning vest, and position yourself away from moving traffic. Road safety comes first, so use the vehicle’s parking brake and wheel chocks when appropriate.
Check your kit’s instructions before opening packages. Confirm that the adhesive hasn’t dried out and that the patch matches your tire’s repair requirements.
Find the Puncture and Mark It
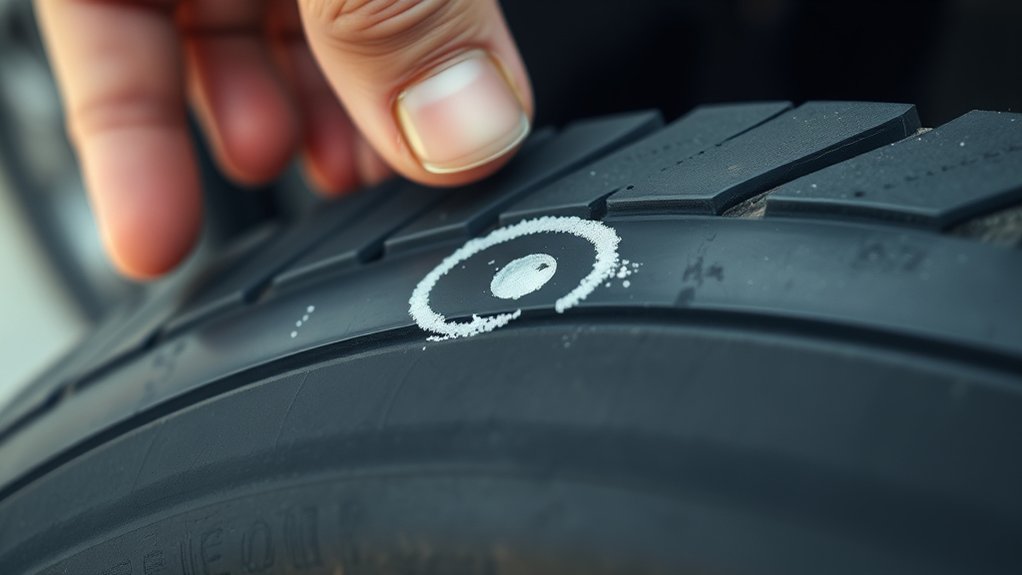
With the tire safely accessible, inspect the tread for nails, screws, glass, or other objects causing the leak. Check the Tire pressure with a gauge first; a low reading confirms air loss but doesn’t identify its source.
Spray soapy water across the tread and valve area, then watch for growing bubbles. Rotate the wheel slowly and listen for escaping air.
Never ignore Sidewall damage; cracks, bulges, or punctures there usually require professional replacement rather than a tread patch.
Once you spot the leak, circle it with chalk or use the kit’s marker. Remove loose debris only if it comes out easily, and don’t enlarge the hole.
| Area | What to check | Marking method |
|---|---|---|
| Tread | Nail or puncture | Chalk circle |
| Valve | Bubbles or leakage | Chalk arrow |
| Sidewall | Cut or bulge | Bright tape |
| Bead | Seepage | Chalk line |
Confirm the mark remains visible before proceeding, and keep the wheel positioned so you can find the puncture again easily.
Remove the Tire for an Internal Patch
For an internal patch, you’ll need to remove the tire from the wheel so you can inspect and seal the puncture from inside. Deflate the tire completely by removing the valve core, then take off the wheel and place it on a stable, protected surface.
Break the bead carefully with a tire lever or bead breaker, working around both sides. Pry one side of the tire over the rim, followed by the other, while avoiding damage to the bead, tube, or wheel.
If the tire uses sensors, note their location and work cautiously around them. Once separated, lift the tire away from the wheel and keep track of its original position.
Don’t use excessive force or sharp tools that could create another leak. After removal, inspect the tire’s interior and the wheel for obvious damage, but don’t prepare the puncture yet.
Reinstalling the wheel may require Tire balancing and a Wheel alignment check.
Prepare the Damaged Area
Locate the puncture and mark it clearly so you can easily find the repair area. Clean the surrounding rubber, removing any dirt, grease, or debris. Then, let the surface dry completely before applying the patch.
Locate the Puncture
Start by finding the leak before preparing the damaged area. Check the Tire pressure with a gauge, then compare it with your vehicle’s recommended level.
If the reading seems low, inspect the Valve stem first. Press the valve core briefly and listen for escaping air; bubbles from soapy water can also reveal a valve leak.
Next, examine the tread and sidewall for nails, screws, glass, or other embedded objects. Don’t pull out a puncturing object yet, because it can help you identify the leak’s exact location and prevent air from escaping quickly.
If you can’t spot damage, add a small amount of air and apply soapy water around the tire. Watch for growing bubbles, mark the leaking spot, and confirm its position before proceeding with the kit.
Clean and Dry Surface
Once you’ve marked the leak, remove the puncturing object and prepare the area for repair. Deflate the tire completely, then inspect the puncture for embedded debris or exposed cords.
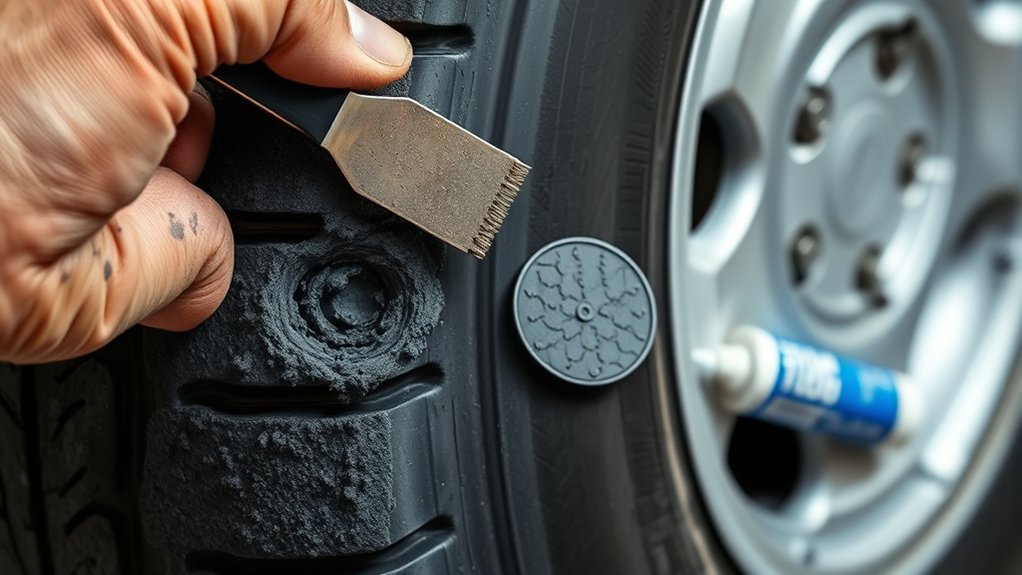
Wipe away mud, grit, and oil with a clean cloth. Use the rasp included in your kit to roughen the rubber around the hole, creating a textured surface that helps the patch bond.
Don’t skip this step, even if the tire looks clean. After scuffing, brush or wipe away the rubber dust.
Let the area dry fully before applying cement or a patch. Moisture can weaken the seal, so keep the tire away from water, grease, and direct contamination while you work.
Check the tire pressure afterward, and inspect for other damage caused by road hazards before driving.
Install and Seal the Tire Patch
With the puncture area clean and dry, press the tire patch firmly over the hole, centering it completely. Hold steady pressure for the time specified by your kit’s instructions.
Work outward from the center with your thumbs or a roller, pushing out trapped air and wrinkles. Check every edge to guarantee it lies flat against the rubber.
If your kit includes vulcanizing cement, apply only the recommended amount before placing the patch, and allow it to become tacky as directed.
Don’t lift or reposition the patch after contact, because you could weaken the bond. Press around the entire perimeter again, paying close attention to corners and narrow edges.
Let the adhesive cure for the full stated period; rushing this step can cause leaks. After curing, inspect the repair for lifted edges or gaps.
Confirm the patch feels secure before checking Tire pressure. This careful seal supports Road safety and dependable performance.
Reinstall the Repaired Tire
Reinstall the repaired tire by aligning the wheel with the hub. Once it’s seated evenly, hand-tighten the lug nuts in a crisscross pattern. You’ll tighten them fully after lowering the vehicle.
Align the Wheel
After repairing the puncture, align the wheel with the hub and guide the tire straight onto the vehicle. Make sure the wheel’s mounting holes line up with the studs or bolt holes, and keep the tire centered against the hub.
If the wheel resists seating, remove it and check for dirt, rust, or an obstruction rather than forcing it. Wipe the hub and wheel contact surfaces clean so they meet evenly.
Confirm that the repaired tire faces the correct direction if it has a directional tread pattern. Check the sidewall markings to verify proper placement and position the valve stem where you can inspect it easily.
This step also supports accurate Wheel balancing and helps maintain the correct Tire rotation pattern. Don’t move to the next step until the wheel sits flush and stable.
Tighten Lug Nuts
Once the repaired wheel sits flush against the hub, thread each lug nut by hand to prevent cross-threading. Tighten them lightly in a crisscross or star pattern, moving to the nut opposite your last one.
This Wheel lug installation method seats the wheel evenly against the hub and helps prevent wobbling. Lower the vehicle until the tire touches the ground but still carries minimal weight.
Use a calibrated torque wrench to tighten every lug nut in the manufacturer’s specified sequence and value. Correct Lug nut torque keeps the wheel secure without distorting the rotor or stretching the studs.
Don’t rely on an impact wrench for final tightening. After driving a short distance, stop and recheck the lug nuts with the torque wrench. If any feels loose, tighten it immediately to specification.
Inflate the Tire to the Correct Pressure
How much air your patched tire needs depends on the pressure listed in your vehicle’s owner’s manual or the driver-side doorjamb label, not the maximum pressure printed on the tire’s sidewall. Inflate the tire after you’ve secured the wheel and tightened the lug nuts.
Inflate your patched tire to the vehicle manufacturer’s recommended pressure—not the maximum listed on the tire sidewall.
Remove the valve cap and attach an accurate air-pressure gauge or compressor chuck. Add air in short bursts, checking the Tire pressure frequently until it reaches the recommended cold-pressure reading.
If you’ve driven before inflating, let the tire cool first, because heat temporarily raises the reading. Don’t rely solely on a dashboard monitor; use a handheld gauge for a precise measurement.
Inspect the valve stem while the cap is off. Replace a damaged cap or loose valve core as needed, then reinstall the cap firmly.
Good Valve maintenance helps preserve pressure and keeps dirt away from the valve. Avoid overinflating to compensate for a patch, and adjust the pressure evenly if your vehicle specifies different front and rear values.
Test the Tire Patch for Leaks
Spray the patched area with soapy water and watch for growing bubbles, which indicate escaping air. Cover the entire repair, including its edges, and inspect it closely for several seconds. Tiny bubbles that stay the same size usually come from leftover foam, but expanding bubbles signal a leak.
If you see bubbles growing, release the air, dry the area, and check whether the patch sits flat and seals completely. Follow your kit’s instructions before making any adjustment, then repeat the test after reinflating the tire.
Don’t drive on the tire while it still loses air, because unstable Tire pressure can affect handling and Road safety.
When no bubbles appear, wipe away the soapy water and monitor the Tire pressure with a gauge. Compare the reading with your vehicle manufacturer’s recommended pressure.
Recheck the patch and pressure after a short wait to confirm the repair remains airtight. A successful test means you can proceed cautiously while continuing to watch for pressure changes during use.
Know When to Replace the Tire
Before relying on a patch, check the tread wear to make sure the tire still has enough traction. Also, look for cuts, bulges, cracks, or sidewall damage, since a patch can’t safely repair these issues. If the tire is badly worn or damaged, don’t risk driving on it—replace it.
Check Tread Wear
Check the tire’s tread before patching it, because a worn-out tire may be unsafe to repair. Use a tread-depth gauge across several points, not just one spot. Compare your reading with the legal minimum in your area and the tire maker’s recommendation.
Also check the wear indicators in the grooves. If the tread sits level with them, you’ll need a replacement.
- Measure tread depth with a gauge.
- Check several locations across the tread.
- Look for even, consistent wear.
- Compare results with legal limits.
- Replace tires near the wear indicators.
Maintain proper Tire pressure, since underinflation or overinflation can accelerate uneven tread wear. If the tread is shallow, badly uneven, or beyond its service limit, don’t rely on a patch kit.
Replace the tire instead, and have a professional confirm your decision before you drive.
Spot Tire Damage
With tread wear ruled out, inspect the puncture itself to decide whether the tire can be repaired. If the hole sits in the tread and measures no more than about 6 millimeters, you can usually patch it after removing the tire for an internal inspection.
Don’t patch sidewall or shoulder damage. Flexing in those areas can quickly break the repair and cause a blowout.
Replace the tire if you find cuts, bulges, exposed cords, separated layers, or multiple nearby punctures. Also replace it if you drove far while flat, because heat may have damaged the inner structure.
Check tire pressure after any repair and monitor it for several days. When damage looks questionable, choose a replacement rather than risking road safety. A professional tire shop can confirm the safest option.
Frequently Asked Questions
Can Tire Patches Be Used Safely on Motorcycle or Bicycle Tires?
Yes, you can use tire patches safely on motorcycle or bicycle tires when you follow the manufacturer’s instructions. For bicycles, patch inner tubes after removing the puncture’s cause, but replace severely damaged tubes.
For motorcycles, use patches only for small tread-area punctures in approved tubeless repairs. Don’t patch sidewalls, shoulders, or large holes.
Your tire repair should include inflation checks and professional inspection. Safety considerations matter: replace questionable motorcycle tires instead of risking failure.
How Long Does a Professionally Installed Tire Patch Typically Last?
A professionally installed tire patch typically lasts for the tire’s remaining usable life, often many thousands of miles, when the puncture lies in the tread and the tire remains properly inflated.
Your tire’s durability depends on tread depth, age, driving conditions, and repair quality. For strong repair longevity, choose an internal patch-plug repair from a qualified technician, inspect pressure regularly, and replace the tire if you notice bulges, vibration, leaks, or sidewall damage.
Is Driving Immediately After Applying a Tire Patch Safe?
No, you shouldn’t drive immediately after applying a tire patch. You need to let the patch’s adhesive or vulcanizing cement cure fully, following the product’s instructions.
Check your tire pressure afterward and inspect the repair for leaks. If the patch remains secure and pressure stays stable, drive slowly to a tire shop for verification.
For road safety, don’t rely on a temporary plug or patch for extended travel, high speeds, or heavy loads.
What Is the Difference Between a Tire Plug and a Tire Patch?
A tire plug fills a puncture from the outside, using a sticky rubber strip that seals the tread quickly without removing the tire. A tire patch requires removing the tire, preparing its inside, and bonding a rubber patch over the injury.
Among common tire repair methods, plugs offer convenience, while patches generally provide better repair durability. You can also use a plug-patch combination, but only a qualified technician should determine whether the damage qualifies.
Can Run-Flat Tires Be Repaired With a Standard Tire Patch Kit?
Usually, you shouldn’t repair a run-flat tire with a standard tire patch kit. Run-flat construction and sidewall damage require specialized inspection, and driving while deflated may cause hidden internal damage.
A professional must remove the tire, evaluate the puncture’s location and size, and follow manufacturer repair safety guidelines. Even when repairable, tire patch durability may vary.
Replace the tire if damage reaches the sidewall, bead, or inner liner, or if you’ve driven extensively without air.
Conclusion
A tire patch kit can get you moving again, but it isn’t a cure-all. Don’t assume every puncture is repairable: sidewall damage, large holes, or worn tread means you should replace the tire.
For a small tread puncture, follow each step carefully, use the right tools, and check for leaks before driving. If you’re unsure, ask a professional.
A few extra minutes now can prevent another flat and keep your trip safely on track. Knowing how a tire patch kit works can help you handle minor punctures with confidence.