How Does a TPMS Tool Work Step by Step
Low-tire warnings, confusing sensor readings, and failed relearn procedures can make TPMS maintenance frustrating. You’re not alone—many drivers struggle to know which tool features matter and how to use them correctly.
The best TPMS tool can simplify the process, from testing sensors to clearing fault codes.
To use a TPMS tool, enter your vehicle’s details and identify whether it uses direct or indirect monitoring. Connect the tool to the OBD-II port, then activate each sensor near its valve stem.
Check pressure, temperature, sensor IDs, and battery health. Program any replacement sensor, complete the required relearn procedure, and clear resolved fault codes.
Finally, compare readings with a tire gauge, road-test the vehicle, and confirm the warning light stays off. The steps below explain each stage in greater detail.
Key Takeaways
- Enter the vehicle’s make, model, year, trim, region, and tire configuration into the TPMS tool.
- Activate each sensor near its valve stem to read its ID, tire pressure, temperature, and battery status.
- Compare sensor data with manufacturer specifications and scan for fault codes indicating pressure or communication problems.
- Program replacement sensors, then perform the vehicle-specific relearn procedure to register their IDs and wheel positions.
- Verify readings with a tire-pressure gauge, clear resolved fault codes, and complete a road test to confirm system operation.
Identify the Vehicle and TPMS Type
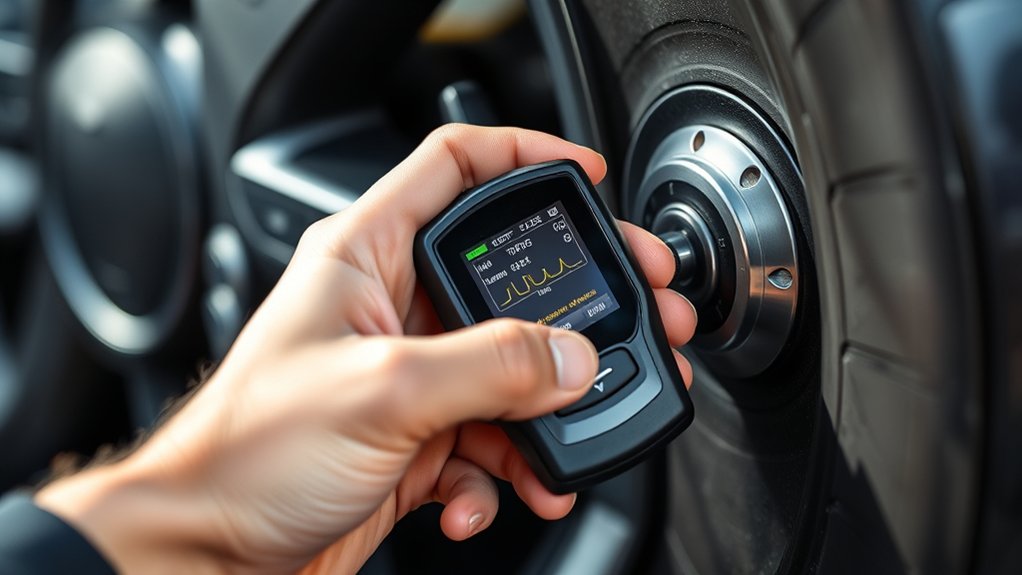
Start by entering the vehicle’s make, model, year, and tire configuration into the TPMS tool. This information helps the device identify the correct tire-pressure monitoring system and select compatible sensor specifications.
Confirm whether your vehicle uses direct sensors inside the wheels or an indirect system that estimates pressure through wheel-speed data.
Check the tool’s vehicle database for the exact trim level, production range, and region. Manufacturers may use different sensor frequencies or protocols within the same model year.
If the tool requests a sensor ID format, choose the option listed for your vehicle. You’ll then see supported functions, including sensor activation, identification, and Sensor calibration requirements.
Review the displayed system details before continuing, and verify the number of wheel positions. Correct identification prevents inaccurate readings and incompatible procedures.
The tool also prepares the proper Data transmission format for the selected TPMS type, ensuring it interprets sensor information correctly during later testing and service.
Connect the TPMS Tool Correctly
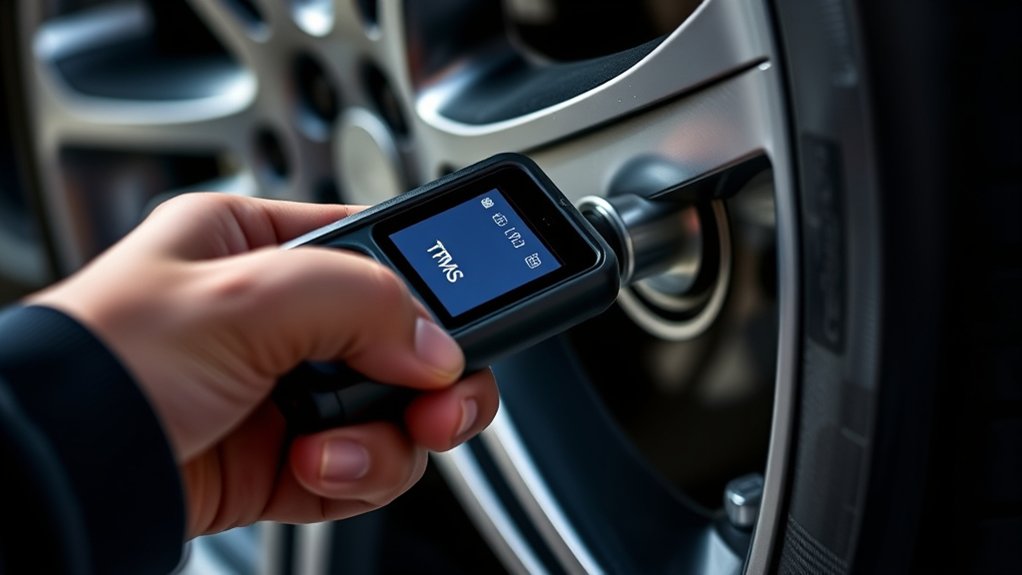
Find your vehicle’s diagnostic port, usually located beneath the dashboard. Plug in your TPMS tool securely, then turn it on. Once it powers up, you’re ready to move on to the next steps.
Locate the Diagnostic Port
Once you’ve identified the vehicle’s OBD-II diagnostic port, usually beneath the dashboard near the steering column, plug the TPMS tool’s connector into it securely. Check that the connector sits firmly without forcing it, bending pins, or pulling on the cable.
A loose connection can interrupt communication during sensor calibration or after a tire rotation.
Before proceeding, inspect the port and connector for:
- Dirt, moisture, or damaged terminals
- Obstructions that prevent full insertion
- Cable tension caused by limited dashboard space
Keep the tool supported so its weight doesn’t strain the port. If the connector won’t fit easily, remove it and verify that you’ve selected the correct adapter for the vehicle.
Don’t use excessive pressure or an improvised connection. Once the plug fits securely, leave the tool connected and prepare for the next step.
Power On the Tool
With the connector seated firmly, turn on the TPMS tool using its power button or ignition switch. Keep the vehicle’s ignition in the position specified by the tool’s instructions, usually ON without starting the engine.
Check the display for a startup screen, battery level, and communication indicator. If the tool stays blank, verify the connector, inspect the cable for damage, and try a charged power source.
Don’t disconnect the tool while it initializes, because interrupting startup can cause communication errors. Follow any prompts for Battery calibration if the device requests it, especially after replacing its internal battery.
Next, confirm the Tool firmware version and install an update if the manufacturer recommends one. Wait until the main menu appears before selecting a sensor or diagnostic function.
Your tool is now ready for testing.
Activate Each Tire Sensor
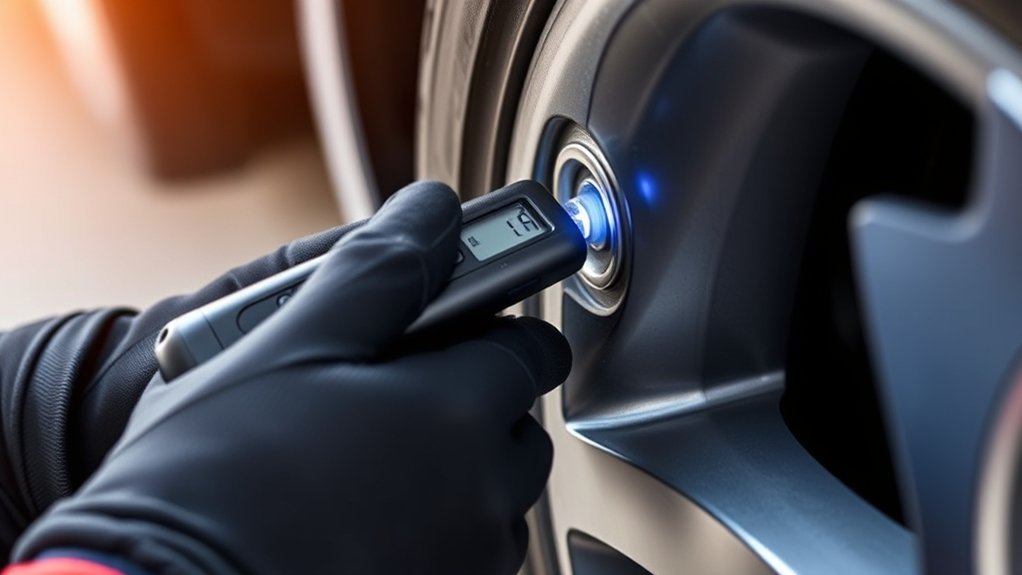
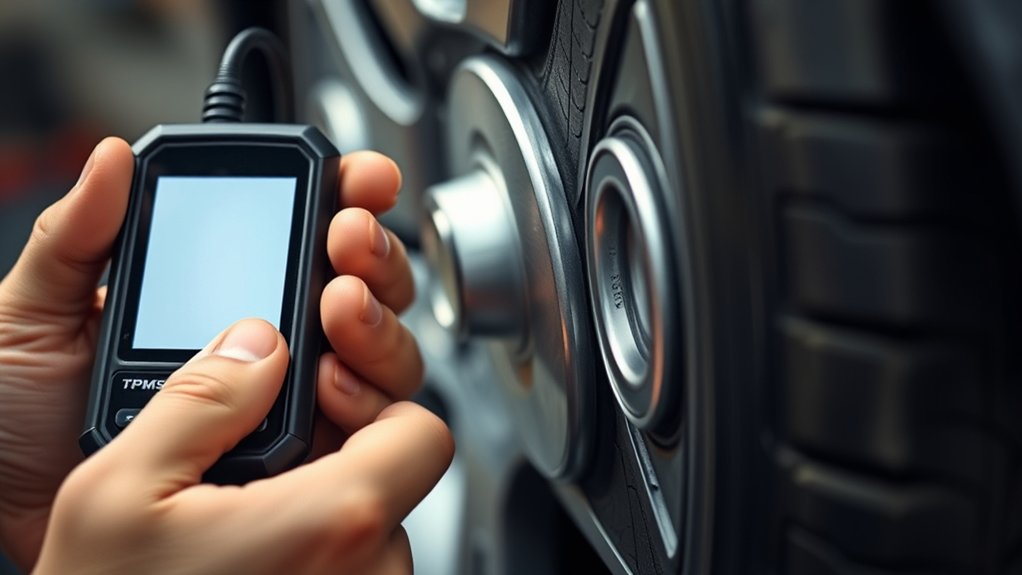
After selecting the correct vehicle profile, activate each tire sensor with the TPMS tool by placing it near the sensor’s sidewall location and pressing the activation button. Hold the tool steady until it confirms the sensor’s response.
Work around the vehicle in the recommended order, usually starting at the left front tire and moving clockwise. Correct positioning helps the tool communicate with the sensor and prevents missed activations.
- Keep the tool close to the valve stem area, where the sensor typically sits.
- Pause briefly after each successful response before moving to the next tire.
- Repeat the attempt if the tool reports a weak or failed signal.
Follow the vehicle’s service instructions, especially after a Tire rotation, because sensor locations may no longer match their original positions.
Don’t confuse activation with Sensor calibration; activation wakes the sensor and identifies it for the vehicle system.
Complete every tire before proceeding to the next step, and keep the ignition setting specified by the manufacturer during the process.
Read Pressure and Temperature Data
Once you activate the sensor reading, your TPMS tool collects data from each tire. It displays the current pressure and temperature on the screen, helping you identify which tires need attention.
Activate Sensor Reading
Activate the TPMS tool’s sensor-reading function, then position it near the tire’s valve stem. Press the scan or trigger button to wake the sensor and establish communication.
Keep the tool steady until it confirms a successful signal. You’ll typically need to scan each wheel individually, following the tool’s indicated sequence.
During this step, focus on collecting accurate readings rather than interpreting them:
- Confirm the tool detects the correct sensor identification number.
- Maintain the recommended distance for reliable wireless communication.
- Wait for pressure and temperature values to transfer completely.
If a sensor doesn’t respond, reposition the tool, check for interference, and repeat the activation.
Sensor calibration may be necessary when readings seem inconsistent. Data logging can preserve each sensor’s transmitted information for later comparison.
Don’t remove or replace any component until every sensor has responded.
Display Pressure and Temperature
The TPMS tool displays each sensor’s pressure and temperature readings after it establishes communication. You’ll see the pressure value in your selected unit, such as psi, bar, or kPa, alongside the temperature in degrees.
Verify each tire’s data against the vehicle manufacturer’s recommended specifications, not just the warning-light threshold. If a reading looks unusual, compare it with the other sensors and inspect the tire before making adjustments.
Display calibration helps ensure the screen presents values correctly. Temperature accuracy depends on the sensor, operating conditions, and measurement timing.
Keep in mind that a recently driven tire may show higher pressure and temperature than a cold tire. You should record abnormal readings and verify them with a reliable gauge when necessary.
Follow the tool’s prompts before continuing to diagnose or service the tire.
Review Sensor IDs and Battery Health
Review each sensor’s ID against the vehicle’s assigned position to confirm that the TPMS tool has identified the correct unit. Compare the displayed ID with the record for the front-left, front-right, rear-left, or rear-right wheel.
If the position doesn’t match, rescan the sensor before moving forward.
Next, check the battery reading or remaining-life estimate. Treat it as guidance, not an exact replacement date, because temperature, transmission frequency, and sensor age can affect accuracy.
- Record each ID and battery status for your service notes.
- Flag sensors showing low voltage or an unusually short battery lifespan.
- Consider sensor durability, valve condition, and service history before replacement.
A healthy reading supports continued use, while a weak reading suggests replacement during tire service may prevent a future loss of communication.
Confirm that every sensor reports consistently from its assigned wheel, then save or print the results if your tool allows it.
This organized review helps you finish the identification step confidently without interpreting fault codes.
Interpret TPMS Fault Codes
Once you’ve confirmed each sensor’s ID and battery status, read the TPMS fault codes shown by the tool. These codes help you identify pressure, communication, or system-related problems before you continue diagnosis.
Match each code with the tool’s description, then check the affected wheel and recommended inspection.
| Code type | What it means | Your next check |
|---|---|---|
| Low pressure | Inflation is below specification | Measure and adjust pressure |
| No signal | The sensor isn’t communicating | Inspect interference or damage |
| System fault | The TPMS circuit detects an issue | Check wiring and module data |
Compare live readings with the vehicle’s specifications, not just the warning light. If values look inconsistent, verify tire condition, valve stems, and recent Tire rotation work.
A rotation can move a suspect sensor to another wheel, changing the code’s location. Don’t confuse a relearn requirement with Sensor calibration.
Calibration concerns accurate pressure measurement, while relearning confirms sensor positions. Record every code before clearing it, because stored history can guide further testing and prevent misdiagnosis during the next repair step.
Program the Replacement Sensor
After recording the fault codes, program the replacement sensor with the TPMS tool before installing it or beginning the relearn process. Select the vehicle’s make, model, and model year, then choose the sensor-programming function.
Follow the tool’s prompts to activate the new unit and transfer the correct identification data.
Before continuing, verify the sensor’s compatibility and battery status. The tool may support several programming methods, so use the one specified for your sensor:
- Clone the original sensor’s ID when it’s still readable.
- Create a new ID when cloning isn’t possible.
- Copy vehicle-specific settings, including pressure thresholds.
Check the screen for successful Sensor calibration and compare the displayed ID with the sensor’s label.
If the tool reports an error, reposition it near the sensor, confirm the part number, and repeat programming. Record the new ID for service documentation.
Keep Tire rotation history available, since wheel position information can affect later diagnostic decisions and accurate pressure monitoring.
Don’t install or relearn yet. First, confirm programming completed without warnings.
Complete the TPMS Relearn
Complete the TPMS relearn by placing the programmed sensor on the vehicle and using the tool’s relearn function to register its ID with the control module.
Follow the tool’s prompts to select the vehicle’s make, model, and year, then choose the correct relearn procedure.
Depending on the system, you might need to activate each sensor in a specific order, drive the vehicle, or connect a diagnostic cable.
Keep the tool close to each valve stem when it requests sensor activation, and wait for each identification code to transfer.
If you’ve performed a Tire rotation, confirm each sensor occupies the correct wheel position before starting.
The control module uses this information to match pressure data with the correct location.
Complete any required Sensor calibration steps according to the tool’s instructions, especially after installing a universal sensor.
Don’t interrupt the process or switch off the ignition until the tool reports that registration has finished.
Verify the Repair and Warning Light
Turn on the ignition and confirm that the TPMS warning light goes out or remains off after the system completes its self-check.
If it stays illuminated or flashes, scan the vehicle again and review each sensor’s status, pressure reading, and identification number. A successful relearn should display current information for every wheel.
Before you finish, compare the tool’s readings with a reliable tire-pressure gauge. This check supports Data accuracy and confirms that each tire meets the manufacturer’s specified pressure.
Allow the system a short drive to update its monitoring values, then recheck the dashboard.
- Verify each sensor communicates without faults.
- Confirm displayed pressures match measured pressures.
- Inspect the warning light after a brief road test.
If the light remains on, don’t assume the repair failed immediately. Recheck the sensor data, valve condition, and system response according to the vehicle’s service information.
Record the final readings and explain the result to the vehicle owner. Proper Sensor calibration and verification help ensure the repair is complete and the warning system can provide reliable alerts.
Avoid Common TPMS Tool Mistakes
Once the warning light stays off and the readings match a pressure gauge, avoid mistakes that can undo the repair. Don’t activate a sensor without confirming its identification, frequency, and vehicle application.
Selecting the wrong model can create inaccurate readings or prevent communication with the control module. Before testing, inspect the valve stem, battery status, and sensor housing for damage.
Keep the tool’s software updated, since outdated coverage may produce incorrect procedures or missing vehicle data. Follow the tool’s prompts instead of skipping steps, especially during Sensor calibration.
Hold the device close to the tire and maintain a stable connection while it reads or programs the sensor. Don’t rely on a single result; compare displayed pressure with a trusted gauge and scan every wheel.
If the tool supports Data encryption, use it when transferring or storing diagnostic information. Finally, save the relearn result, clear codes only after correcting faults, and perform a final road test to confirm success.
Frequently Asked Questions
How Often Should TPMS Sensors Be Replaced?
You should replace TPMS sensors when their batteries fail, typically every five to ten years, depending on driving conditions, sensor quality, and battery lifespan. Don’t replace them on a fixed schedule if they still work reliably.
Have a technician test each sensor during tire service, watch for warning lights, and replace damaged units immediately. After installation, complete sensor calibration so your vehicle accurately monitors tire pressure and recognizes the new sensors properly.
Can I Drive Safely With a TPMS Warning Light Illuminated?
You can drive briefly with a TPMS warning light illuminated, but check your tire pressure as soon as possible. A steady warning light often indicates low pressure, while a flashing light may signal a sensor or system problem.
Inspect each tire for damage, inflate them to the manufacturer’s recommended pressure, and avoid high speeds or long trips until you verify the issue. If the light remains, have a professional diagnose it promptly.
Are Aftermarket TPMS Sensors Compatible With Every Vehicle?
No, aftermarket TPMS sensors aren’t compatible with every vehicle. You’ll need sensors designed for your specific make, model, year, and frequency. Confirm fitment before buying, then complete sensor calibration with a compatible scan tool or vehicle relearn procedure.
Some programmable sensors require cloning your original identification numbers. Check the battery lifespan, warranty, and valve-stem design, too. Using incompatible sensors can trigger warning lights, inaccurate readings, or communication failures while driving.
How Much Does TPMS Sensor Replacement Typically Cost?
You’ll typically pay $50–$150 per TPMS sensor replacement, including parts and labor. Costs vary by vehicle, sensor type, shop rates, and whether you replace one sensor or several.
You may also pay an additional $20–$50 for sensor calibration, programming, or relearning. Ask for an itemized estimate before approving service.
Proper calibration helps maintain tire pressure accuracy, prevent warning-light issues, and ensure your vehicle’s monitoring system reports readings correctly after installation and wheel service.
Can Cold Weather Affect TPMS Readings?
Yes, cold weather can affect your TPMS readings. As temperatures drop, tire pressure usually decreases about one PSI for every 10-degree Fahrenheit reduction.
Your vehicle’s system may trigger a warning even when your tires have no leaks. Check tire pressure with a reliable gauge when the tires are cold, then inflate them to the manufacturer’s recommended level.
Don’t rely on the warning light alone. Inspect for damage or slow leaks regularly.
Conclusion
A TPMS tool turns a warning light into a clear roadmap. You identify your vehicle, connect the tool, wake each sensor, and read its pressure, temperature, ID, and battery status.
If needed, you program a replacement before completing the relearn. Finally, verify every reading and confirm the warning light disappears.
Follow each step carefully, and you’ll keep small mistakes from snowballing into bigger problems. A reliable TPMS tool helps your tires speak clearly and keeps your journey rolling smoothly.