How Does a Car Code Reader Work Step by Step
Seeing a warning light on your dashboard can be stressful, especially when you’re unsure what it means or how serious the problem might be. You’re not alone—many drivers struggle to diagnose car issues without paying for an immediate mechanic visit.
Learning how a car code reader works can help you identify potential problems and choose the right tool for your vehicle.
To use a car code reader, locate the trapezoidal OBD-II port beneath the dashboard and plug in the scanner. Turn the ignition to ON without starting the engine, then select “read” or “scan.”
The device retrieves stored, pending, or permanent diagnostic trouble codes, along with freeze-frame information and sometimes live sensor data.
Check each code’s meaning and severity, repair the problem, then clear the codes and test-drive the vehicle.
The steps below explain what to do next.
Key Takeaways
- Locate the vehicle’s OBD-II port beneath the dashboard, inspect it for debris or bent pins, and ensure the battery and accessories are ready.
- Plug the code reader into the port, turn the ignition to ON without starting the engine, and power on the device.
- Select “Read Codes” to retrieve stored, pending, and permanent diagnostic trouble codes, including descriptions, freeze-frame data, and live sensor readings.
- Interpret each code using the vehicle’s service information, considering symptoms and related codes before replacing any parts.
- After repairs, clear the codes, test-drive the vehicle, and confirm warning lights remain off without recurring faults.
What Can a Car Code Reader Tell You?
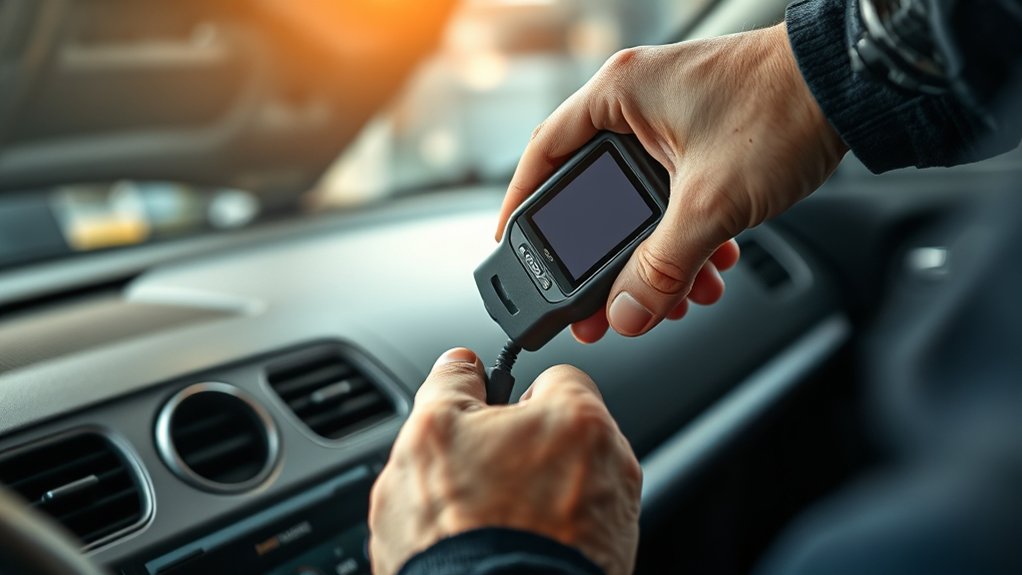
A car code reader can tell you which diagnostic trouble codes are stored in your vehicle’s computer when a warning light appears. These codes point to systems or components that may need attention, such as the engine, transmission, emissions equipment, or oxygen sensors.
A car code reader identifies stored trouble codes, helping pinpoint vehicle systems that may require further inspection.
You can use the reader to view active, pending, and permanent codes. Active codes relate to current faults, while pending codes indicate issues the computer has detected but hasn’t confirmed.
Permanent codes remain until the vehicle completes the required checks and verifies that the problem no longer exists.
Some readers display a brief description, freeze-frame data, and live sensor readings. This information helps you understand what happened when the fault occurred, but it doesn’t identify the exact failed part.
You’ll still need inspection and testing to confirm the cause.
Find Your Car’s OBD-II Port
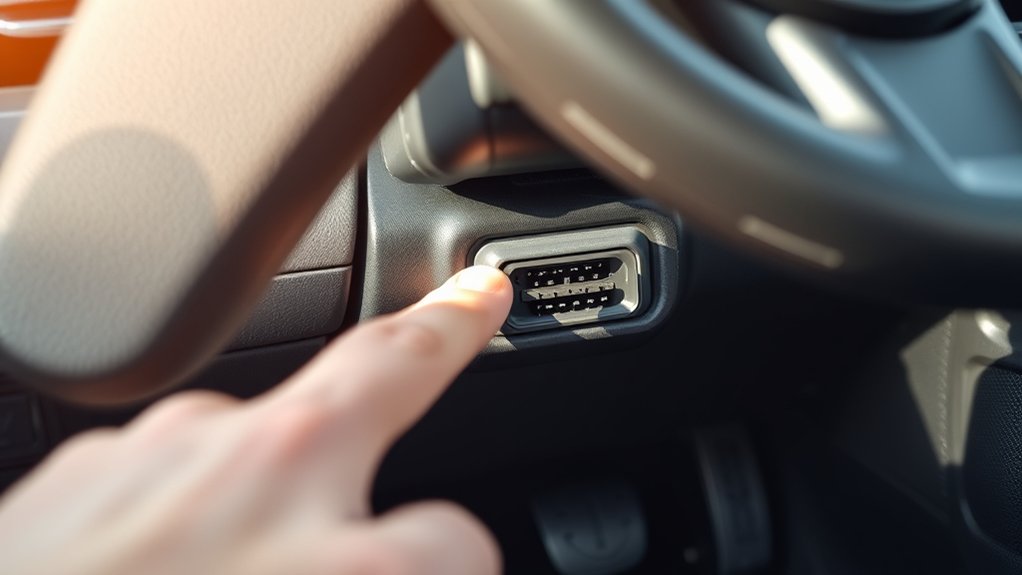
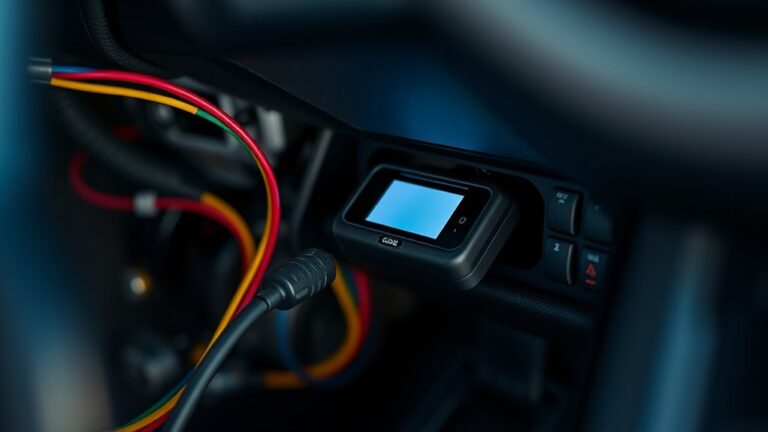
Before plugging in a car code reader, find your vehicle’s OBD-II port—the standardized connector that links the reader to the onboard computer. You’ll usually find it beneath the dashboard, near the steering column, but its exact position varies by model.
Check these common locations:
- Under the driver’s side dashboard
- Beside or below the steering wheel
- Near the center console
- Behind a small removable panel
Use your owner’s manual if you don’t spot the port immediately. The connector has a distinctive trapezoidal shape and typically remains accessible without tools.
Don’t confuse it with a fuse panel, accessory socket, or other electrical connection. Keep the area clear of dirt and loose objects so you can identify the port accurately.
Locating it first makes future diagnostics quicker and supports safer Car maintenance. If you’re working in low light, use a flashlight and avoid forcing nearby covers.
Taking care around exposed wiring also protects Vehicle safety while you inspect the dashboard area.
Connect the Car Code Reader
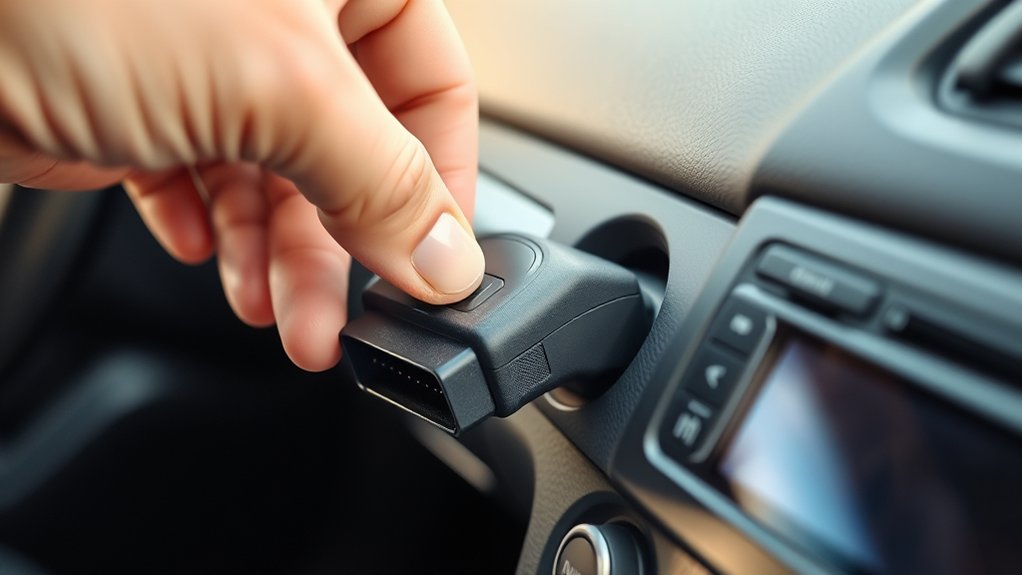
Once you’ve located the OBD-II port, plug the car code reader’s connector into it firmly, matching the trapezoidal shape without forcing it. Keep the reader steady, and check that the plug sits fully inside the socket.
A secure connection helps the tool communicate accurately with your vehicle’s onboard computer.
| Check | What you should see | Why it matters |
|---|---|---|
| Connector shape | Trapezoidal plug aligns | Prevents damage |
| Fit | Plug stays seated | Maintains communication |
| Cable | Hangs without strain | Protects the port |
Don’t pull the cable or twist the connector while attaching it.
If it won’t fit, remove it, inspect the port for debris or bent pins, and try again gently.
The reader can retrieve information about systems such as Battery maintenance alerts and Tire pressure monitoring, depending on your vehicle and tool.
Once connected, leave the reader in place. You’ll address vehicle controls in the next step.
Never force a mismatched connector or use an adapter unless your reader’s instructions specifically recommend it.
Turn On the Ignition
Watch for these basic signs:
Look for illuminated dashboard lights and powered accessories while keeping the engine off.
- The instrument panel lights up.
- The radio or accessories receive power.
- Warning symbols appear temporarily.
- The engine remains completely silent.
Keep the key or button in the ON setting so the code reader can communicate with the vehicle’s onboard computer.
Don’t crank the engine, because starting it can change operating conditions and create unnecessary distractions.
If nothing lights up, check that you’ve selected the correct ignition position.
A weak vehicle battery, damaged ignition switch, or loose connection may prevent the electronics from powering on.
Once the vehicle has stable electrical power, you’re ready for the next step.
Start the Diagnostic Scan
Connect the code reader to your vehicle’s OBD-II port. Once it’s connected, use the reader’s controls to start the scan. The device will check your vehicle’s systems for any stored trouble codes.
Connect the Code Reader
After locating the vehicle’s OBD-II port, plug the code reader into it securely, then switch on the ignition without starting the engine. Your reader should power up through the port; if it doesn’t, check the connection and vehicle power.
Before continuing, confirm that the display or indicator lights work. A secure connection prevents interruptions and helps protect the port during testing. You can use these steps:
- Match the plug’s shape with the port.
- Push the connector in firmly, without forcing it.
- Keep the cable clear of pedals and moving parts.
- Select the vehicle profile if your reader requests it.
These diagnostic tools support efficient Vehicle maintenance by linking directly with the car’s onboard computer. Keep the ignition on and the reader connected.
Don’t start the engine or choose any scan function yet. You’ll begin that process next.
Begin the Vehicle Scan
Once the reader is powered on, select Scan, Read Codes, or a similar option to begin the diagnostic scan. Your tool communicates with the vehicle’s onboard computer and checks stored, pending, and permanent trouble codes.
Follow the screen prompts, choosing your vehicle’s make, model, engine, or system when requested. Keep the ignition on, but don’t start the engine unless the reader specifically instructs you to do so.
Avoid unplugging the device while it gathers information, and wait for the scan to finish. The process may take a few seconds or several minutes, depending on the vehicle and reader.
Keep in mind that the scan might not cover maintenance items such as Battery maintenance or Tire pressure. Those systems may require separate menus, sensors, or specialized diagnostic equipment for accurate results.
Fix Connection and Scan Errors
When a car code reader won’t connect or complete a scan, check the basics before assuming the tool is faulty. Turn the ignition off, reseat the connector, and confirm the plug fits firmly in the vehicle’s OBD-II port.
Remove dirt or bent pins carefully, but don’t force the adapter.
- Check the reader’s battery, cable, and display for damage.
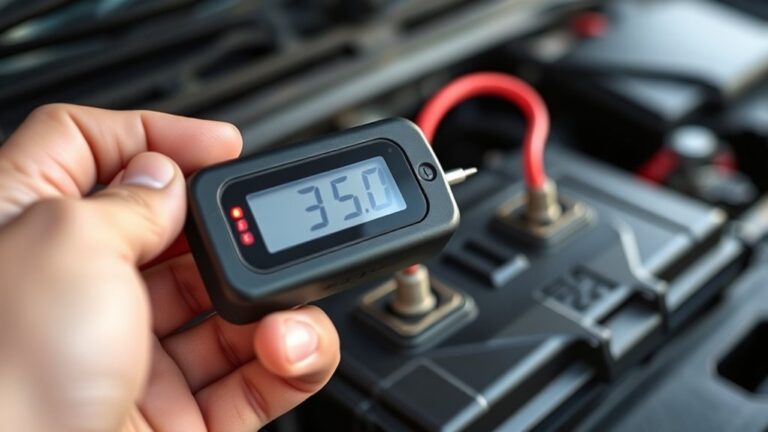
- Keep the vehicle battery sufficiently charged during scanning.
- Switch off accessories that could cause voltage drops.
- Verify the reader supports your vehicle’s model and year.
If the device loses communication, turn the ignition off, wait briefly, and restart the connection. Try another compatible reader or test the tool on a different vehicle to isolate the problem.
A weak vehicle battery can interrupt communication, so battery maintenance matters. Also, don’t confuse unrelated alerts, such as Tire pressure warnings, with a failed code-reader connection.
If errors continue, inspect the port’s fuse and consult the vehicle manual before seeking professional help.
Read the Diagnostic Trouble Codes
Connect the code reader to your car’s OBD-II port, then turn on the ignition. Use the reader’s menu to access the stored codes and review each one it displays. Finally, interpret the codes using your vehicle’s manual or a trusted repair database.
Connect the Code Reader
Before you plug in the code reader, turn off the ignition and locate the vehicle’s OBD-II port, usually beneath the dashboard near the steering column. This connection lets your diagnostic tools communicate with the car’s computer during routine vehicle maintenance.
- Align the reader’s connector with the port.
- Push it in firmly until it fits securely.
- Turn the ignition key to the “On” position, without starting the engine.
- Wait for the reader’s screen or indicator light to activate.
Check the connection if the device stays blank. Make sure the plug sits fully in the port, then try switching the ignition off and on again.
Some readers require a power button. Press it only after establishing the connection. Keep the vehicle stationary while the reader powers up.
You’ll be ready for the next step once the device recognizes the vehicle’s system.
Access Stored Codes
| Display item | What you’ll see | What to do |
|---|---|---|
| Stored codes | Confirmed faults | Write them down |
| Pending codes | Possible faults | Save for reference |
Your reader may also show freeze-frame data, such as engine speed or coolant temperature, captured when the code appeared.
Don’t clear anything yet. Preserving this information helps with later diagnosis.
Interpret Trouble Codes
Start by matching each diagnostic trouble code (DTC) with the reader’s description or a trusted service reference. Don’t treat the code as a final diagnosis; it identifies a system or condition that needs testing.
Review freeze-frame data, including engine speed, temperature, load, and vehicle speed, to understand when the fault occurred. Then consider related codes together because one failed component can trigger several warnings.
- Check whether the code is current, pending, or permanent.
- Compare live sensor readings with normal specifications.
- Consider wiring, connectors, fuses, and grounds before replacing parts.
- Use Sensor calibration information when a reading appears inaccurate.
Good Data interpretation helps you separate symptoms from causes. Clear the code only after repairs, then drive through the required monitor cycle.
Rescan the vehicle to confirm the fault stays gone and readiness monitors complete.
Check the Code’s Meaning and Severity
Once the code reader displays a diagnostic trouble code (DTC), look up its exact meaning in the vehicle’s service manual or a reliable automotive database. Don’t rely on a generic definition alone, because the same code can indicate different causes across makes, models, and engine configurations.
Confirm that the code applies to your vehicle’s year, powertrain, and emissions system.
During code interpretation, read the listed symptoms, possible causes, and diagnostic conditions. A DTC usually identifies a system or circuit, not a failed part.
Use that information to guide further testing rather than replacing components immediately.
Next, perform a severity assessment. A flashing check-engine light, overheating warning, oil-pressure warning, severe misfire, loss of power, or unusual smoke requires immediate attention.
Stop driving when continued operation could damage the engine or create a safety hazard.
A steady light with normal vehicle behavior may allow cautious travel to a repair facility, but schedule diagnosis promptly. Record the code and related symptoms for accurate troubleshooting.
Clear Codes After Making Repairs
After you’ve completed the repairs, use the code reader’s erase or clear function to remove the stored DTC. Follow the scanner’s prompts, then switch the ignition off and on when requested.
Clearing the code resets the warning light, but it doesn’t prove the problem is fixed. You’ll need to confirm the vehicle operates normally and that the code stays away.
Clearing the code turns off the warning light, but confirming normal operation and preventing its return proves the repair worked.
- Start the engine and check whether the warning light remains off.
- Take a short drive under varied conditions, following safe driving practices.
- Watch for unusual sounds, odors, hesitation, or changes in performance.
- Scan again afterward to verify no related codes returned.
Some monitors may show “not ready” immediately after clearing codes because the vehicle needs drive cycles to complete its self-checks. Check your owner’s manual for the required conditions.
Keep records of the repair and scan results for future reference. Regular battery maintenance helps prevent low-voltage codes, while checking tire pressure supports accurate sensor readings and helps you distinguish genuine faults from maintenance-related alerts.
Decide When to Call a Mechanic
If a severe warning light comes on, don’t keep driving without getting professional advice. Call a mechanic if your code reader displays complex diagnostic codes you’re not sure how to interpret safely. Acting quickly can help prevent further damage and costly repairs.
Severe Warning Lights
Severe warning lights mean you should stop treating a code reader as a diagnostic shortcut and decide whether the vehicle is safe to drive. Pull over promptly when a red oil-pressure, brake, temperature, or charging light appears. Continuing could damage the engine or put you at risk.
- Shut off the engine if you smell burning, see smoke, or hear knocking.
- Don’t drive with a flashing check-engine light; arrange towing instead.
- Check fluid levels only after the vehicle cools and you’re safely parked.
- Call a mechanic when the light remains on, returns quickly, or the car handles poorly.
A reader can support engine troubleshooting, while battery diagnostics may explain a charging warning, but neither replaces professional inspection.
Record the warning light, driving conditions, and recent repairs. Share that information with the mechanic to speed up safe, accurate service.
Complex Diagnostic Codes
Complex diagnostic codes often point to interacting systems, intermittent faults, or manufacturer-specific problems that a basic code reader can’t fully explain. If your scanner displays several related codes, don’t replace parts randomly.
Record every code, freeze-frame detail, and symptom, then check whether the codes appeared together. You may need Advanced sensor analysis to compare live voltage, temperature, pressure, or airflow readings while the engine runs.
Emission system diagnostics can also require smoke testing, fuel-trim interpretation, or specialized equipment.
Call a mechanic when codes return after clearing, the vehicle enters limp mode, performance drops sharply, or you lack the tools to test circuits safely.
A professional can access manufacturer-specific data, trace wiring faults, and confirm the root cause before repairs become expensive. Always follow the service manual’s testing sequence.
Frequently Asked Questions
Can Car Code Readers Diagnose Problems With Electric Vehicles?
Yes, car code readers can diagnose some electric vehicle problems, but their capabilities vary. Compatible scanners can identify faults in the motor, charging system, onboard electronics, and battery management system.
However, basic readers may not access manufacturer-specific data or high-voltage components. You’ll need an EV-capable scanner, proper training, and safety equipment.
Never probe high-voltage circuits yourself. Consult a qualified technician for complex faults.
How Much Does a Reliable Car Code Reader Typically Cost?
You generally pay $50–$150 for a reliable basic car code reader, while advanced bidirectional models cost $200–$600 or more. You get what you pay for: diagnostic accuracy, vehicle coverage, live data, and software updates typically improve as prices rise.
For a cost comparison, budget models suit occasional checks, whereas professional tools justify their expense for frequent repairs. Before buying, confirm compatibility, update fees, warranty length, and support for your vehicle’s systems.
Are Wireless Bluetooth Car Code Readers Safe to Use?
Yes, wireless Bluetooth car code readers are generally safe to use when you choose a reputable brand and follow instructions. Check wireless security features, update the reader’s firmware, and avoid unknown smartphone apps.
Confirm Bluetooth compatibility with your phone and vehicle before connecting. Don’t leave the adapter plugged in indefinitely, since some models can drain your battery or expose your car’s diagnostic network.
Disconnect it after each use and protect your phone with a strong password.
Can Using a Code Reader Void My Vehicle’s Warranty?
No, using a code reader generally won’t void your vehicle’s warranty. You can safely retrieve diagnostic trouble codes, provided you don’t modify software, erase evidence, or damage the diagnostic port.
Warranty implications usually depend on whether your actions caused the failure. For better diagnostic accuracy, record codes before clearing them and follow your manufacturer’s instructions.
If a dealer denies coverage, request written justification and consult your warranty documents or consumer protection agency.
How Often Should I Use a Car Code Reader for Maintenance?
You should use a car code reader whenever your dashboard shows a warning light, after noticeable performance changes, and before or after major maintenance. For routine care, follow your vehicle’s maintenance schedule rather than scanning unnecessarily.
A practical diagnostic frequency is every few months or before long trips, especially for older vehicles. Scan promptly if the check-engine light appears, but don’t clear codes without identifying and addressing the underlying problem first.
Conclusion
Using a car code reader is a simple, smart step toward solving vehicle problems. You’ll find the OBD-II port, connect the reader, switch on the ignition, and scan for diagnostic trouble codes.
Then, check each code’s meaning, severity, and recommended repairs before clearing it. Still, don’t guess at serious issues. If warning lights return or repairs seem risky, call a qualified mechanic.
With careful code checking, understanding how a car code reader works step by step can help you drive with greater confidence and control.