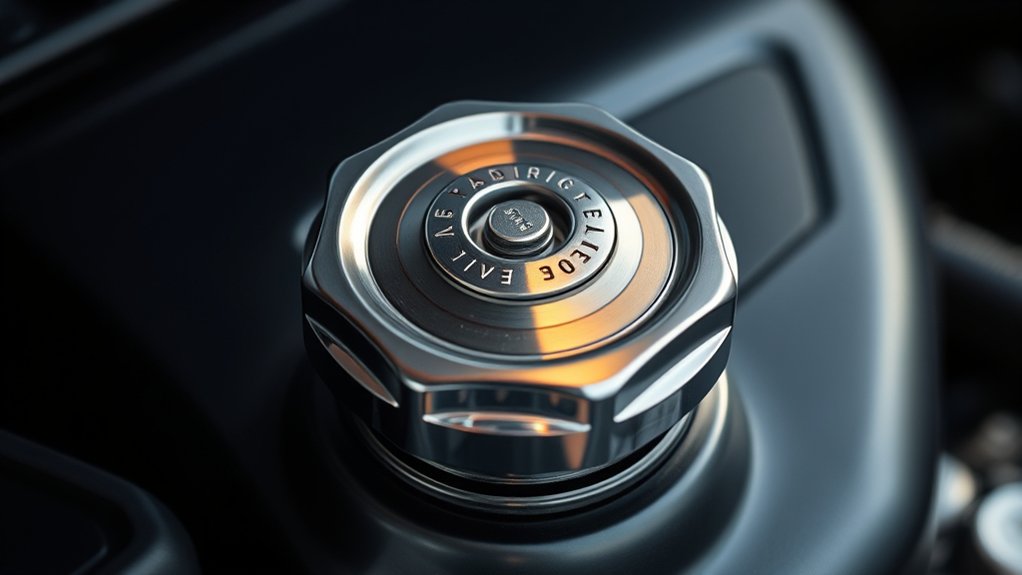
How Does a Radiator Cap Work?
Choosing the right radiator cap can be frustrating, especially when overheating, coolant leaks, or weak cabin heat keep returning. You’re not alone—many vehicle owners struggle to know which cap fits their cooling system and works reliably.
A radiator cap seals your cooling system and maintains the specified pressure with a spring-loaded valve. As coolant heats and expands, the cap raises its boiling point and redirects excess fluid into the overflow tank.
When the engine cools, a vacuum valve draws coolant back into the radiator, keeping it full and stable. A damaged cap can cause leaks, overheating, or poor cabin heat.
Below, you’ll discover how to choose, test, and replace the right radiator cap for your vehicle.
Key Takeaways
- A radiator cap seals the cooling system and maintains pressure, raising coolant’s boiling point to help prevent overheating.
- Its spring-loaded pressure valve releases excess coolant into the overflow reservoir when system pressure exceeds the cap’s rating.
- As the engine cools, a vacuum valve allows coolant to flow back from the reservoir into the radiator.
- The cap helps maintain proper coolant levels and prevents air or vapor pockets from disrupting circulation.
- Inspect or pressure-test the cap for leaks, damaged seals, or incorrect pressure, and replace it when defective.
What Does a Radiator Cap Do?
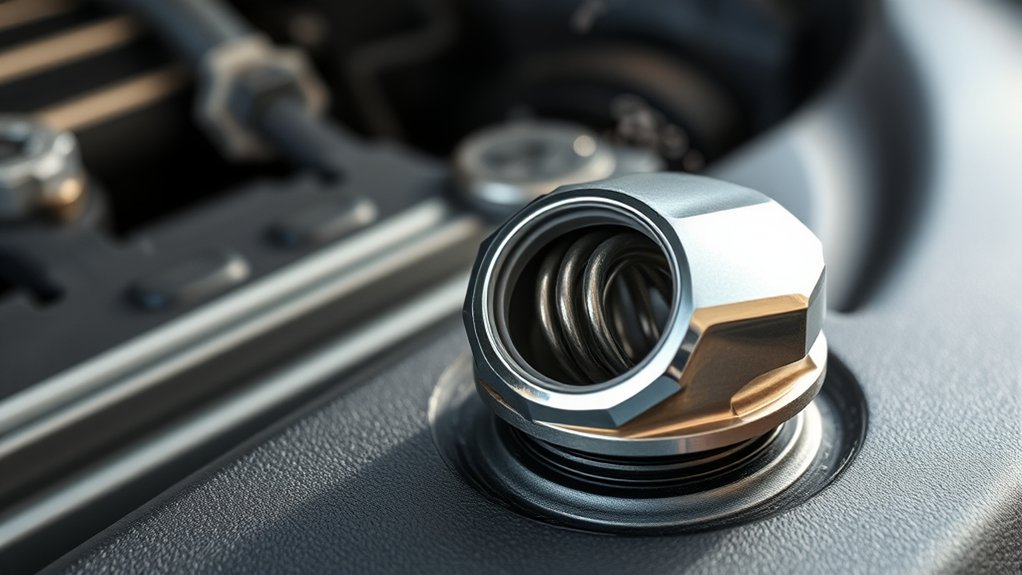
A radiator cap seals the cooling system and regulates its pressure, allowing the coolant to reach a higher temperature before boiling. It also keeps coolant inside the radiator while your engine operates, then helps return coolant from the expansion tank as the engine cools.
This function supports steady coolant circulation and helps maintain the proper fluid level.
You’ll find the cap on the radiator filler neck or a connected coolant reservoir, depending on your vehicle’s design. Its rubber seal must sit securely against the opening to prevent a coolant leak.
A damaged, loose, or incorrect cap can let coolant escape, introduce air, and contribute to overheating.
Inspect the cap for cracks, hardened rubber, corrosion, or visible residue during routine maintenance. Never remove it while the engine is hot; pressurized coolant can cause severe burns.
If you notice leaks, repeated coolant loss, or seal damage, arrange a cap replacement with the correct pressure rating for your vehicle.
How Does a Radiator Cap Control Pressure?
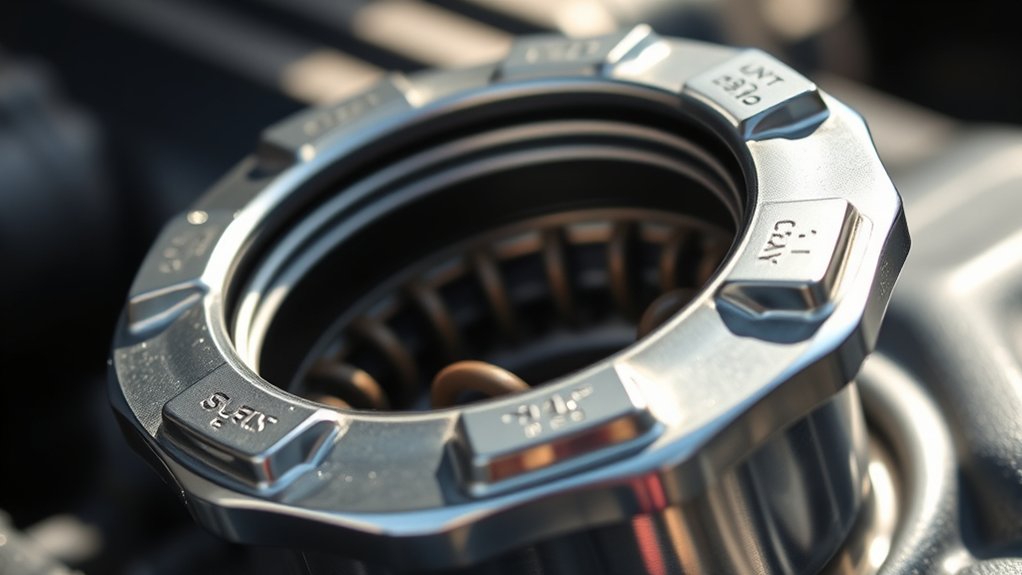
As coolant heats up and expands, the radiator cap’s spring-loaded valve maintains pressure by sealing the system until pressure reaches its specified rating. This controlled pressure raises the coolant’s boiling point and helps prevent vapor pockets, so your engine can transfer heat efficiently.
The cap’s calibrated spring determines the pressure limit. You’ll find that rating printed on the cap or listed in your vehicle’s service information.
When pressure exceeds that limit, the valve lifts and directs excess coolant through the overflow tube into the reservoir. As the system cools, reduced pressure allows the cap’s vacuum valve to open, drawing coolant back into the radiator instead of pulling in air.
This two-way control protects hoses, seals, and gaskets from excessive stress.
Your vehicle’s coolant formulation and radiator materials affect compatibility and service life. Use the specified cap rating and coolant, because an incorrect combination can cause leaks, corrosion, or poor pressure control.
What Happens as Coolant Heats Up?
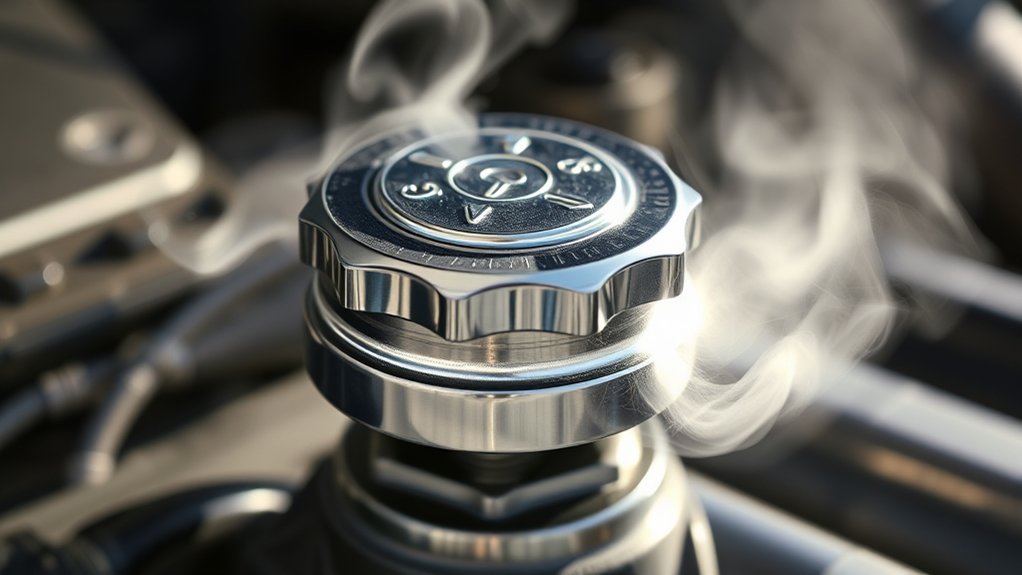
Once the radiator cap seals the system, rising coolant temperature makes the fluid expand and increases pressure inside the radiator. As your engine warms, the coolant absorbs heat from the cylinder head, block, and combustion areas.
As coolant warms, it expands within the sealed radiator, increasing pressure while absorbing heat from the engine.
Its temperature climbs until it reaches the thermostat’s operating range, allowing circulation through the radiator. Inside the radiator, thin tubes and fins transfer heat to passing air, lowering the coolant temperature before it returns to the engine.
The cap maintains the pressure needed to raise the coolant’s boiling point. That extra margin helps prevent vapor pockets, which can interrupt circulation and reduce cooling performance.
If your engine runs hotter than designed, the coolant expands more rapidly, and pressure rises faster. A sound cap, correct coolant mixture, and unobstructed airflow help preserve radiator efficiency.
You’ll notice problems when the gauge climbs, the engine overheats, or coolant begins boiling. These signs point to excessive heat, restricted flow, or inadequate heat transfer.
How Does Coolant Reach the Overflow Tank?
As the coolant heats up, it expands and increases pressure inside the radiator. Once that pressure exceeds the radiator cap’s limit, the cap opens a passage and sends the extra coolant through a hose into the overflow tank.
When the engine cools down, the coolant contracts. This creates space in the radiator, allowing the coolant to flow back from the overflow tank.
Pressure Release Path
When coolant heats up and expands, rising pressure lifts the radiator cap’s spring-loaded valve, opening a controlled passage to the overflow tank. You can think of this route as a one-way pressure release path.
The valve allows excess coolant to leave the radiator through the small neck beneath the cap. From there, coolant travels through the attached hose into the overflow tank, preventing pressure from building beyond the cap’s rated limit.
This coolant flow supports pressure regulation without letting air enter the system. The cap’s seal keeps the passage closed during normal operation, while the spring controls when it opens.
As pressure falls, the spring returns the valve to its seat, stopping the outward flow. A separate vacuum valve can later draw coolant back through the same hose when needed.
Coolant Expansion Process
Coolant expands as the engine warms, increasing pressure inside the sealed cooling system. As pressure rises beyond the radiator cap’s rated limit, the spring-loaded valve lifts from its seat.
This opening creates a controlled path through the cap’s outlet tube, pushing excess coolant toward the overflow tank. You’ll see the tank’s level rise as the expanding fluid enters it, while trapped air and vapor remain managed by the system’s design.
The radiator material, cap seal, and hose connections must withstand heat and pressure to prevent leaks. When you shut off the engine, coolant cools and contracts, lowering pressure inside the radiator.
The cap then allows coolant to flow back from the overflow tank through the vacuum valve. This cycle keeps your cooling system filled and ready for the next warm-up.
What Does the Vacuum Valve Do?
The vacuum valve lets the cooling system draw coolant back from the overflow reservoir as the engine cools and pressure drops. This small, spring-loaded component opens when the radiator needs replacement coolant, helping keep air from entering the system.
> The vacuum valve draws coolant back into the radiator as pressure drops, preventing air pockets and maintaining a stable cooling system.
Its pressure regulation role supports a full, stable coolant path without requiring you to open the cap.
Picture what happens during a normal drive:
- Hot coolant expands and moves toward the reservoir.
- The engine shuts off, and the coolant begins cooling.
- Pressure inside the radiator falls.
- The vacuum valve lifts from its seat.
- Coolant flows back through the hose.
You’ll find this action especially useful after repeated heating and cooling cycles. By returning coolant automatically, the valve helps prevent low coolant levels in the radiator and reduces the chance of air pockets.
It also lets the overflow reservoir serve as a temporary holding area rather than a one-way container. If the valve sticks shut, the radiator may not recover coolant. If it leaks, air can enter instead.
Why Does Radiator Cap Pressure Matter?
Correct radiator cap pressure raises the coolant’s boiling point, helping the cooling system manage engine heat without forming steam or losing coolant. As pressure builds, the coolant stays liquid at higher temperatures, allowing it to absorb and transfer heat efficiently.
That extra margin helps protect your engine from overheating, warped components, and combustion-gas leaks caused by boiling.
If pressure falls below the specified level, coolant may boil sooner, escape through the overflow system, or create air pockets that reduce circulation. Excessive pressure creates different risks by straining hoses, seals, the radiator, and the water pump, potentially causing leaks or sudden failure.
Temperature, coolant viscosity, and expansion all affect how pressure changes during operation, so the cap must respond consistently. Durable radiator cap materials help the spring, seal, and valves withstand heat and repeated pressure cycles.
You’ll get stable cooling performance when the cap maintains the designed pressure throughout each drive and releases excess pressure safely.
How Do You Choose the Right Radiator Cap?
Choose a radiator cap by matching its pressure rating, size, seal design, and compatibility with your vehicle’s radiator and cooling system. Check your owner’s manual or compare the original cap’s markings before buying.
Match the radiator cap’s pressure rating, size, seal design, and vehicle compatibility before buying a replacement.
Never guess a higher pressure rating. It can strain hoses, seals, and the radiator.
Picture these selection details:
- A pressure number stamped clearly on the cap
- A neck diameter matching the radiator opening
- A spring pressing firmly against the filler neck
- A rubber gasket forming a smooth, complete seal
- A recovery valve aligned with the overflow reservoir
Consider your driving conditions, too. Towing, extreme heat, or frequent stop-and-go traffic may require the manufacturer’s specified heavy-duty option instead of an improvised upgrade.
Confirm the cap suits your coolant types and radiator material, since incompatible components can shorten service life. During radiator maintenance, clean the filler neck and inspect the reservoir connection before installation.
Buy from a reputable parts supplier, and keep the receipt so you can verify fitment or exchange an incorrect model.
What Are the Signs of a Bad Radiator Cap?
When a radiator cap starts failing, you may notice coolant leaks, an overheating engine, or a reservoir that fills and empties unusually. You might also see dried coolant residue around the cap, neck, or overflow hose.
A damaged seal can let pressure escape, causing coolant to boil sooner and produce steam or a sweet smell. If the valve sticks, the upper radiator hose may feel unusually firm after driving, or the hose may collapse as the engine cools.
Frequent coolant loss without an obvious leak can also point to a cap that doesn’t maintain pressure or allow proper return flow.
Don’t overlook poor cabin heat, temperature fluctuations, or repeated bubbling in the overflow reservoir. These symptoms can resemble other cooling-system problems, so inspect the cap for cracks, corrosion, hardened rubber, or a weak spring.
Good radiator cap maintenance includes replacing a worn cap promptly and checking coolant mixture levels, since improper antifreeze concentration can worsen overheating and damage. Replace the cap only when the engine is completely cold.
How Can You Test a Radiator Cap?
Start by inspecting the radiator cap for cracks, corrosion, or damaged seals. Next, use a pressure tester to see whether it holds the specified pressure. Finally, check that the pressure-release function opens at the correct rating.
Inspect Cap Condition
Inspect the radiator cap for cracks, warped metal, damaged seals, or corrosion before testing it. Work only on a completely cool engine, then remove the cap carefully.
Rinse away dirt so you can see its seating surfaces and moving parts clearly. The radiator cap materials and manufacturing process affect durability, but even a quality cap can deteriorate.
Look for these warning signs:
- A hardened, split, or flattened rubber gasket
- Rust flecks around the spring or valve
- A bent flange that won’t sit evenly
- White, crusty coolant residue
- A loose, sticky, or seized center valve
Compare the cap with your vehicle’s specified pressure rating and replacement design. Don’t force a questionable cap back onto the radiator.
Replace it if any component looks damaged, brittle, distorted, or excessively worn. A clean, intact cap gives you a reliable starting point for further evaluation.
Use a Pressure Tester
A radiator cap pressure tester shows whether the cap opens and holds pressure at its specified rating. Let the engine cool completely, then remove the cap carefully.
Attach the cap to the tester’s adapter, pump gradually, and watch the gauge. Compare the reading with the rating printed on the cap.
A sound cap should reach that pressure and remain steady briefly without visible leakage. Replace it if it fails to build or retain pressure.
This simple check supports radiator cap maintenance and cooling system safety.
| Test result | Recommended action |
|---|---|
| Reaches and holds rating | Reinstall the cap |
| Won’t reach rating | Replace the cap |
Wear gloves and eye protection, and use the correct adapter for your cap. Never test a hot system; trapped pressure and coolant can cause serious burns.
Clean spills promptly and keep bystanders away while you work.
Check Pressure Release
With the engine completely cool, check that the radiator cap releases pressure at its specified rating without sticking or opening too early. Attach a compatible pressure tester, then pump slowly while watching the gauge.
Compare the release point with the rating stamped on the cap. Stop testing if coolant leaks, the gauge behaves erratically, or the cap shows damage.
Look for these visual clues:
- The gauge needle climbs smoothly.
- The spring stays centered.
- The seal remains flexible and clean.
- Pressure releases near the rated value.
- The valve closes firmly afterward.
Your test results can vary with coolant composition, radiator materials, temperature, and cap design. Don’t force a cap beyond its rating, and never remove one from a hot engine.
Replace a cap that vents too soon, sticks, or can’t hold pressure steadily. Clean the filler neck before installing the replacement.
When Should You Replace the Radiator Cap?
Replace the radiator cap if it no longer holds the specified pressure, shows cracks or corrosion, has a damaged seal or spring, or allows coolant to leak. You should also replace it when the engine overheats repeatedly, the coolant level drops without a visible leak, or the cap fails a pressure test.
Always choose a replacement with the vehicle manufacturer’s correct pressure rating. An incorrect cap can damage your cooling system.
| Warning sign | Recommended action |
|---|---|
| Cracked seal | Replace the cap |
| Rust or corrosion | Replace the cap |
| Coolant residue | Inspect and replace |
| Failed pressure test | Replace immediately |
Inspect the cap during routine radiator maintenance, especially before long trips or after overheating. Let the engine cool completely before removing it because hot coolant can cause severe burns.
Never remove a pressurized cap. After installation, check for leaks and monitor the temperature gauge.
If problems continue, have a technician inspect the radiator, hoses, thermostat, and water pump. A new cap can’t fix deeper cooling-system failures.
Frequently Asked Questions
Can I Safely Open a Radiator Cap While the Engine Is Hot?
No, you shouldn’t open a radiator cap while the engine is hot. Coolant pressure can force scalding liquid and steam outward, causing severe burns.
Turn off the engine, keep your hands and face away, and let everything cool completely, preferably for several hours.
Follow proper safety procedures: use a thick cloth only after cooling, loosen the cap slowly, and stop if you hear hissing. Check the coolant level when cold.
How Much Does Replacing a Radiator Cap Typically Cost?
You’ll typically pay $10–$40 for the radiator cap itself, or about $50–$150 installed at a repair shop. In many cases, the part costs less than one hour of labor.
Your vehicle’s required coolant pressure rating can affect pricing, especially with specialty systems. Cap replacement usually takes only a few minutes, so you might save money by installing it yourself, but only when the engine is completely cold.
Check your owner’s manual first.
Are Radiator Caps Universal Across Different Vehicle Makes and Models?
No, radiator caps aren’t universal across different vehicle makes and models. You’ll need to match your replacement cap to your vehicle’s specified pressure rating, neck size, seal design, and cooling-system requirements.
Universal compatibility is limited, so don’t assume one cap fits every application. Vehicle-specific designs commonly vary by manufacturer and model year.
Check your owner’s manual or compare the original cap’s markings before purchasing. Consult a parts professional if you’re unsure.
Can a Faulty Radiator Cap Cause Engine Overheating?
Yes, a faulty radiator cap can cause engine overheating. If the cap can’t maintain the specified pressure, your cooling system may boil coolant prematurely, lose coolant, or develop air pockets.
A stuck pressure-release valve can also prevent excess pressure from escaping, damaging hoses or seals. You should inspect the cap for cracks, worn seals, or corrosion, then replace it with the correct-rated cap if necessary.
What Safety Precautions Should I Follow When Handling Radiator Coolant?
Treat hot coolant like a sleeping dragon: don’t disturb it. Let the engine cool completely before touching the radiator, cap, hoses, or reservoir. Wear gloves and safety glasses, and open the cap slowly with a thick cloth, turning it away from your face.
This pressure release prevents burns. Watch for coolant leakage, avoid skin contact, and never taste or inhale it. Keep coolant away from children and pets, and dispose of it properly.
Conclusion
A radiator cap may look simple, but it’s the cooling system’s pressure regulator and safety valve. By controlling pressure, directing expanding coolant, and preventing vacuum damage, it helps your engine stay at a safe temperature.
If you notice leaks, overheating, or a damaged seal, don’t ignore them—test or replace the cap promptly. Think of the radiator cap as your engine’s gatekeeper: a small part that protects the whole system from costly trouble and keeps every journey running smoothly.