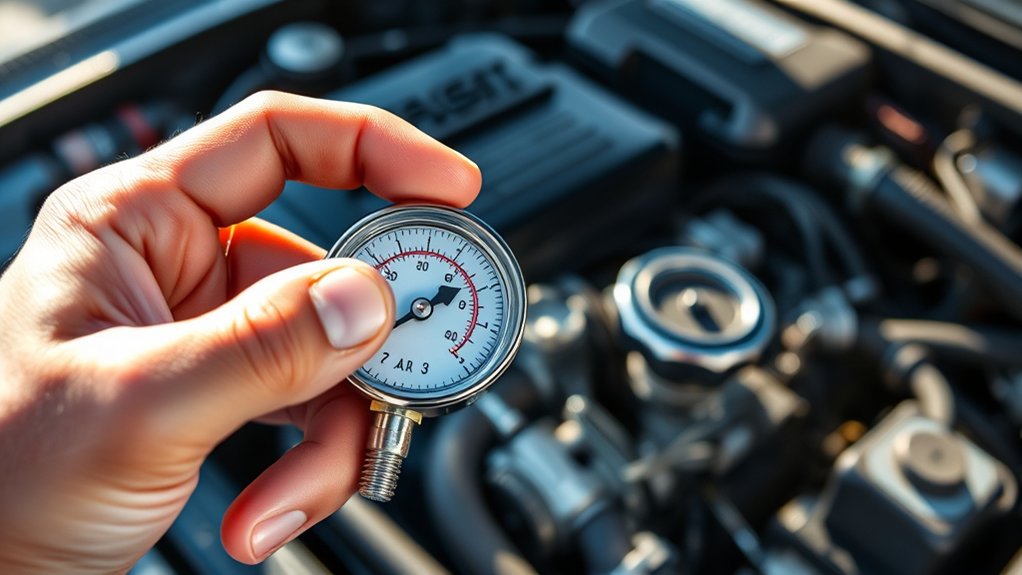
How Does a Radiator Pressure Tester Work?
Cooling-system leaks can be frustrating, especially when you notice low coolant, overheating, or unexplained puddles under your vehicle. You’re not alone—many drivers struggle to find small leaks before they become expensive repairs. A radiator pressure tester can make the process faster and easier.
A radiator pressure tester forces air into your vehicle’s cold, sealed cooling system through the radiator neck or expansion tank. You pump it to the pressure listed on the radiator cap, then watch the gauge for several minutes.
A steady reading suggests the system holds pressure, while a drop indicates a leak or poor connection. You can inspect hoses, clamps, seams, the water pump, and gaskets for coolant.
You’ll also learn how to test the cap and interpret results safely.
Key Takeaways
- A radiator pressure tester seals onto the radiator or expansion tank opening.
- Its hand pump introduces air, raising coolant-system pressure to the manufacturer’s specified level.
- The gauge monitors pressure stability; a steady reading suggests the system is sealed.
- A pressure drop indicates leaks in hoses, clamps, the radiator, water pump, thermostat housing, or head gasket.
- Technicians inspect for coolant or air escape, then release pressure slowly and retest after repairs.
What Does a Radiator Pressure Tester Do?
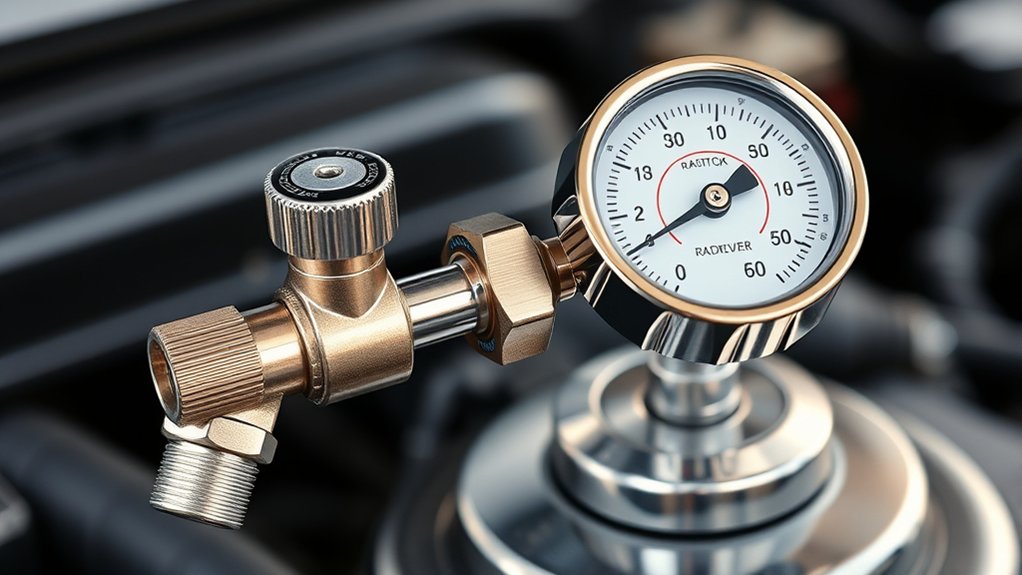
A radiator pressure tester checks whether your cooling system can hold the pressure it needs to operate properly. You use this tool to identify leaks that might otherwise remain hidden during normal driving.
It can help you find problems around the radiator, hoses, clamps, water pump, thermostat housing, and head gasket before they cause overheating or engine damage.
The tester also helps you evaluate how well your system maintains pressure after you shut the engine off. A pressure drop may point to escaping coolant, even when you don’t see a puddle.
You can use the results to guide repairs instead of replacing parts unnecessarily.
Your coolant mixture and radiator materials affect how the system performs, so inspect both when diagnosing trouble. The correct coolant mixture supports heat transfer and corrosion protection.
> Inspect coolant mixture and radiator materials to support efficient heat transfer, corrosion protection, and reliable cooling system performance.
Different radiator materials may respond differently to wear, contamination, or damage. Always follow your vehicle manufacturer’s pressure rating to avoid creating new problems.
How Does a Radiator Pressure Tester Work?
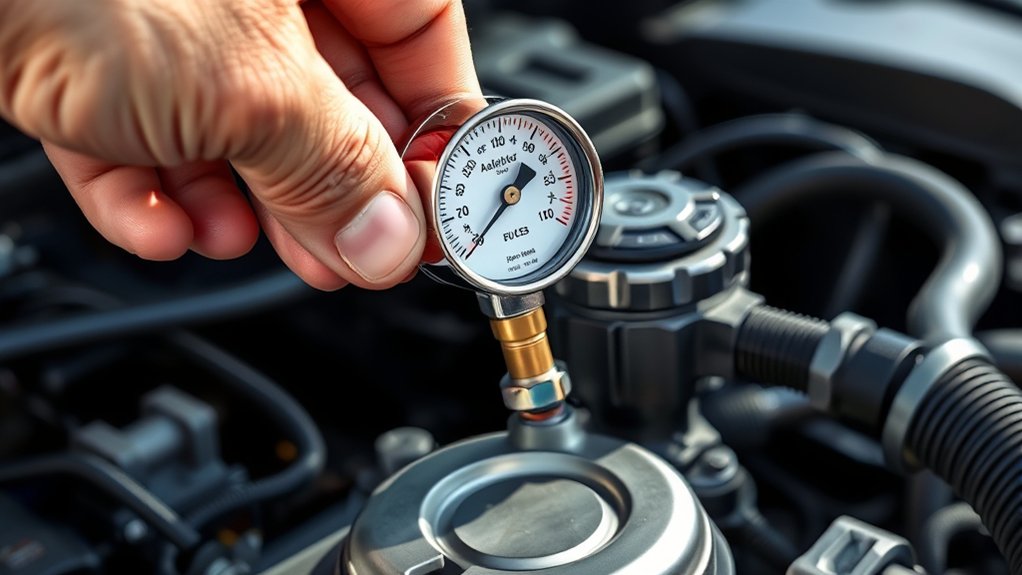
When you attach the tester to the radiator or expansion-tank opening, its hand pump forces air into the sealed cooling system. You watch the pressure gauge as the reading rises to the vehicle manufacturer’s specified level. After pumping, stop and monitor the gauge for several minutes. A stable reading suggests the system holds pressure, while a steady drop points to a leak.
You can inspect hoses, clamps, the radiator, water pump, heater core, and gasket areas for escaping coolant or air. Small leaks may produce dampness, deposits, or bubbles rather than an obvious stream.
Test only on a cool engine, because hot coolant and pressure can cause severe burns. The tester measures pressure; it doesn’t identify every fault automatically, so you must interpret the gauge and inspect carefully.
Consider coolant contamination, since oil or combustion gases can indicate internal damage. Also account for radiator material, as corrosion or damage can affect sealing and test results. Release pressure slowly before removing the tester to prevent spray.
What Comes With a Pressure Tester?
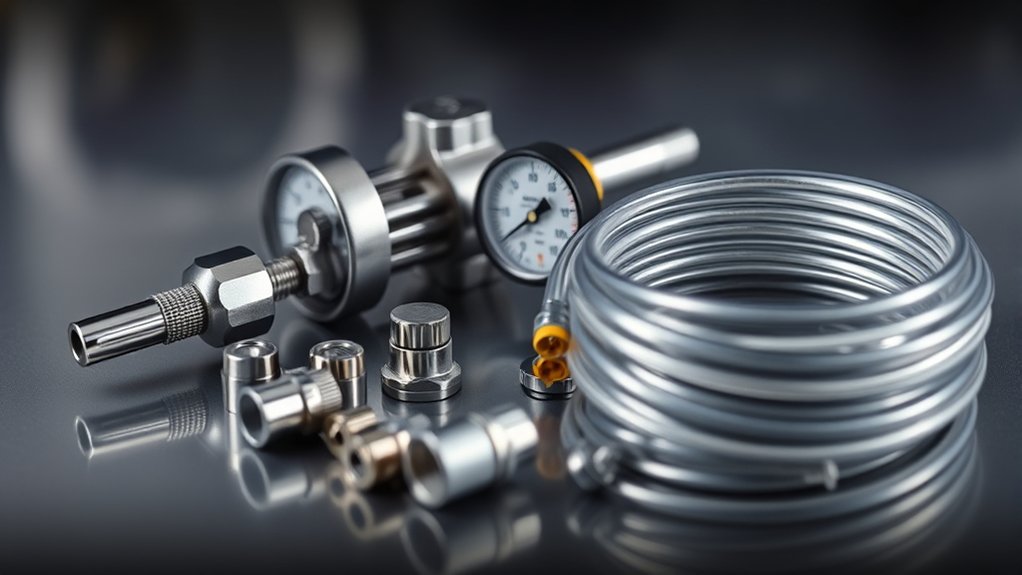
Your radiator pressure tester typically comes with a pressure pump, a set of adapters, and a pressure gauge. Use the pump to build pressure, then connect the appropriate adapter to the radiator or coolant reservoir.
The gauge lets you monitor the pressure and spot drops that may indicate a leak. Together, these components make it easier to diagnose cooling-system problems efficiently.
Pressure Pump
The pressure pump is the main tool in a radiator pressure tester kit. It pressurizes the cooling system so you can check whether it holds steady.
Squeeze the handle to build pressure gradually, then watch the attached gauge. A stable reading suggests the system is sealed, while a falling reading points to a leak.
A quality pump typically includes:
- A pressure gauge for accurate readings
- A relief valve for controlled pressure release
- A flexible hose for convenient handling
- A durable handle for repeated use
Use the tester only at the vehicle manufacturer’s specified pressure. Excess pressure can damage radiator materials, hoses, or seals.
Before testing, let the engine cool completely. Also consider how coolant chemistry affects rubber components and corrosion.
The pump helps you diagnose problems safely, but it won’t identify every leak’s exact location.
Adapter Set
Adapter Set
An adapter set lets you connect the pressure tester to different radiator necks, expansion tanks, and coolant reservoirs. You choose the cap-style fitting that matches your vehicle, then secure it firmly before testing.
Sets often include threaded, bayonet, and universal adapters, so you can service domestic and imported cooling systems. Check compatibility with the radiator material and filler-neck design.
A metal neck may require a different seal than a plastic tank. Also consider coolant composition, since some fluids can affect rubber seals over time.
| Adapter type | Typical fit | Visual cue |
|---|---|---|
| Bayonet | Standard radiator neck | Twist-lock tabs |
| Threaded | Expansion tank | Screw-on collar |
| Universal cone | Open reservoir | Tapered rubber |
Inspect each O-ring for cracks and clean the contact surface before use. Avoid forcing an adapter.
A correct fit prevents leaks and keeps your test setup secure.
Pressure Gauge
Once the adapter fits securely, the pressure gauge shows how much pressure builds inside the cooling system. You’ll pump the tester gradually, then watch the needle for a stable reading. Compare that pressure with your vehicle manufacturer’s specification; an unexplained drop often points to a leak.
The gauge helps you:
- Detect hose, radiator, or gasket leaks
- Confirm the radiator cap’s rated pressure
- Monitor pressure without opening a hot system
- Support safer, more accurate radiator maintenance
A clear, responsive dial makes testing easier, while color markings help you recognize normal and dangerous ranges. Don’t exceed the specified limit, because excessive pressure can damage seals or components.
After testing, release pressure slowly through the tester’s valve before removing the adapter. By identifying problems early, you can restore coolant efficiency, prevent overheating, and avoid costly repairs.
Store the gauge clean and protected so it remains accurate for future checks.
How Do You Prepare the Cooling System?
Before connecting the radiator pressure tester, let the engine cool completely and park the vehicle on a level surface. Engage the parking brake, switch off the ignition, and allow hot components to become safe to touch.
Open the hood and locate the radiator cap or pressurized expansion-tank cap. Clean dirt from around the cap so debris won’t enter the cooling system.
Locate the radiator or expansion-tank cap, then clean the surrounding area to prevent debris from entering the cooling system.
Remove the cap slowly, using a cloth and turning it only after confirming the system feels cool and has no pressure. Check the coolant level and inspect the cap, filler neck, hoses, radiator, and visible connections for cracks, leaks, or damage.
If the coolant level is low, note it and identify possible leaks before continuing. Choose the tester’s adapter that matches your filler neck, then inspect its seal for wear.
Wipe the adapter and opening clean, and keep replacement coolant, gloves, and eye protection nearby. Don’t add coolant or start pressure testing until preparation is complete.
How Do You Pressure-Test the System Safely?
With the engine cool and the correct adapter selected, secure the radiator pressure tester to the filler neck or expansion tank. Ensure the seal sits evenly, then pump slowly while watching for leaks around the connection. Don’t exceed the vehicle manufacturer’s specified test limit, and stop immediately if the adapter slips or a hose bulges.
- Wear gloves and eye protection throughout the test.
- Keep your hands away from belts, fans, and hot surfaces.
- Confirm the Coolant mixture won’t contact your skin if a leak appears.
- Check pressure stability without disturbing the tester or connections.
Once pressurized, inspect the radiator, hoses, water pump area, thermostat housing, heater lines, and expansion tank for dampness or escaping coolant. Use a flashlight to spot small leaks, but never open the system while it’s hot or pressurized.
If you find a problem, release pressure gradually through the tester’s valve, repair the cause, and repeat the inspection. Clean spilled coolant promptly because pets may find it attractive and poisonous.
What Should the Pressure Gauge Read?
Your radiator pressure gauge should typically stay within the manufacturer’s specified range, often around 13–16 psi for many vehicles.
Watch the gauge as you pump, hold the pressure, and check for leaks. If the reading remains steady, the system is likely sealed. If it drops, there may be a leak or a faulty component.
Normal Pressure Range
What should the pressure gauge read? For most cars, you’ll find the radiator cap’s rated pressure printed on the cap, usually between 13 and 18 psi. Your tester should hold near that specification when you pressurize a cold Cooling system.
Always check your owner’s manual because some vehicles use different ratings.
Use these guidelines:
- Match the tester’s target to the cap rating.
- Test only when the engine is completely cool.
- Stop below the system’s maximum rated pressure.
- Confirm Pressure stability before removing the tester.
A gauge reading within the cap’s specified range generally indicates appropriate pressure for the test.
Don’t assume one universal number applies to every vehicle; trucks, hybrids, and specialized cooling systems may require distinct values.
If you don’t know the rating, identify it before pumping, rather than guessing and risking component damage.
Reading Gauge Changes
As you pump, watch how the needle responds rather than focusing only on the final reading. It should rise smoothly and hold near your vehicle manufacturer’s specified pressure. Check the owner’s manual or radiator cap for that target; don’t rely on a universal number.
Once you stop pumping, a steady needle usually indicates a sealed cooling system. If pressure drops slowly, inspect hoses, clamps, the radiator, water pump area, and heater core for leaks.
A rapid fall points to a significant leak, while a needle that rises unexpectedly may suggest excessive combustion gases entering the system.
You might notice minor pressure fluctuations as trapped air moves or coolant circulation changes, but pronounced movement isn’t normal.
Never exceed the tester’s or cap’s rated pressure, and release pressure carefully before removing the adapter.
How Do You Find a Cooling-System Leak?
To find a cooling-system leak, let the engine cool completely, remove the radiator cap, and attach a radiator pressure tester. Pump it to the pressure listed in your vehicle’s service manual, then watch the gauge for several minutes. A steady pressure drop indicates a leak somewhere in the system.
Inspect the following areas while pressure remains applied:
- Radiator seams, tanks, and hose connections
- Water pump weep hole and gasket
- Thermostat housing and engine freeze plugs
- Heater hoses, heater core, and reservoir
Look for drips, damp spots, white, green, pink, or orange residue, and the distinctive smell of coolant. Use a flashlight and inspect beneath the vehicle, since small leaks may travel along components before dripping.
Don’t exceed the specified test pressure, or you could damage radiator materials, hoses, or seals. If you find no external leak, combustion gases or an internal gasket problem may be involved.
Also consider whether the coolant mixture is correct, because improper concentration can promote corrosion, overheating, or recurring leaks. Repair the source before refilling and bleeding the system.
How Do You Test the Radiator Cap?
A radiator cap pressure test checks whether the cap can maintain the system’s specified pressure and release excess pressure correctly. Start with a completely cool engine to prevent burns.
A radiator cap pressure test verifies pressure retention and safe release, beginning only with a completely cool engine to prevent burns.
Remove the cap carefully, then inspect its seal, spring, and locking surfaces for damage or debris. Choose the adapter that matches the cap, and attach the cap securely to the radiator pressure tester.
Pump the tester’s handle gradually while watching the gauge. During radiator cap testing, compare the gauge reading with the pressure rating printed on the cap or listed in your vehicle’s service information.
Hold the pressure briefly, then observe the gauge and cap for proper operation. A functional cap should resist pressure up to its specified rating and open its valve when pressure requires release.
Confirm pressure release by checking that the tester doesn’t exceed the cap’s rated limit. After testing, remove the adapter, reinstall the cap, and clean any spilled coolant safely.
How Do You Interpret Pressure-Test Results?
Compare the pressure reading with your vehicle’s specified range. Keep an eye out for pressure loss, which could point to a leak in the radiator, hoses, cap, or another component. Then, use the results to determine whether the cooling system is holding pressure properly.
Reading Pressure Levels
Pressure-test results show whether the cooling system can hold the pressure specified by the vehicle manufacturer. Compare your gauge reading with the cap’s rated pressure, found in your owner’s manual or on the cap.
Stay within the tester’s recommended range, and don’t confuse normal operating variation with a reading taken during a cold test.
- Read the gauge at eye level for accuracy.
- Confirm the engine is cool before connecting the tester.
- Note that Temperature effects can change pressure as coolant warms.
- Keep in mind that proper Coolant circulation supports consistent readings.
A reading near the specified value generally indicates the system has reached its intended test pressure. Don’t exceed the manufacturer’s limit, because excessive pressure can stress hoses, seals, and the radiator.
Release pressure slowly through the tester’s valve, then remove the adapter carefully.
Identifying Pressure Loss
Once the gauge reaches the specified test pressure, watch for a steady reading to determine whether the system is losing pressure. A stable needle usually indicates that the cooling system is holding pressure during the test.
If the reading drops gradually, inspect for an external leak around the radiator, hoses, clamps, thermostat housing, water pump, and freeze plugs. Check beneath the vehicle for fresh coolant, and look for dampness, staining, or crusty residue.
A rapid drop can point to a larger leak or an improperly sealed tester connection, so verify the adapter and cap before drawing inferences. Temperature, coolant composition, and recent radiator maintenance can affect observations, especially when residue obscures a small leak.
Keep the engine off and monitor the gauge consistently throughout the test.
Evaluating Test Results
Interpret the gauge reading by comparing the final pressure with the vehicle manufacturer’s specified test pressure and observing how quickly it changes. A stable reading near the specification usually indicates an intact cooling system.
A gradual drop suggests a small leak, while a rapid loss points to a larger leak or loose connection. Inspect the entire system before drawing inferences.
- Check hose joints, the radiator, cap, water pump, and heater core for visible coolant.
- Look for dampness, staining, or puddles beneath the vehicle.
- Test the radiator cap separately if system pressure seems normal but overheating continues.
- Confirm that pressure doesn’t exceed the manufacturer’s limit during testing.
Record your findings and repair leaks before driving. Proper radiator maintenance protects coolant efficiency, prevents overheating, and helps you distinguish external leaks from possible internal problems, such as a failed head gasket.
When Should You Repair or Retest?
Repair the cooling system if the tester shows a steady pressure drop, visible coolant seepage, or a damaged hose, gasket, radiator, or cap. Fix the confirmed fault before driving, because lost radiator fluid can reduce coolant circulation and raise engine temperature.
Repair confirmed cooling-system leaks before driving to prevent reduced coolant circulation and engine overheating.
Replace worn components, tighten loose connections, and follow the vehicle manufacturer’s bleeding procedure to remove trapped air.
Retest after every repair. Refill the system with the correct coolant mixture, install the tester, and pressurize it only to the manufacturer’s specified limit.
Watch the gauge for several minutes, then inspect each connection, seam, and hose while pressure remains applied. A stable reading usually indicates that the system holds pressure properly.
If pressure falls without an obvious leak, check the tester, adapter, and cap seal for damage, then repeat the test with a verified tool.
Never open a hot system. Let the engine cool completely, wear eye protection, and clean spilled coolant promptly.
Frequently Asked Questions
Can a Radiator Pressure Tester Damage Plastic Cooling-System Components?
Yes, you can damage plastic cooling-system components if you apply excessive pressure, use the wrong adapter, or test a weakened part. Follow your vehicle’s specified pressure limit and inspect the cap, hoses, radiator neck, and reservoir first.
During cooling system maintenance, use proper pressure testing procedures: pump slowly, monitor the gauge, and stop immediately if you see deformation, cracking, or leaks. Never exceed the manufacturer’s recommended pressure or test a hot system.
Are Radiator Pressure Testers Compatible With Hybrid and Electric Vehicles?
Yes, radiator pressure testers can suit hybrids, but you need to verify hybrid compatibility before connecting one. Test only the vehicle’s sealed, manufacturer-approved cooling circuit, because hybrids may have separate engine, inverter, battery, or electronics cooling loops.
For electric vehicles, most EVs lack a conventional radiator system, yet they may use liquid thermal-management circuits. Follow the service manual, use the specified adapter and pressure, and never pressurize high-voltage components.
How Should You Clean and Store a Radiator Pressure Tester?
Rinse your radiator pressure tester’s pump, adapters, and hoses with clean water after each use, then dry every part thoroughly. Wipe away coolant residue with a mild cleaner, but avoid harsh solvents that can damage seals.
During cooling system maintenance, inspect connectors and replace cracked components. Release pressure before disconnecting anything.
For accurate Pressure tester calibration, store the tool in its case, away from heat, moisture, and direct sunlight.
Can One Pressure Tester Fit Different Vehicle Radiator Necks?
Yes, one pressure tester can fit different vehicle radiator necks if it includes interchangeable or universal adapters. You’ll need to match each adapter’s diameter, locking tabs, seal, and neck style to your vehicle.
Compatibility issues can occur with unusual radiator openings, expansion tanks, or damaged filler necks. Before testing, compare the adapter with your radiator, attach it securely, and confirm it holds pressure without leaks or slipping during use.
What Alternatives Exist if You Do Not Own a Pressure Tester?
You can use several alternatives if you don’t own a pressure tester. First, inspect hoses, clamps, the radiator, and the reservoir for wet spots or dried coolant.
Then check coolant levels and watch for bubbling, overheating, or a sweet smell while the engine runs. A mechanic can perform a professional test, often cheaply.
Conclusion
Using a radiator pressure tester helps you find cooling-system leaks before they cause overheating or engine damage. By pressurizing the sealed system and monitoring the gauge, you can spot pressure loss, inspect for coolant, and check whether the radiator cap holds its rated pressure.
Why wait for a breakdown to reveal a problem? Test safely, follow your vehicle’s specifications, and repair any leak you find. Then retest the system to confirm it’s sealed and ready for the road. A radiator pressure tester helps ensure your cooling system is working properly.