How Does an Oil Change Pump Work Step by Step?
Changing your oil can be messy, time-consuming, and frustrating, especially when you have to crawl under the vehicle or deal with a stubborn drain plug. You’re not alone—many people struggle to remove used oil cleanly and efficiently. The best oil change pump can make the job easier by safely transferring oil from the engine into a container.
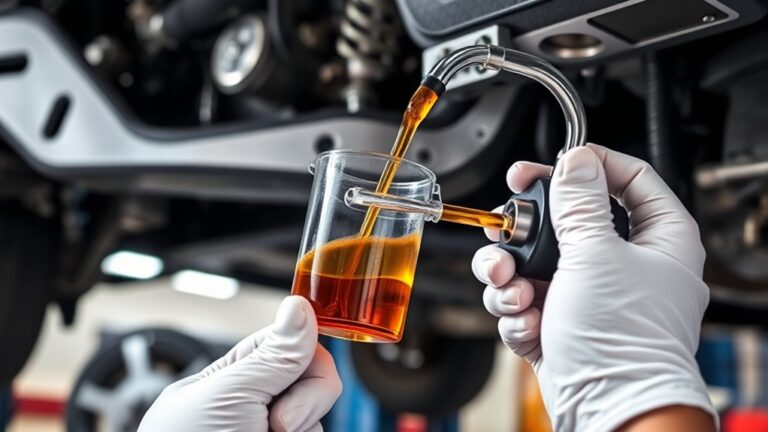
An oil change pump removes used oil by creating a pressure difference that moves oil through a probe and hose into a container. Warm the engine briefly, turn it off, and park on level ground. Insert the probe into the dipstick tube, secure the connections, and start the pump. Watch for steady flow, leaks, or unusual sounds. Stop when the oil slows, inspect for leaks, refill with fresh oil, and dispose of waste properly.
The steps below explain the process further.
Key Takeaways
- Warm the engine briefly, turn it off, and position the pump, hoses, and waste container securely on level ground.
- Insert the extraction tube through the dipstick opening until it reaches the bottom of the oil pan.
- Connect the pump, then activate its motor to create negative pressure inside the intake hose.
- Atmospheric pressure pushes oil through the tube and pump into the collection container. Monitor the flow for leaks or sputtering.
- Stop the pump before it runs dry, remove the tube, refill with recommended oil, check the level, and dispose of waste oil properly.
What Is an Oil Change Pump?
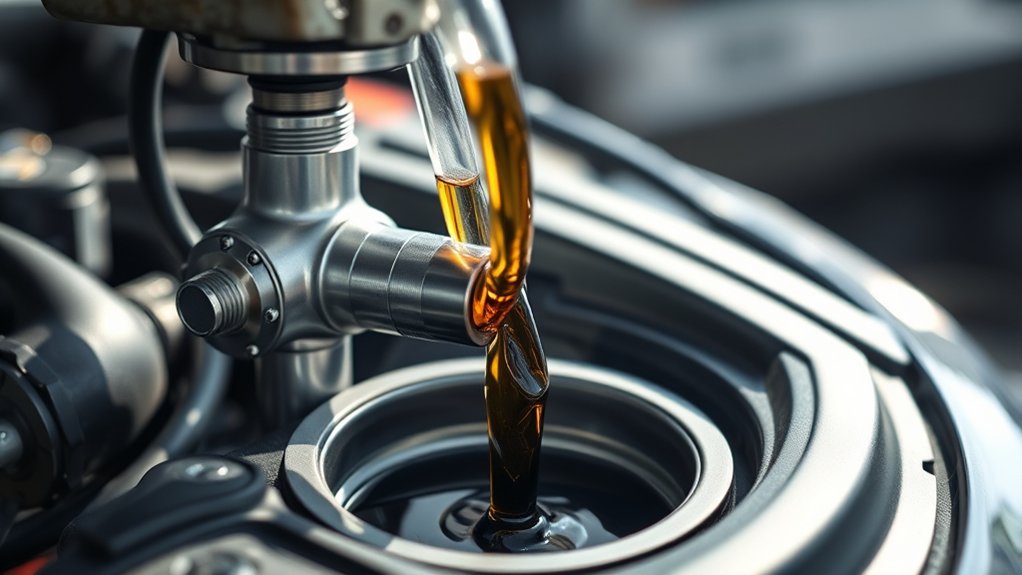
An oil change pump is a tool that removes used engine oil from a vehicle’s oil pan or dipstick tube. You use it during routine maintenance to extract contaminated lubricant before adding fresh oil.
> An oil change pump extracts contaminated engine oil through the dipstick tube or oil pan before fresh lubricant is added.
Unlike a vehicle’s internal oil pump, which circulates lubricant through the engine, this service tool supports controlled fluid transfer into a waste container.
You’ll typically find a small motorized or manual unit, an intake hose, an outlet hose, and a collection container. Some models connect through the dipstick opening, while others attach to a drain port.
Their compact design lets you change oil with less mess, especially when you can’t access a drain plug easily.
An oil change pump can also handle certain compatible fluids, but you should follow the manufacturer’s instructions and avoid mixing substances.
Before use, warm the engine according to the pump’s guidelines, position the container securely, and keep the equipment clean. Afterward, dispose of used oil at an approved recycling location.
How Does the Pump Create Suction?
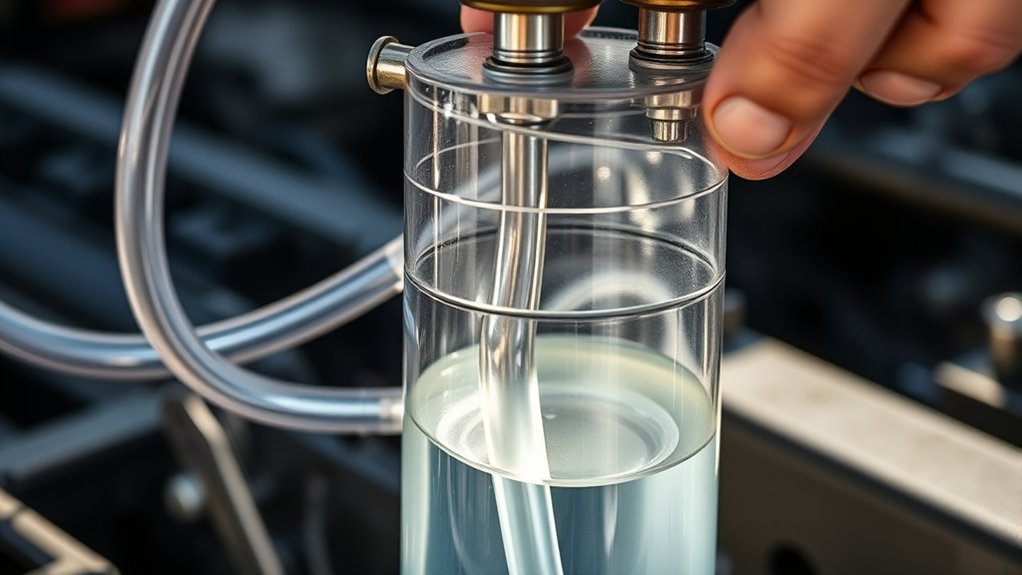
When you turn on the oil change pump, its motor drives an impeller or diaphragm that lowers pressure inside the intake hose. Atmospheric pressure then pushes the warmer oil through the tube toward the pump.
This pressure difference, rather than the pump pulling oil like a vacuum, creates flow. Check valves keep oil moving in one direction and prevent it from draining back when the motor pauses.
| Part | Suction role |
|---|---|
| Motor | Supplies driving power |
| Impeller or diaphragm | Creates low pressure |
| Intake hose | Carries oil inward |
| Check valve | Stops reverse flow |
As the oil pump runs, the moving component repeatedly expands and compresses an internal chamber. Expansion draws oil in, while compression moves it toward the discharge side.
The suction mechanism works best when connections remain airtight. Leaks let air enter and reduce the pressure difference.
Thicker oil flows more slowly, so the pump may need additional time to maintain steady intake. You’ll notice suction establishing as oil begins traveling continuously through the hose rather than pulsing weakly.
Prepare the Engine and Oil Change Pump
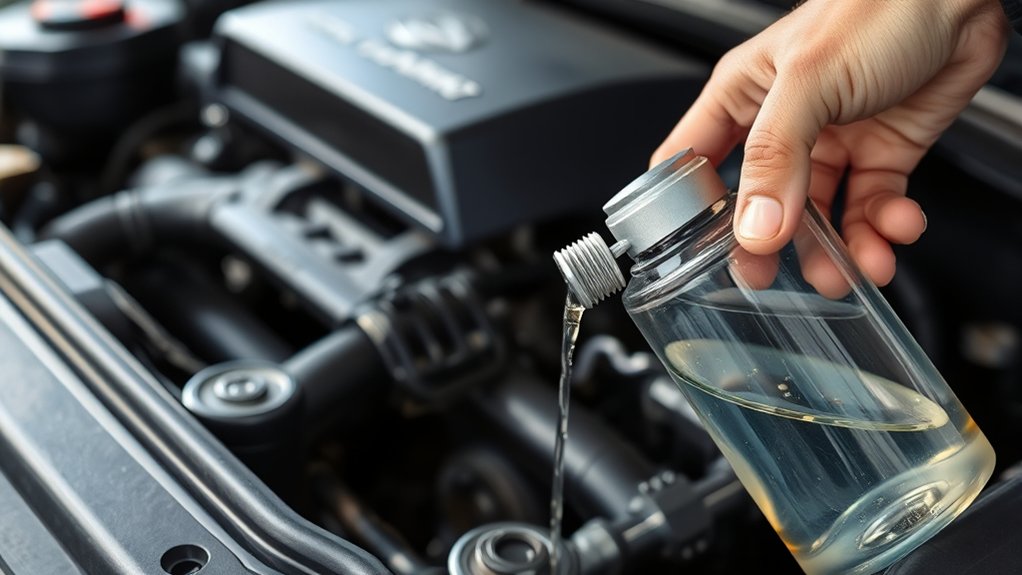
Gather your oil change pump, a drain container, gloves, and any other necessary equipment. Warm the engine briefly to help the oil flow, then turn it off safely. Before you begin, position the pump within easy reach and make sure it’s secure and ready to operate.
Gather Necessary Equipment
Before you begin, gather the oil change pump, a drain pan, the correct replacement oil, a new filter, gloves, shop towels, and the vehicle’s recommended tools. Check your owner’s manual for the required oil grade, capacity, filter number, and pump connections.
Make sure the pump’s extraction tube fits securely into the dipstick tube and that its container can hold the full oil capacity. Inspect hoses, seals, and electrical cords for damage, then place everything within easy reach.
Choose a level, well-ventilated work area and protect nearby surfaces from spills. Keep a funnel available to prevent splashing when you refill the engine.
Wear gloves to protect your hands from used oil and grime. Having the correct supplies supports proper Engine lubrication and helps you replace the Oil filter efficiently.
Warm the Engine
With your equipment ready, run the engine for a few minutes to warm the oil. Warmer oil flows more easily through the pump, while moderate engine temperature helps loosen contaminants without creating an unnecessary burn risk.
Don’t let the engine reach full operating temperature; a brief warm-up is enough. Turn it off, remove the key, and wait briefly so the oil remains fluid but safe to handle.
| Check | What to do | Why it matters |
|---|---|---|
| Engine temperature | Warm briefly | Improves flow |
| Oil viscosity | Confirm oil feels fluid | Supports pumping |
| Engine status | Switch it off | Prevents moving-part injuries |
| Surface | Use a stable, level area | Keeps equipment secure |
Keep children and loose clothing away from hot components. Read your pump’s instructions before connecting anything, and wear gloves and eye protection.
You’re now ready for the next preparation step.
Position the Oil Pump
Place the oil pump on a stable, level surface near the engine, keeping its power cord or manual handle clear of hot and moving parts. Set the collection container beneath the drain outlet, leaving enough room to connect the hose without sharp bends or kinks.
Check that the pump’s inlet tube reaches the dipstick opening or drain port securely. Inspect every connection before you start, because a loose fitting can cause leaks or reduce suction.
Review the Oil pump mechanism in your manual so you know which switch, valve, or handle controls flow. Keep absorbent towels nearby, and wear gloves to protect your hands from warm oil.
Good Pump maintenance begins with clean hoses, tight fittings, and a dry work area. Don’t place the pump where spilled oil could create a slipping hazard.
Set Up a Safe Collection Container
Before pumping, get a suitable container that can hold all the used oil without leaking. Place it securely beneath the drain point, with enough room to catch the oil stream. Make sure the container won’t tip over, shift, or get in the way while you work.
Choose a Suitable Container
Choose a sturdy, oil-resistant container that can hold more used oil than your engine requires, and set it on a level surface beneath the drain outlet. Select a pan with a wide opening to catch flow without splashing.
Its capacity should exceed your engine’s oil volume, especially when oil viscosity affects drainage speed and volume control. Avoid thin plastic tubs, cardboard boxes, or containers that previously held chemicals, since they can leak or contaminate the oil.
A clean, reusable drain pan makes transfer and recycling easier. Check its handles, seams, and drain plug for cracks before use.
Wipe away dirt that could enter the recovered oil. Keep the container empty of water and debris, because contamination can complicate disposal and increase pump maintenance needs.
Choose a cover if storage is necessary.
Position It Securely
Set the container on a level, stable surface directly beneath the pump’s outlet, leaving enough room to reposition it if the oil stream shifts. Keep it away from foot traffic, loose cords, and hot exhaust parts.
Before pumping, check that the container’s capacity exceeds the engine’s oil volume, especially if you’re also removing the Oil filter. Center the opening under the outlet, and use a wide-mouth pan to catch splashes.
If your pump includes a drain hose, secure its end inside the container with a clamp or weighted fitting. Confirm that the hose won’t spring free under pressure.
Monitor the engine temperature, because warm oil drains efficiently but can cause burns. Wear gloves and eye protection, and never hold the container by hand while operating the pump.
Stop immediately if it shifts, leaks, or tips.
Locate the Engine Oil Dipstick Tube
To locate the engine oil dipstick tube, look for a brightly colored handle—often yellow or orange—near the top or side of the engine. Check your vehicle’s owner’s manual if you can’t identify it immediately, since tube locations vary by make and model.
The dipstick usually sits near the front or rear of the engine and may display an oil-can symbol. Confirm that you’ve found the engine-oil dipstick, not the transmission dipstick or another service point.
Wipe away dirt around the handle and tube opening with a clean cloth, preventing debris from entering the engine. Good identification supports accurate engine diagnostics and helps you plan an oil filter replacement without confusing nearby components.
Keep the engine off, allow hot parts to cool, and use adequate lighting while you inspect the area. Don’t remove surrounding parts or force the handle; simply note the tube’s location before preparing the pump and supplies for the next step.
Insert the Extraction Tube Correctly
Once the engine is off and the dipstick is removed, guide the extraction tube into the dipstick tube until it reaches the oil pan without forcing it. Feed the tube slowly, keeping it straight to prevent kinks or bends that could restrict oil flow.
If you meet resistance, stop and withdraw the tube slightly. Don’t push it against an internal obstruction.
Compare the tube’s length with your vehicle’s dipstick to estimate when it has reached the bottom, but don’t rely on force or guesswork alone.
Keep the tube’s end submerged in the old oil for effective oil extraction. Secure the upper end in the dipstick opening so it won’t shift during the next step.
Before connecting anything, inspect the tube for cracks, soft spots, or contamination. Clean and store it properly after use as part of pump maintenance.
Correct placement helps you remove more oil and protects the dipstick tube from damage.
Start the Oil Change Pump
With the extraction tube secured in the dipstick opening, connect the pump to its power source and switch it on. Before starting, confirm that the engine temperature is warm but not hot.
Warm oil moves more easily, while extremely hot oil can cause burns or damage the equipment. Park your vehicle on level ground, engage the parking brake, and turn off the engine before connecting the pump.
Check the unit’s instructions to identify the power switch, hose connections, and any priming control. If your pump includes a speed setting, select the recommended low or medium setting rather than maximum power.
Inspect the hose and cable for cracks, loose fittings, or exposed wires. Keep the pump away from moving parts and hot exhaust components.
Wear gloves and eye protection, and place a suitable container beneath the outlet. Verify that the Oil filter area is accessible for the later replacement step.
Watch the Oil Flow and Suction
Watch the oil flow as the pump builds suction pressure. When everything is working properly, the oil should move steadily through the hose. Direct the flow into your container, and keep an eye out for any leaks or interruptions.
Build Suction Pressure
Start the pump to create negative pressure in the extraction hose, then watch for a steady stream of oil entering the collection container. Listen for a consistent motor sound and check the hose for collapsing, leaks, or loose connections.
If suction seems weak, inspect the fittings and confirm that the probe reaches the oil. Thick oil has higher oil viscosity, so you may need to warm the engine briefly before extraction.
Don’t run the pump dry for long; doing so can overheat its seals and motor. Maintain steady suction rather than repeatedly switching the pump on and off.
Follow your equipment’s pressure limits, and stop immediately if you notice unusual noise, smoke, or excessive vibration. Regular pump maintenance, including seal and hose inspections, helps preserve reliable suction during future oil changes.
Direct Oil Flow
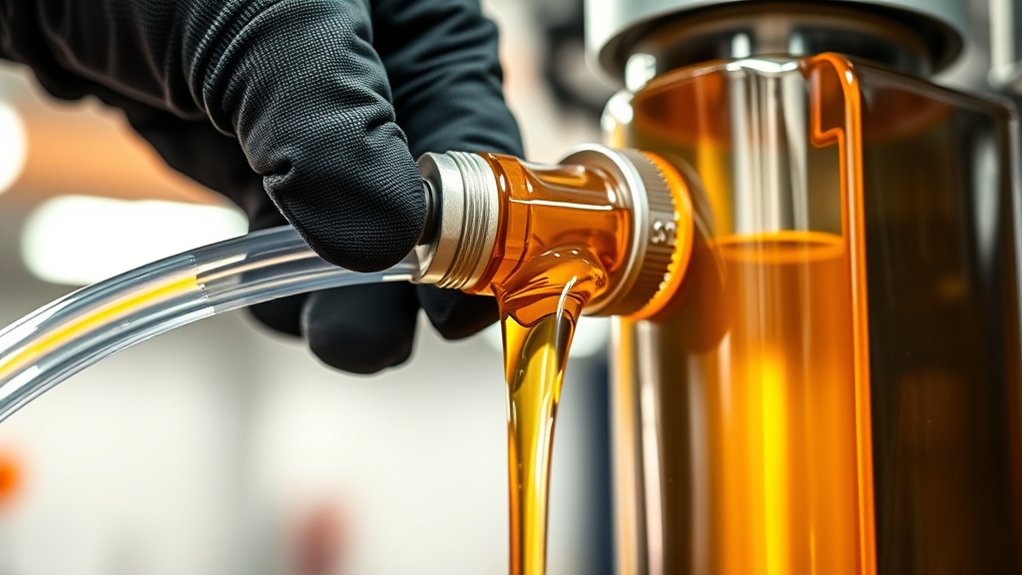
Once the pump has steady suction, guide the extracted oil through the hose into the collection container. Keep the hose fully inserted and check its connections for leaks.
Watch the oil flow closely. A steady stream shows that suction remains strong, while sputtering may signal a loose fitting, clogged tube, or air entering the system.
If the flow slows, stop the pump and inspect the hose before continuing. Don’t let the container overfill, and keep it level to prevent spills.
As the oil drains, monitor its color and consistency for metal particles or unusual debris. Although the pump removes used oil, it doesn’t replace oil filtration; install a new filter as your vehicle requires.
Afterward, rinse the hose, wipe the fittings, and complete routine pump maintenance to preserve reliable suction.
Check the Engine Before Refilling
Before refilling, inspect the engine for leaks, damaged seals, or loose components around the drain plug and oil filter. Wipe nearby surfaces clean, then look for fresh oil that could signal an incomplete seal.
Check that the drain plug sits firmly and that the filter doesn’t move when you gently test it. Don’t overtighten anything, since excessive force can damage threads or seals.
Next, perform an Engine inspection around the pan, filter housing, and accessible hoses. Watch for cracks, dents, or residue that might indicate a developing problem.
Use a flashlight to improve visibility beneath the vehicle, but keep your hands clear of hot surfaces and moving parts.
Complete an Oil level check with the dipstick. Remove it, wipe it, reinsert it fully, and pull it out again to read the remaining oil level.
Confirm that it’s below the full mark and note its appearance. If you find a leak or damage, resolve it before continuing.
Add Fresh Oil and Dispose of Waste
Add fresh oil through the filler opening, using the grade and amount recommended in your vehicle’s owner’s manual. Check the Oil viscosity requirement carefully, because the correct rating protects engine parts across operating temperatures.
Pour slowly with a funnel to prevent spills, and pause occasionally so the oil can settle. Don’t overfill; use the dipstick to confirm the level after waiting several minutes.
If the level remains low, add small amounts and recheck until it reaches the safe range.
After refilling, replace the filler cap securely and start the engine for about a minute. Turn it off, wait, and inspect beneath the vehicle for leaks around the drain plug and Oil filter.
Confirm the dipstick reading again, then record the oil type, quantity, and service date. Transfer the used oil into a sealed, labeled container.
Don’t pour it onto the ground or into a drain. Take the waste oil and old filter to an approved recycling center or auto-parts store that accepts them.
Frequently Asked Questions
How Often Should You Change Your Engine Oil?
You should change your engine oil every 5,000 to 7,500 miles, or about every six months, unless your vehicle’s manual recommends a different interval. Follow the shorter schedule if you drive in heavy traffic, tow loads, take frequent short trips, or face extreme temperatures.
Check your oil level monthly, and use the recommended oil viscosity to protect engine performance. Don’t delay if the oil looks dirty or your dashboard warning light appears.
Can an Oil Change Pump Remove All Old Engine Oil?
An oil change pump can’t drain every drop of old oil; it gets most of it, but some remains in the pan, galleries, filter, and engine passages. Think of it as sweeping a floor: you remove nearly everything, yet a little dust lingers.
Your oil pump helps circulate fresh oil, but it doesn’t extract old oil. Warm the engine first, position the suction tube correctly, and replace the filter for a thorough change.
Which Vehicles Are Compatible With Oil Extraction Pumps?
You can use oil extraction pumps with most cars, SUVs, motorcycles, boats, generators, and lawn equipment when the manufacturer provides dipstick-tube access.
Check your owner’s manual first, because some vehicles require draining through the oil pan. Consider oil compatibility, ensuring the pump handles your lubricant’s viscosity and temperature.
Pump efficiency also depends on tube size, access depth, and engine design. You shouldn’t use extraction alone if debris or sludge requires removal.
How Much Does an Oil Change Pump Typically Cost?
You’ll typically pay $20–$50 for a manual oil change pump, while electric models usually cost $50–$150. Cheap pumps save money upfront; better-built pumps save effort and time.
Your cost comparison should include hose quality, suction strength, capacity, and warranty, not just the sticker price.
What Are Common Signs Your Engine Needs an Oil Change?
You may need an oil change if your dashboard’s oil warning light appears, the engine sounds louder or knocks, or you notice dark, gritty oil on the dipstick.
You might also detect an unusual burning smell, reduced performance, or declining fuel economy. Fresh oil supports engine lubrication, while a clogged oil filter restricts protection.
Check your oil level regularly, and schedule service according to your vehicle manufacturer’s recommended interval.
Conclusion
Now you know how an oil change pump works, from creating suction through the dipstick tube to collecting used oil safely. By preparing the engine, monitoring the flow, checking the level, and adding the correct fresh oil, you’ll complete the job cleanly and efficiently.
Why risk spills or guesswork when a careful process makes maintenance easier? Always dispose of used oil responsibly, and follow your vehicle manufacturer’s recommendations to protect your engine and extend its service life.