How Does a Brake Bleeder Work?
Spongy brakes, trapped air, and messy fluid changes can make brake maintenance frustrating. You’re not alone—many drivers struggle to bleed their brakes cleanly and safely. The right brake bleeder can make the job faster, easier, and more reliable.
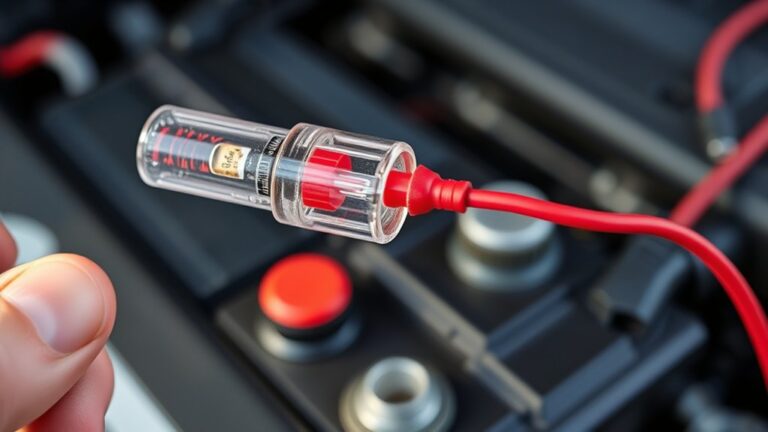
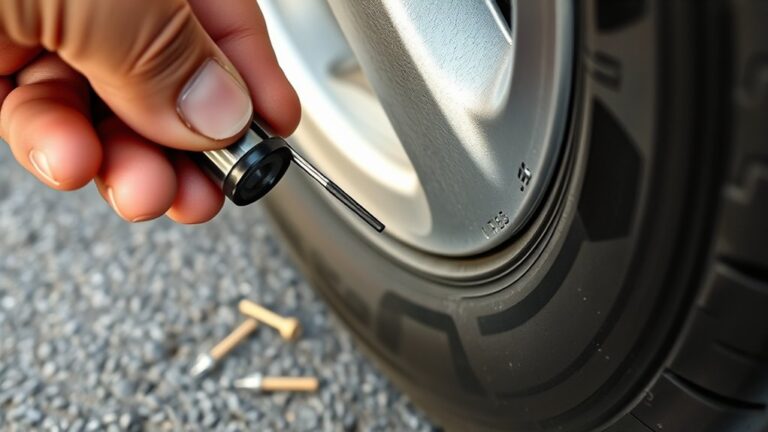
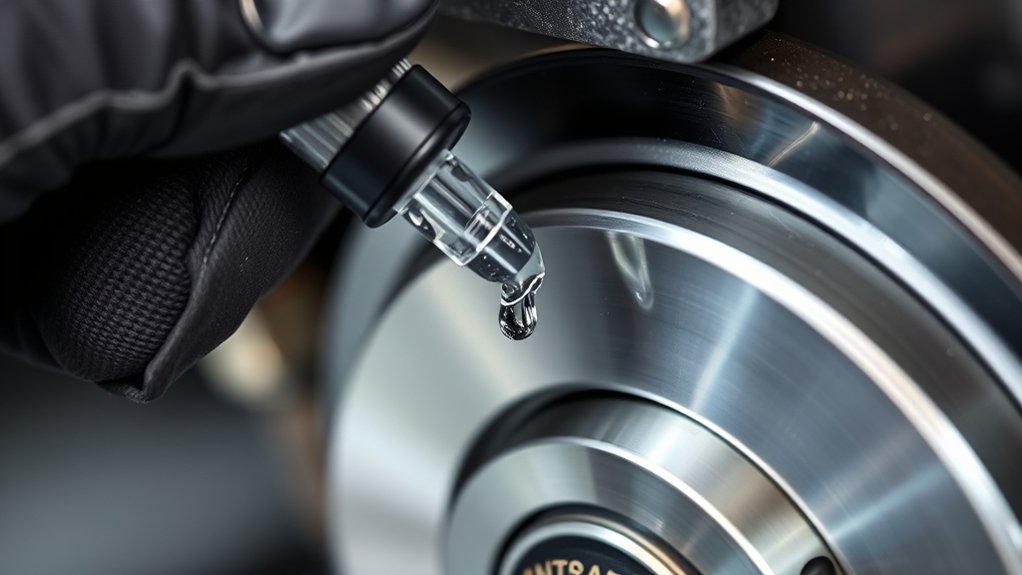
A brake bleeder uses pressure or vacuum to move old brake fluid and trapped air out of your brake lines. You connect its hose to a wheel’s bleeder screw, open the screw slightly, and direct fluid into a container.
As you pump the pedal or operate the tool, fresh fluid replaces contaminated fluid and air bubbles. Keep the reservoir full and close the screw before releasing the pedal.
Continue until fluid flows clear and bubble-free. The steps below explain how to choose and use a brake bleeder safely.
Key Takeaways
- A brake bleeder creates vacuum or pressure to move old brake fluid and trapped air through an opened bleeder screw.
- Connected tubing directs expelled fluid and air into a container, preventing spills and allowing inspection of the fluid.
- Pressure bleeding forces fresh fluid through the brake lines, while vacuum bleeding draws fluid and air outward from the caliper.
- During manual bleeding, the bleeder screw opens as the pedal is pressed and closes before the pedal is released.
- Continue bleeding until clean, bubble-free fluid flows. Maintain the reservoir level and check all connections for leaks.
What Does a Brake Bleeder Do?
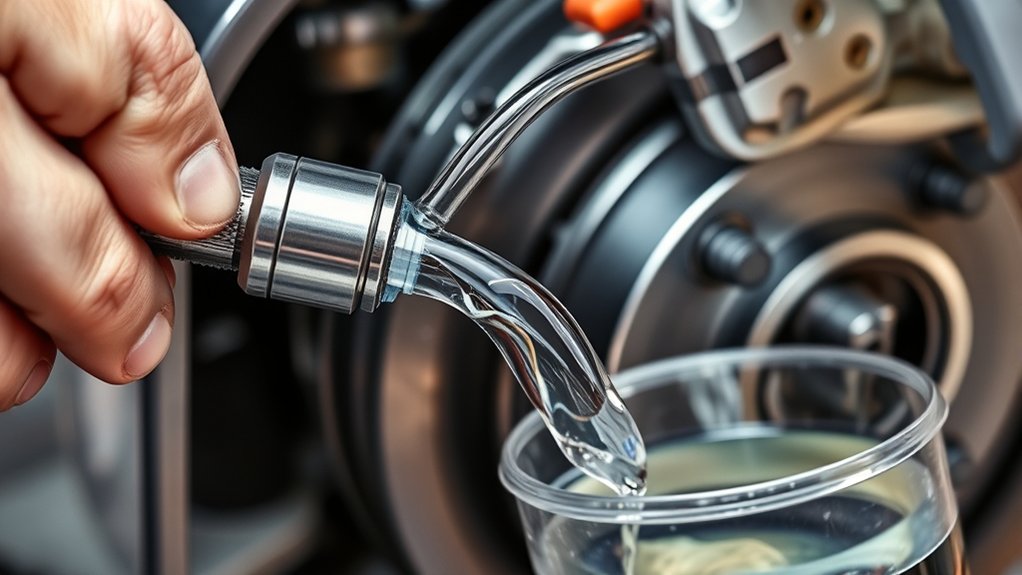
A brake bleeder removes air and old fluid from your vehicle’s brake lines, helping restore firm, responsive pedal feel. You connect this tool to a wheel’s bleeder valve, then use its hose and container to collect expelled fluid.
Depending on the model, you create suction manually, pneumatically, or with an electric pump. The tool helps you perform cleaner, more controlled servicing while limiting spills around painted surfaces.
During brake system maintenance, you use a bleeder to exchange contaminated fluid and support consistent hydraulic performance. Brake fluid composition allows the fluid to absorb moisture over time, which can lower its boiling point and promote corrosion.
A bleeder makes scheduled fluid replacement simpler and helps you inspect the fluid’s color and condition as it exits. You still need the correct fluid type, a compatible bleeder, and proper disposal procedures.
The tool doesn’t repair worn pads, damaged hoses, or leaking components, so inspect those parts separately before returning your vehicle to service.
How Does Brake Bleeding Remove Air?
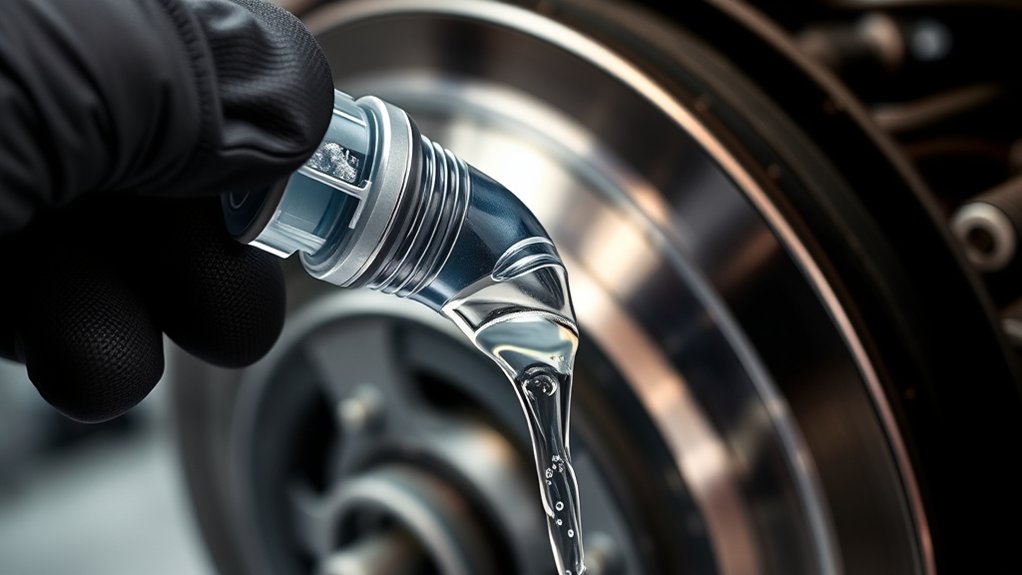
When you bleed the brakes, pressure forces trapped air out through the open bleeder valve. As the air escapes, fresh brake fluid fills the lines and takes its place.
This removes the sponginess caused by air and restores a firm, responsive brake pedal.
Pressure Forces Air Out
Pressure from the brake pedal pushes fluid through the hydraulic lines and out of the opened bleeder valve, carrying trapped air with it. As you press the pedal, hydraulic pressure travels through the sealed system and acts on pockets of air inside the caliper, wheel cylinder, or line.
Because air compresses more easily than brake fluid, pressure can expand and move those bubbles toward the open valve. You’ll see air escape as bubbles in the fluid flowing through the attached hose.
Each pedal stroke creates another pressure wave, helping dislodge air clinging to internal surfaces and drive it toward the outlet. Keep the valve open only during the release stroke, then close it before you let the pedal return.
This procedure directs pressure outward instead of drawing air inward.
Fluid Replaces Trapped Air
As fluid leaves through the open bleeder valve, fresh brake fluid from the master cylinder moves into the caliper, wheel cylinder, or line and fills the space left by escaping air. You create this exchange by pressing the brake pedal or using a pressure, vacuum, or pneumatic bleeder.
Each cycle pushes more fluid through the circuit while carrying bubbles toward the open valve. Because brake fluid doesn’t compress easily, it restores the firm hydraulic connection between the pedal and the brakes.
Trapped air, however, compresses under pressure, causing a soft or spongy pedal and delayed braking response. You’ll continue bleeding until only a steady stream of clean fluid exits without bubbles.
Then you close the valve before releasing pressure or the pedal, preventing air from returning through the bleeder.
What Happens Inside a Brake Bleeder?
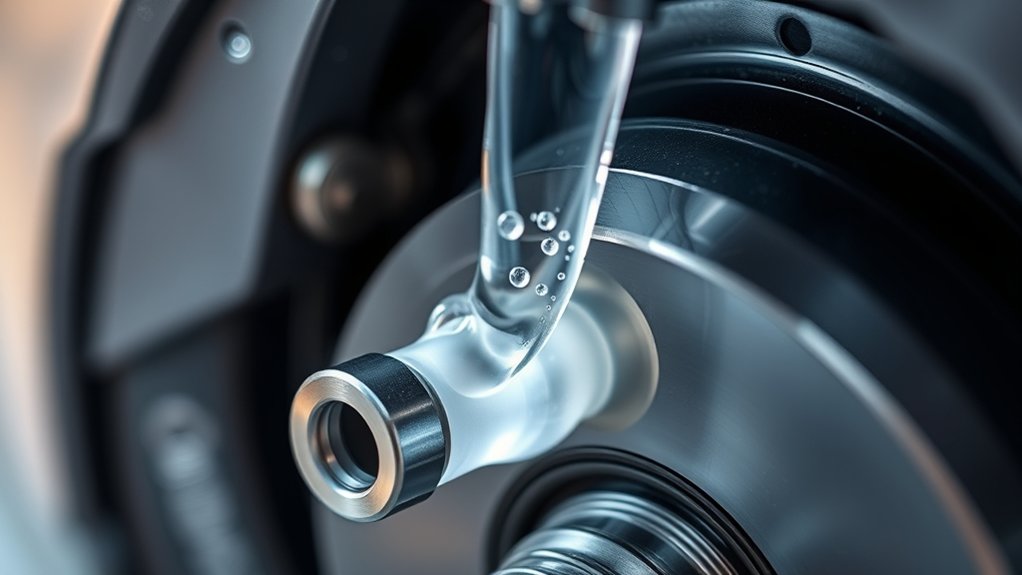
When you activate the brake bleeder, pressure builds inside the system. That pressure pushes air and old brake fluid through the bleeder valve and into the collection container.
As the process continues, you’ll see the fluid flow steadily while trapped air escapes from the brake lines.
Pressure Builds
Once you activate the brake bleeder, its pump creates a pressure difference that moves brake fluid through the system. As you continue pumping, the unit’s chamber develops a controlled vacuum or pressure, depending on the bleeder design.
This change affects the sealed brake circuit and prepares it for service. You’ll notice resistance increase as the pump reaches its target level, indicating that the system holds the intended pressure.
A gauge, when included, lets you monitor this level and avoid applying excessive force. Hydraulic pressure inside the tool transfers through its hose and fitting to the designated brake component.
Tight connections help preserve the pressure, while damaged seals or loose fittings can cause it to drop. Follow your tool’s instructions and maintain steady pressure for reliable operation.
Air and Fluid Move
Inside the brake bleeder, the pressure difference drives air bubbles and old fluid through the hose and out of the brake circuit. As you pump or activate the tool, air compression creates a force that pulls trapped gas from the caliper or wheel cylinder.
The moving air carries contaminated Brake fluid into the bleeder’s container, where you can monitor its color and bubbles. Fresh fluid then travels through the brake line to replace what leaves the system.
You should keep the reservoir filled, because an empty reservoir can draw new air into the circuit. Watch the hose for bubbles and continue bleeding until the flow looks clear and steady.
When air stops entering the hose, you can close the bleeder screw and restore firm pedal pressure.
Which Brake Bleeder Should You Choose?
Choosing the right brake bleeder depends on your vehicle, available space, and how often you service brakes. A manual hand-pump bleeder suits occasional home use because it’s affordable, compact, and easy to store. You’ll need to operate the pump yourself, but you’ll gain direct control over the process.
For faster work, choose a pressure bleeder. It connects to the master-cylinder reservoir and maintains steady pressure, making it useful when you service multiple vehicles or work alone. Confirm that its cap fits your reservoir before buying.
A vacuum bleeder pulls fluid through the system from each caliper. It can work well for targeted brake system maintenance, although loose bleeder threads may draw air around the fitting and confuse your results.
An electric or pneumatic model saves effort in a busy workshop, but it costs more and needs an air supply or battery.
Whichever type you choose, use clean equipment to prevent brake fluid contaminants from entering the system and follow your vehicle’s service instructions.
How Much Brake Fluid Do You Need?
The amount of brake fluid you need depends on your vehicle and the condition of its system. Check your owner’s manual for the specified brake fluid capacity before you begin.
Check your owner’s manual for the correct brake fluid capacity before beginning the bleeding process.
A routine bleed often requires about one quart (0.95 liters), but a completely dry system, extensive flushing, or contaminated fluid may require more. Keep an extra container available so you won’t run short during the process.
Use only the brake fluid types listed by your manufacturer, such as DOT 3, DOT 4, or DOT 5.1. These fluids have different chemical properties, and you shouldn’t mix incompatible products.
DOT 5 silicone fluid generally doesn’t mix with glycol-based DOT 3, DOT 4, or DOT 5.1 fluid. Buy sealed containers because brake fluid absorbs moisture after opening, reducing its performance.
You’ll also need enough fluid to maintain the reservoir level throughout bleeding. Never reuse fluid collected from the system, and dispose of waste fluid according to local regulations.
Where Should You Start Bleeding Brakes?
Where you start bleeding brakes depends on the vehicle manufacturer’s recommended sequence, but many systems require you to begin with the wheel farthest from the master cylinder and work toward the closest. This order helps push trapped air and old Brake fluid through the longest lines first, reducing the chance of air moving into sections you’ve already serviced.
Before you begin, check your owner’s manual or a reliable service guide for the exact sequence. Some vehicles use diagonal circuits, electronic brake systems, or special procedures that change the order.
Following the wrong pattern can leave air in the system and produce a soft pedal.
As part of proper Brake maintenance, keep the master-cylinder reservoir filled with the specified fluid while you work. Never let it run dry, or you may introduce more air.
Move methodically from one wheel to the next, and finish by confirming that the pedal feels firm before driving. Don’t rely on a generic sequence when your vehicle specifies another.
How Do You Connect a Brake Bleeder?
To connect a brake bleeder, start by locating the bleeder screw on the brake caliper or wheel cylinder. Push the bleeder hose firmly onto the screw, and place the other end into a collection container.
Make sure the container is secure so it won’t tip over or spill while you bleed the brakes.
Locate the Bleeder Screw
Once you’ve located the brake caliper or wheel cylinder, look for the small bleeder screw near its upper section. It usually has a rubber cap, so don’t confuse it with larger mounting bolts.
Clean surrounding dirt before identifying its hexagonal head, and check your vehicle’s service manual if its position isn’t obvious. Work on one wheel at a time and keep the screw accessible.
| Check | What to confirm |
|---|---|
| Position | Upper caliper or cylinder |
| Shape | Small hexagonal fitting |
| Condition | No rust or damage |
| Cap | Rubber dust cover present |
Wear gloves and safety glasses because brake fluid safety matters. Avoid painted surfaces, since fluid can damage them.
Inspect the threads and cap for corrosion or cracking. Basic bleeder screw maintenance helps prevent leaks and ensures you can loosen it without stripping the fitting.
Don’t force a seized screw. Seek appropriate guidance first.
Attach the Bleeder Hose
With the bleeder screw clean and accessible, push one end of a clear, snug-fitting bleeder hose firmly over its nipple and place the other end in a catch container. Press the hose far enough to create an airtight connection, but don’t twist or force the screw. Check the transparent line for cracks, looseness, or trapped debris before you begin pumping.
- A tight fit keeps air from entering through the nipple.
- Clear tubing lets you monitor bubbles and fluid color.
- Clean equipment helps prevent brake fluid contamination.
- Keep the hose away from hot, moving, or sharp components.
- Good bleeder hose maintenance prevents leaks and replacement delays.
Use a hose that matches the bleeder nipple’s diameter. An oversized line can slip, while a narrow one may split. Don’t open the screw until the connection feels secure, and keep the hose’s end positioned to drain freely.
Secure the Collection Container
Position the catch container below the bleeder screw and secure it so it won’t tip, slide, or pull on the hose. Set it on a level surface, or place it in a stable holder if the vehicle’s clearance requires extra elevation.
Keep the container close enough that the hose slopes downward continuously, preventing air from entering the line or Brake fluid from spilling. Push the hose firmly onto the bleeder screw, then route it into the container without sharp bends or kinks.
Use a clip, magnet, or strap to hold the hose and container in place. Confirm that the container can collect fluid without overflowing.
Before opening the screw, check that everything remains stable. A secure setup protects the Brake system, reduces mess, and helps you monitor dirty fluid clearly.
How Do You Bleed Brakes Step by Step?
To bleed your brakes, have a clear hose, catch container, fresh brake fluid, and the correct wrench ready, then follow the manufacturer’s recommended wheel order. Keep the reservoir filled throughout the procedure to prevent air from entering.
Attach the hose to the bleeder screw, place its other end in the container, and loosen the screw slightly. Have an assistant press the pedal slowly, then hold it down while you tighten the screw.
Release the pedal only after tightening, and repeat until clean, bubble-free fluid flows.
- Protect painted surfaces from corrosive brake fluid.
- Wipe the bleeder screw before connecting the hose.
- Use only the fluid type listed in your owner’s manual.
- Never let the reservoir fall below its minimum mark.
- Dispose of used fluid according to local regulations.
Check each wheel for leaks and reinstall its rubber cap. Brake fluid contamination can damage components, so don’t reuse old fluid.
Include this careful process in your brake system maintenance routine, following your vehicle’s service instructions exactly.
How Do You Get a Firm Brake Pedal?
A firm brake pedal comes from a properly bled, leak-free hydraulic system with correctly adjusted components. Start by checking your vehicle’s recommended Brake fluid types, then fill the master-cylinder reservoir to the specified level.
Use a compatible brake bleeder to remove air, beginning with the wheel farthest from the master cylinder unless your service manual specifies another sequence. Keep the reservoir from running dry, and close each bleeder screw before releasing pedal pressure.
Ask an assistant to press the pedal slowly while you open and close the screw, or use a pressure or vacuum bleeder according to its instructions.
Your Brake system design determines the correct bleeding order and procedure. After bleeding, press the pedal several times; it should feel firm and stop high, without excessive travel.
Adjust drum-brake shoes if your design requires manual adjustment, and ensure calipers, pads, hoses, and the master cylinder sit securely. A firm pedal should remain consistent while you hold pressure.
If it sinks, don’t drive until qualified service identifies the cause.
How Do You Fix Problems After Bleeding?
If the pedal still feels soft, sinks, or pulls after bleeding, inspect for leaks at the calipers, wheel cylinders, hoses, lines, and master cylinder. Tighten loose fittings, replace damaged parts, and bleed the system again.
Confirm you’re using the manufacturer’s recommended Brake fluid types. Mixing incompatible fluids can damage seals and reduce performance.
Check the following before driving:
- Verify the reservoir remains filled to the correct level.
- Inspect bleeder screws for tightness and damaged threads.
- Look for air entering through loose hose connections.
- Confirm each caliper or wheel cylinder moves properly.
- Test the pedal with the engine running and stopped.
If the pedal remains spongy, the master cylinder may bypass internally and require replacement. A pulling vehicle can also indicate a seized caliper, restricted hose, or uneven pad contact.
Don’t drive until braking feels firm and the vehicle stops straight. Include fluid changes, leak inspections, and component checks in regular Brake system maintenance.
Seek professional service if you can’t identify the fault safely.
Frequently Asked Questions
How Often Should You Bleed Your Brakes?
You should bleed your brakes about every two years, or sooner if your vehicle manufacturer recommends it. Bleed them whenever you replace brake components, open the hydraulic system, notice a spongy pedal, or see dark, contaminated fluid.
Brake fluid contamination can reduce braking performance by attracting moisture and debris. Use proper bleeding process techniques, follow the correct wheel sequence, and avoid introducing air.
Have a qualified technician inspect the system if you’re unsure.
Can Old Brake Fluid Damage the Braking System?
Yes, old brake fluid can damage your braking system, and you shouldn’t dismiss that possibility. Over time, it absorbs moisture, reducing its boiling point and increasing Brake fluid contamination.
That moisture can trigger Brake system corrosion inside calipers, wheel cylinders, master cylinders, and metal lines. You may notice spongy pedal feel, reduced braking performance, or leaks.
Replace fluid according to your manufacturer’s schedule, and inspect the system promptly if symptoms appear.
Is Brake Bleeding Safe to Do Without Professional Help?
Yes, you can bleed your brakes safely without professional help if you follow your vehicle’s service manual and work carefully. Wear gloves and eye protection, use the correct fluid, keep the reservoir filled, and prevent air from entering.
Watch for brake fluid contamination, which can damage seals and reduce braking performance. Check bleeder valve maintenance by cleaning threads and replacing damaged caps.
Stop immediately if the pedal remains soft or leaks appear, then seek professional assistance.
What Safety Precautions Should You Take Before Bleeding Brakes?
Treat brake bleeding like defusing a tiny garage bomb: one careless move can create a massive safety problem. Park on level ground, engage the parking brake, and support the vehicle with jack stands—not a jack alone.
Wear safety gear, including gloves and eye protection. Keep brake fluid away from paint, flames, and skin.
Use the correct fluid, work in a ventilated area, and never let the reservoir run dry. Check for leaks before driving.
When Should You Replace Brake Hoses or Bleeder Screws?
Replace brake hoses when you notice cracks, bulges, leaks, softness, or restricted fluid flow, or when they’re older than the manufacturer’s recommended interval. Replace bleeder screws if they’re rounded, seized, damaged, leaking, or impossible to seal after cleaning.
Don’t ignore brake fluid contamination or brake system corrosion; both can accelerate component failure. If bleeding produces persistent bubbles or uneven braking, inspect these parts and have a qualified technician confirm the repair before driving.
Conclusion
Once you understand how a brake bleeder works, brake maintenance feels less mysterious. The tool draws fluid through each line, carrying trapped air away like bubbles rising from a submerged hose.
With the right bleeder, fresh fluid, and a careful bleeding sequence, you can restore a firm, responsive pedal. Don’t rush the final checks: inspect every fitting, watch for leaks, and test the brakes gently before driving.
Understanding how a brake bleeder works helps keep every stop controlled, quiet, and safe.